Adding Conditional Logic (If-Then statement) to a Custom RSVP Form
Sometimes when a guest is RSVPing, you only want to know certain information from them based on a previous answer (for example, you might ask if they are bringing a guest, and if they answer yes, you'd like to know how many they intend to bring). This guide walks you through the process of how to add a basic If-Then statement using a Radio button to your Custom RSVP Form
This information only applies to RSVP events.
From your Event page:
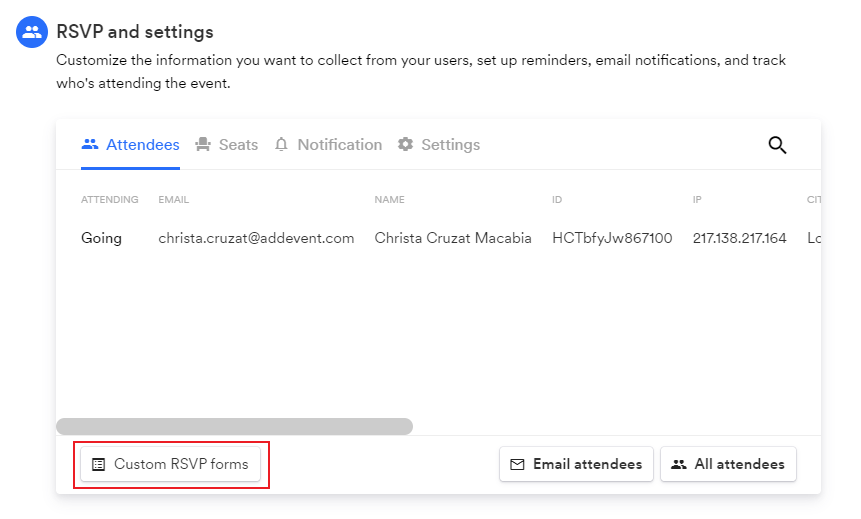
- Scroll down to the RSVP and settings section and click Custom RSVP forms.
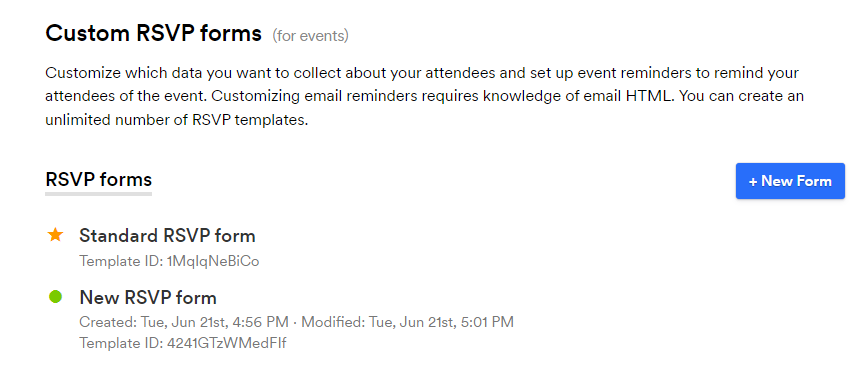
- Select the RSVP form you would like to customize the automated messages and reminders or you can create a new form. The Standard RSVP form is read-only. You need to create a new RSVP form to customize it.
Adding the Conditional Logic
This guide is designed around using a Radio button, and the script in the template is tailored specifically for that option. It is meant to serve as a framework, and is not the only way this can be accomplished! If you are comfortable editing HTML/CSS/Javascript, you can definitely modify the script below and the Custom RSVP Form to allow for different types of questions and responses that trigger the conditional logic.
- Create all the questions you'd like available on the form, in order. This includes any that you might like hidden at first.
- The IF question (for example: are you bringing guests?) needs to be a radio button
- Set whatever the first choice of the radio button is to be the answer that reveals the extra question(s)
- Create two Custom HTML blocks. You can name them whatever you'd like, since that part won't be visible to the end user. For clarity, I suggest labeling the first one "Logic-Start" and the second one "Logic-End."
- In the first block, type in
<div id="then"> - in the second block, type
</div>
- In the first block, type in
Do not re-open the Custom HTML blocks you just created after saving them! Some users have experienced the HTML getting changed unintentionally just by opening them again. If you do reopen it and notice the code inside looks incorrect, you will need to delete that Custom HTML block and recreate it following step #2 above
- Drag these blocks around the question (or group of questions you'd like to start hidden form view, and be revealed upon certain answers being selected. Put the first block directly above the section you'd like hidden, and the second block at the very end of that section.
- Save your Custom RSVP form.
- Go back to the event page and click Edit Event then set the RSVP form to be your custom logic one
Next, we need a custom template along with the Custom RSVP form
-
Create a new Template, and then go back and apply it to the RSVP event (if you need help, follow these instructions: https://help.addevent.com/docs/create-a-custom-template)
-
Scroll down to the end of the template, and paste in this script, right above the closing
</body>tag<script> $(function(){ // Hide "Then" Question by default $('#then').hide(); // Get mother based on ID let elm = $('#[DATA SLUG OF RADIO BUTTON]').closest('.input-t2'); // Attach $(elm).find('.radio').bind('click', function(){ // Get value let val = $(this).attr('data-value'); // Toggle values if(val == '1'){ // Show guest option $('#then').show(); // Focus $('#then').find('input').focus(); } if(val != '1'){ // Show guest option $('#then').hide(); // Focus $('#then').find('input').focus(); } }); }); </script> -
In the script, where it says
[DATA SLUG OF RADIO BUTTON], replace that with the data slug next to the radio button in your Custom RSVP Form (for example "fld-iebexx") do not copy the{{ }}and make sure the#remains in the script -
Using "fld-iebexx" as an example, the end result should look like this:
let elm = $('#fld-iebexx').closest('.input-t2'); -
Save your template, and then apply it to the RSVP event
The script is set up to have the hidden question start out hidden. The first option of the radio button is set to reveal the hidden question, while the second option hides it again (for example Q: Are you bringing any guests? A: Yes (reveal) / No (hide)) If you want to reverse these because the wording sounds better (for example No (hide) / Yes (reveal), or whatever your options are) you can do that in the script above that you pasted into the template. To trigger the reveal with the second option, change the '1' to '2' in lines 12 and 18 of the script
Your event should now have the ability to reveal an extra question when someone selects a specific answer with a Radio button when they are registering for your event!
Watch this tutorial!
Updated 3 months ago