Edit a Calendar
This help doc explains the two ways you can arrive at the editing page, an overview of what you can edit and who will see the edits.
Two ways to arrive at the editing page
From the dashboard:
- Hover over the calendar you want to edit on your dashboard's left side.
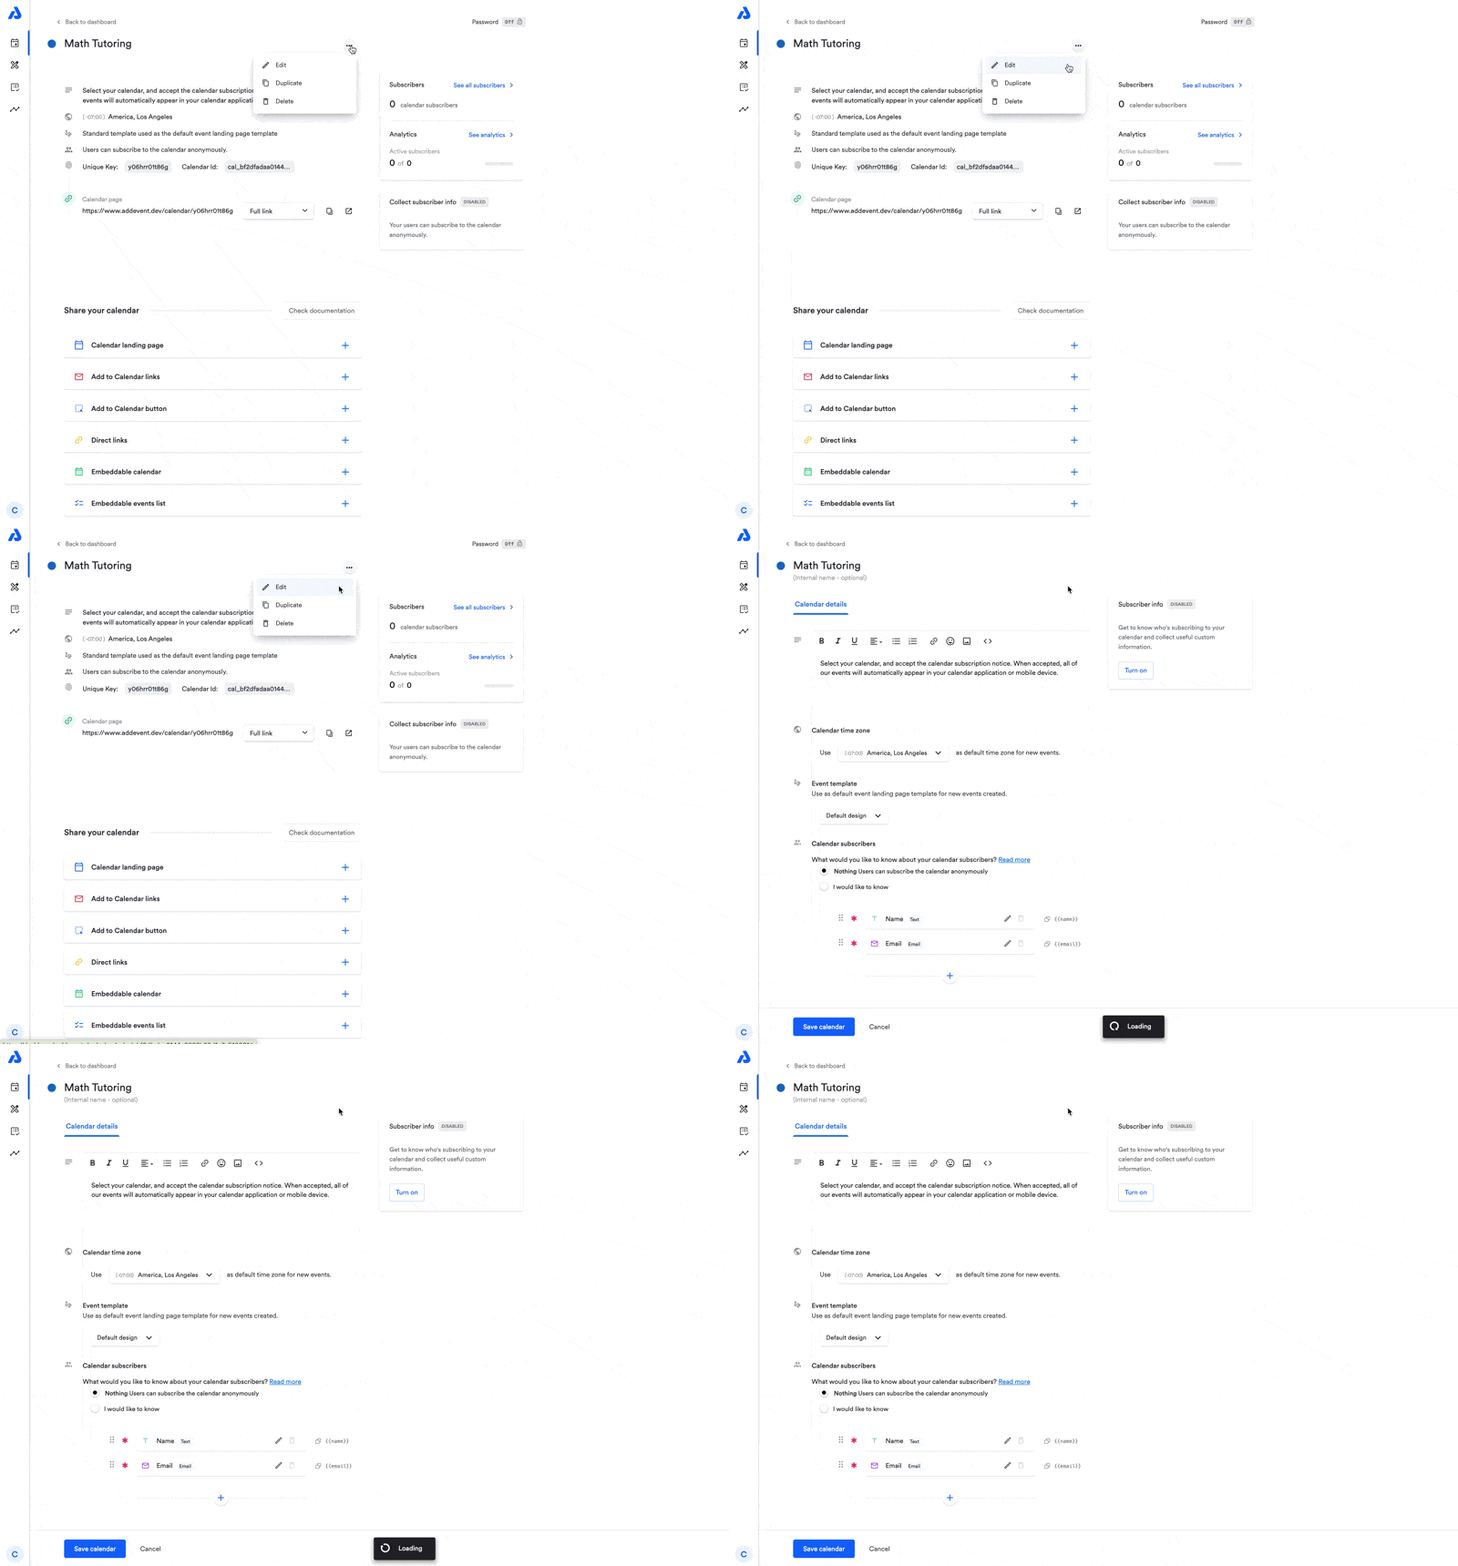
- Click the three dots to the right of your selected calendar and then click Edit calendar.
From the Calendar Page:
- Go to the Calendar page of the calendar you wish to edit.
- Click More actions in the top right corner of the Calendar page and select Edit.
Below is a sample image of a calendar editing page.
Overview of what can only be added and or edited after creating the calendar
Import/sync events from external calendars
Please note that you will need to have finished the initial calendar creation process and clicked Save before this functionality becomes available. To link an external calendar and sync the events contained within it to your AddEvent calendar, click the Add external calendar link as shown in the image below.
When you click the link, you will be prompted to paste the URL to the external calendar you wish to import. To import an external calendar, it must be a valid iCalendar (.ics). Once added, your events from the external calendar will be synced with this calendar every 12 hours. The events will be visible in this calendar and to its subscribers, but they will not be editable using AddEvent.
Calendar subscribers
When you share a calendar with your users, you can either allow them to subscribe to your calendar anonymously (which is every calendar default) or collect information from them via a form they are presented with before they can subscribe on the calendar landing page.
If you wish to collect information from your users before they can subscribe, check the I would like to know box on the Edit page of the calendar. Please note that we do not currently support optional information forms for your users. If you display an information form, the add to calendar button will not be displayed until after your user has completed the form.
If you decide to collect information from your users, you will need to decide what information to collect. By default, we’ve added Name and Email, but you can customize the form they are presented with by adding an unlimited number of custom input fields. You will need to enter the name and input type (text, number, date, etc.) for each additional field you add. We recommend that you keep the data collection short and to the point.
Checking the box to the left of the Field text makes that field mandatory. Uncheck the field to make it optional.
When you finish creating a new calendar and click the blue Create button, your calendar will be saved, and you will be redirected back to the dashboard so you can start adding events to your new calendar.
By default, we always collect the following data (if available): IP address, city, postal code, state, country, GEO location (latitude, longitude). This is in strict compliance with data collection and GDPR requirements.
Updated 11 months ago