Microsoft Troubleshooting
This help doc will help you understand the difference between Outlook.com, Office 365, and the Outlook desktop app, why you or your users are experiencing different flows while adding events to their calendar associated with a Microsoft account, and determine which option they should choose.
Sometimes, you might select one of the Outlook options and be presented with a login page even though you are already logged into your Microsoft/Outlook account. This is due to Microsoft handling Calendar, and Event invites differently across each of its three platforms for Calendar. Outlook.com, Outlook Desktop, and Office 365.
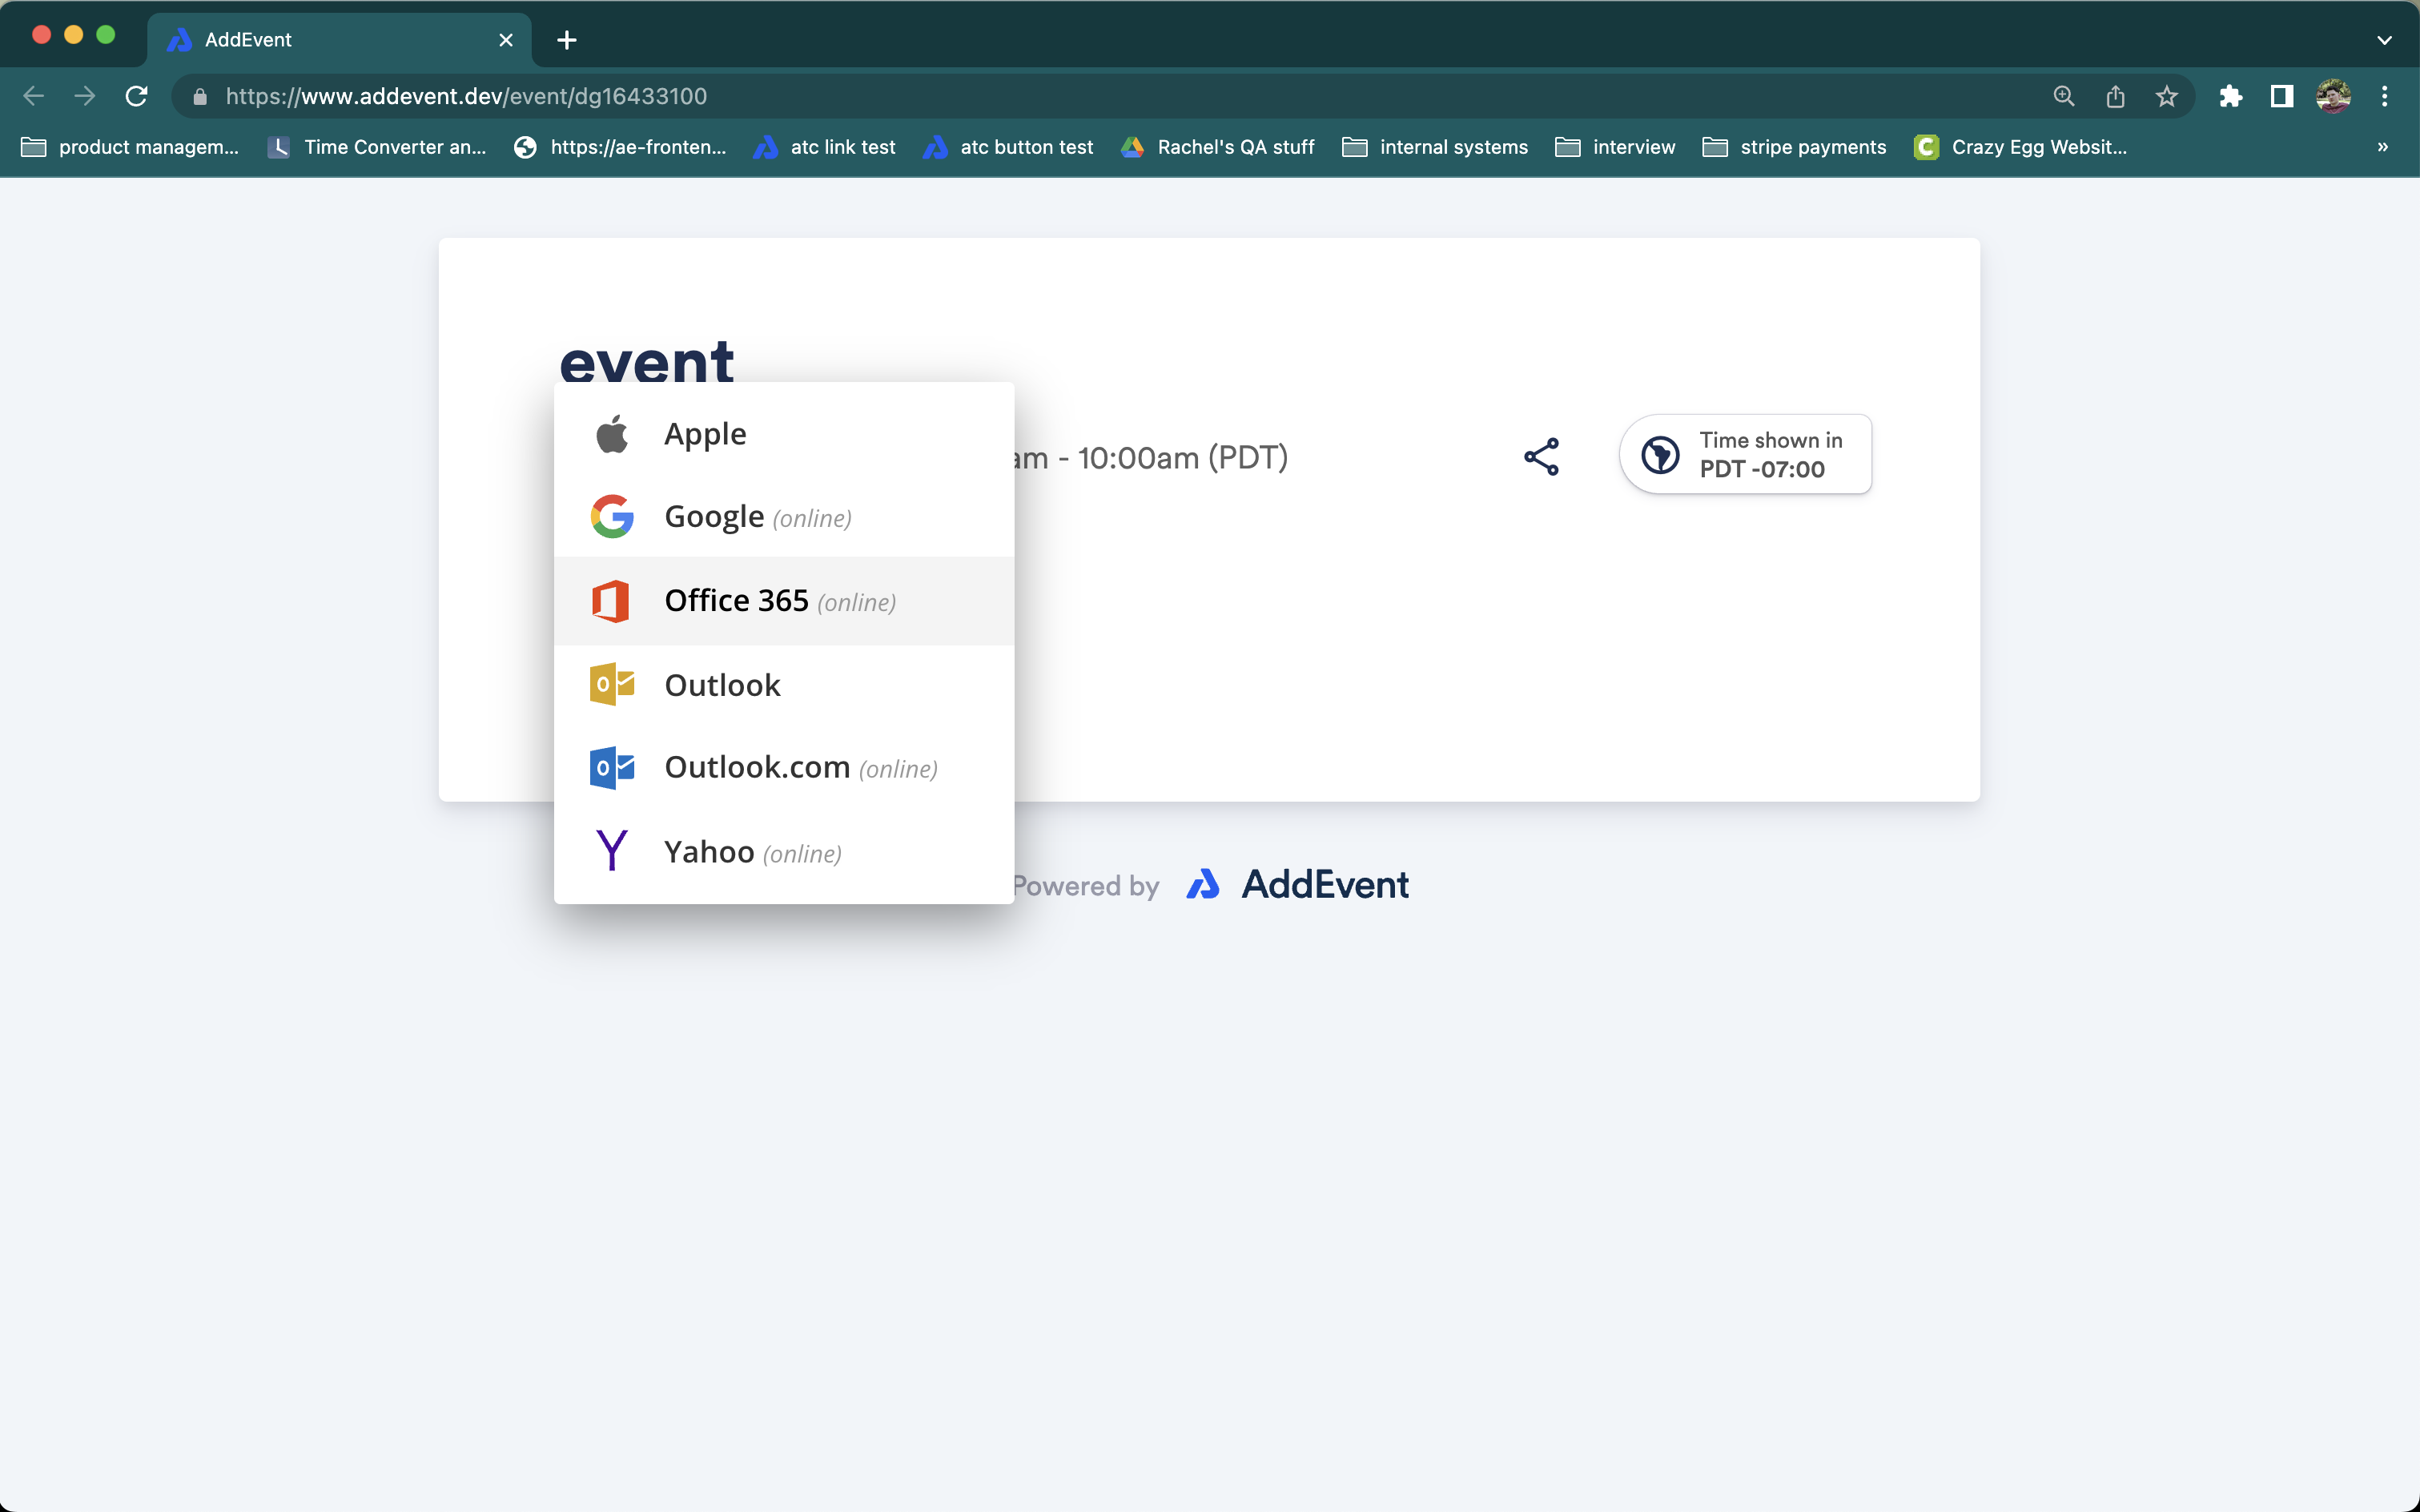
To deal with these differing methods Microsoft uses in it's ecosystem, AddEvent offers three different options for adding events to calendars associated with Microsoft accounts:
- Outlook.com
- Office 365
- Outlook (desktop)

The option that you should choose when adding an event to your calendar depends on your Microsoft account type and how you interact with your calendar. Microsoft offers different types of accounts, each with its own set of features and benefits. Here are the main differences between the most common types of Microsoft email accounts:
- Outlook.com is a free, web-based email service provided by Microsoft. Outlook.com accounts can be accessed through a web browser or via the Outlook app on desktop and mobile devices. This is considered a personal or private account type and includes email addresses like @hotmail.com, @live.com, and @outlook.com.
- Microsoft Office 365 is a subscription-based service that includes a variety of Microsoft apps and services, including email and calendars. You can access your Microsoft 365 email through a web browser, the Outlook desktop app, or the Outlook mobile app. This is considered a professional account type and usually will be associated with a custom domain name from your organization (e.g. @addevent.com).
Regardless of which account type you have, you can view and manage your Microsoft email and calendars through your web browser or using the Outlook desktop app.
Which option should I choose?
- If you are using the Outlook desktop app, you should choose the "Outlook" option, regardless of your account type. For an event, this will download a .ics file to your device, which you can then import into the Outlook app by dragging and dropping the downloaded file, or by clicking "File" > "Open & Export" > "Import/Export".
- If you have a personal Microsoft account that you access via your web browser, you should choose the "Outlook.com" option. This will redirect you to your calendar to add the event to your calendar via the "direct" method, which does not require any permissions to add an event to your calendar.
- If you have a professional Microsoft account that you access via your web browser, you should choose the "Office 365" option. This will redirect you to your calendar to add the event to your calendar via the API method, which will require that you grant permission to AddEvent to add an event to your calendar. For more information on why we need this permission, please see the following help doc: Why does AddEvent need permission to access my calendar?
Recommendations
- If you are unsure which Microsoft account type you have, we recommend that you try clicking through one option at a time to see which works.
- If you are experiencing issues when selecting a particular option and/or the event is not being added to your calendar, please try one of the other options.
If you select the incorrect account type, you will end up in the email inbox of your Microsoft account, but the event will not be added to your calendar. Therefore, we recommend that you try the above steps before contacting support.
For event organizers
If this is a common issue your end-users have reported, you can consider removing the Outlook.com option. We do not recommend removing the Outlook.com option, as other users may still be using it. However, you can customize the button display to make it easier for your users to select the correct account type. You can find detailed instructions on how to do this in our help doc here.
Updated about 1 year ago
