Disable RSVPs
This help doc explains how you can disable RSVPs, i.e., no longer allow your audience to register for an RSVP event. Follow the steps below to disable the collection of RSVPs based on your preferences.
An RSVP event remains open for registration until one of the following occurs:
- A seat limit you have set within RSVP settings has been reached
- Learn more about seat limits here in this help doc.
- You have paused RSVPs for now within the RSVP settings
- You have selected a specific time before the event occurs to stop accepting RSVPs
Let's go over these settings in the following sections.
Last Chance to RSVP
To disable RSVPs a certain amount of time before your event, follow these steps:
- Go to your Event edit page of the RSVP event.
- Click on the RSVP settings tab.
- Scroll down to Last chance to RSVP, click the dropdown, and choose a time ranging from 0 minutes to 14 days before your event starts.
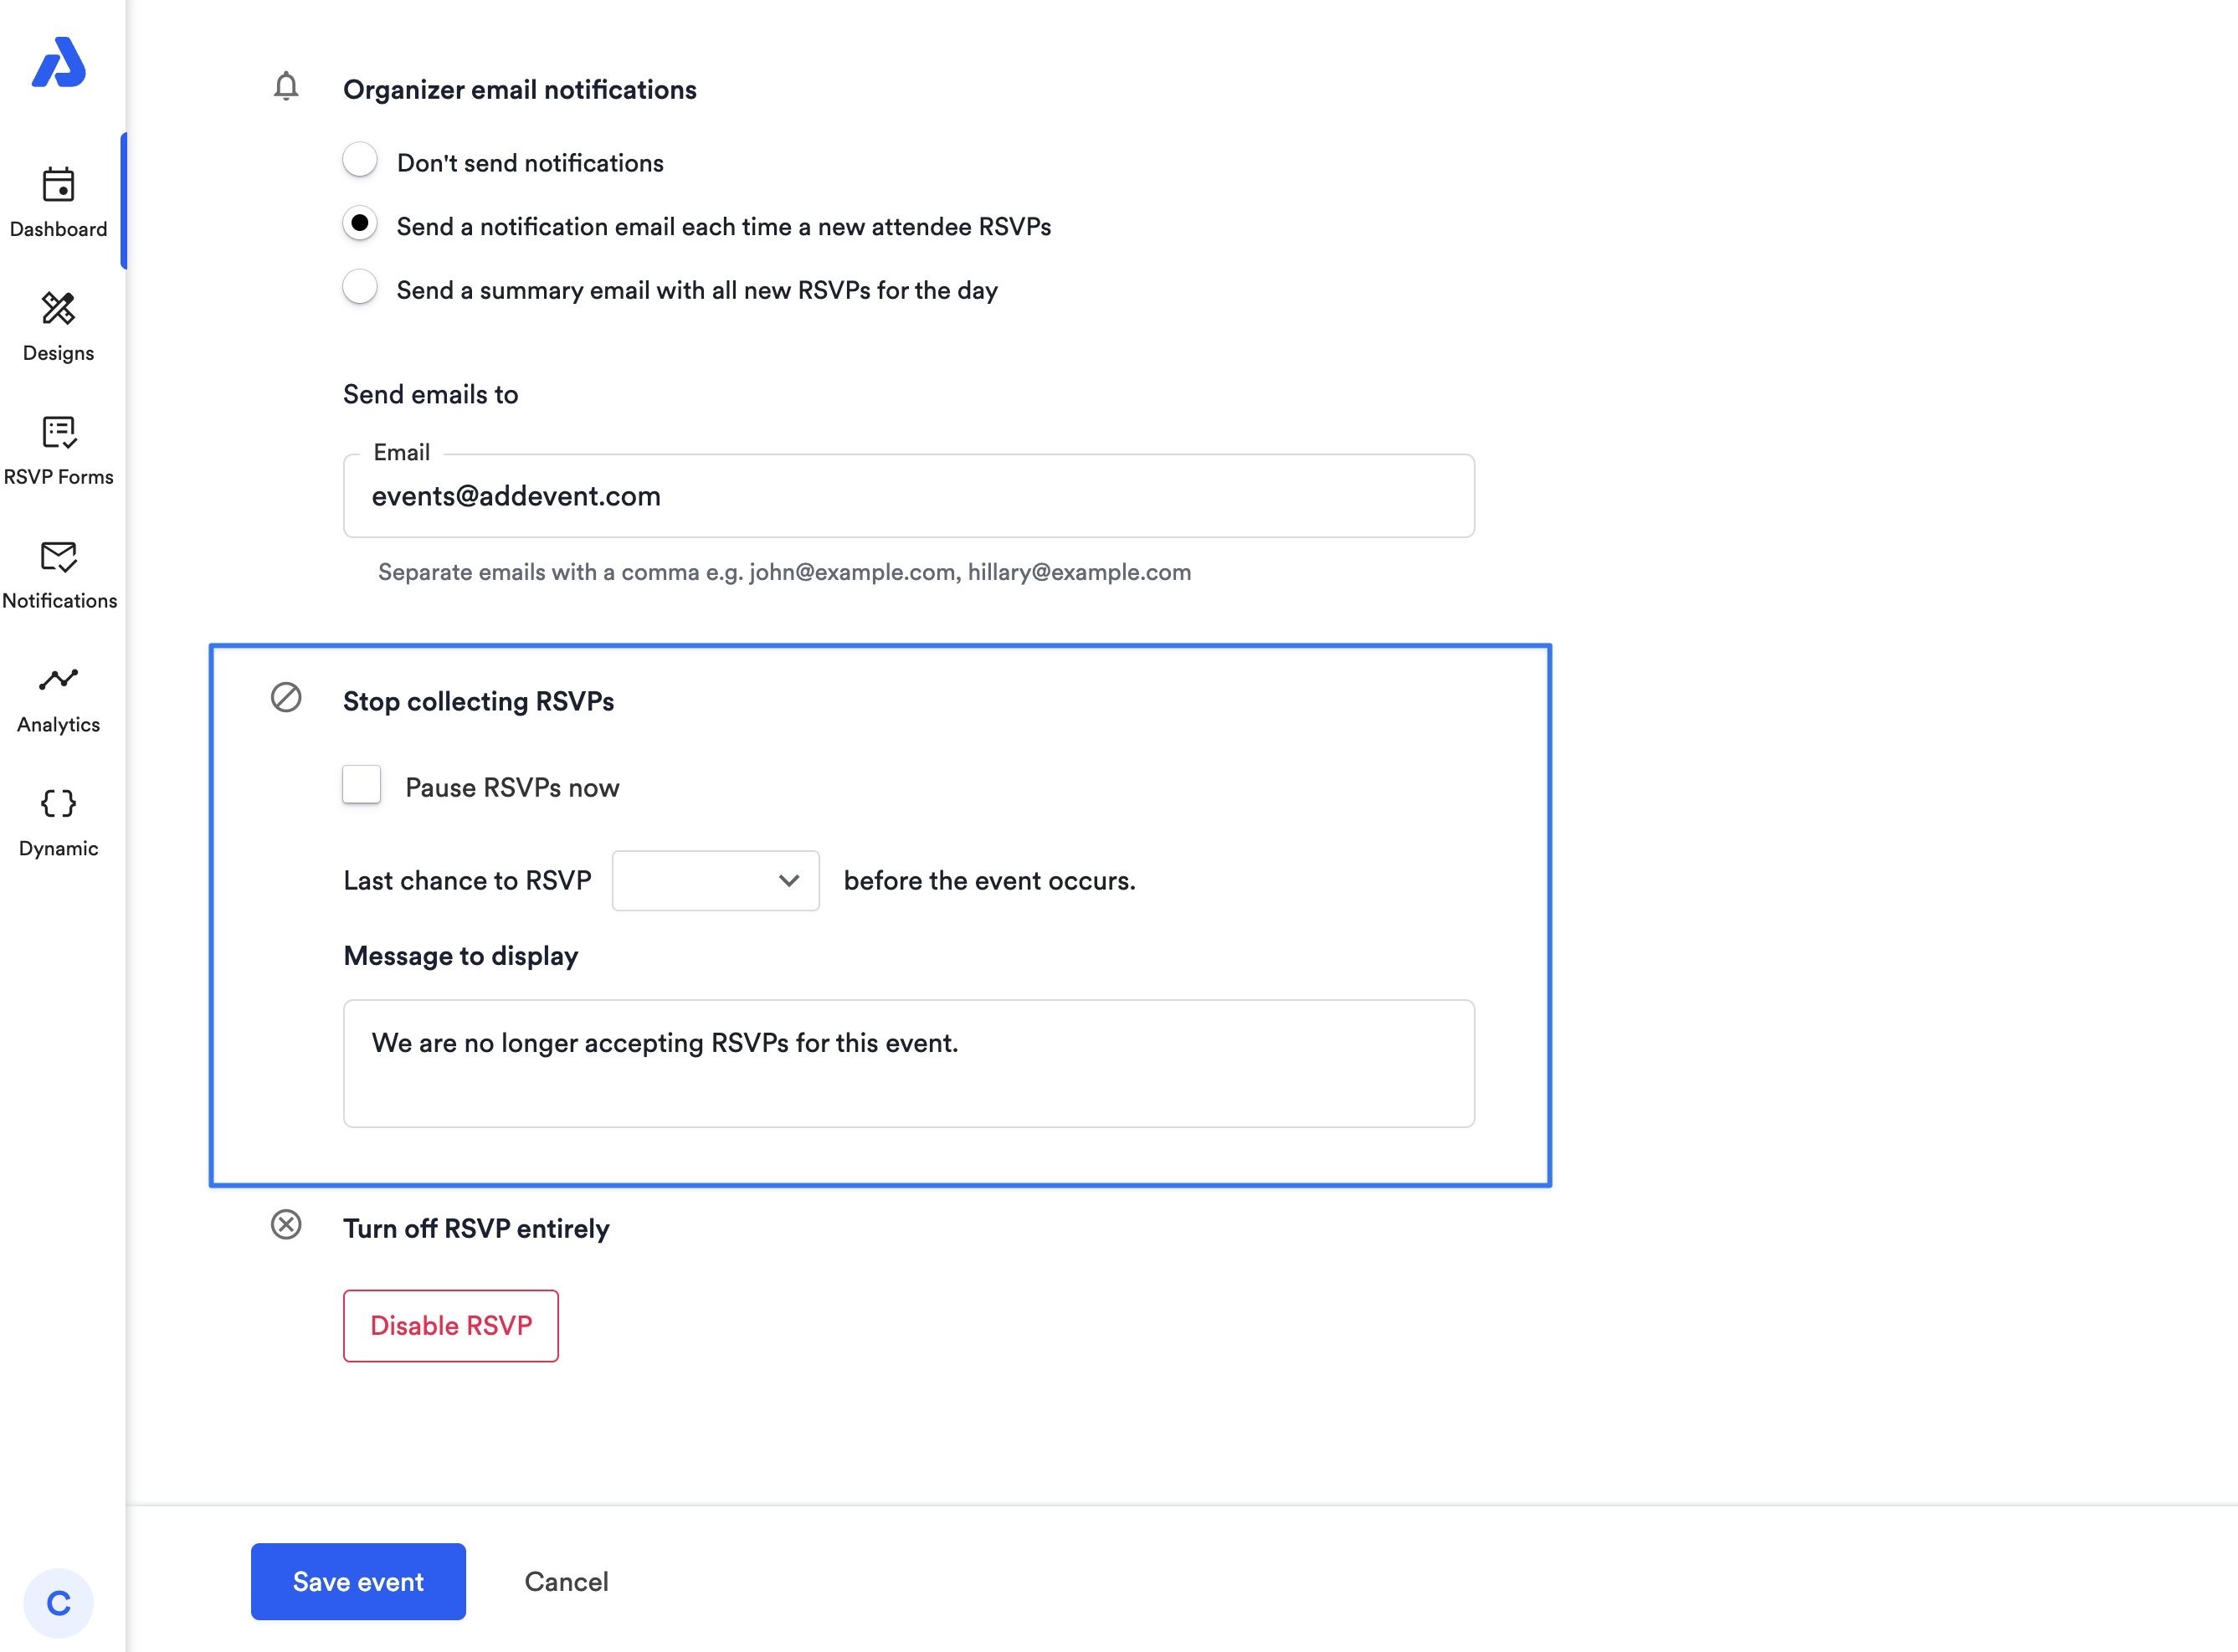
This option gives you control over when your event stops accepting RSVPs, helping to manage registrations and keep attendees informed. Applying the last chance to RSVP setting also ensures that your end-users will not be able to register for events in the past.
If you need to set a limit on the number of attendees, see here for instructions on adding a seat limit to your event.
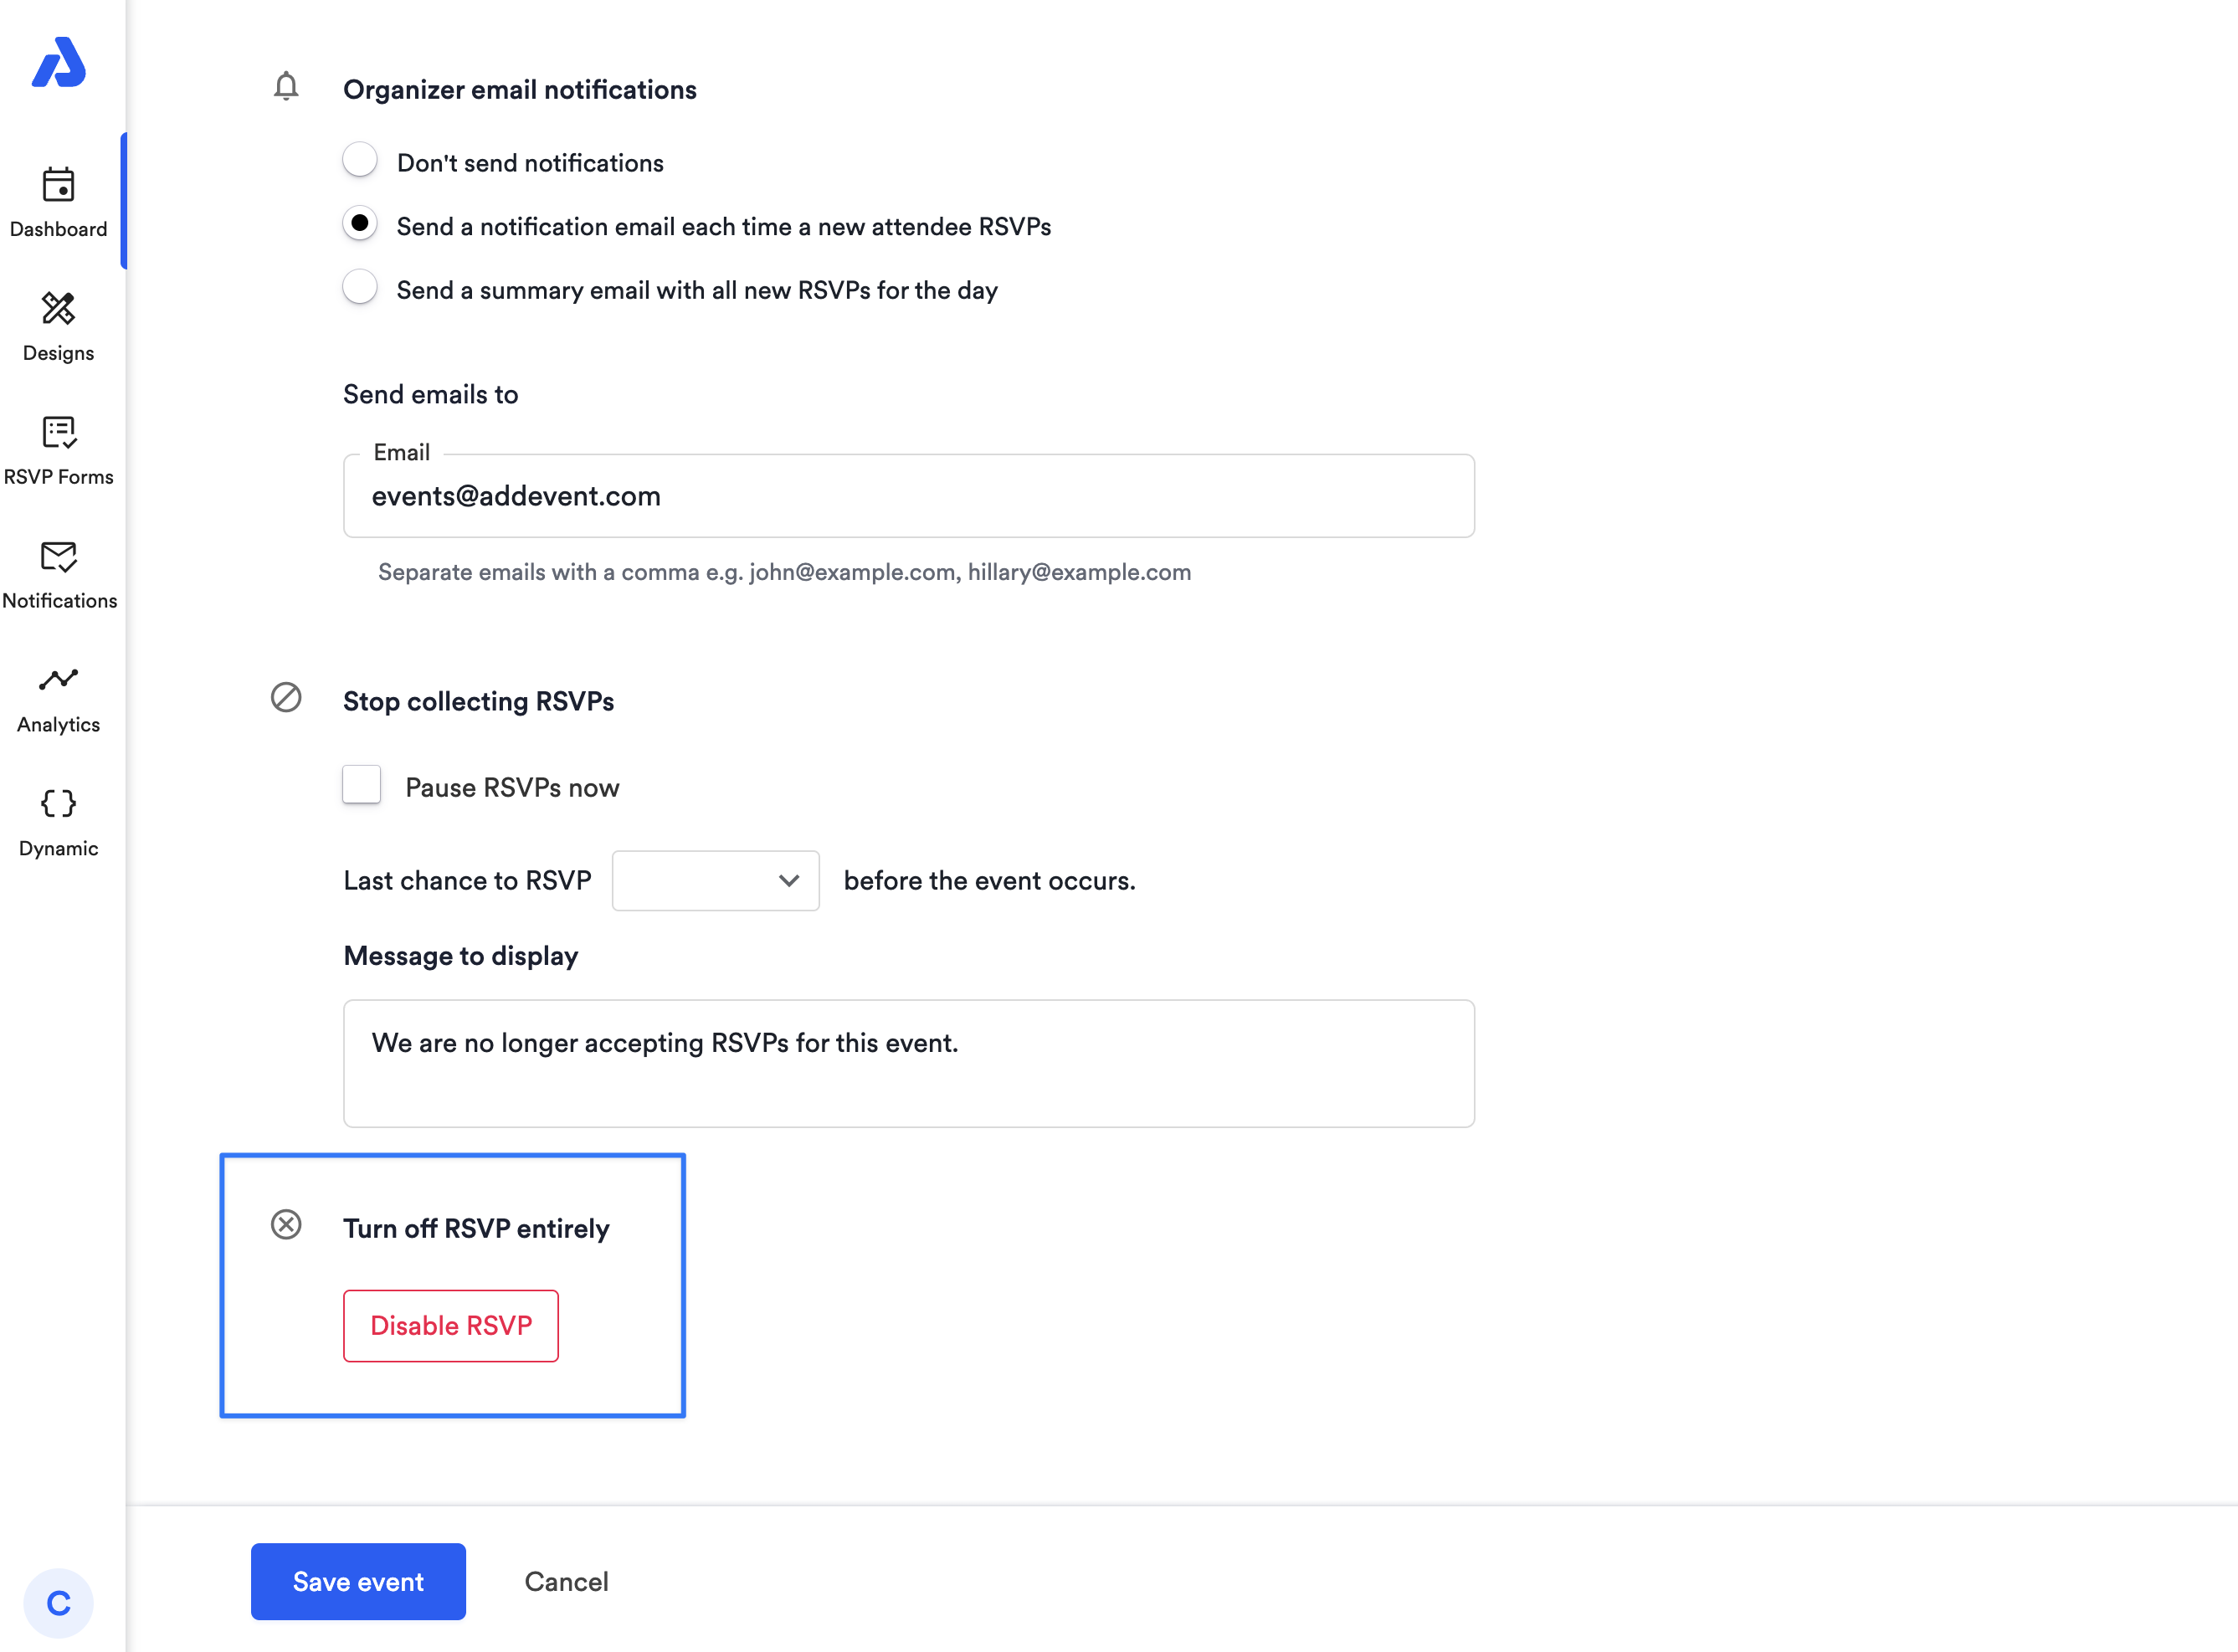
Disable RSVP
To completely disable RSVP from your event and make it a non-RSVP event, follow these steps:
- Go to your Event edit page of the RSVP event.
- Click on the RSVP settings tab.
- Scroll down to "Turn off RSVP entirely" and click the Disable RSVP button.
If you disable RSVP for an event you have already shared and collected registrations for, you will lose access to all attendee data. Additionally, attendees will no longer receive reminder emails about the event. If you want to stop more users from RSVPing to an event, but retain the attendee data, you can use the "Last chance to RSVP" option above.
Updated about 1 month ago