Sharing the Embeddable Calendar View on a Calendar Landing Page
The calendar landing page is typically used for sharing the calendar's upcoming events as a list. However, using a custom template, you can repurpose the landing page and embed your calendar instead. Embedding a calendar requires creating a custom template, so a basic understanding of HTML is helpful - although not required, as we have already prepared all the code for you. Please follow the steps below to create the custom template.
New and Improved Feature!
Custom Templates are no longer available in AddEvent 2.0. This is because we've built design templates. Design templates are a no-code feature allowing you to customize your event landing pages, calendar landing pages, and embeddable calendar. Please check out the Calendar Landing Page Designs help section for details.
Creating the template
To embed the calendar into your calendar landing page, you would need to use these three pieces of HTML code:
Snippet #1
<style>
.calembwrp {clear:both;padding:10px 20px 50px 20px;display:none;}
.calemb {max-width:1060px;margin:0 auto;}
.bgwhite {background:#fff!important;}
</style>
Snippet #2
<div class="calembwrp" id="calendar-embeddable">
	<div class="calemb">

		<div class="ae-emd-cal" data-calendar="{{unique-key}}" data-calendars="{{unique-key}}" data-calendars-selected="{{unique-key}}" data-configure="true" data-title="" data-title-show="true" data-today="true" data-datenav="true" data-date="true" data-monthweektoggle="true" data-subscribebtn="true" data-swimonth="true" data-swiweek="true" data-swischedule="true" data-print="true" data-timezone="true" data-defaultview="month" data-firstday="1" data-datetimeformat="1" ></div>

		<!-- Script -->
		<script type="text/javascript">(function(){var e = document.createElement("script");e.type = "text/javascript";e.async = true;e.src = "https://cdn.addevent.com/libs/cal/js/cal.embed.t1.init.js";e.className = "ae-emd-script";document.getElementsByTagName("body")[0].appendChild(e);})();</script>

	</div>
</div>
Snippet #3
<script>

  // Show embeddable calendar
  const urlParams = new URLSearchParams(window.location.search);
  const embeddable = urlParams.get('calendar');

  if(embeddable == 'show'){

    // Show
    $('#calendar-embeddable').show();
    $('#calendar-form').hide();
    $('html, body').addClass('bgwhite');

  }

</script>
Copy these snippets to a text editor of your choice for convenient access. Now, let’s do the following:
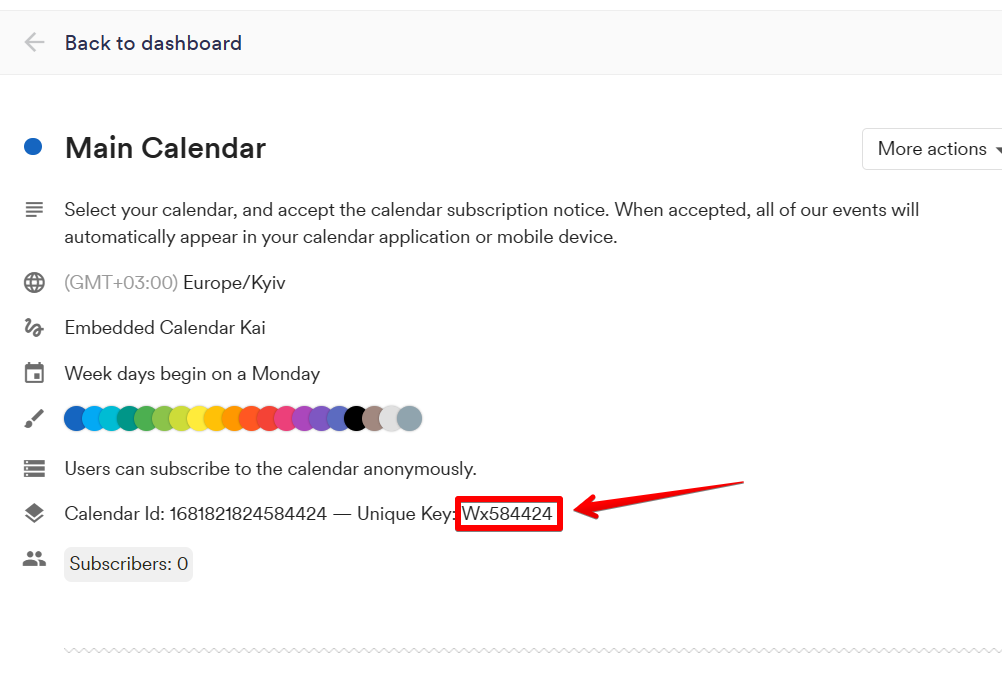
- You need to modify Snippet #2 to specify the ID of our calendar. To do that, please replace all three occurrences of
{{unique-key}}with the calendar's Unique Key. You can check the unique key on the calendar's page in AddEvent:

Creating the Templates
-
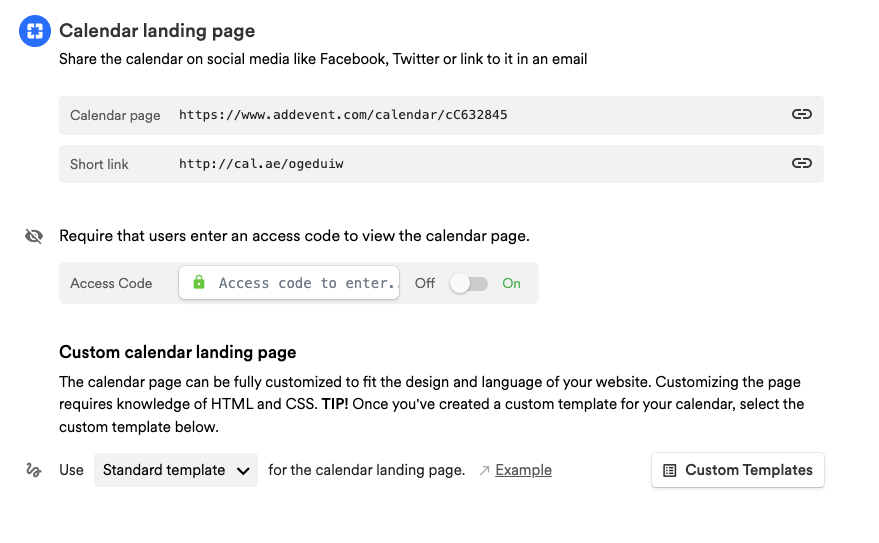
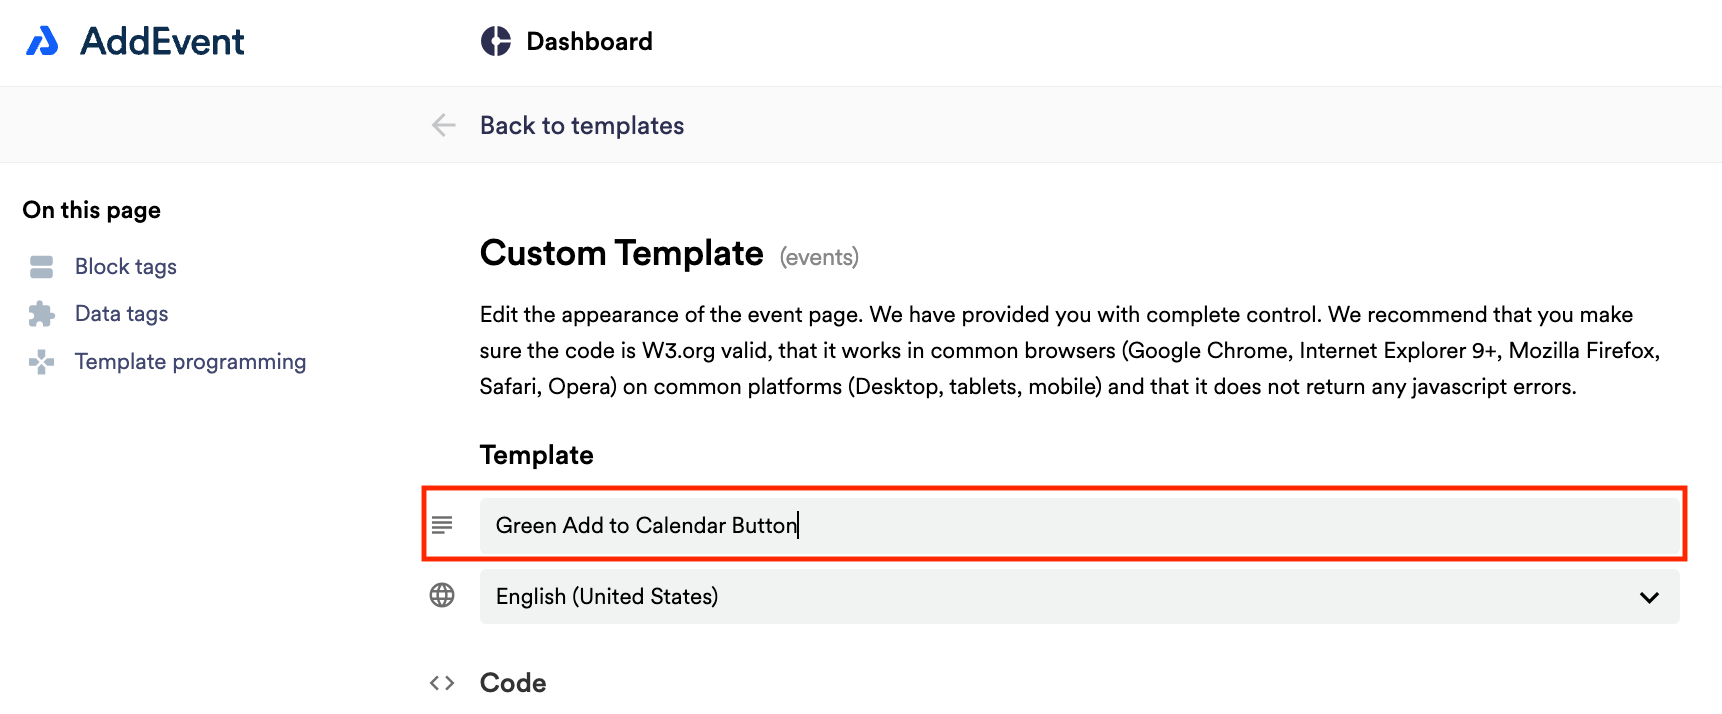
Scroll down to the first sharing method, Calendar landing page. Create a custom event landing page template by clicking Custom Templates in the app and clicking + New Template. Add a name for the template.


- On the template editing page, you are going to insert the three code snippets you've prepared before.
Inserting the code snippets
Once you've named the template, let's proceed with inserting the code snippets.
-
Find this line, add a new line after it and paste Snippet #1.

-
Find the line with the
<body>tag, create a new line after it, and paste Snippet #2.

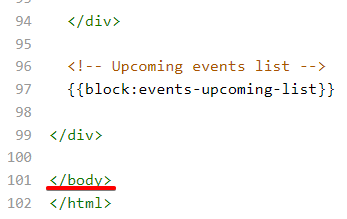
- Find the line containing the
</body>tag, make a new line above it, and paste Snippet #3.

- Once everything is done, please click Save.
Next, we need to select our newly created/adjusted template for the calendar landing page. Please navigate back to the calendar page and in the Calendar landing page section please select your new template. Then, click Set.
Now, we can test our new landing page. The new code is built in such a way that the embedded calendar will only be displayed if a certain URL parameter is passed in the link, otherwise, you will see your regular calendar landing page.
To see the embedded calendar, please add this to the end of your Calendar landing page URL:
?calendar=show.
So your calendar landing page link will look similar to this: https://www.addevent.com/calendar/Ab123456?calendar=show
Now, clicking that link for your calendar will bring you to an alternative calendar landing page, where instead of the regular Add To Calendar button you will see the embedded calendar.
Good job! You can use both the regular calendar landing and the landing with the embedded calendar for different situations.
Updated 2 months ago
