Set a Default Time Zone for a Calendar
You can assign a default timezone to your calendar so that every event created within it automatically uses the default timezone. This setting helps keep events consistent for viewers in specific locations, but you can still adjust the timezone for individual events as needed.
How to Set a Default Time Zone in an Existing Calendar
Follow the steps below to set a default time zone for your existing calendar.
-
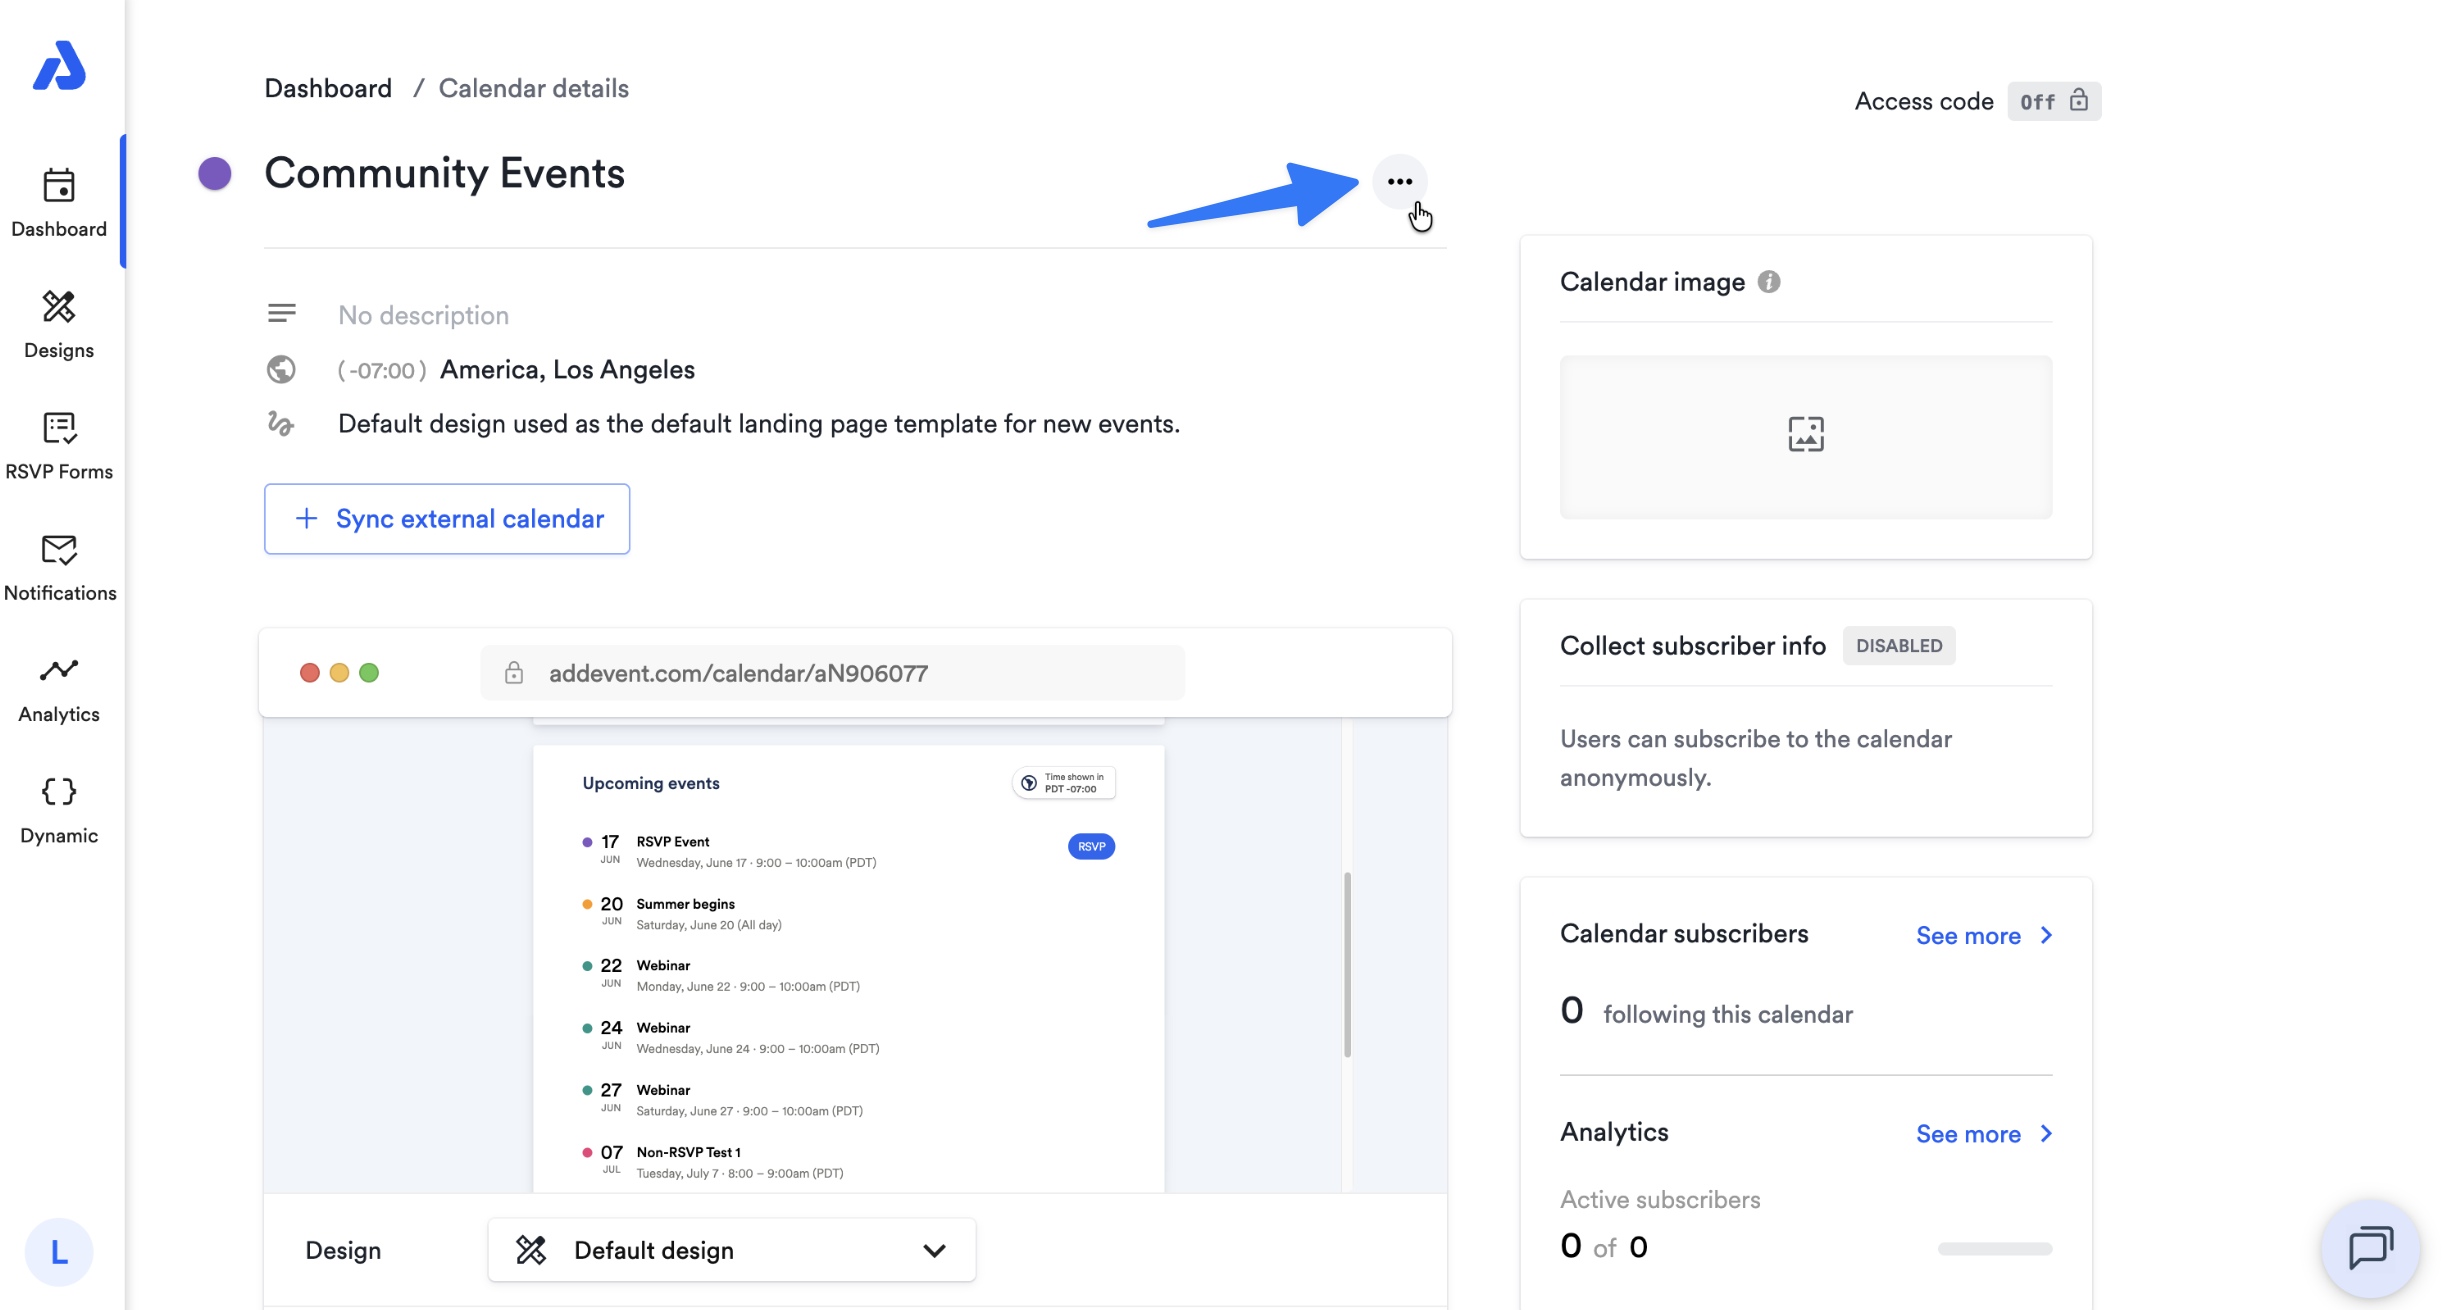
Click the calendar's title from the Dashboard. You will be directed to the Calendar details page.
-
On the Calendar details page, click the ellipsis icon located to the right of the calendar's title.
-
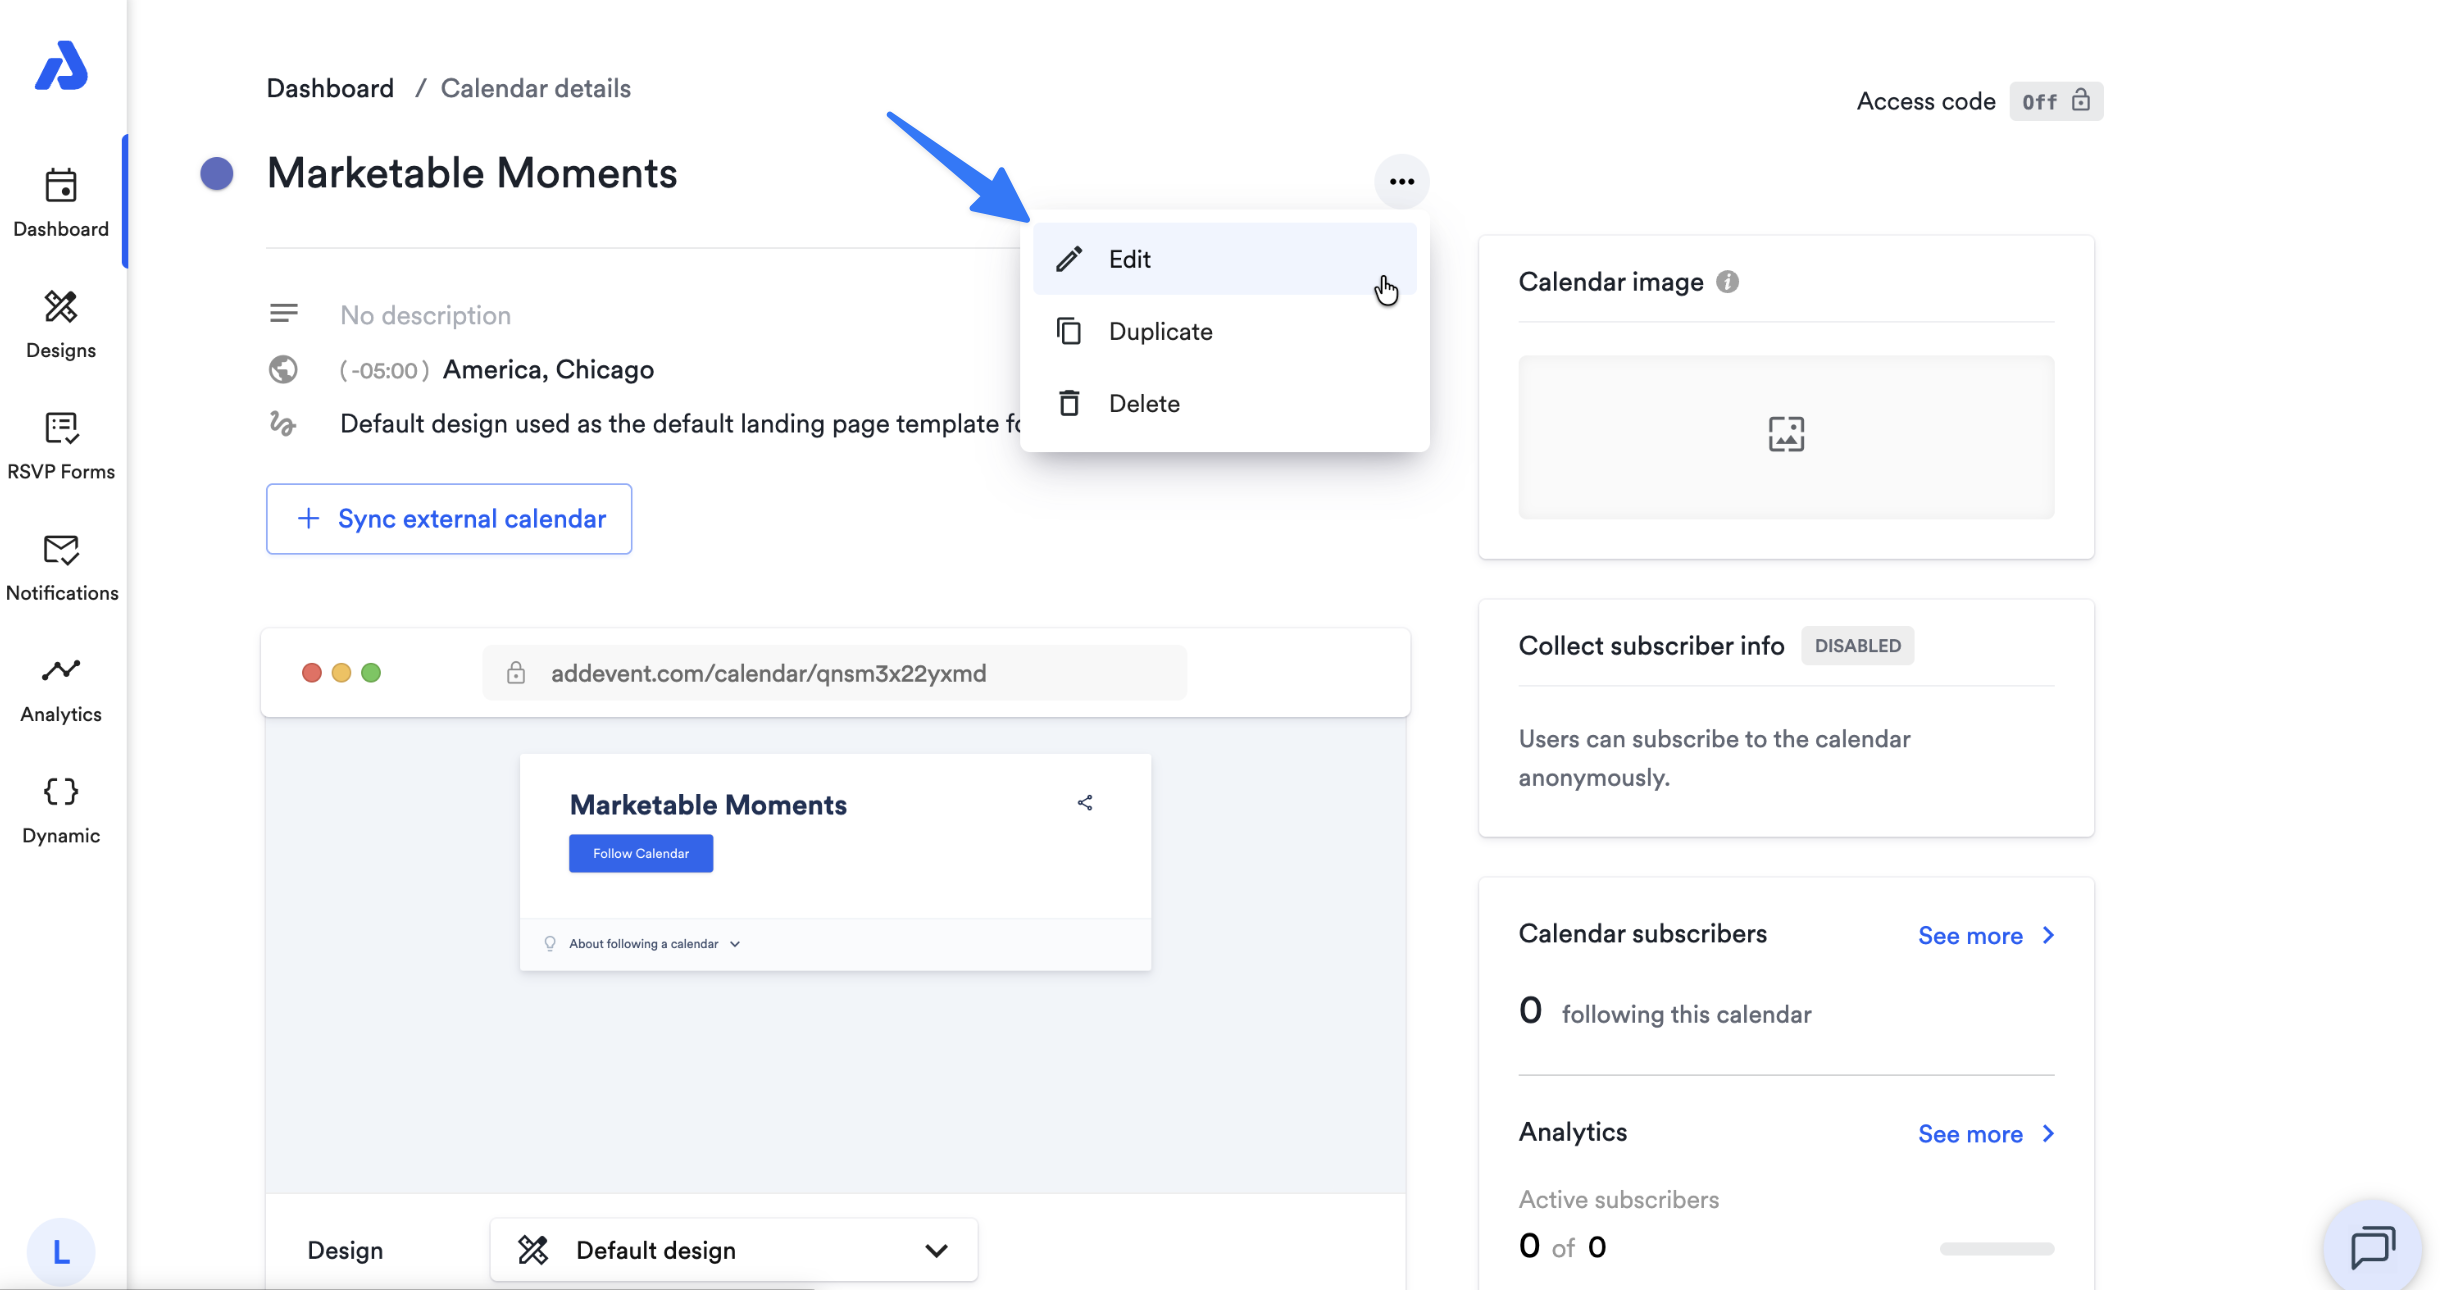
Select the Edit option from the dropdown.
-
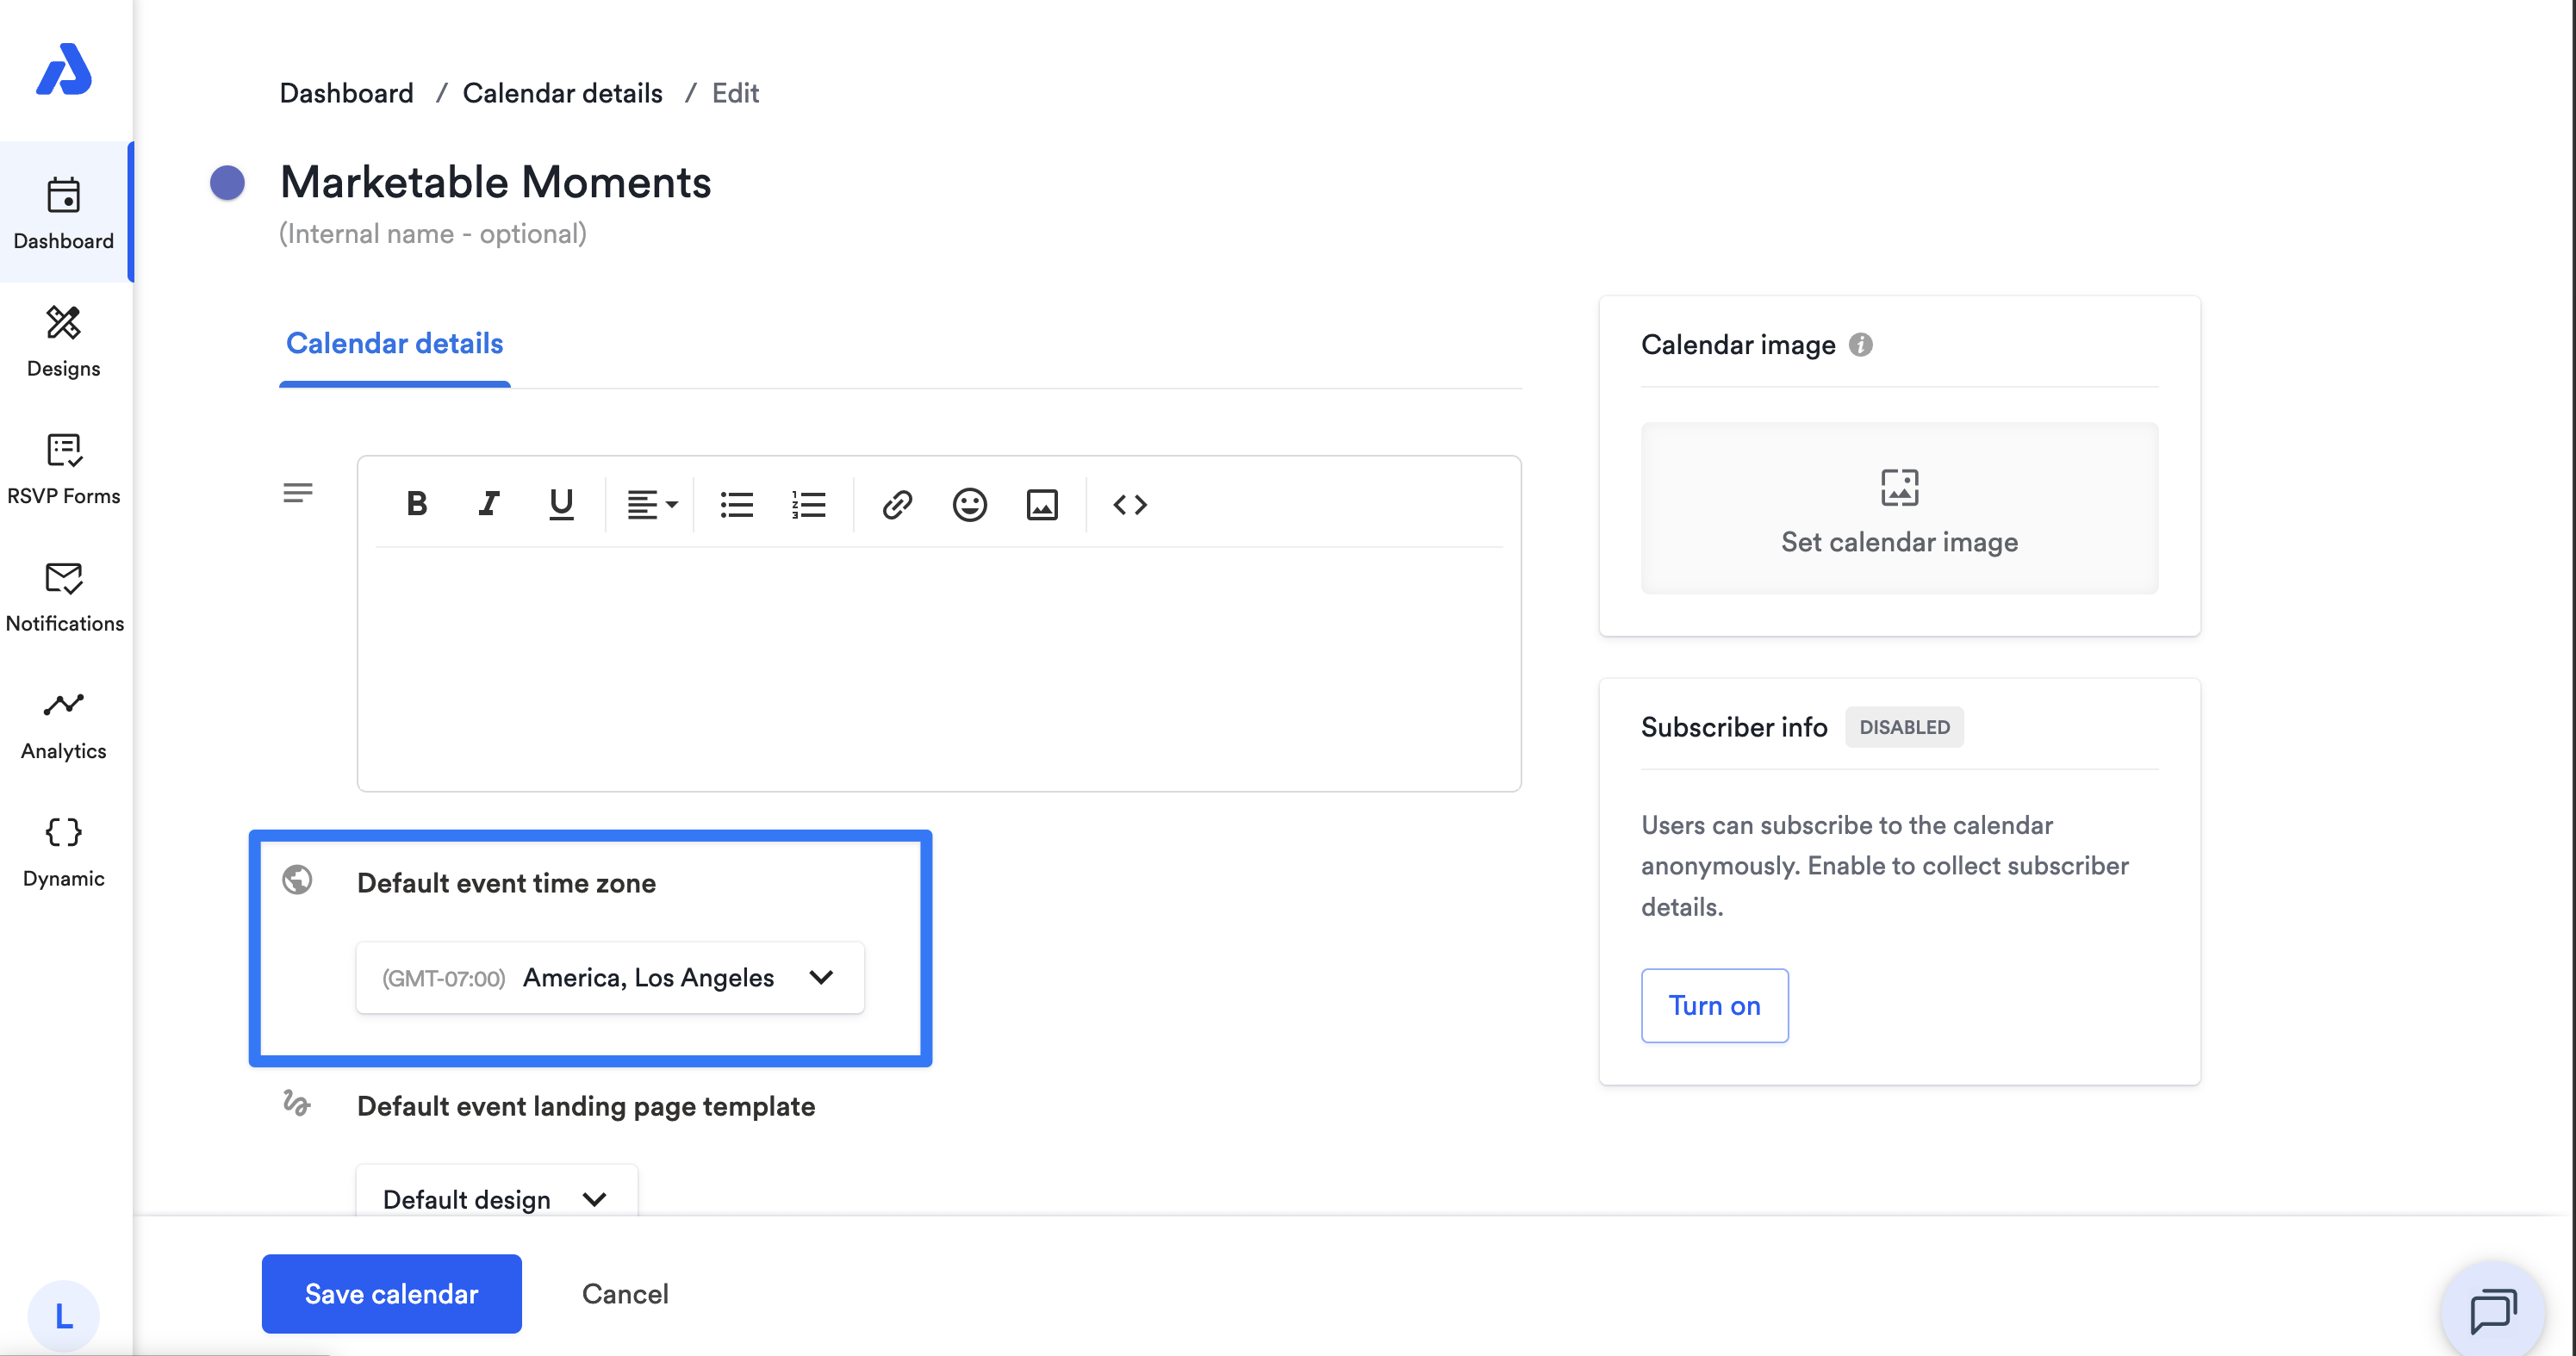
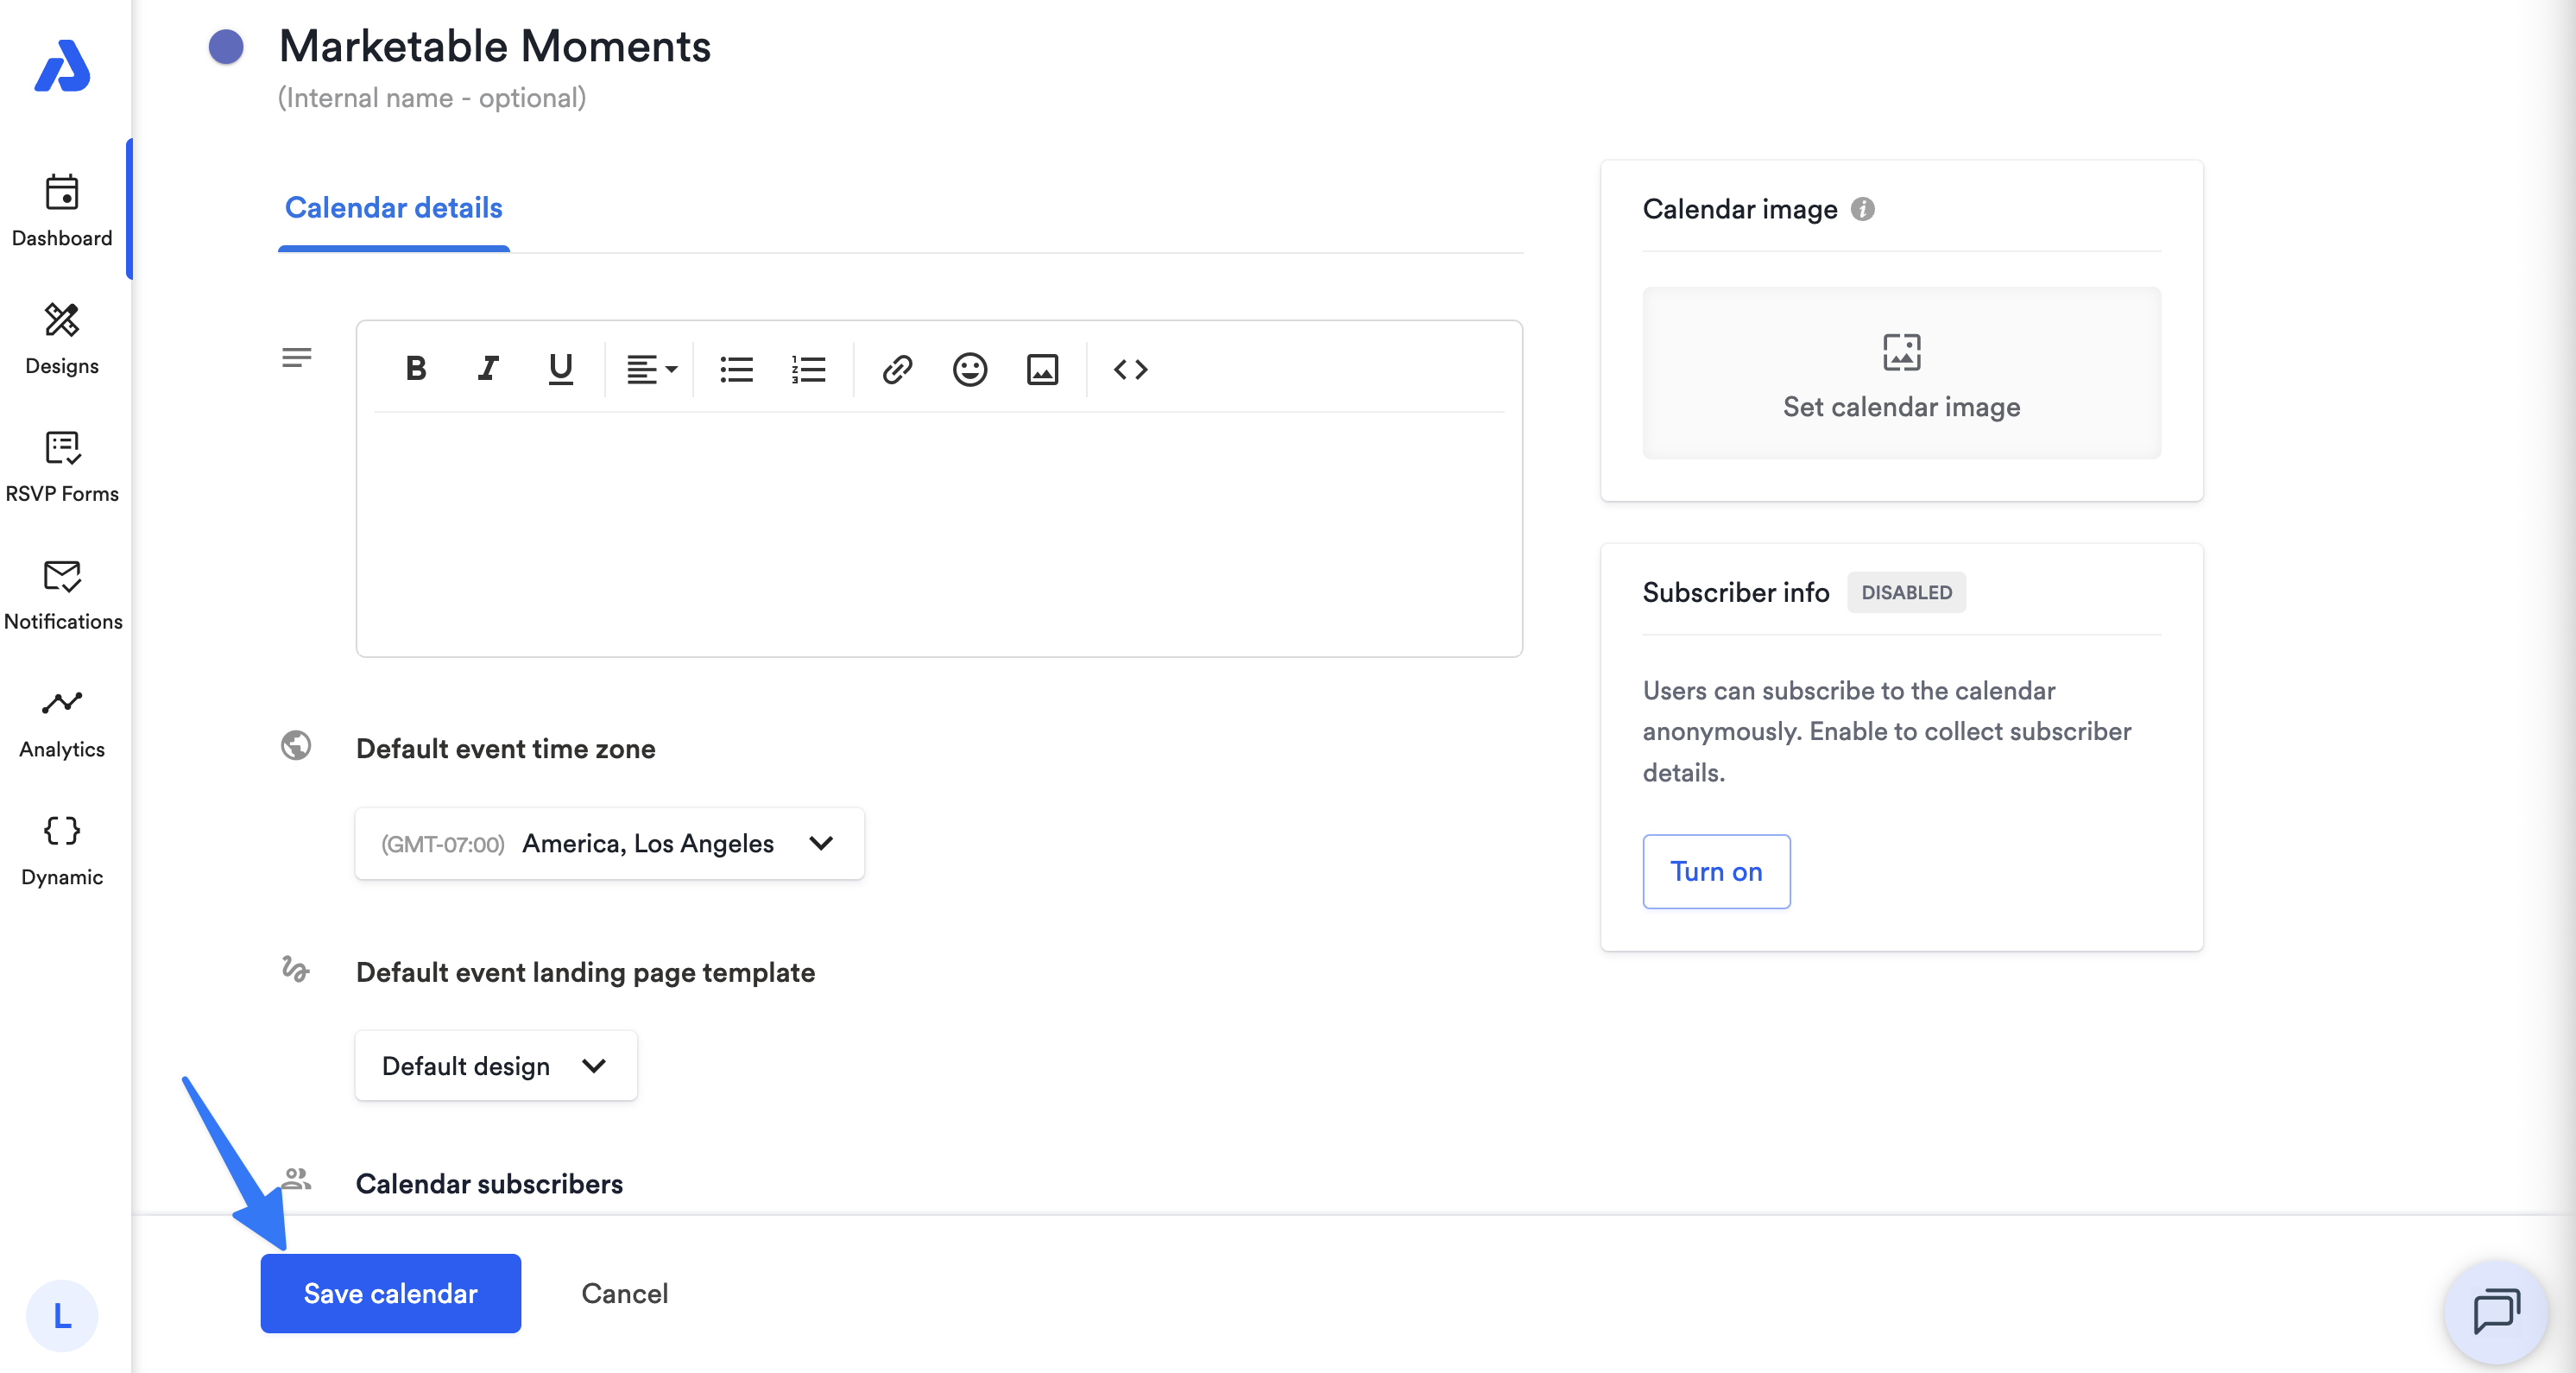
On the Edit page, select the dropdown for the Default event time zone and select your preferred time zone from the list.
-
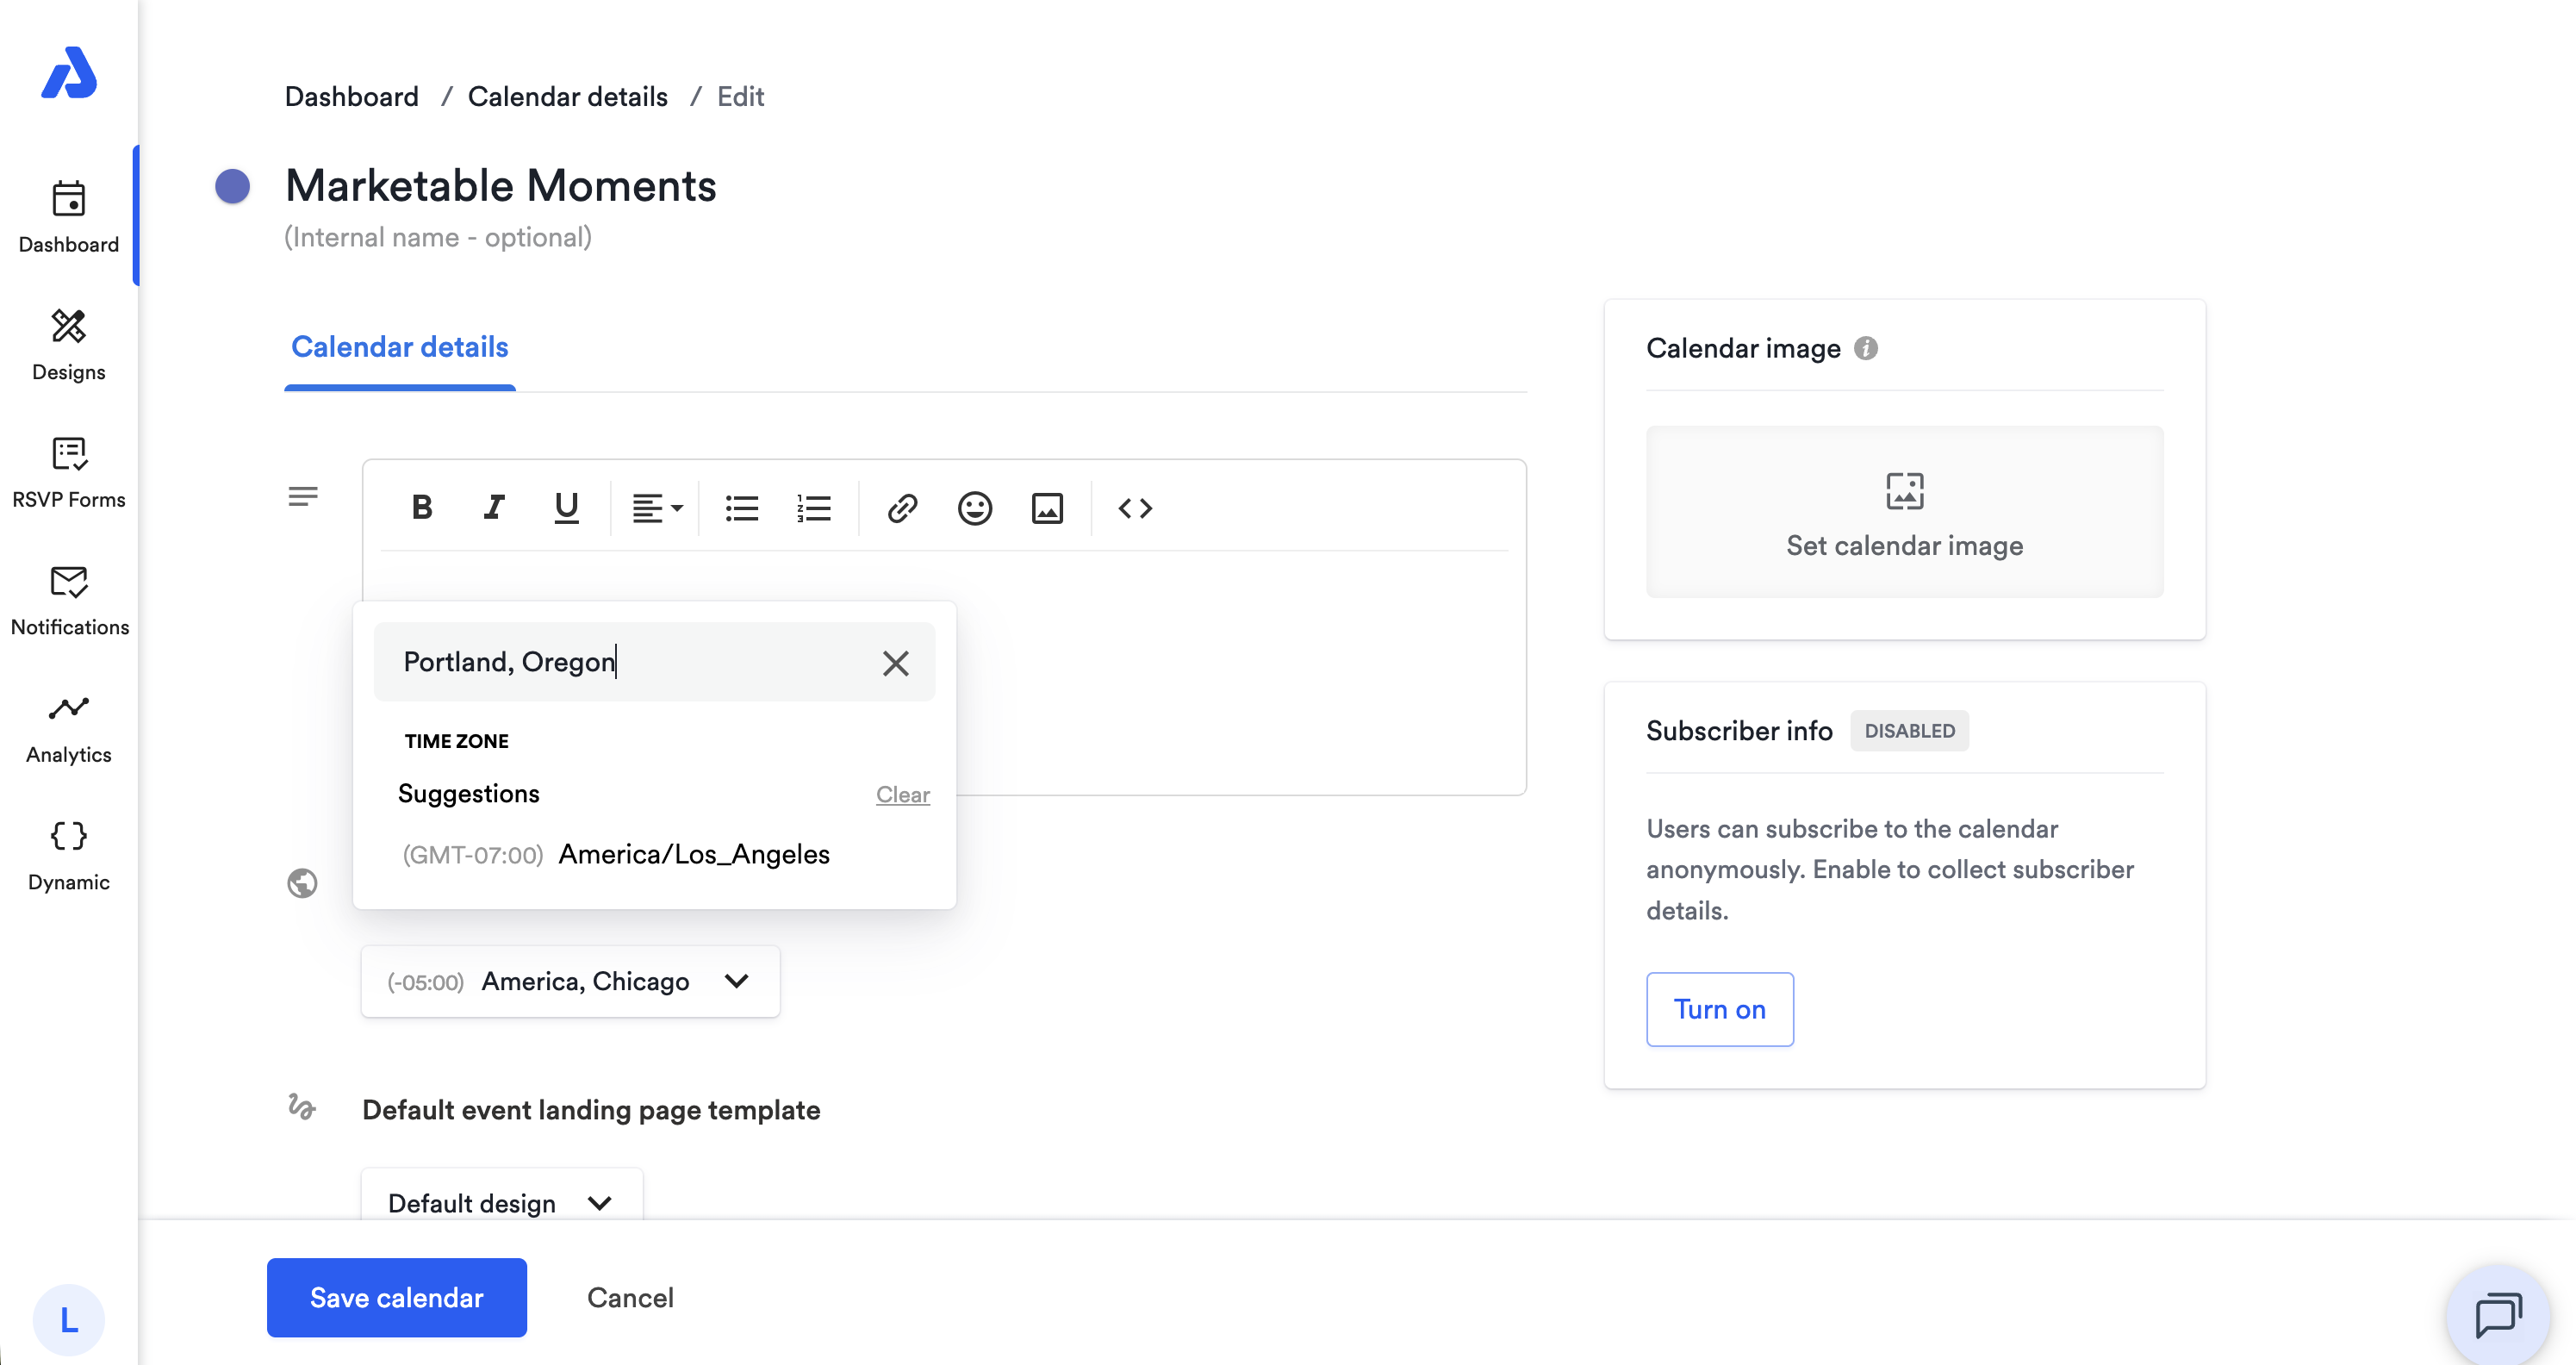
You can search for a time zone by entering in the county, capital, or address.
-
-
After selecting the time zone, save your changes by clicking the Save calendar button at the bottom of the Edit page.
Following these steps will apply the selected time zone as the default for any new events created in the same calendar, however, individual events can still have a different time zone assigned to them during event creation or by editing an existing event.
Updated about 1 month ago