Welcome to AddEvent!
You've made it to AddEvent! Take a look through the content we've created for you as you learn how to navigate the new and improved AddEvent app. This doc runs through the basics of the app– then, you can proceed looking at the shared docs to get step-by-step instructions on creating and sharing your first events and calendars!
Feel free to sign in and take a look around! We've created a few guides to take you through creating your first creation of events, calendars, inviting users, and more.
Here are some things to get you started:
Create and share
- Create and share your first event!
- Create and share your first RSVP event!
- Create and share your first calendar!
- Embed events and calendars on your website!
Enhance your experience
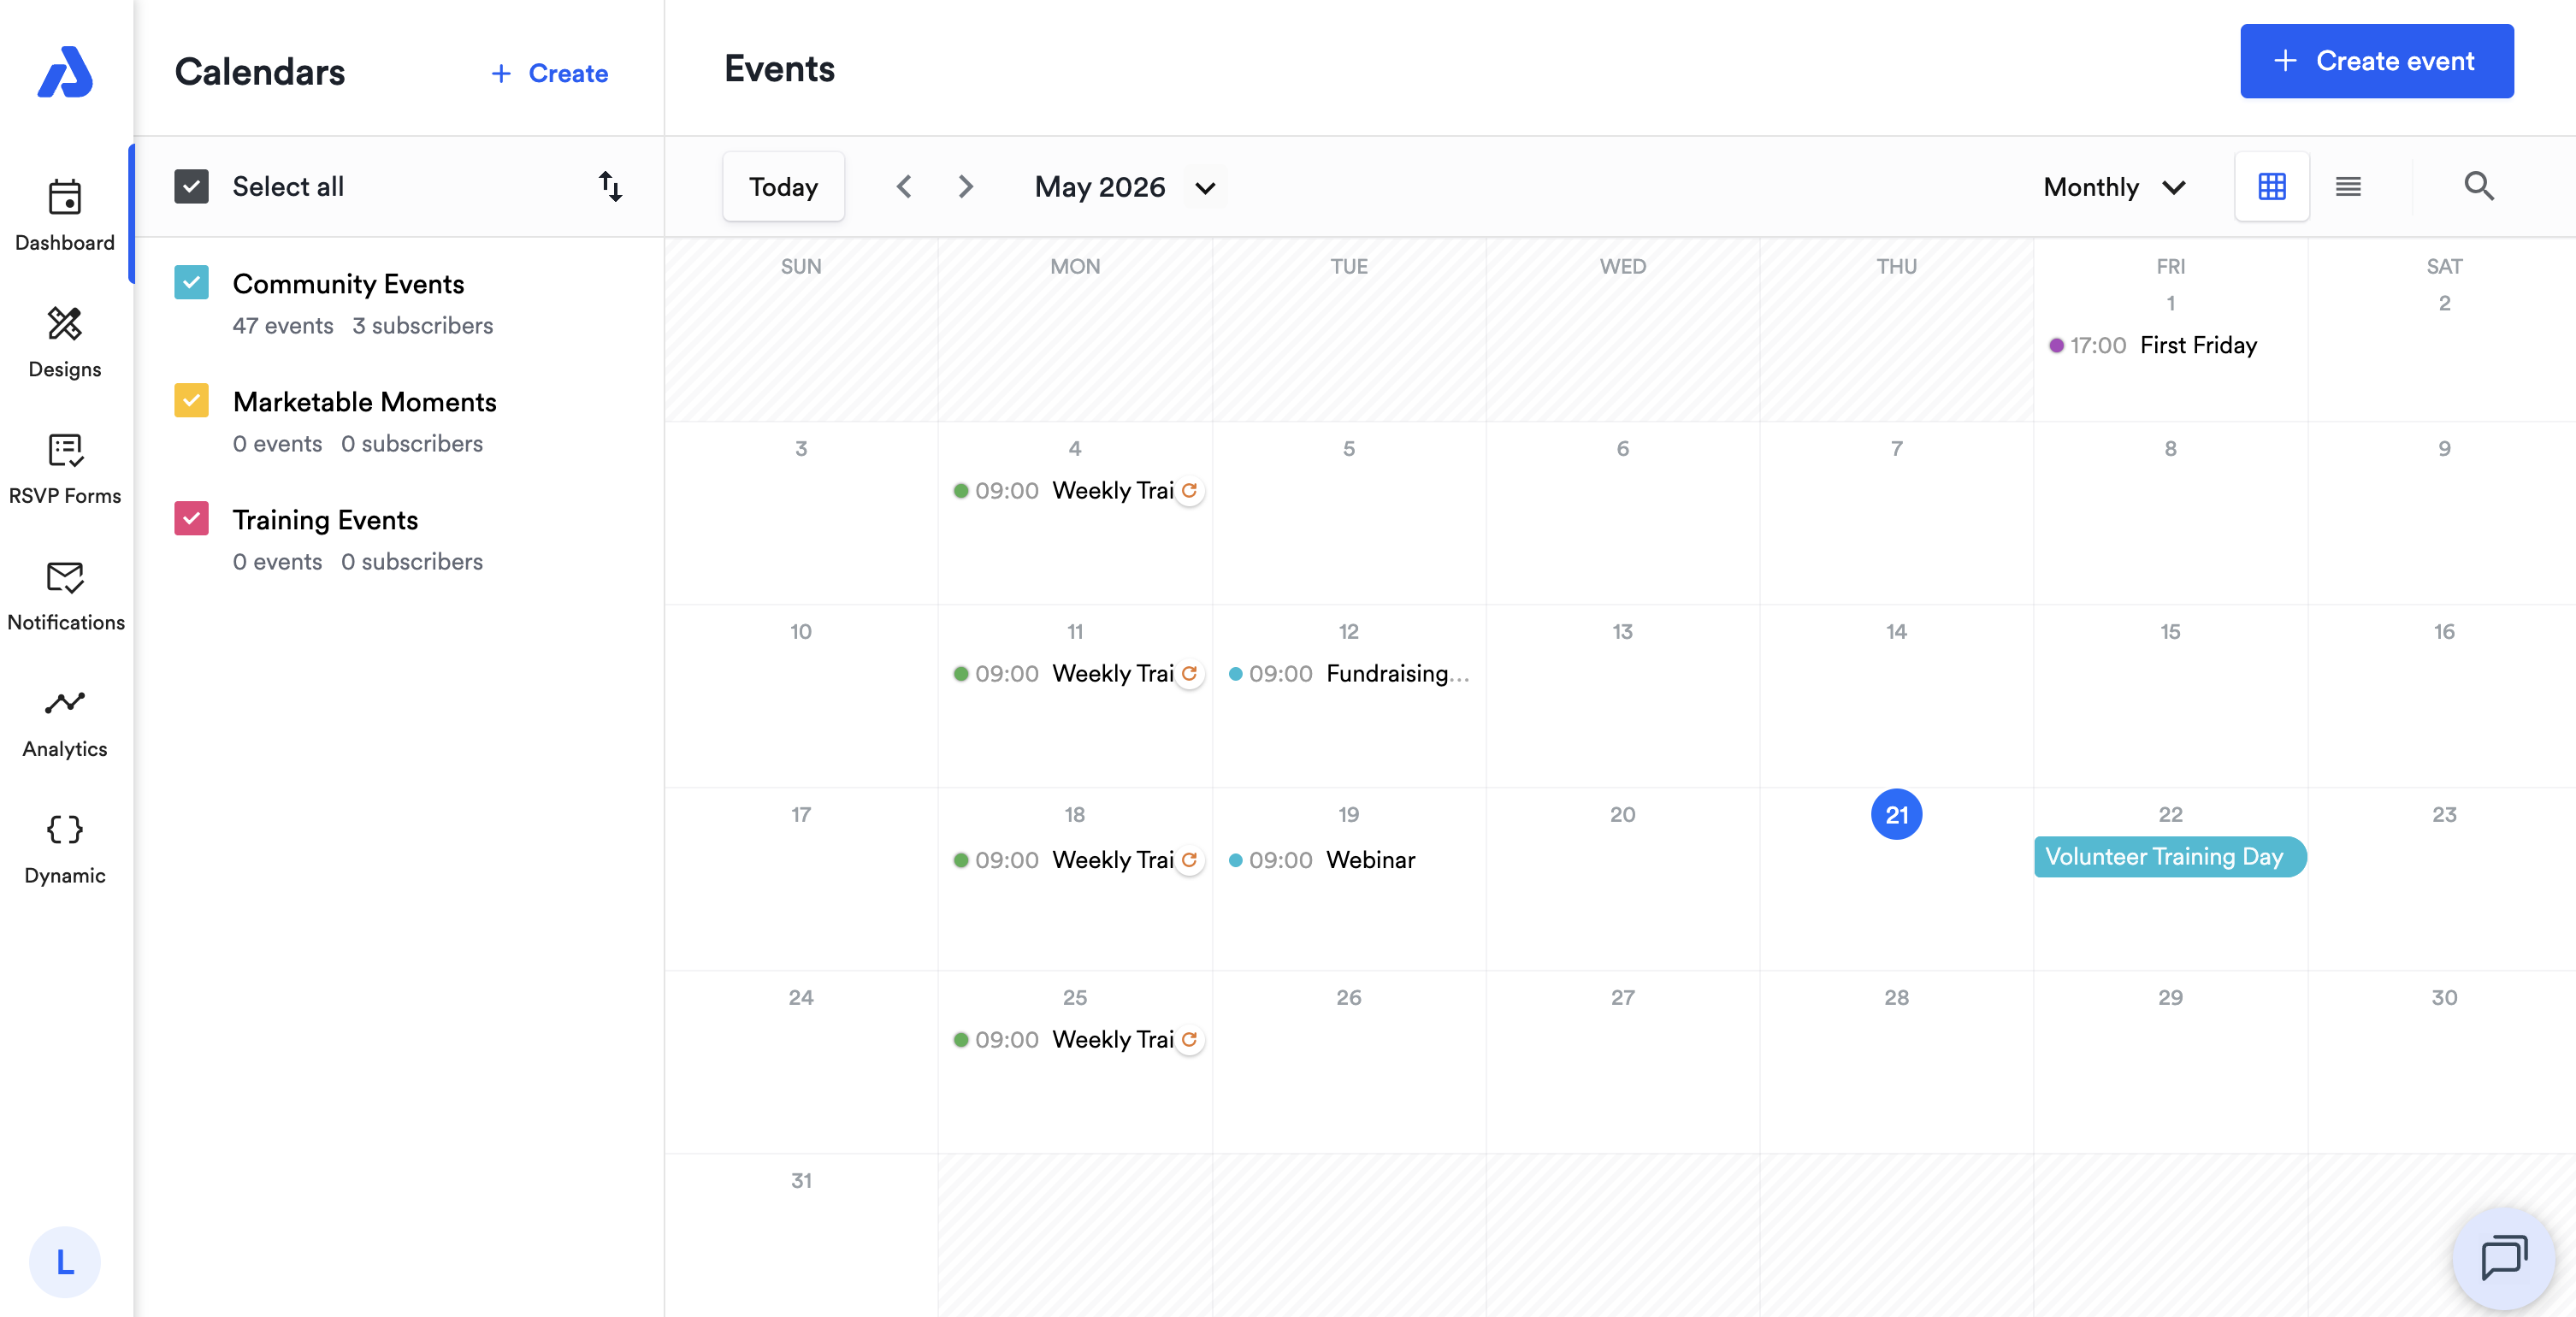
Dashboard Overview
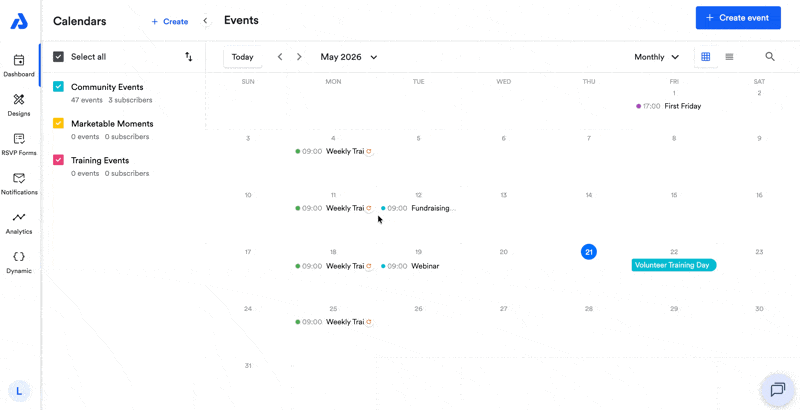
The Dashboard can display one or multiple calendars simultaneously. You can check or uncheck each calendar from the list to view those calendars' events simultaneously or individually.
To create an event or calendar, click the Create button located on the right-hand corner. You can check out the different views, create new designs and RSVP forms, view your analytics, and more.
Creating Events
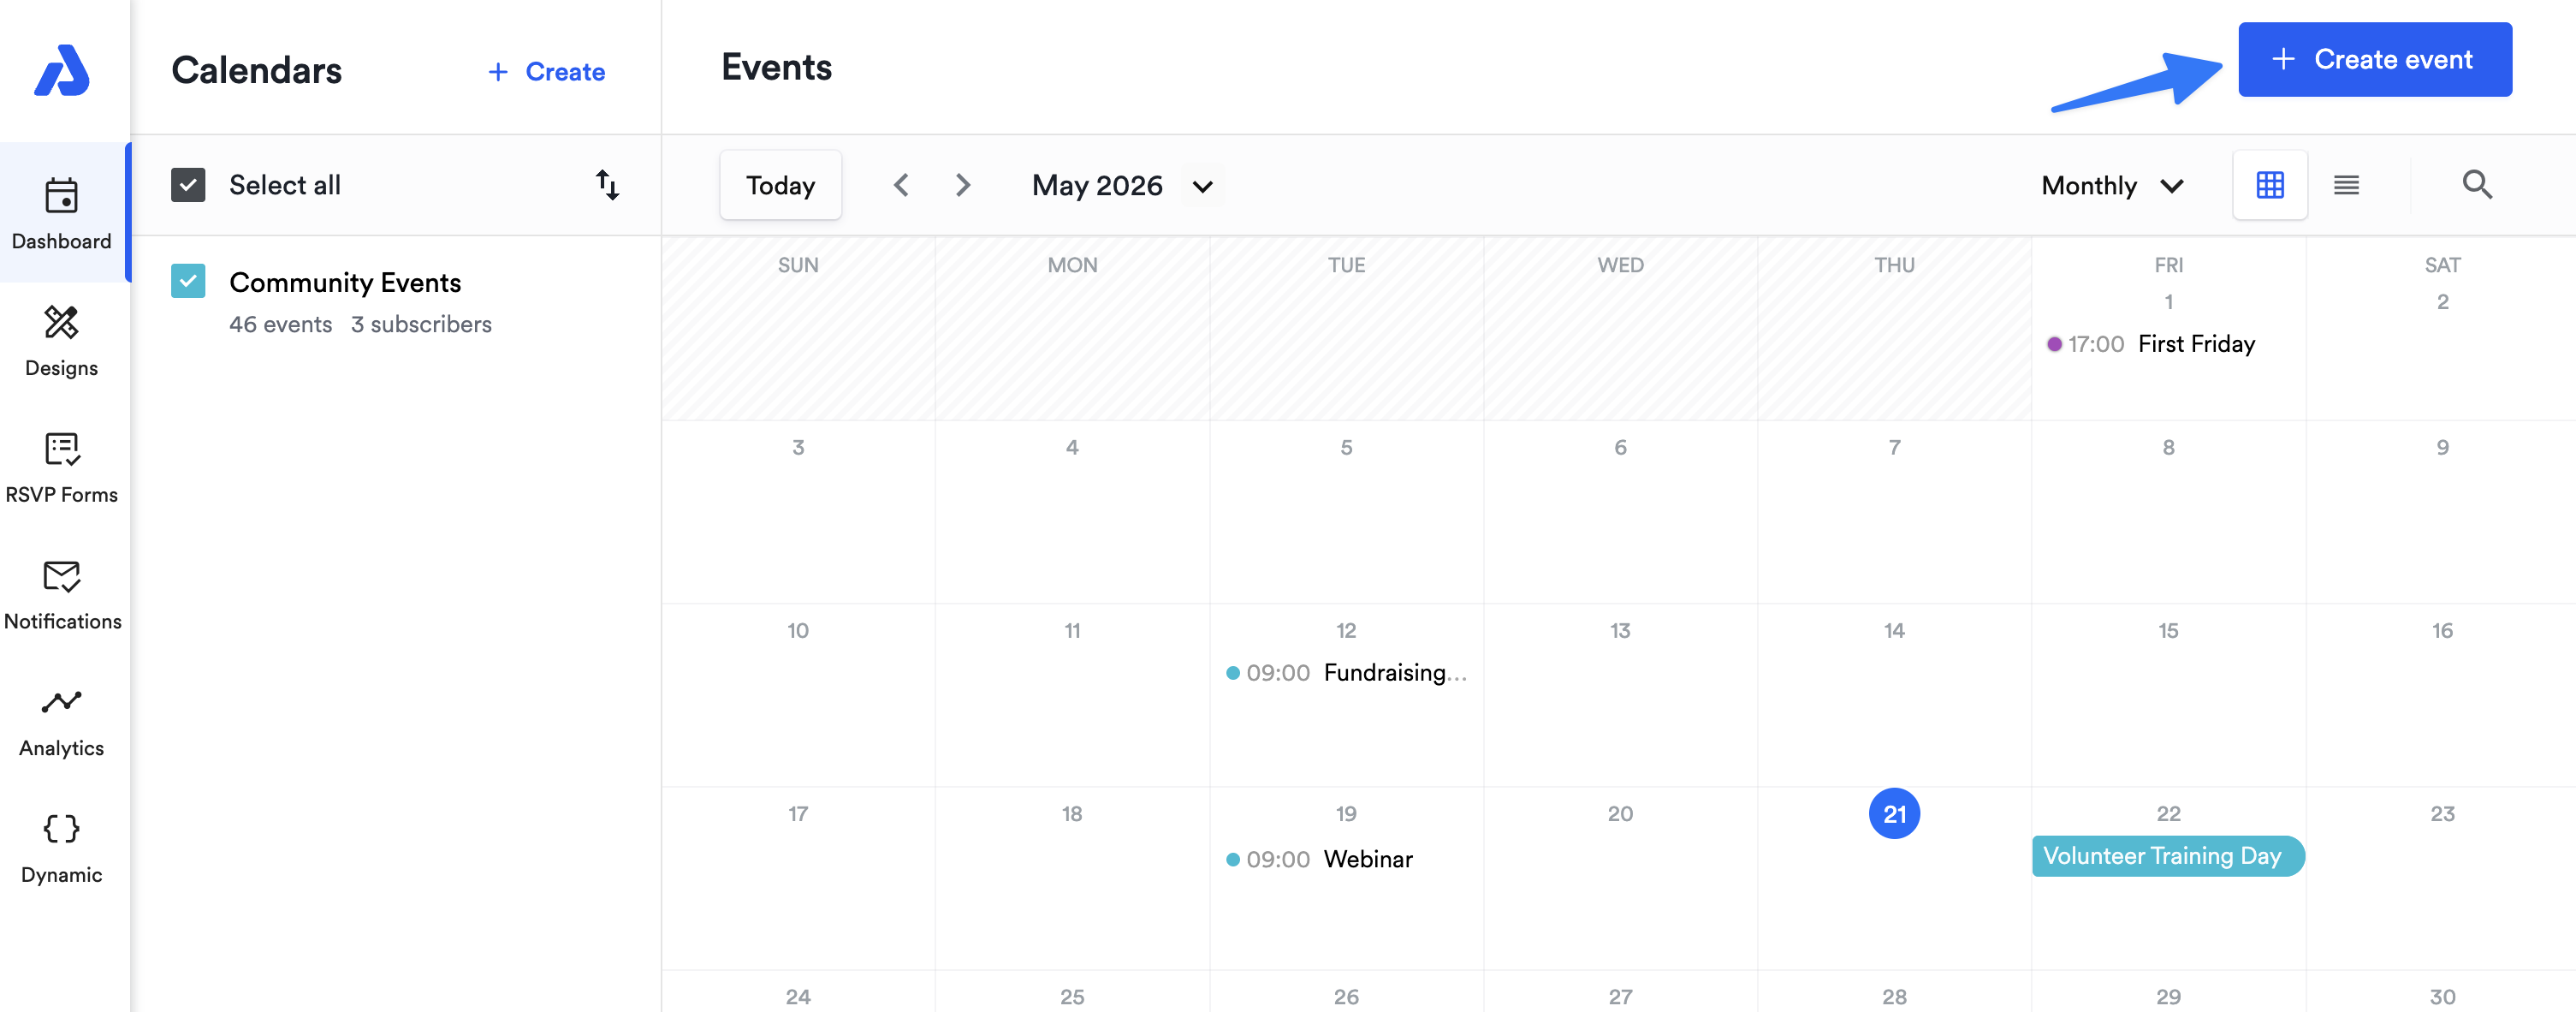
To create an event, navigate to the Dashboard on AddEvent.com, click the Create button located on the top-right corner of the Dashboard. You will be directed to an event creation page where you can add all of your event details.
You can also click directly on the calendar date within the calendar view, and a pop-up will appear allowing you to easily enter in event details.
Creating Calendars
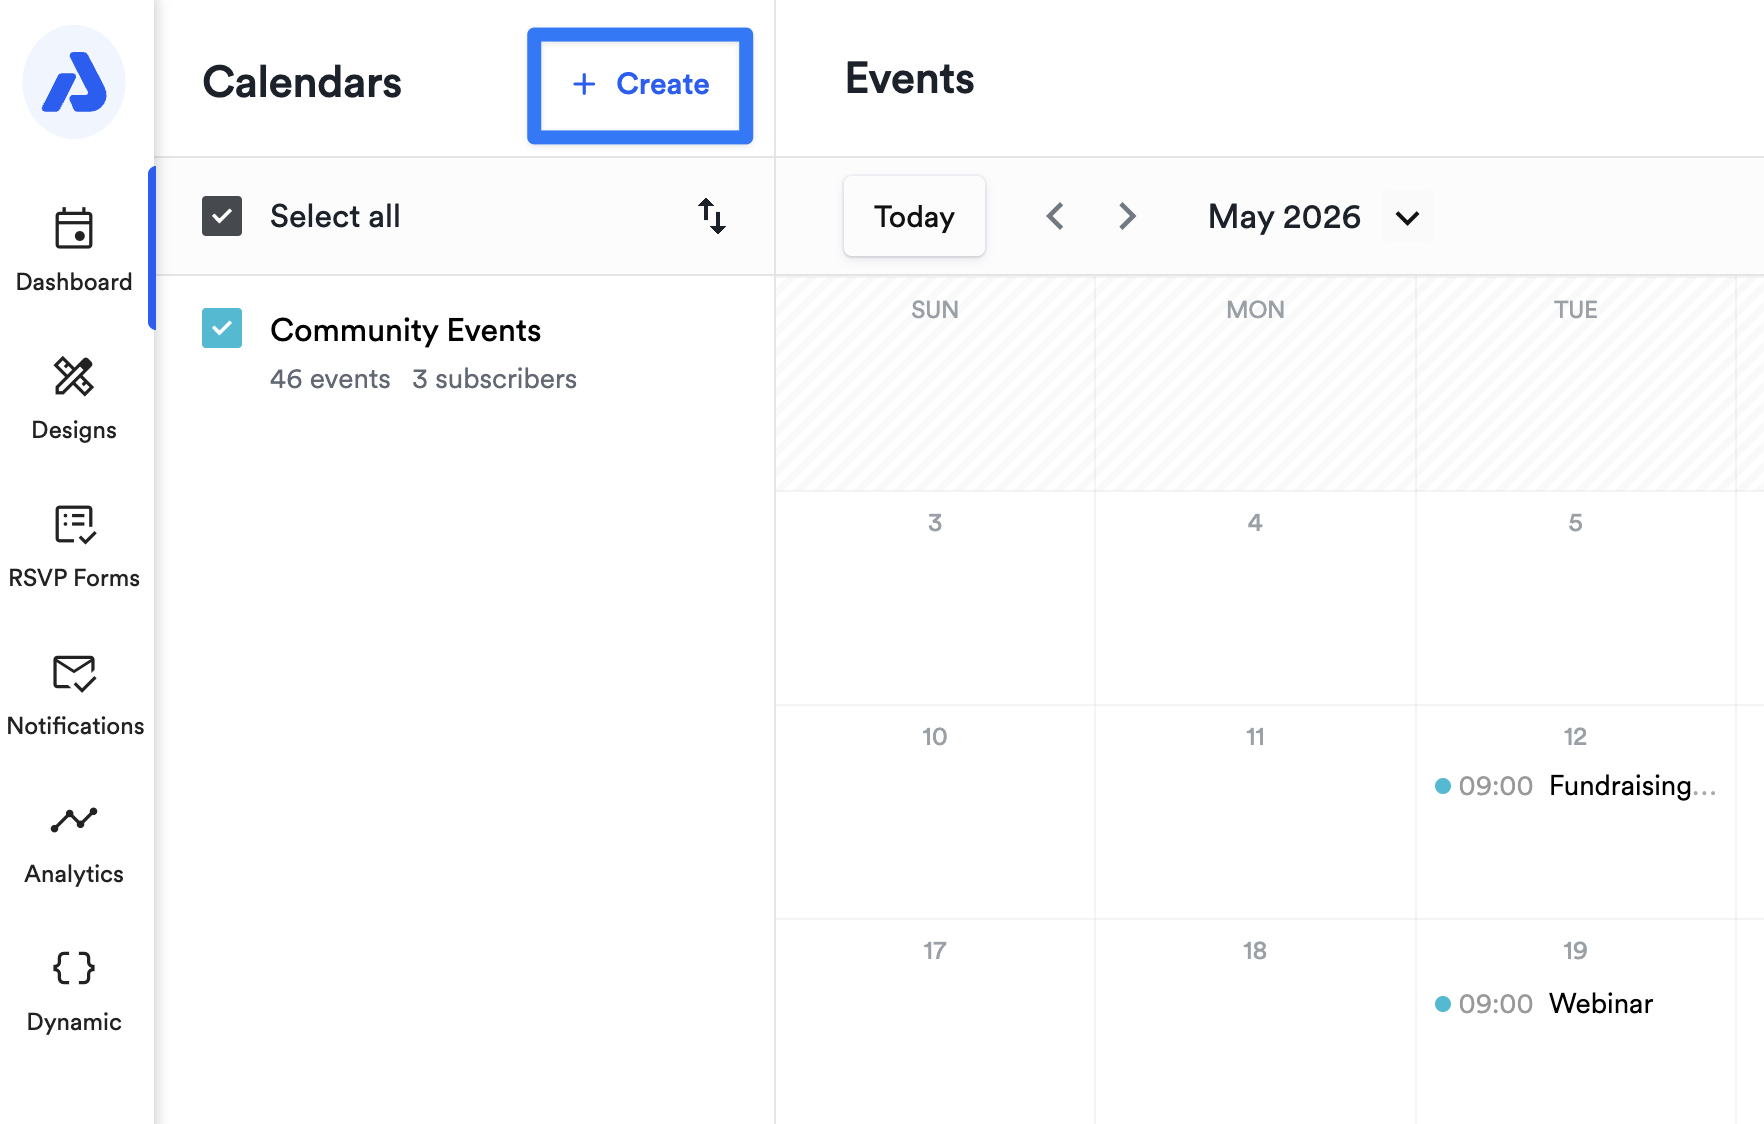
To create a calendar, navigate to the Dashboard on AddEvent.com, click the Create button located above the Calendar list. You will be directed to a calendar creation page on which you will be able to add all of your calendar details.
Calendar Views
There are two views available to display the events on your calendars:
- List View
- Upcoming events
- Past events
- Custom date range
- Calendar View
- Monthly
- Weekly
Designs
Design templates are a way to create a reusable design for calendar landing pages, event landing pages, and embeddable calendars. These design templates include WYSIWYG (no-code) editing functionality.
You can check out more details about designs for calendar landing pages here, for event landing pages here, or embeddable calendars here.
RSVP Forms
RSVP forms are able to be created and reused to collect specific information from your event registrants.
Analytics
View real-time analytics on events, calendars, Dynamic Add to Calendar links, and Dynamic Add to Calendar buttons.
Account Settings
Account and settings can be found within the profile icon drop-down menu located on the bottom left-hand side of AddEvent. Within the settings, you will find:
- Your account info
- Billing
- Users
- Settings
- Usage
Your Info
In the Your Info tab, you will find your login details. Name, login email, and password can be updated here.
Billing
In the Billing tab, you will find your plan type and billing details. Payment methods and billing information can be viewed and updated in this section.
To view and download past invoices and receipts, click the Manage subscription and view billing info link.
Users
In the Users tab, you can invite users in your organization to join your AddEvent account. There are three different types of roles available: Admin, Editor, and User.
Here is our help doc with information on each role type: Manage Account Users.
Settings
In the Settings tab, you will find your account details (Account name, Client ID, and API token), date and time settings, default time zone, color palettes, sender name and email address settings, branding setting, and data capture configuration setting.
Usage
In the Usage tab, you will find your account's usage stats, including monthly usage (per usage period), ongoing usage, and detailed usage. The Detailed usage link located at the bottom of the Usage page provides detailed usage information for each of your events, each of your calendars, and Dynamic Add to Calendar buttons and links.