Remove the Respond Button from the RSVP Form
The help doc outlines how to remove the respond button from an RSVP landing page. Follow the steps below to create a custom template that opens your RSVP landing page directly to the event's RSVP form. Applying this template to your event means your users will see the form immediately, skipping the first step, which is to click "Respond."
New and Improved Feature!
Custom Templates are no longer available in AddEvent 2.0. This is because we've built design templates. Design templates are a no-code feature allowing you to customize your event landing pages, calendar landing pages, and embeddable calendar. Please check out the Event Landing Page Designs help section for details.
Creating a template
-
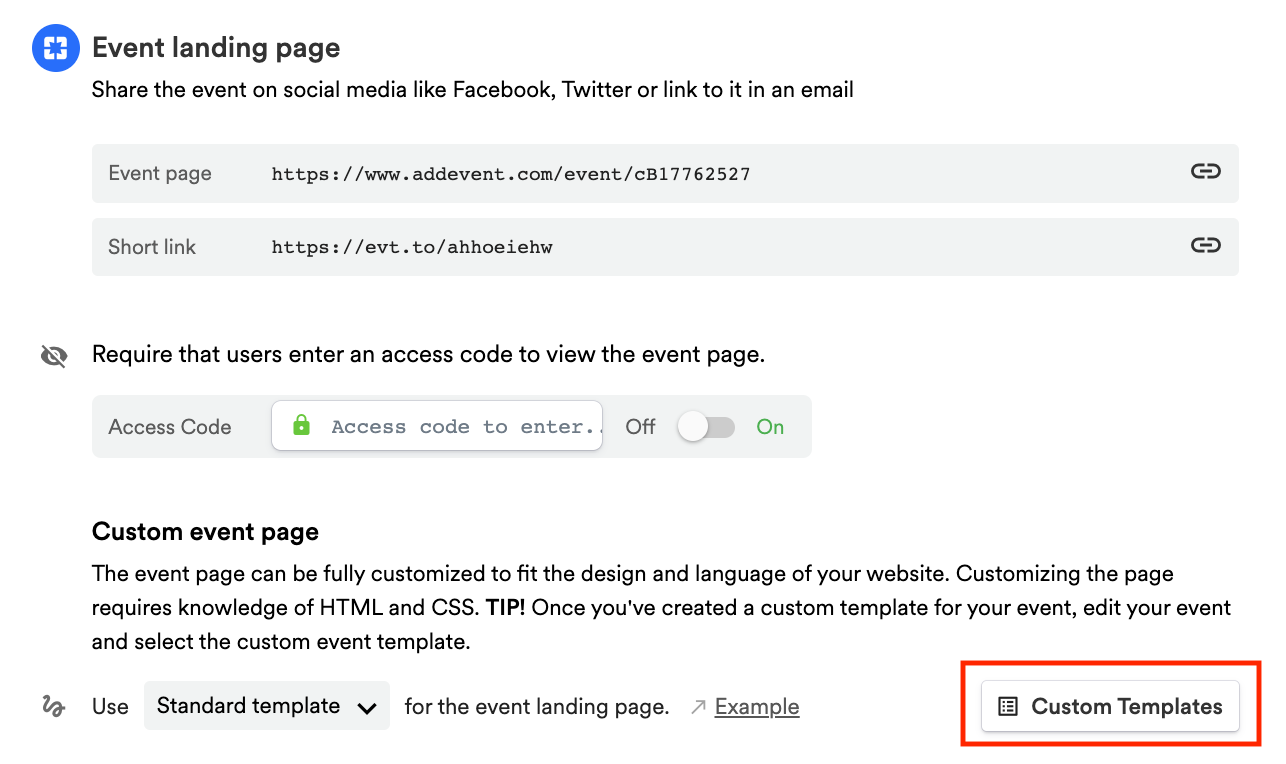
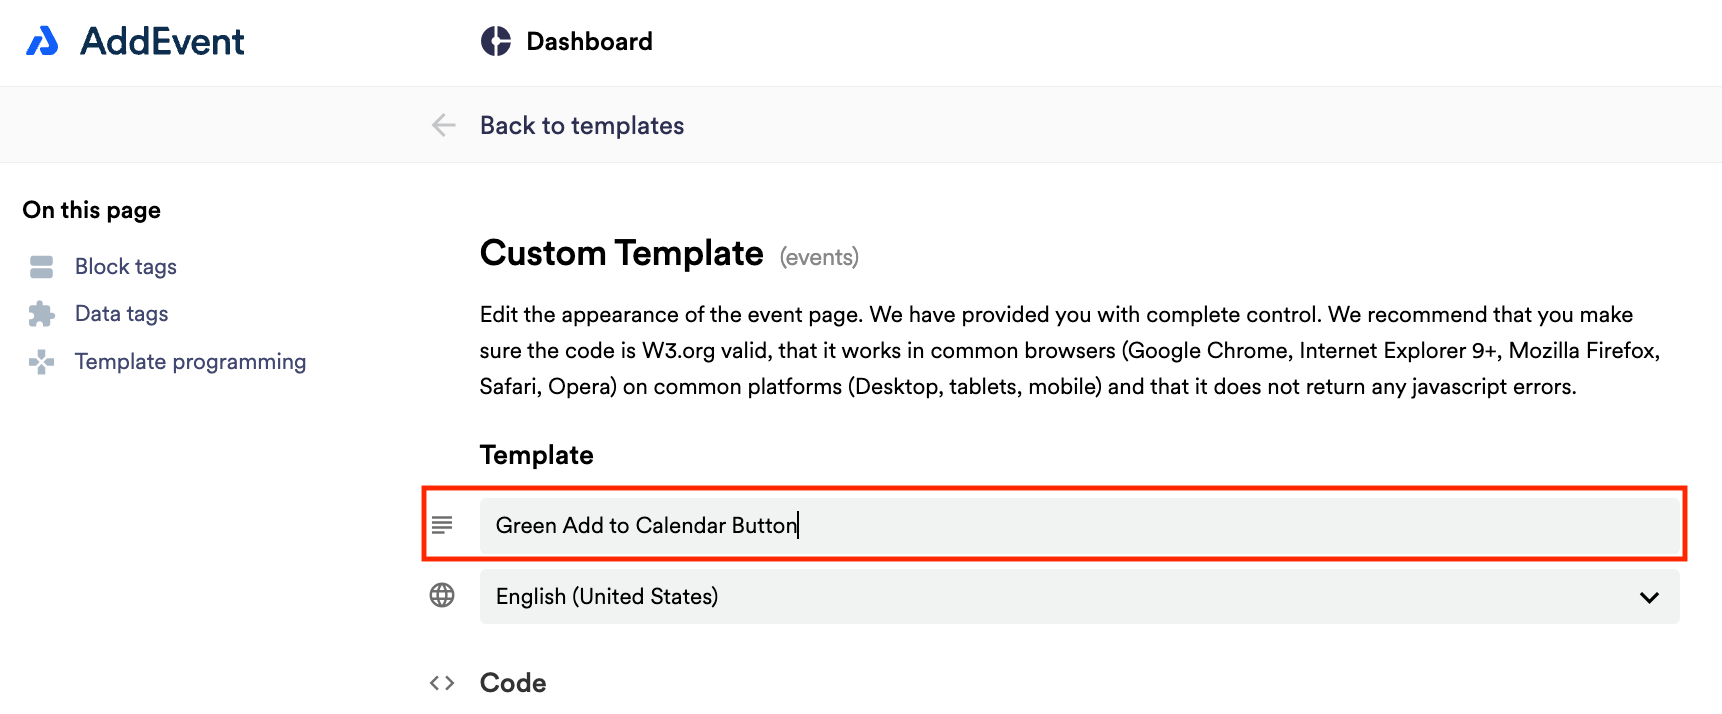
Scroll down to the first sharing method, Event landing page. Create a custom event landing page template by clicking Custom Templates in the app and clicking + New Template. Add a name for the template.
Removing the Respond Button
- Click either + New Template or edit an existing template.
- Scroll to the end of the HTML document to insert the following code before the closing tag:
<style> .button-register-t1 {display:none;} .rsvpform {display:block;} </style> - Click Save and apply the template to the event(s).
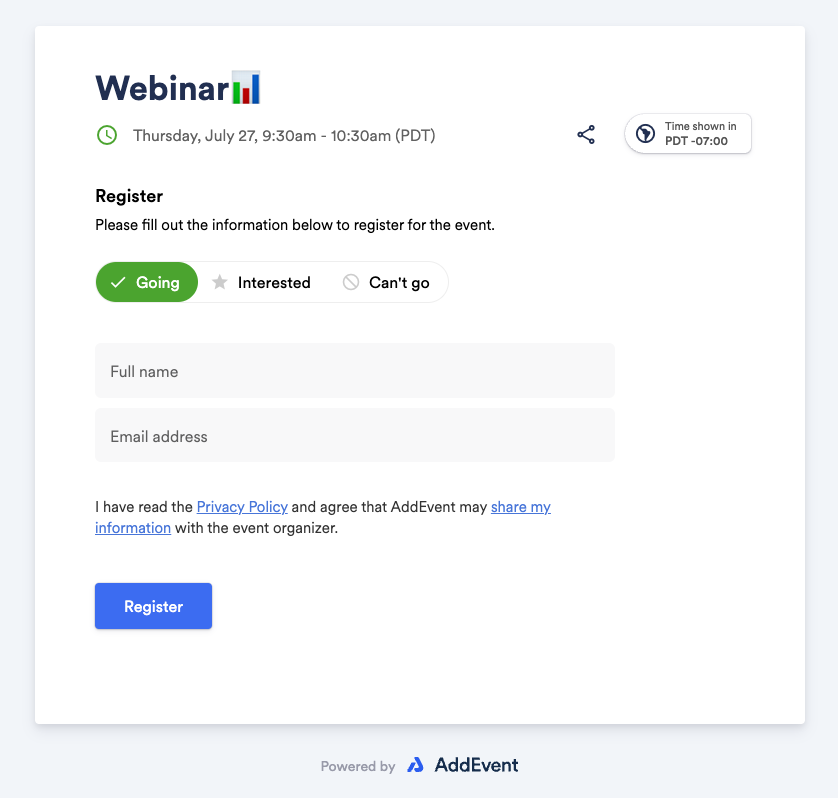
The RSVP event landing page will now open up directly to the RSVP form, as shown below:
Updated 7 months ago