Remove the Interested Option from the RSVP Form
This help doc explains how you can use a custom template to remove the "interested" option from your RSVP events.
New and Improved Feature!
Custom Templates are no longer available in AddEvent 2.0. This is because we've built design templates. Design templates are a no-code feature allowing you to customize your event landing pages, calendar landing pages, and embeddable calendar.
Creating a template
-
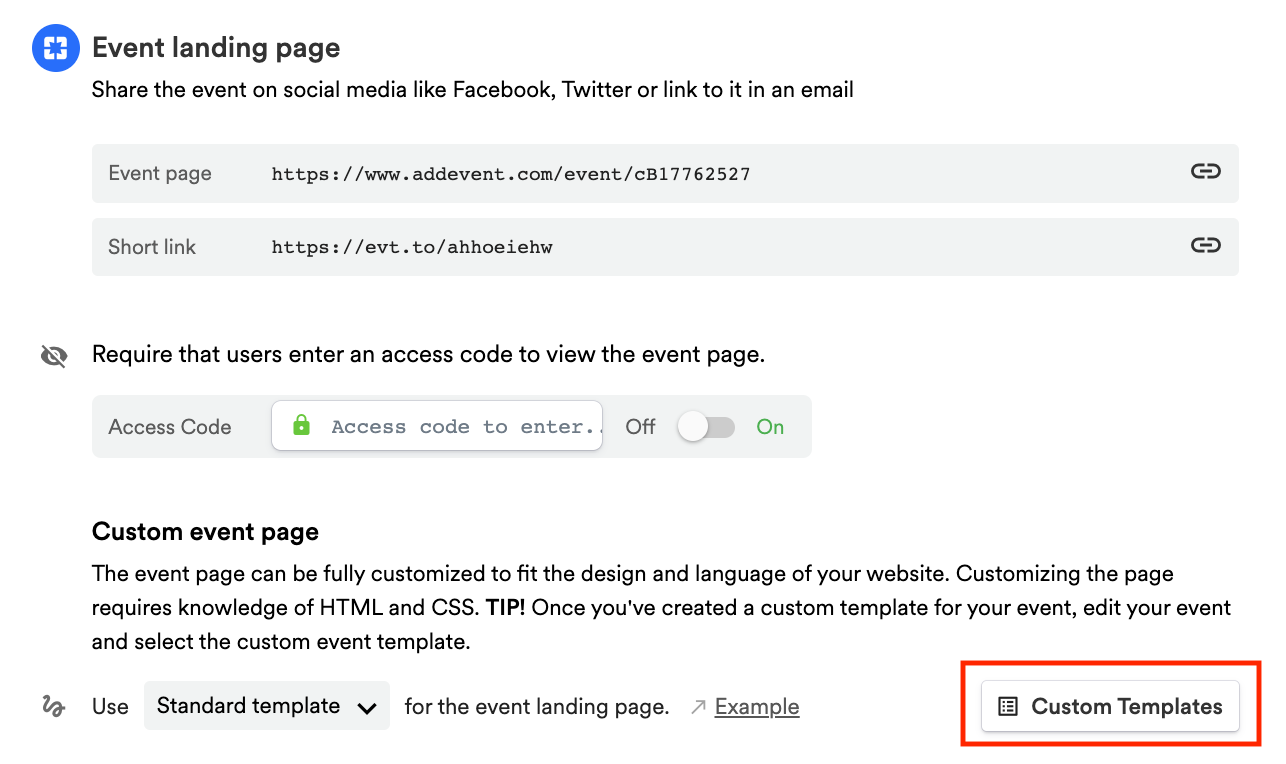
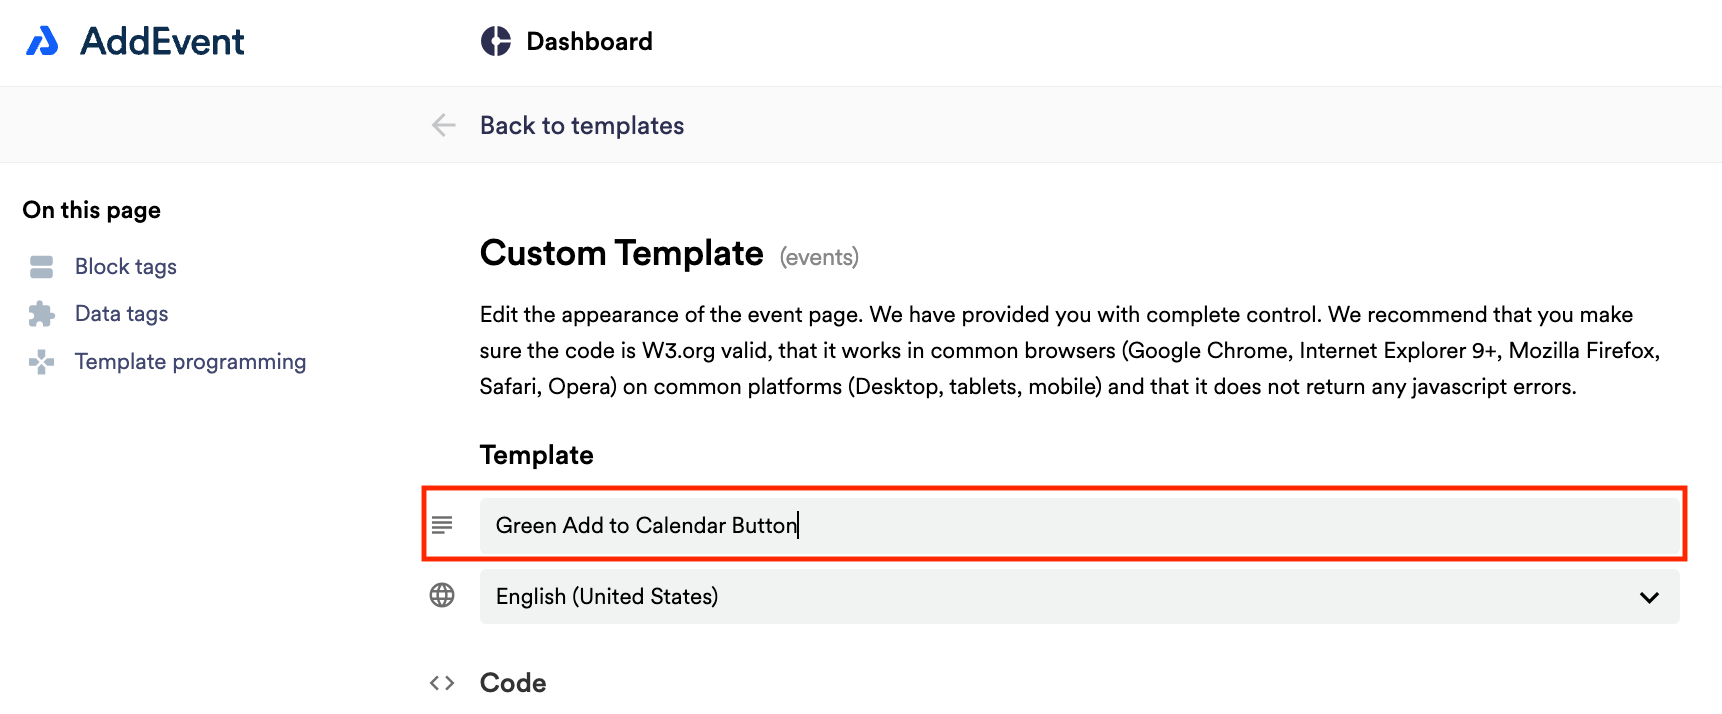
Scroll down to the first sharing method, Event landing page. Create a custom event landing page template by clicking Custom Templates in the app and clicking + New Template. Add a name for the template.
Removing the Interested option
-
Once you have a template open and ready to edit, scroll down to the block tag section and copy the entire block tag for
{{block:rsvpform}}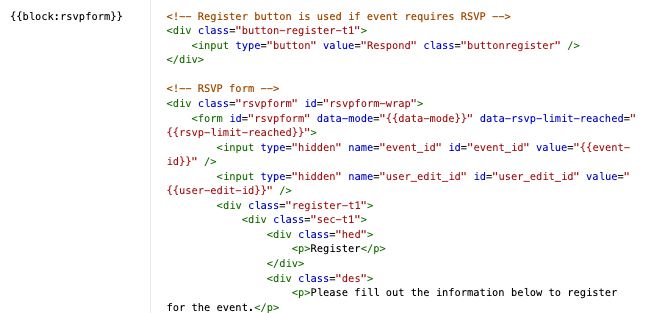
-
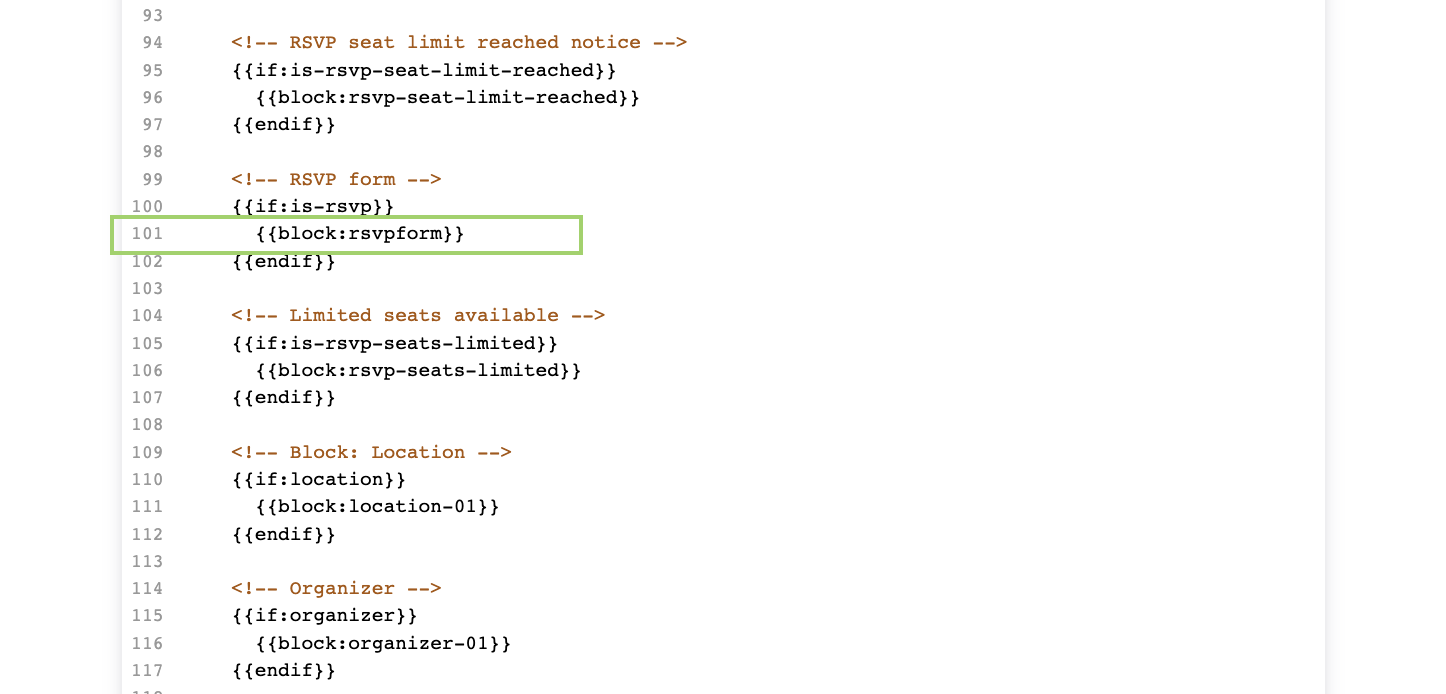
Paste the block tag into line 101 (if you have not previously edited your custom template).
- Once you have pasted the
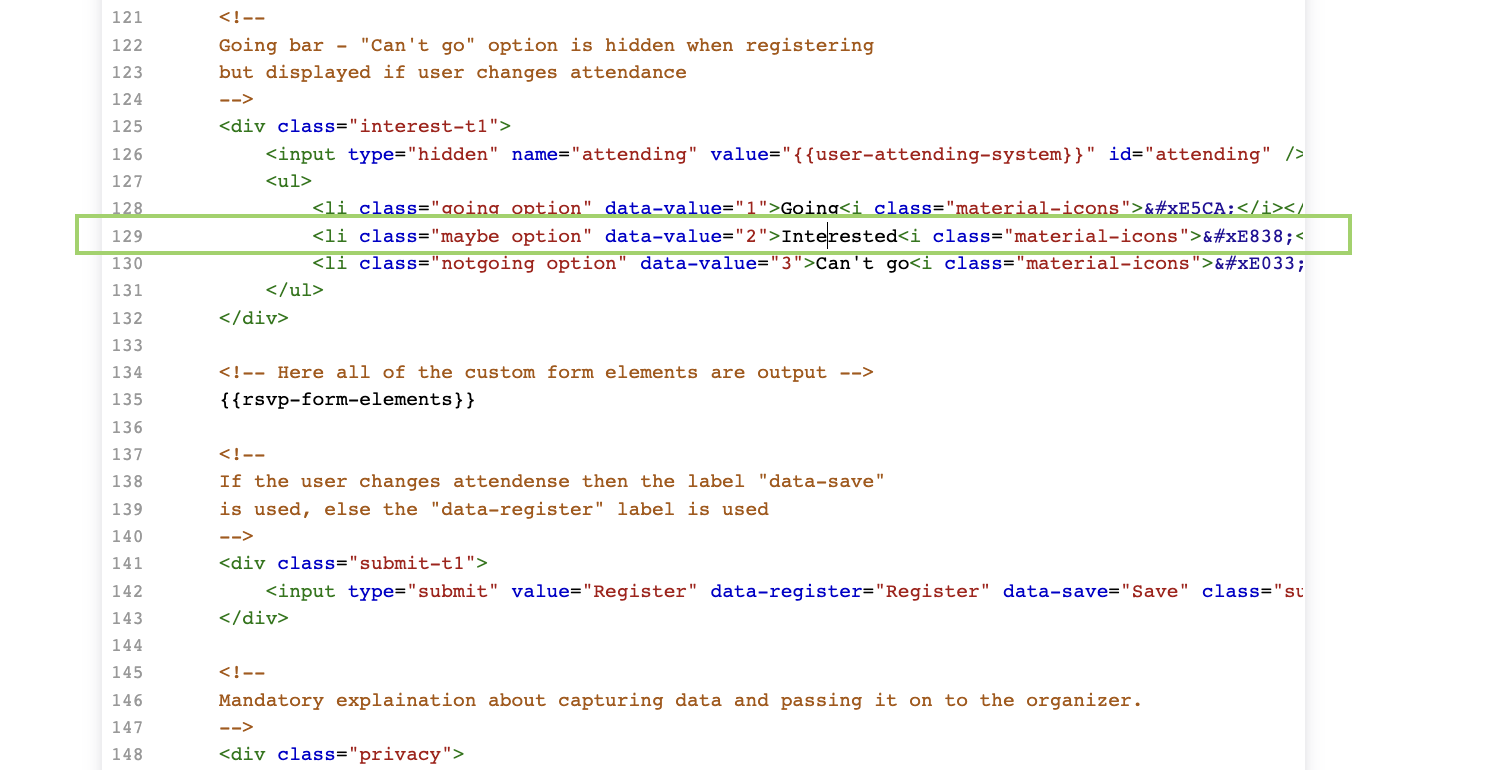
{{block:rsvpform}}tag, you will remove the Interested line 129 (if you have not previously edited your custom template).
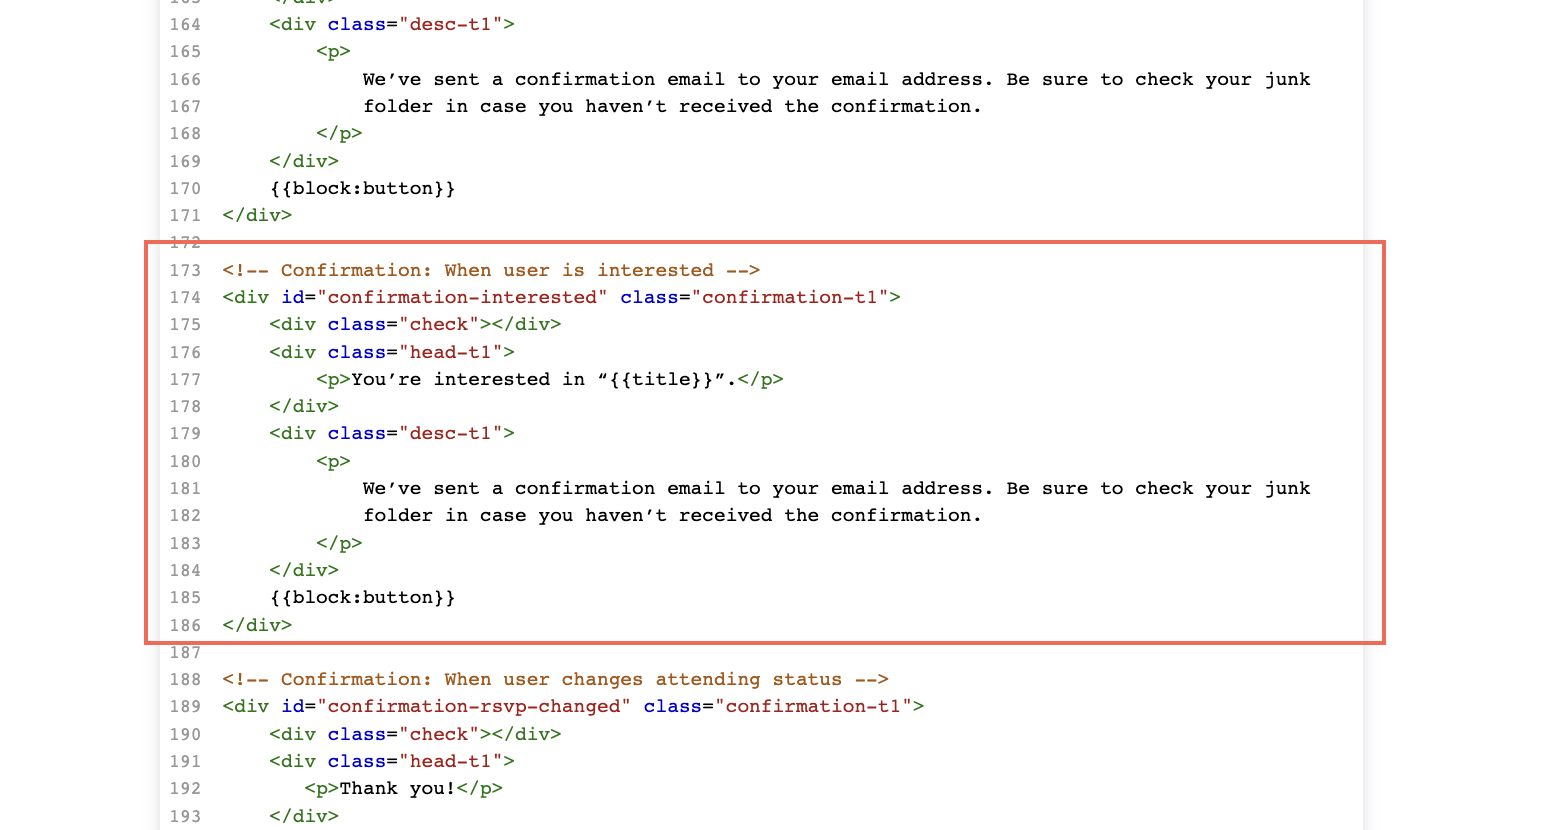
- Then, scroll down to remove the Confirmation: when user is interested section.
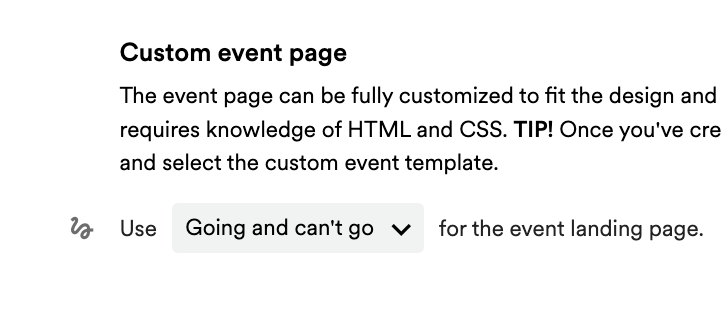
- Name your template if you haven't already, click Save or Createthen assign your template to your event on the event page.
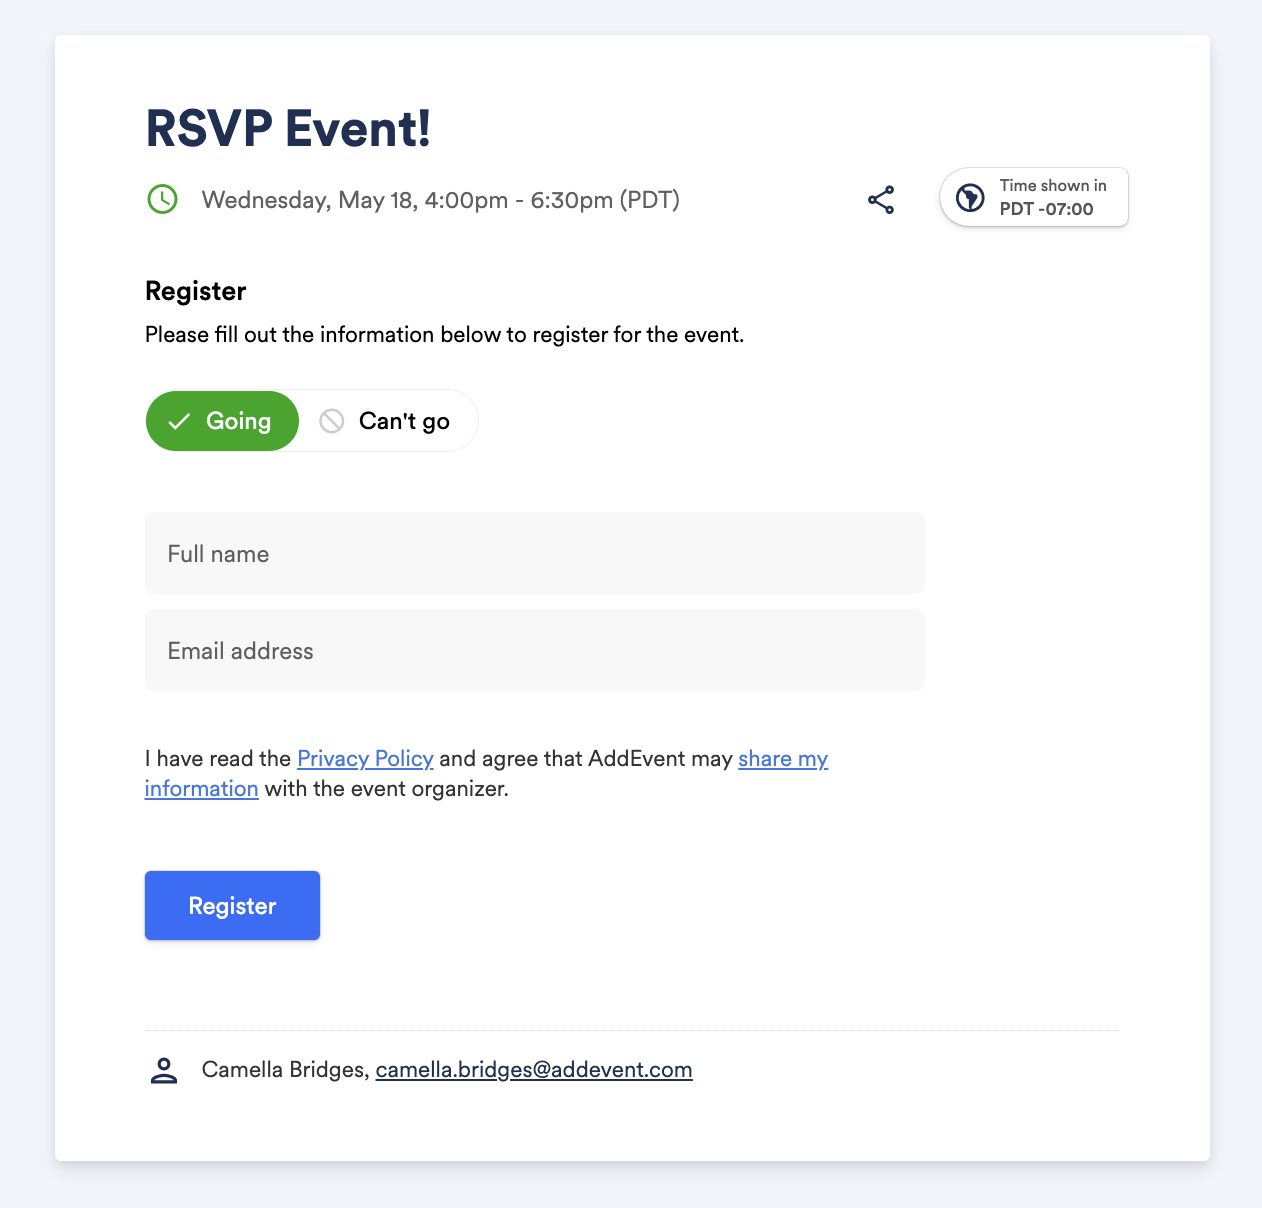
Your event landing page should look like this:
Watch this tutorial!
Updated 7 months ago