Create and Edit RSVP Forms
This help doc explains how to create RSVP forms. The RSVP form is what your attendees are presented with on the RSVP Landing page and is where they input their registration details. Creating a RSVP form allows you to collect attendee details on the RSVP Landing Page when they register for your event. RSVP forms also allow for tailored messaging to increase participation.
Create a RSVP Form
-
To create a new custom RSVP form, click the + Add New button on the upper right-hand side of the RSVP Forms page.
-
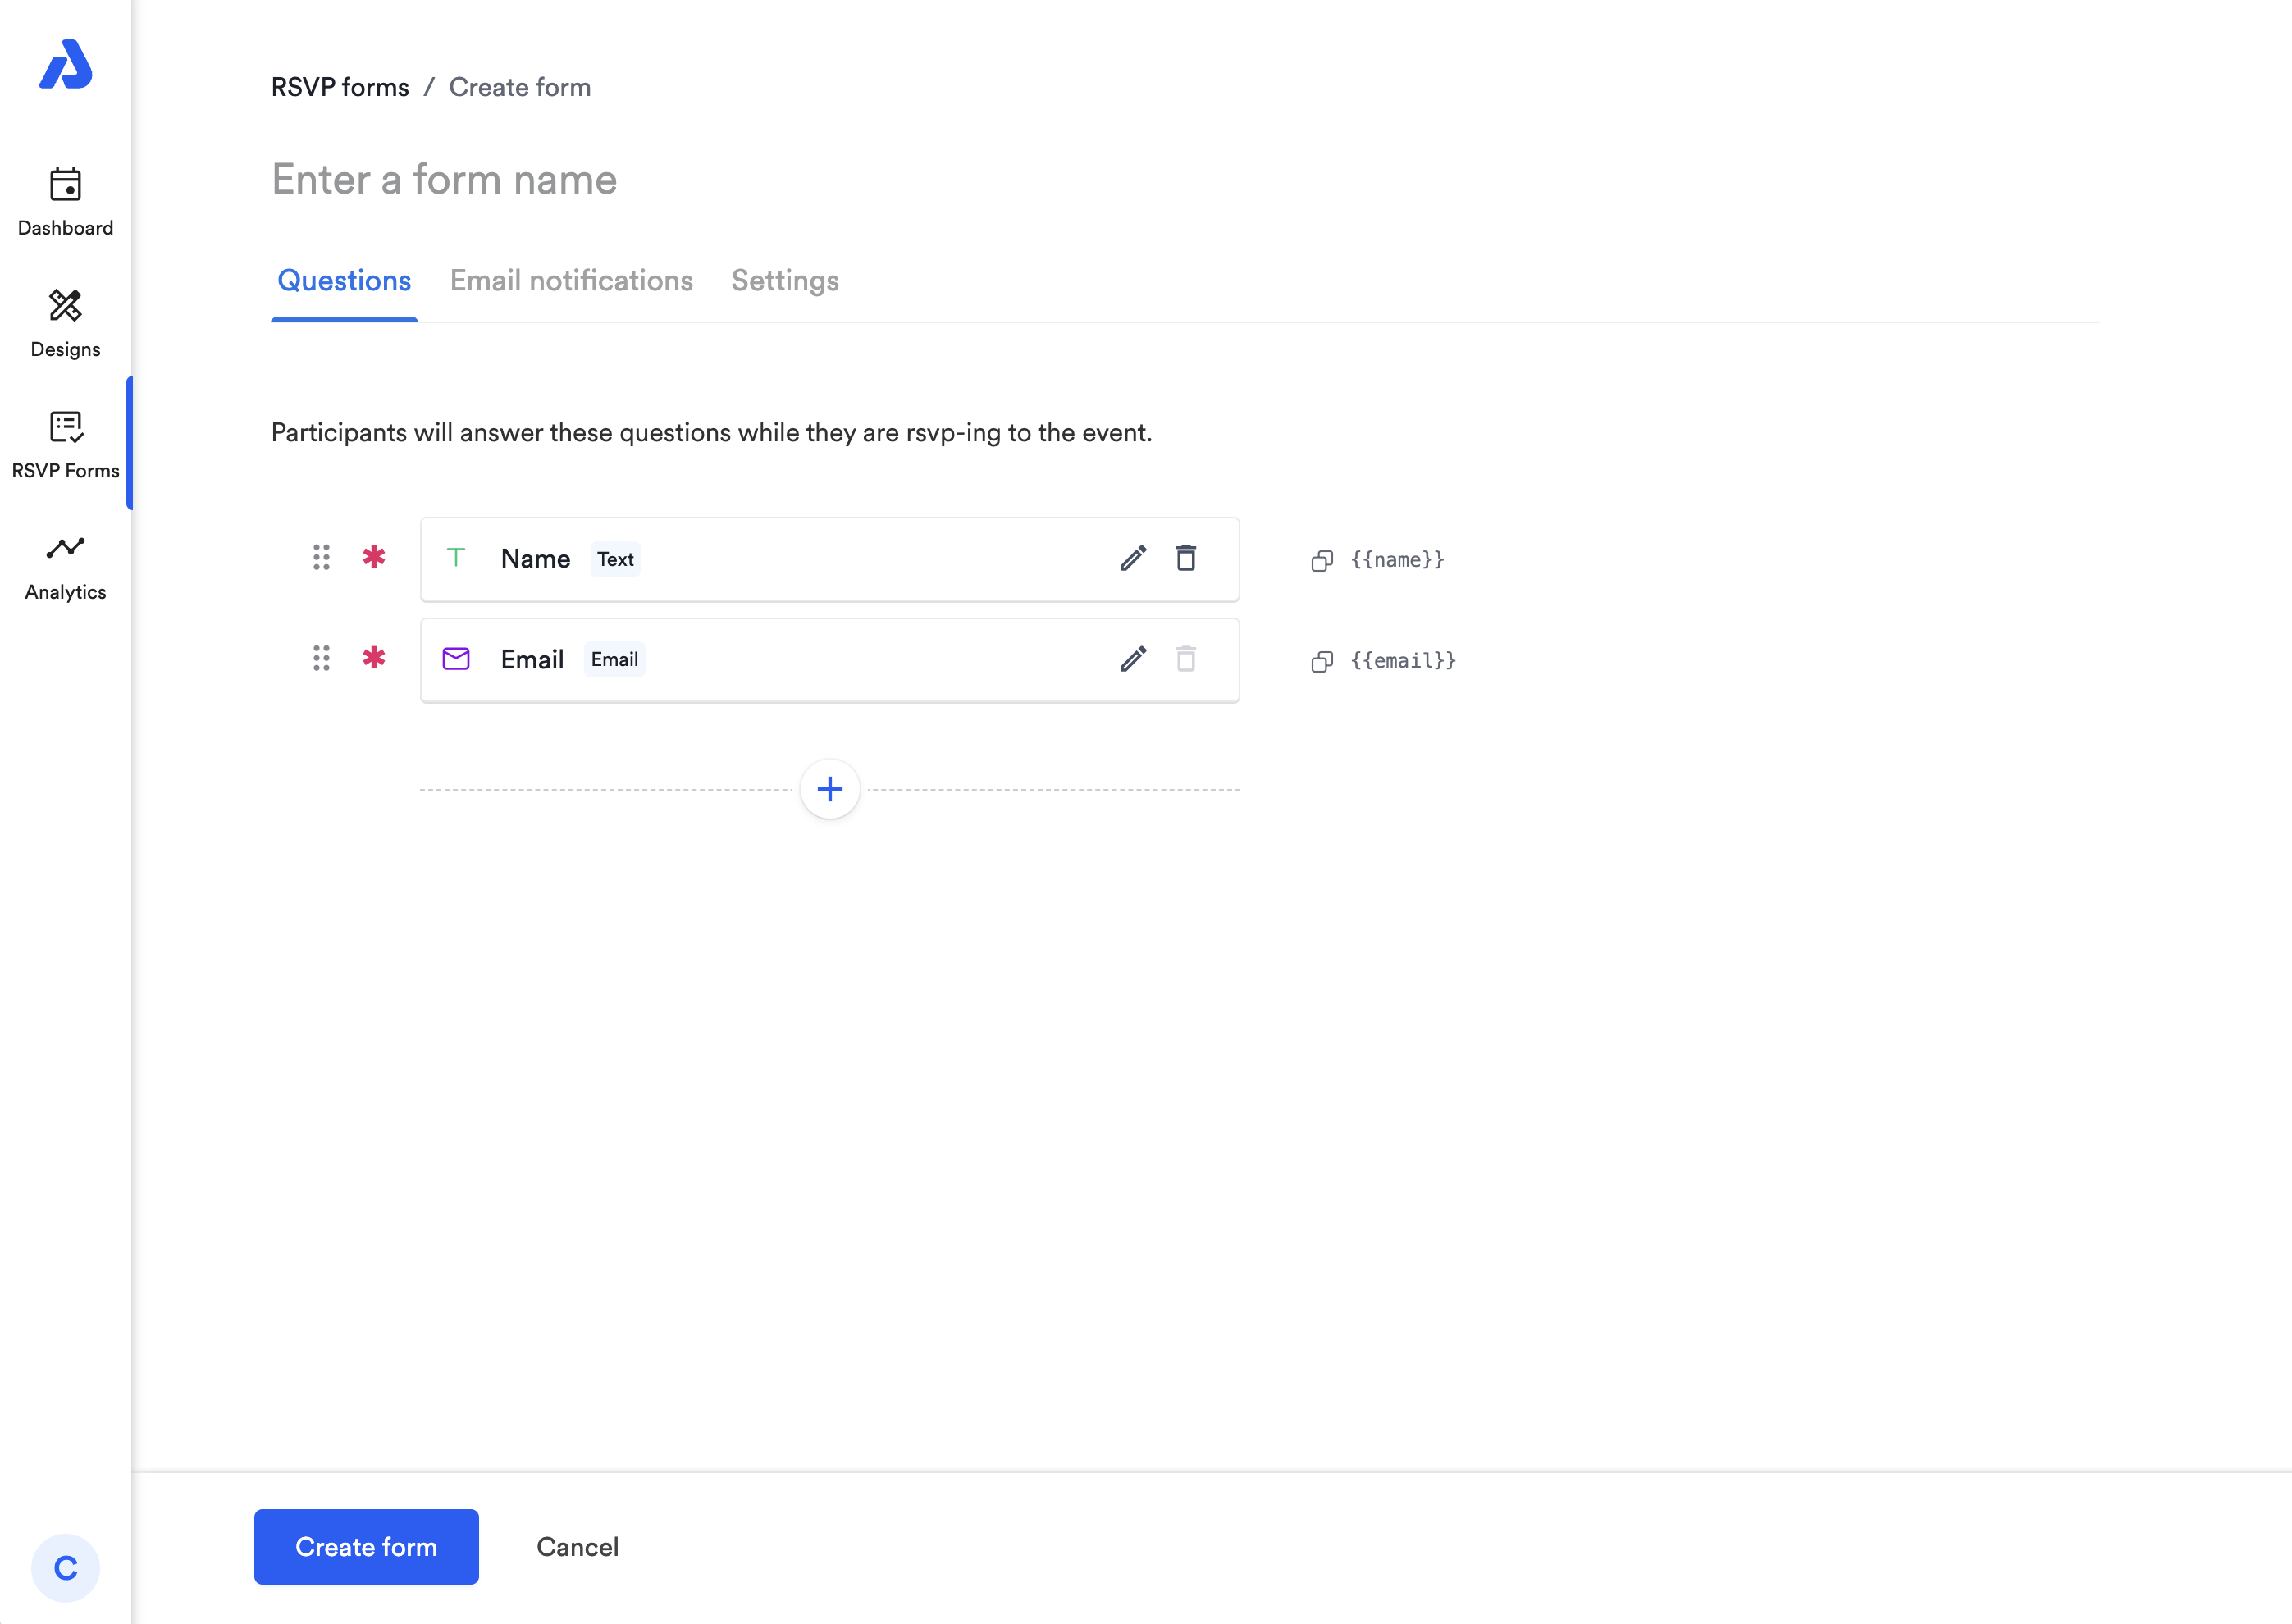
Add a title to the form.
-
Customize the form with the specific information you want from attendees. The form includes options for automated messages and reminders to boost attendance.
-
Click the Create Form button in the bottom left-hand corner of the page.

Customization Options for RSVP Forms
-
Name of Your RSVP Form: Give your custom RSVP form a title.
-
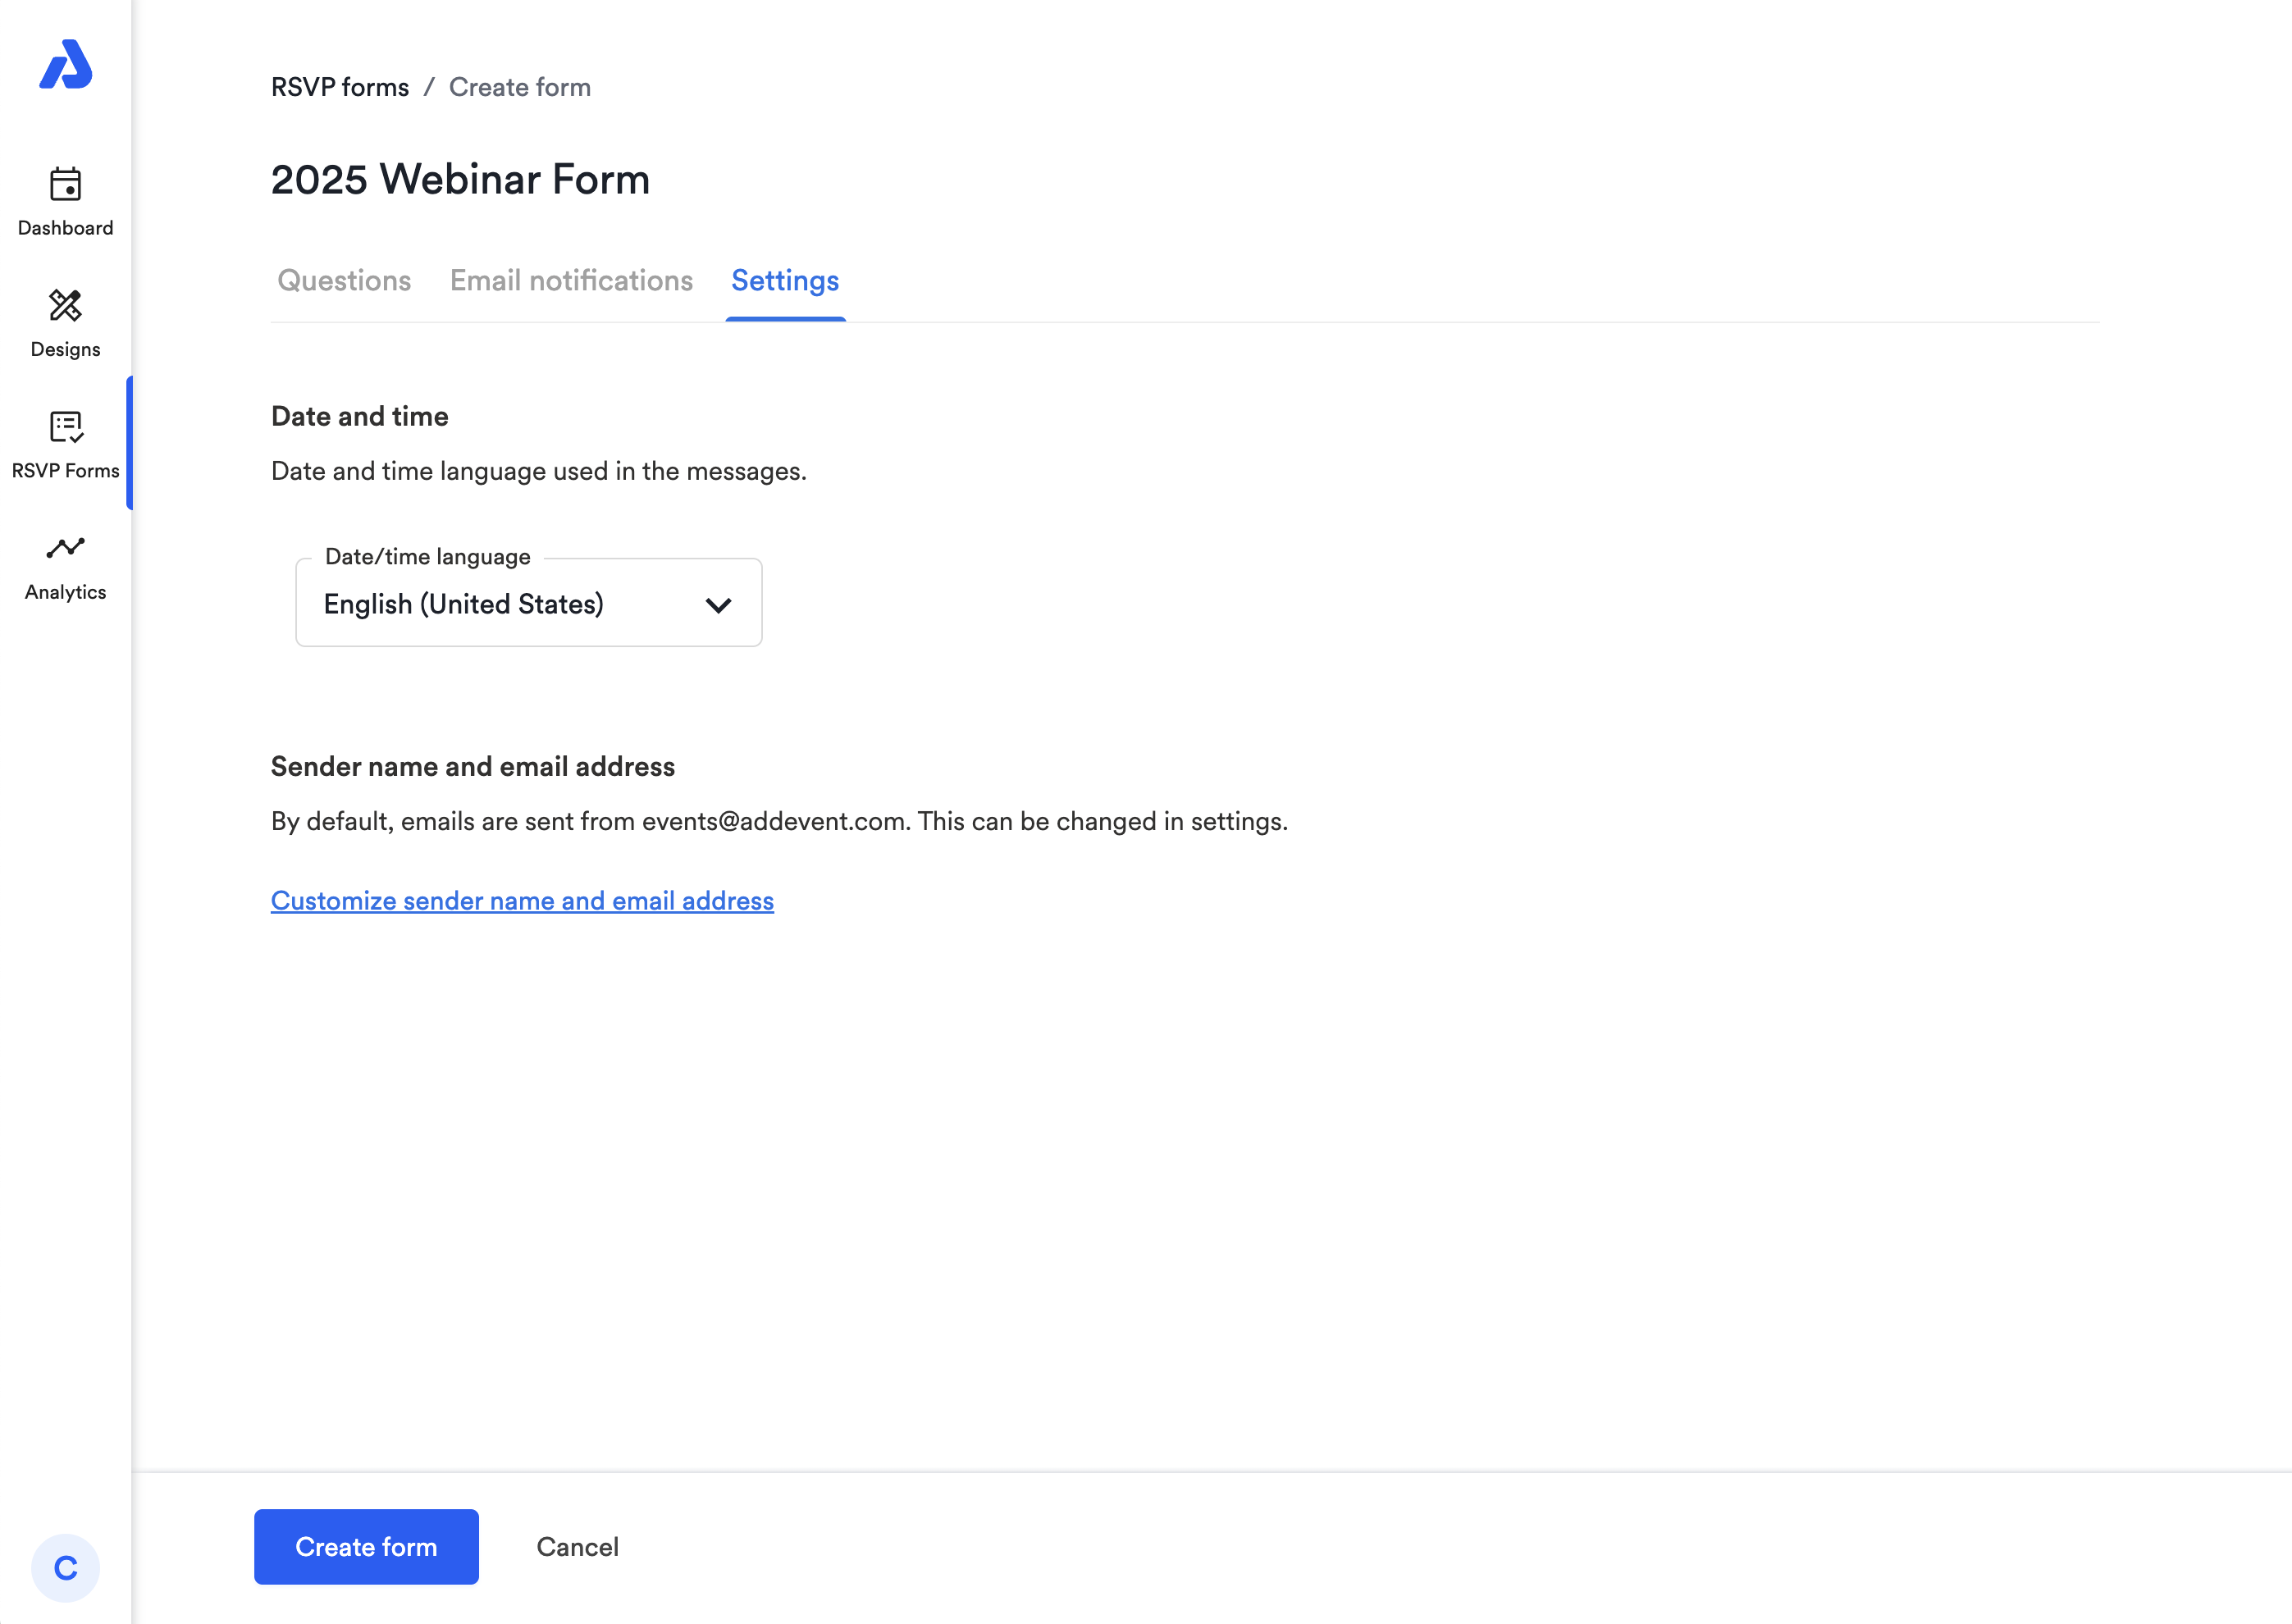
Language: Choose the language displayed on your RSVP form to fit your audience.
-
User information:
-
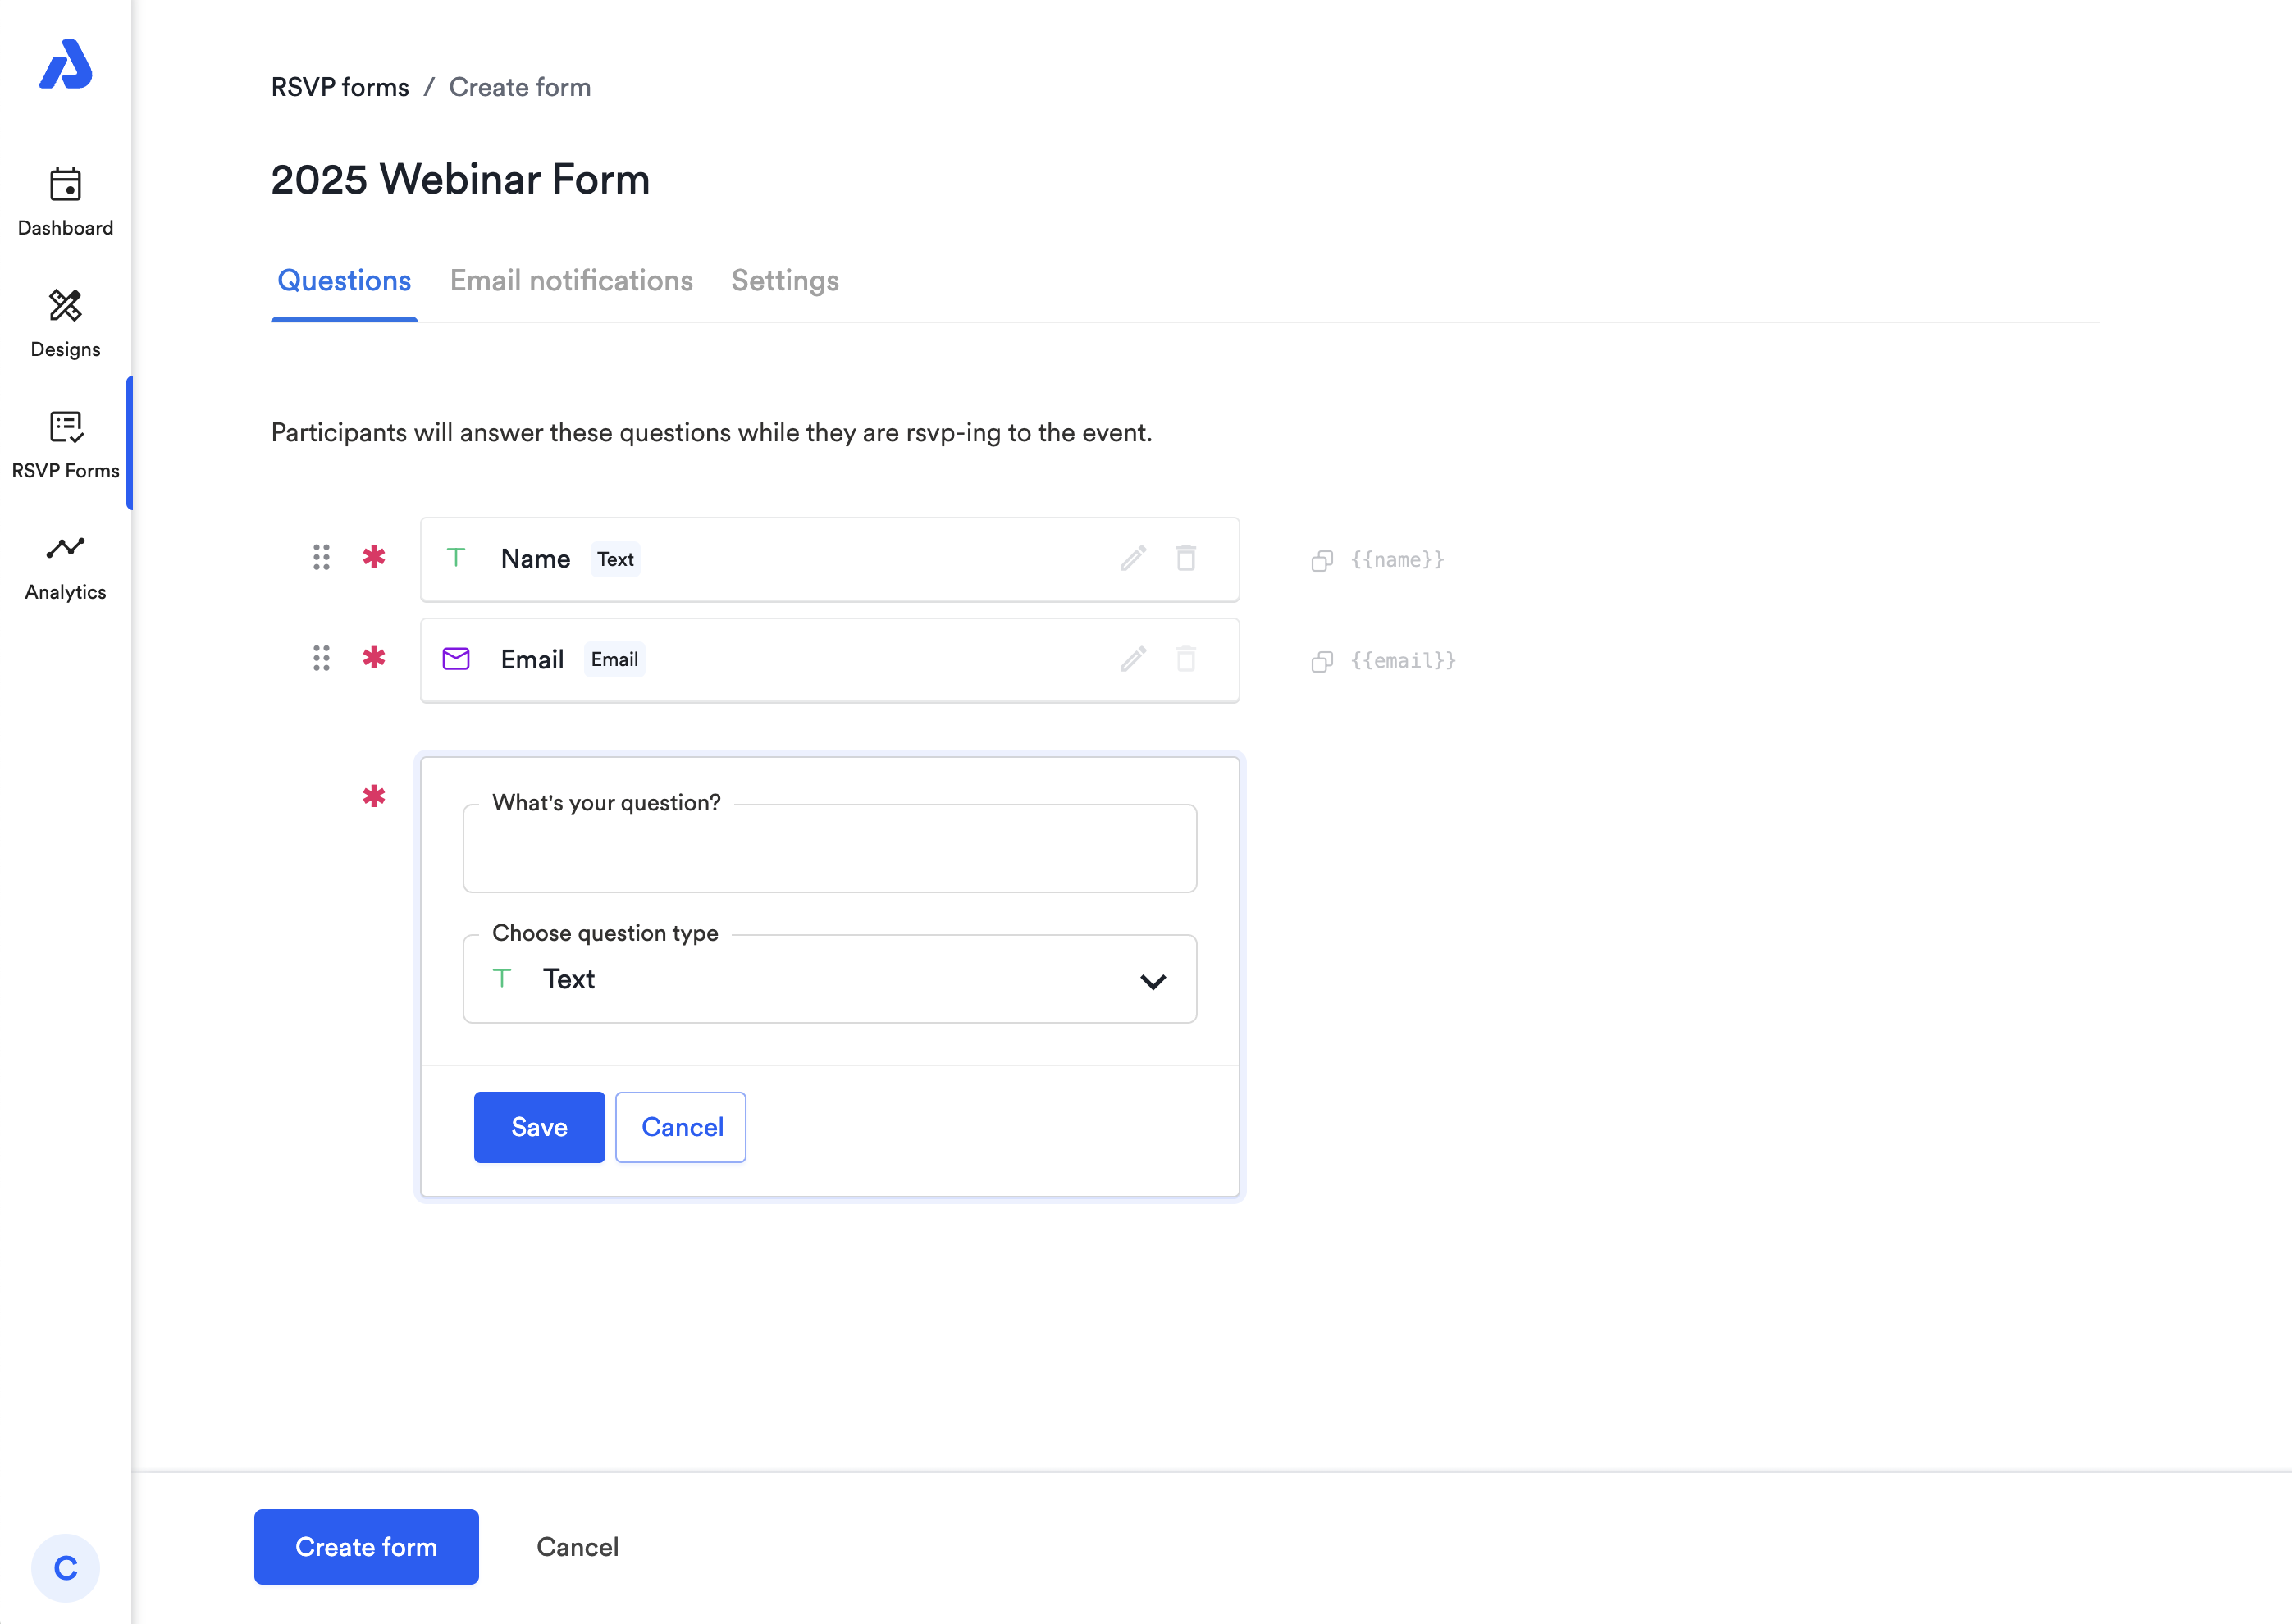
Default fields include Name and Email.
-
To collect more information, click the + icon. You can choose field types (e.g., text, dropdown) from a drop-down menu and add as many custom fields as needed.
-
To make a field required, click the red
*asterisk icon next to the left of the question that you're editing.Note: The Custom HTML field is intended for visual tweaks to the RSVP form (e.g. divider lines, custom spacing, etc.), and is not tied into the data stream that gets saved to the registrant list (unlike all of the other fields). This means that while it is possible to create an input field in the Custom RSVP form using the Custom HTML field, any answers put into that input field will not be recorded or saved.
-
Delete RSVP Form Fields
To delete a form field, select the trash can icon located to the right of the field:

Deleting a field will remove all associated data in your events. Please note that this deletion cannot be undone.
Assign the Custom RSVP Form to an Event
Once you’ve created a custom RSVP form, assign it to your event by following these steps:
-
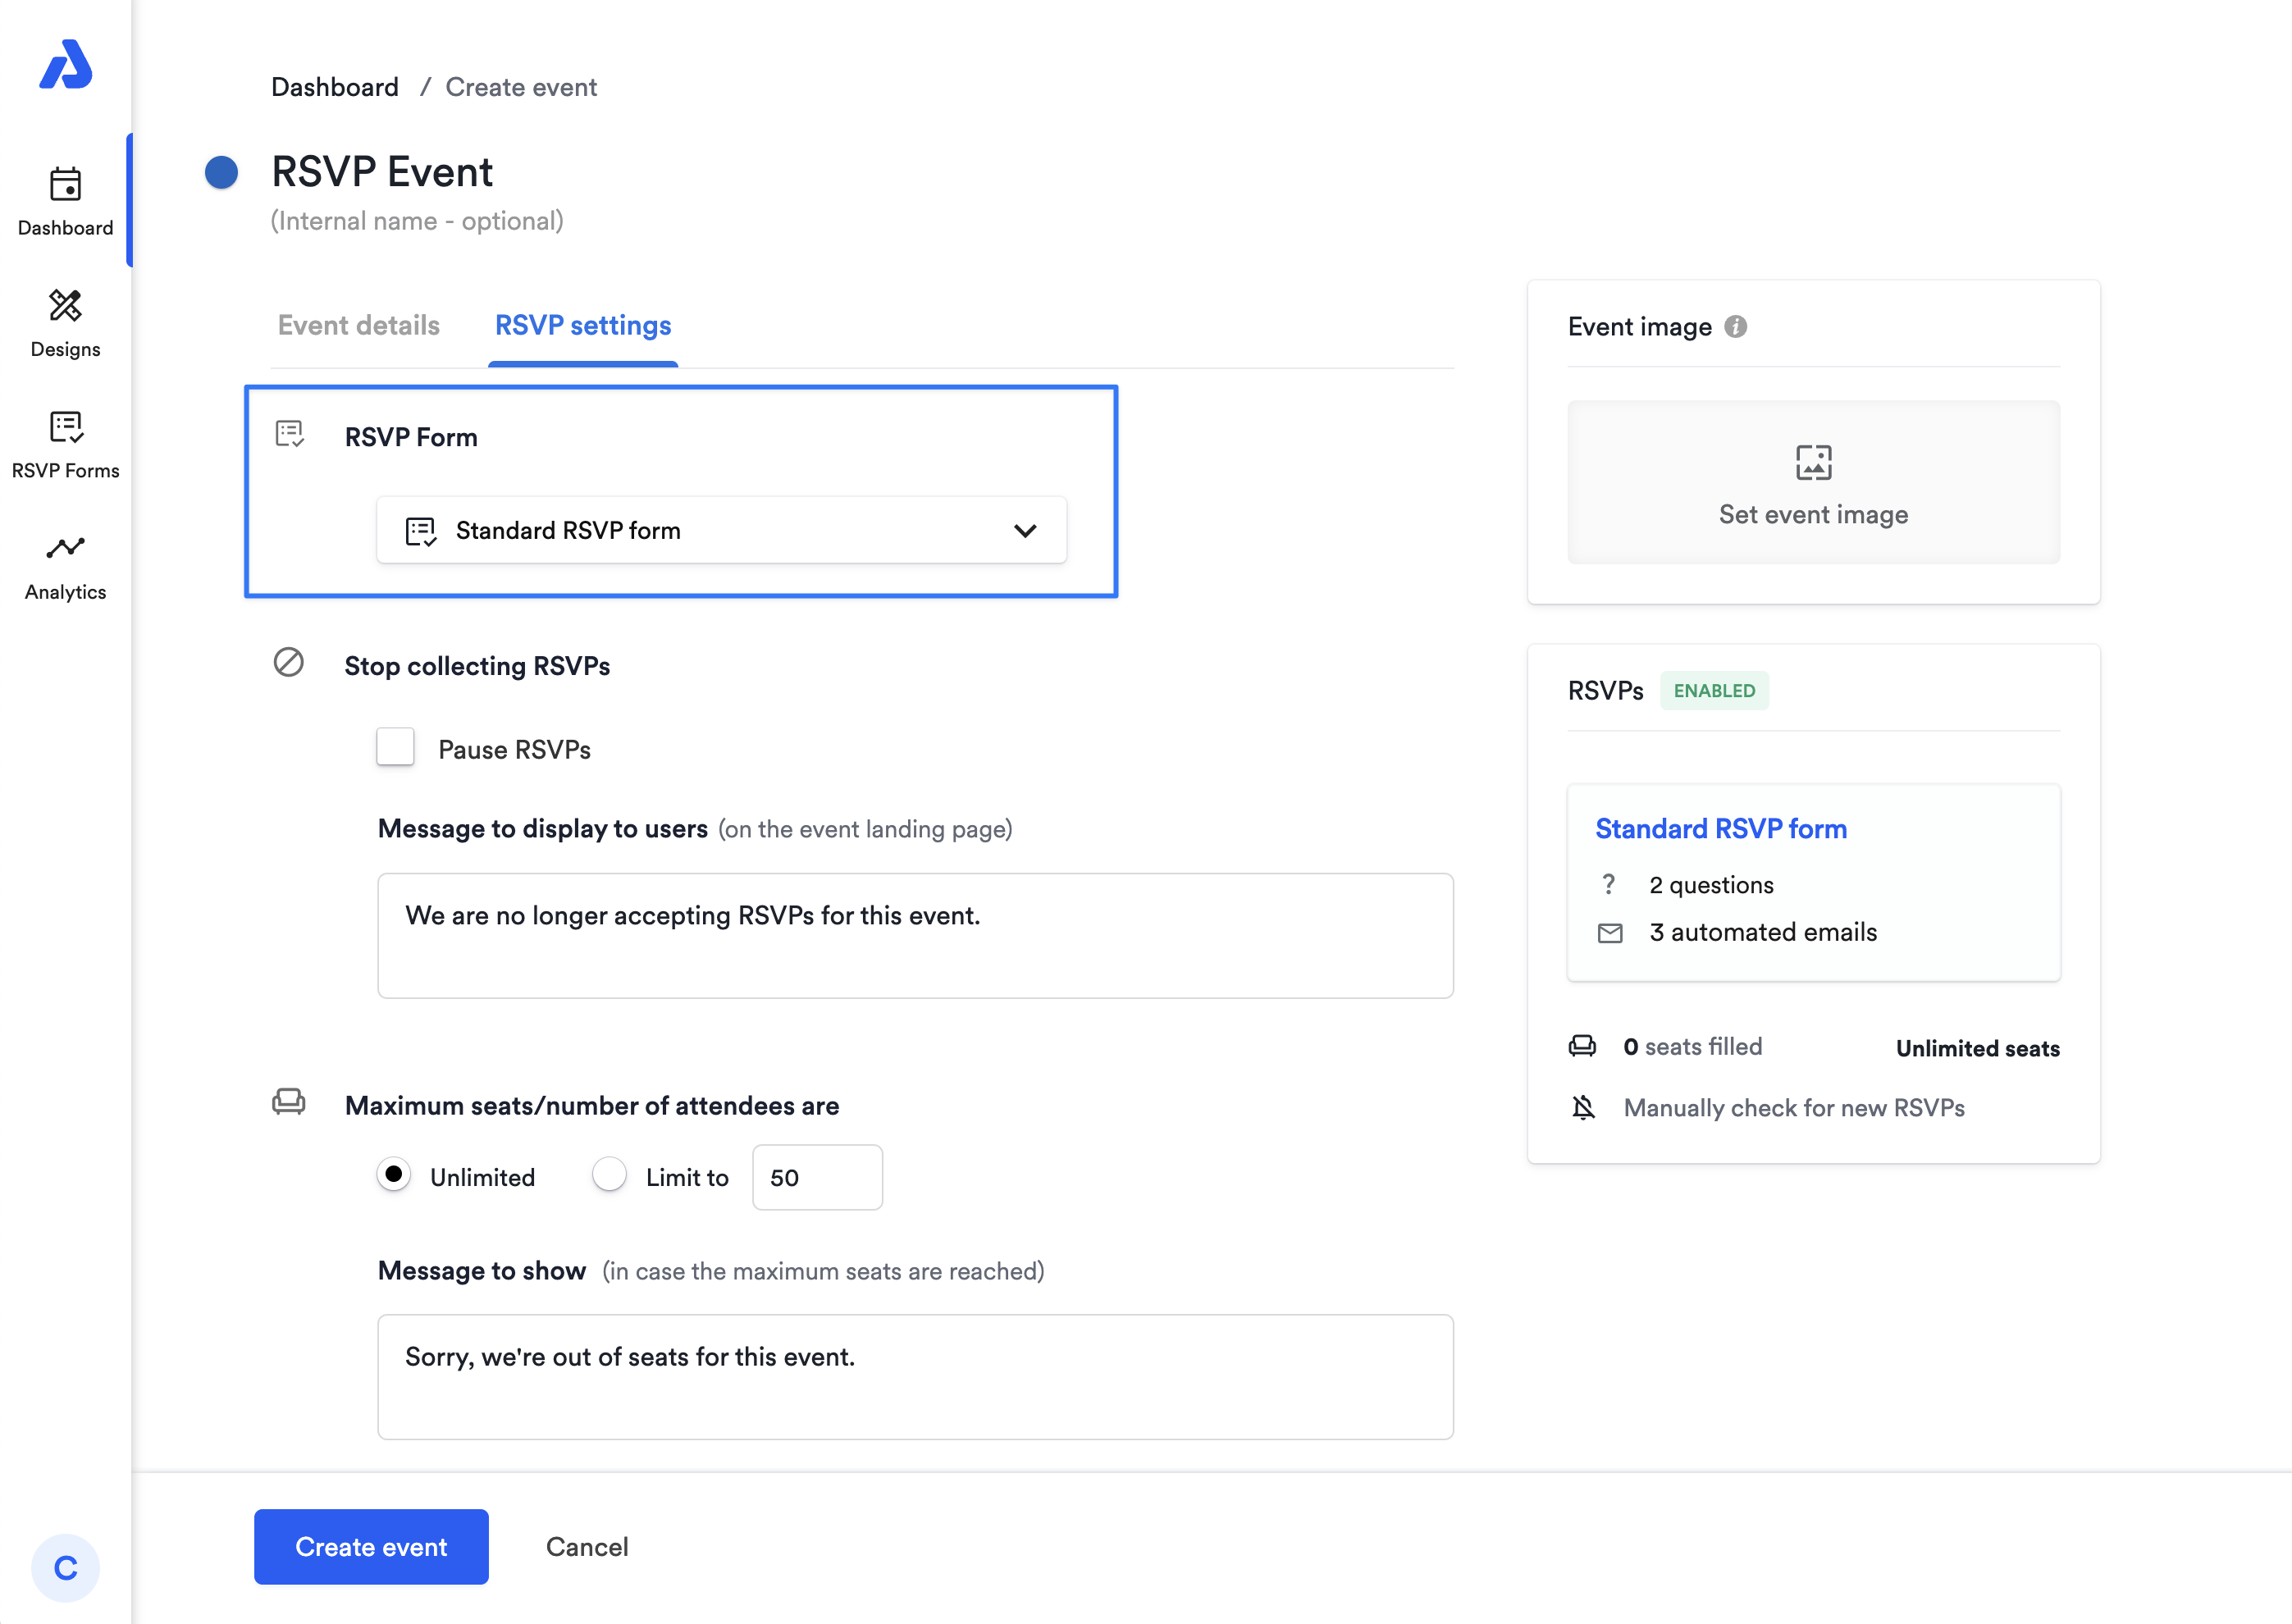
Go to your event page and click More actions, and then Edit.
-
Click the RSVP settings tab
-
Click the dropdown menu in the RSVP Form section
-
Click Save Event. Voilà! You're ready to share your custom RSVP form!
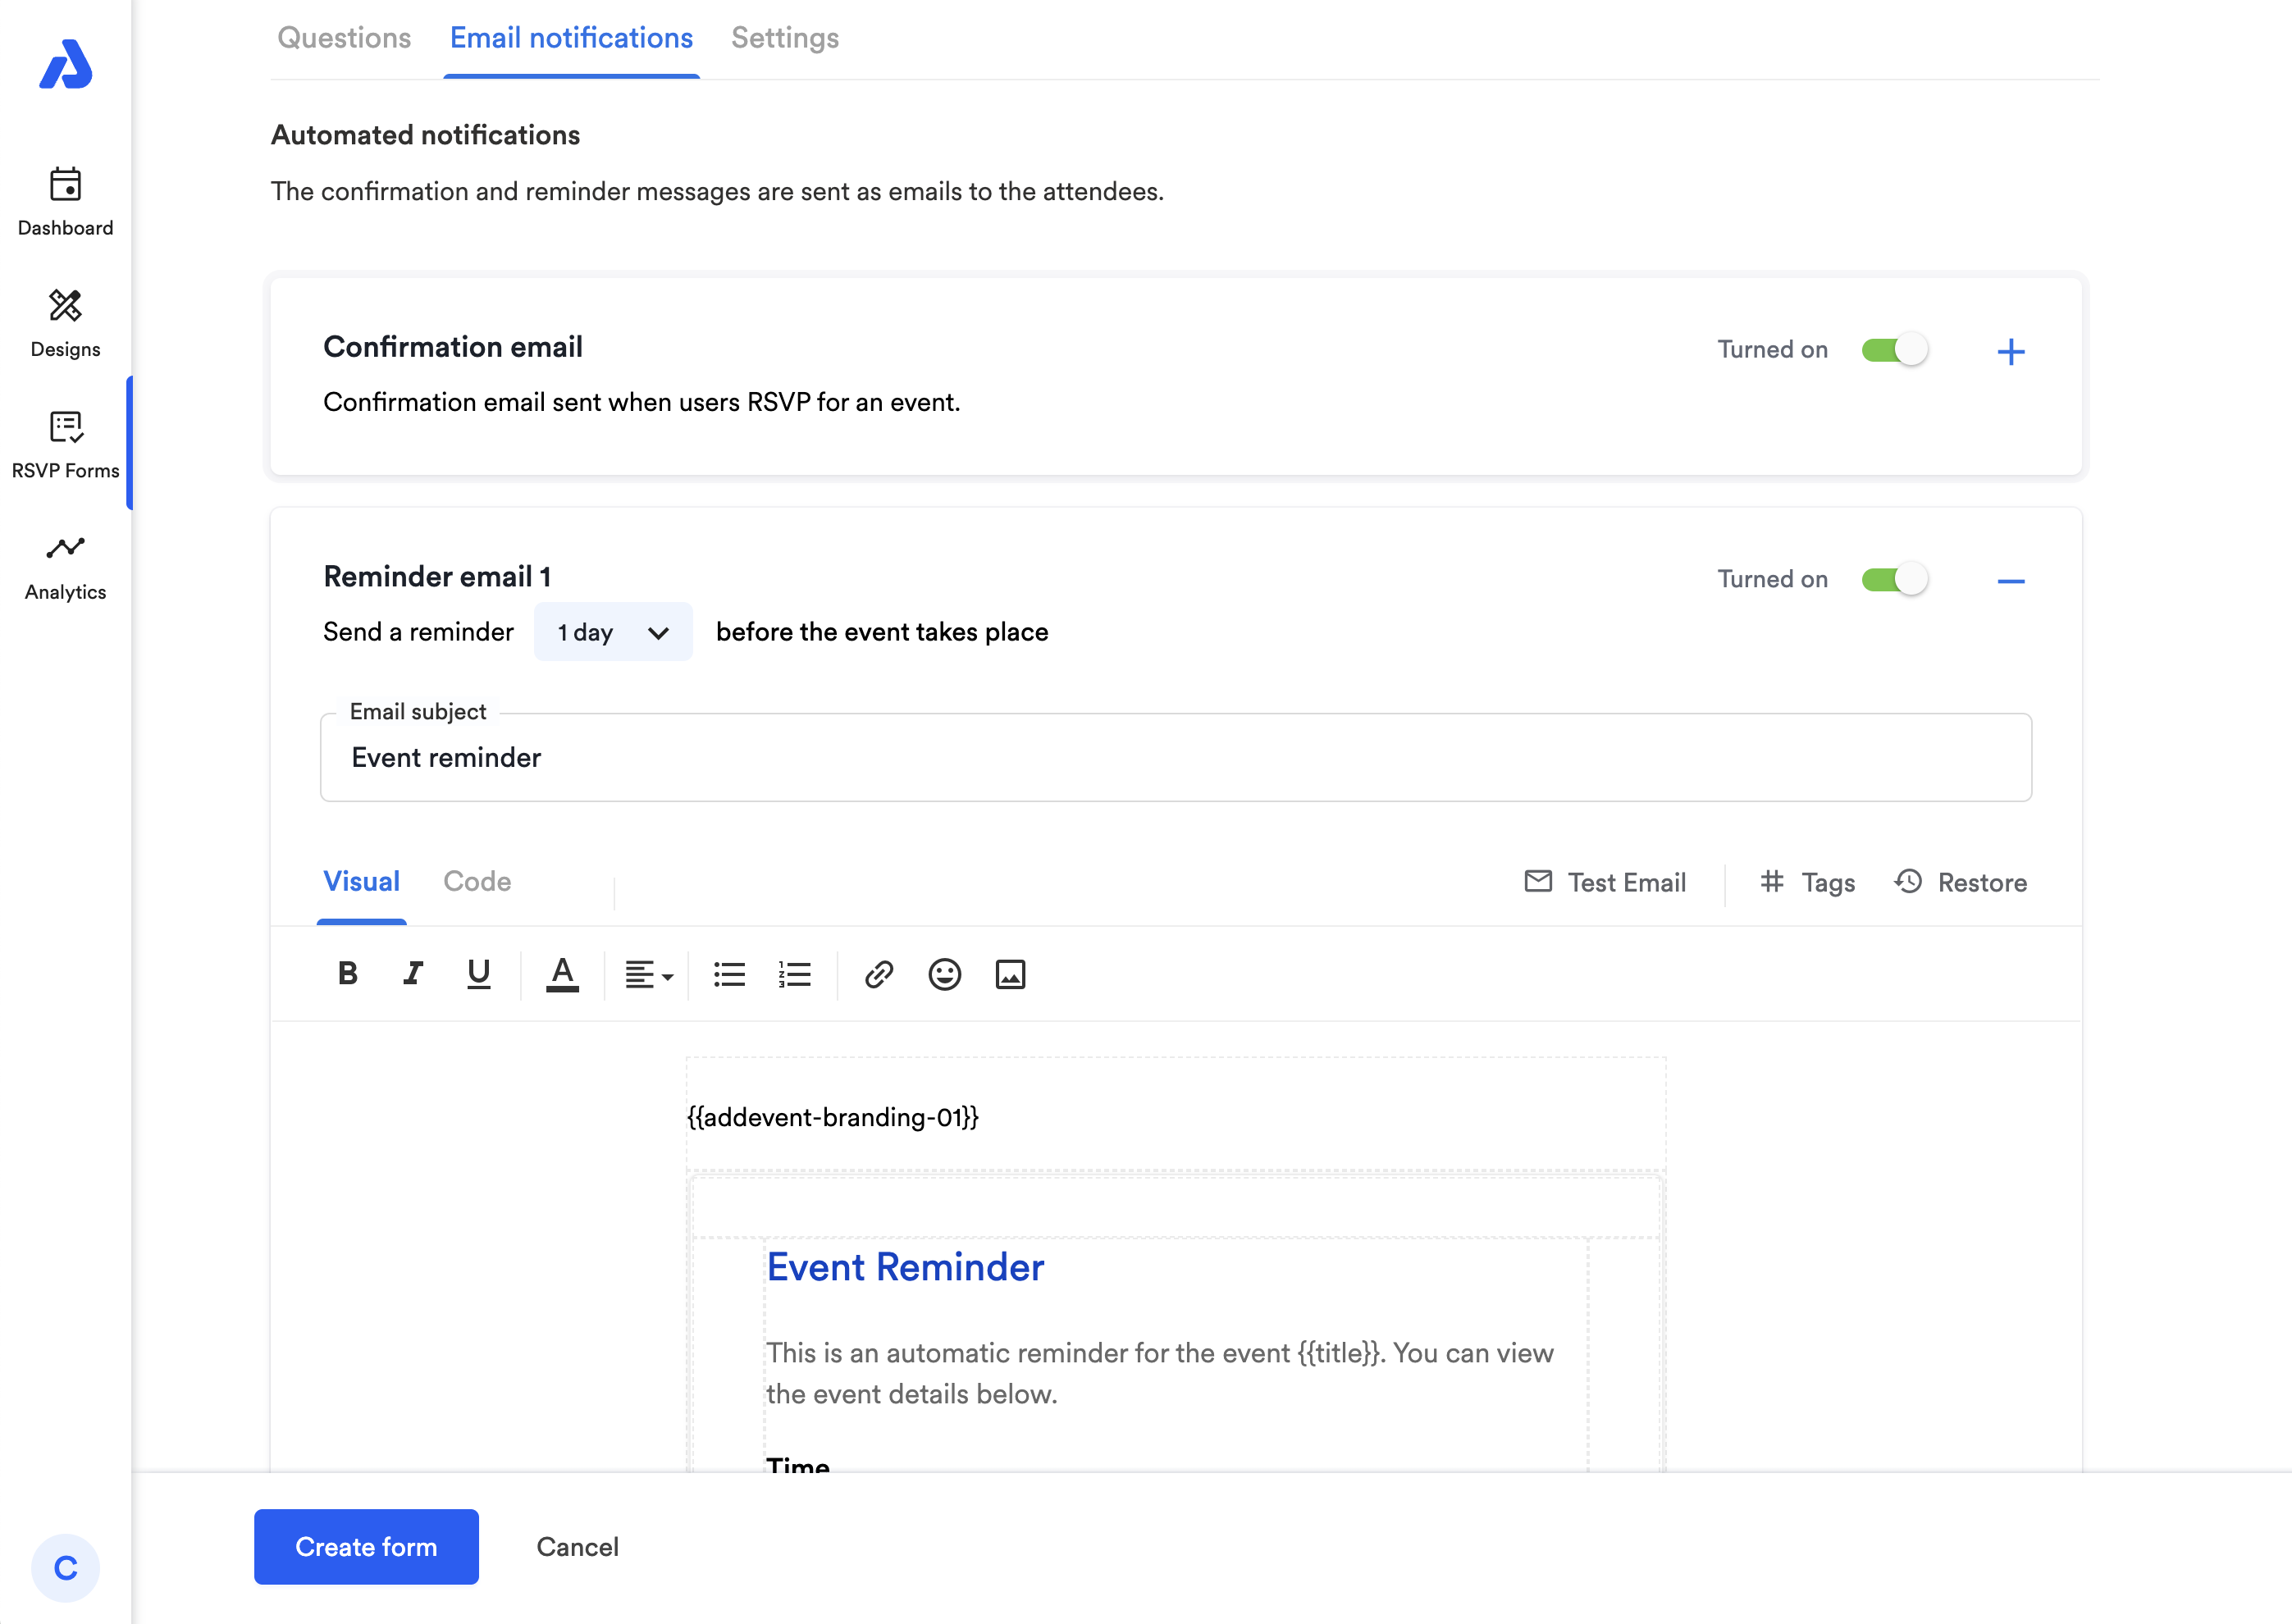
Automated Messages and Reminders
Each custom RSVP form includes automated messages and reminders to keep attendees informed. These emails are customizable, allowing for specific designs and languages. For more information on how to customize the automated RSVP emails, check out this help doc.
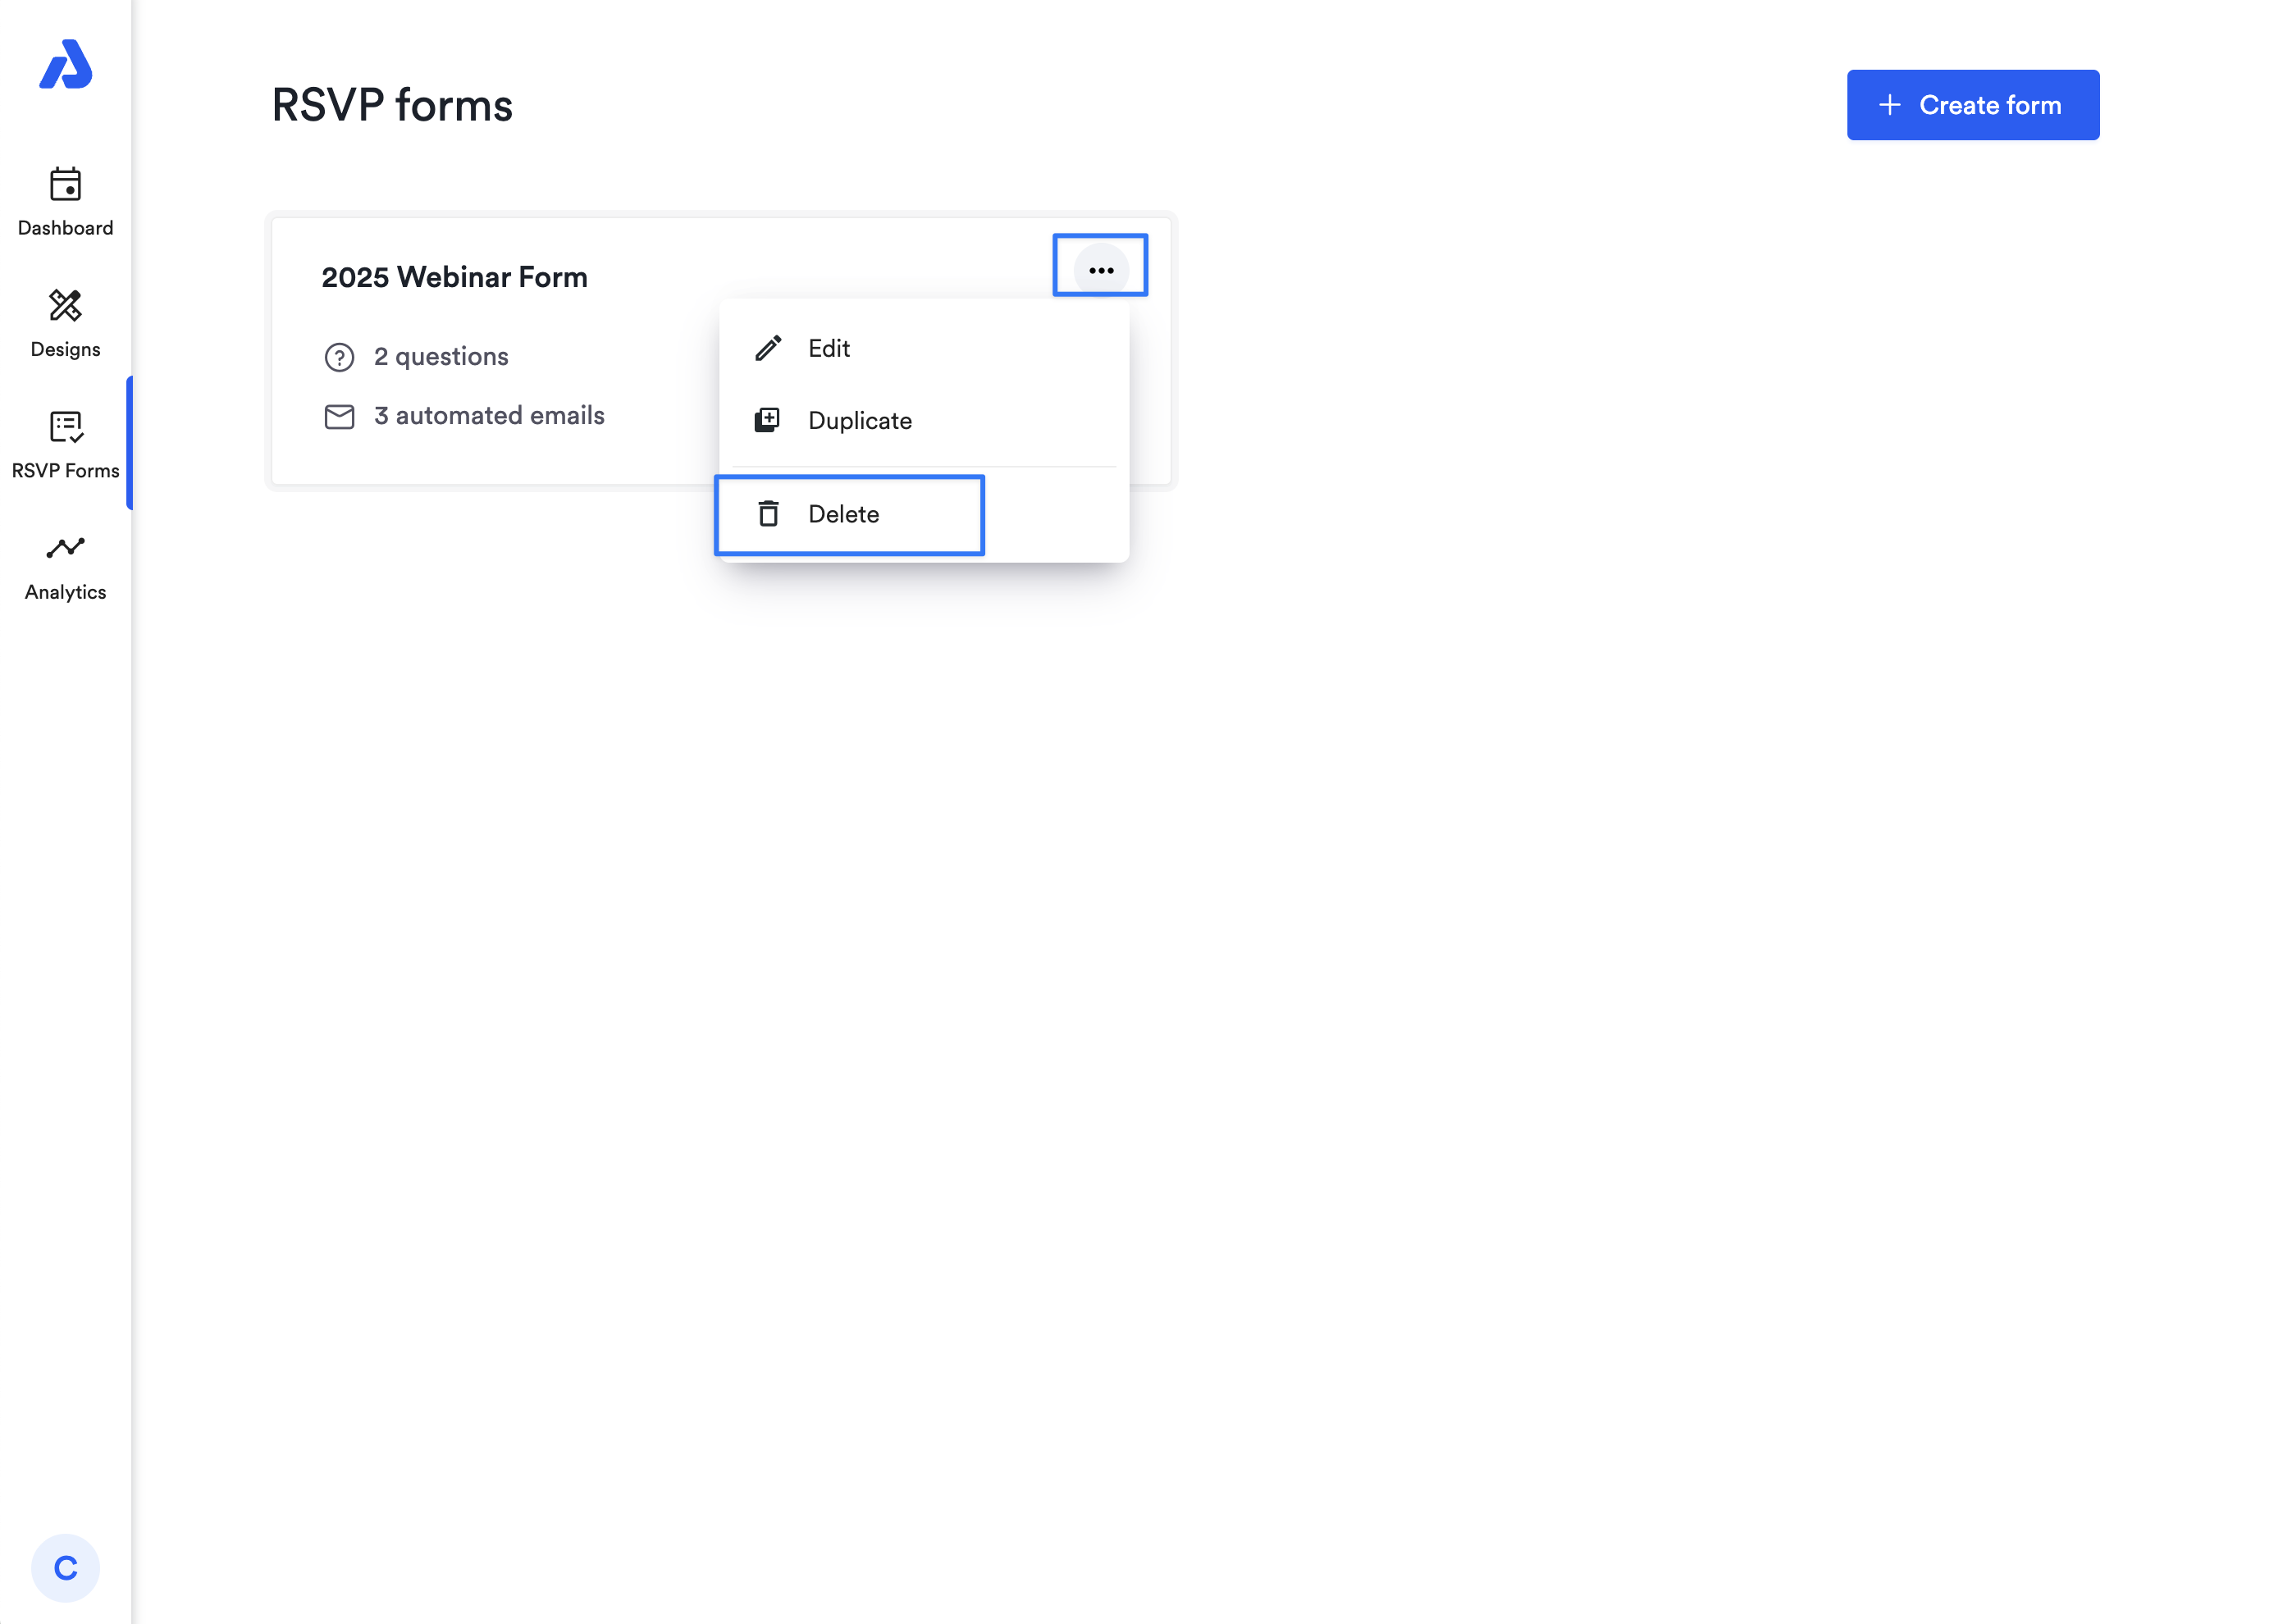
Delete an RSVP form
To delete a custom RSVP form for an event:
-
Open the RSVP Forms page
-
Find the form you want to delete and click the three dots.
-
Click the Delete button
-
Type the word "Delete" into the box to confirm you want to delete the form, then click the Delete button to finish the process.
Updated 2 months ago