Jump to the Next Upcoming Event Automatically
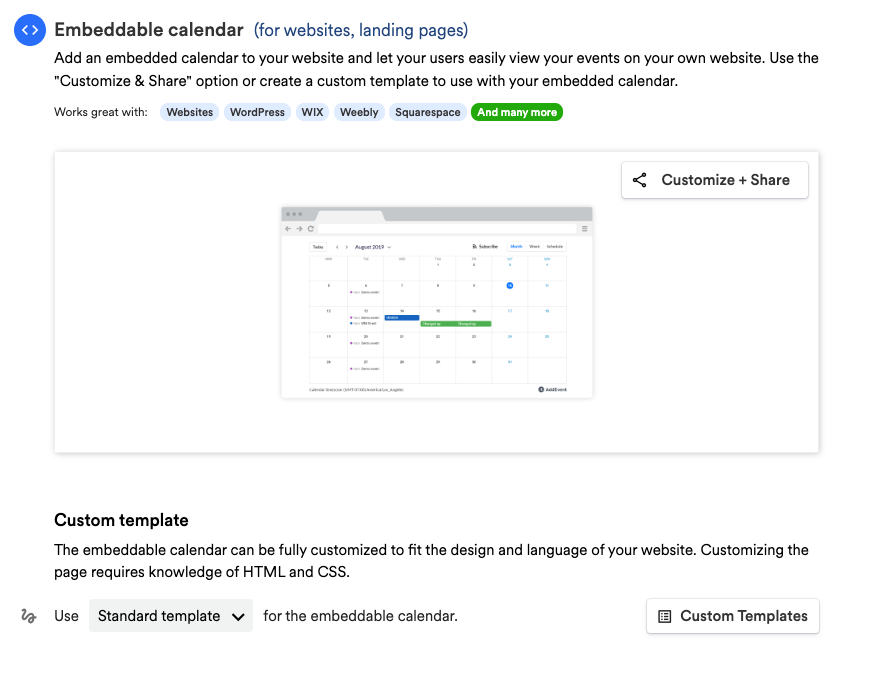
Embedding a calendar into your website or landing page is a great way to provide your users with a visual and functional overview of the upcoming and past events for this month. However, with a custom template, you can have your calendar display the month or week of the next upcoming event. This customization is useful if you have a season or month with no events and want to avoid displaying an empty month on your calendar.
New and Improved Feature!
Custom Templates are no longer available in AddEvent 2.0. This is because we've built design templates. Design templates are a no-code feature allowing you to customize your event landing pages, calendar landing pages, and embeddable calendar. Please check out the Embeddable Calendar Landing Page Designs help section for details.
Creating a Template
-
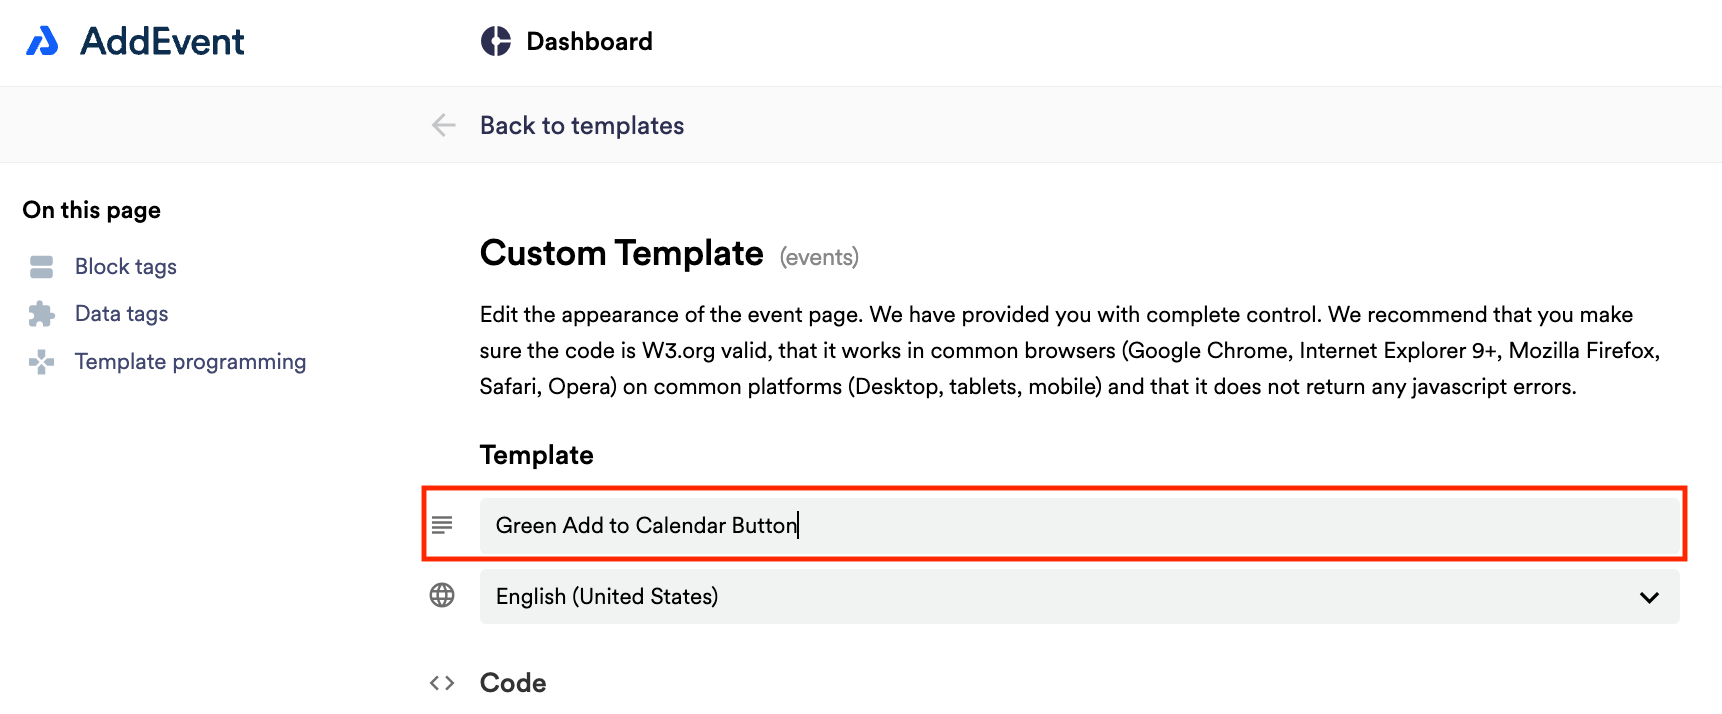
Scroll down to the sharing method, Embeddable Calendar. Create a custom event landing page template by clicking Custom Templates in the app and clicking + New Template. Add a name for the template.
Editing the template
To change the month shown by the embeddable calendar, you will need to replace with the ended values the block tags that specify the month (for monthly view) or week (for weekly view).
You don't need to change all values simultaneously; if you only need to change the month - you can leave the week as is and vice versa.
Replacing the Month (for Month view).
-
Find parameter
data-month(the value is set to block tag{{month-now}}by default) in the Code section: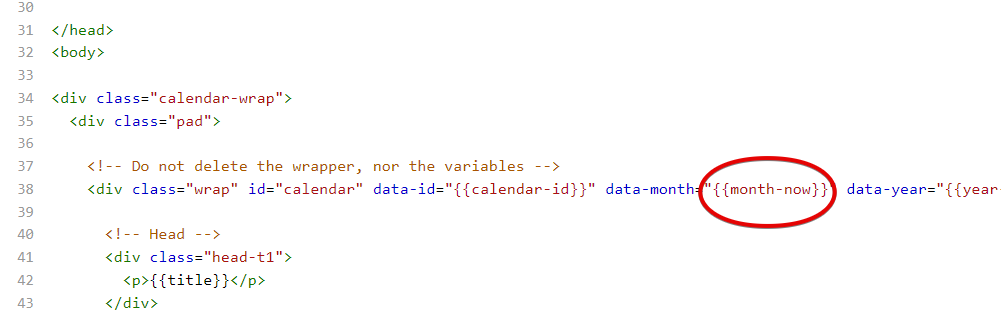
-
Replace the value with the
{{upcoming-month}}block tag to set the month of the next upcoming event as the displayed month for your embeddable calendar. Or, replace it with the month number (from 1 to 12) to set a specific month.
Replacing the Week (for Week view).
-
Find parameter
data-week-start-date(set to block tag{{autoupdates}}by default) in the same line. There are two options you can replace it with; choose one of the options below:- If you want the week of the next upcoming event to be shown, you can replace the value with the
{{upcoming-week-start}}block tag. - If you want a specific week to be shown, regardless of the presence of upcoming events, you can specify the first day of a specific week you want to be displayed. You can specify the date in the format of mm/dd/yyyy, for example: 07/23/2024.
- If you want the week of the next upcoming event to be shown, you can replace the value with the
-
Once you've specified the upcoming week's start date, you need to do the same for its end date. Similarly, find the parameter data-week-end-date (also set to block tag
{{autoupdates}}by default) and change the value to:- Block tag
{{upcoming-week-end}}if you want the week of the next upcoming event to be shown. - Specify the last day of a specific week you want to be displayed. The format is the same as for the first day of the week.
- Block tag
-
Once all the needed block tags are replaced, click Save. You can also check how the calendar with the changes you've made will look by clicking View Template:

Applying the template
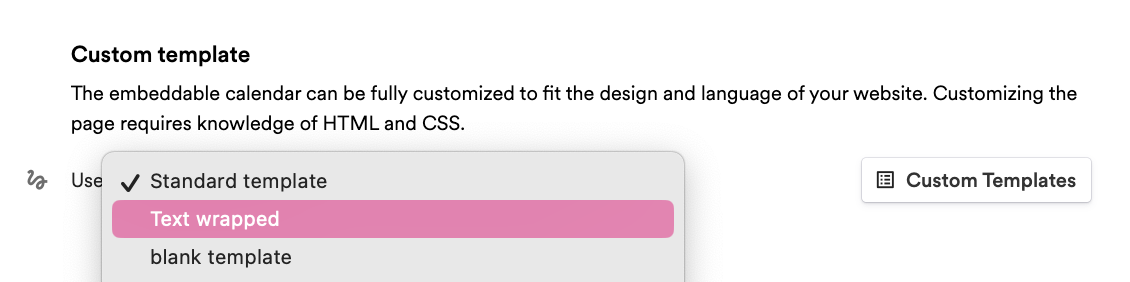
Once the template is saved, you can apply it to all the calendars you want to be using this template. This will be done on the calendar page.
-
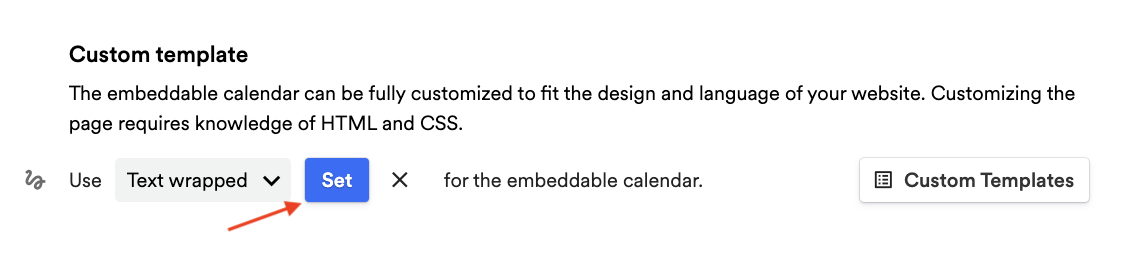
Please navigate to the Embeddable Calendar section of the calendar page, click the dropdown, and select the template you want to assign to the calendar.
-
Click Set and the template will be applied to the calendar.
Updated 5 months ago