Landing Page Links for Calendars
This help doc goes over each aspect of a calendar landing page. The calendar landing page is a great way to share your calendar on social media or any platform where you'd like to provide users with additional information about your calendar before they subscribe. It allows users to view all upcoming events and includes customization options to align the landing page with your brand or content needs.
Calendar Landing Page Overview
Calendar landing pages show the calendar's upcoming events, allowing your end-users to either follow/subscribe to the calendar. Users can also add individual upcoming events to their calendar and navigate to an RSVP event landing page to register for individual RSVP events from the Upcoming Events section on the calendar landing page.
How to Access and Share Your Calendar Landing Page
-
Click on the calendar's title from the Dashboard. You will be directed to the Calendar details page.
-
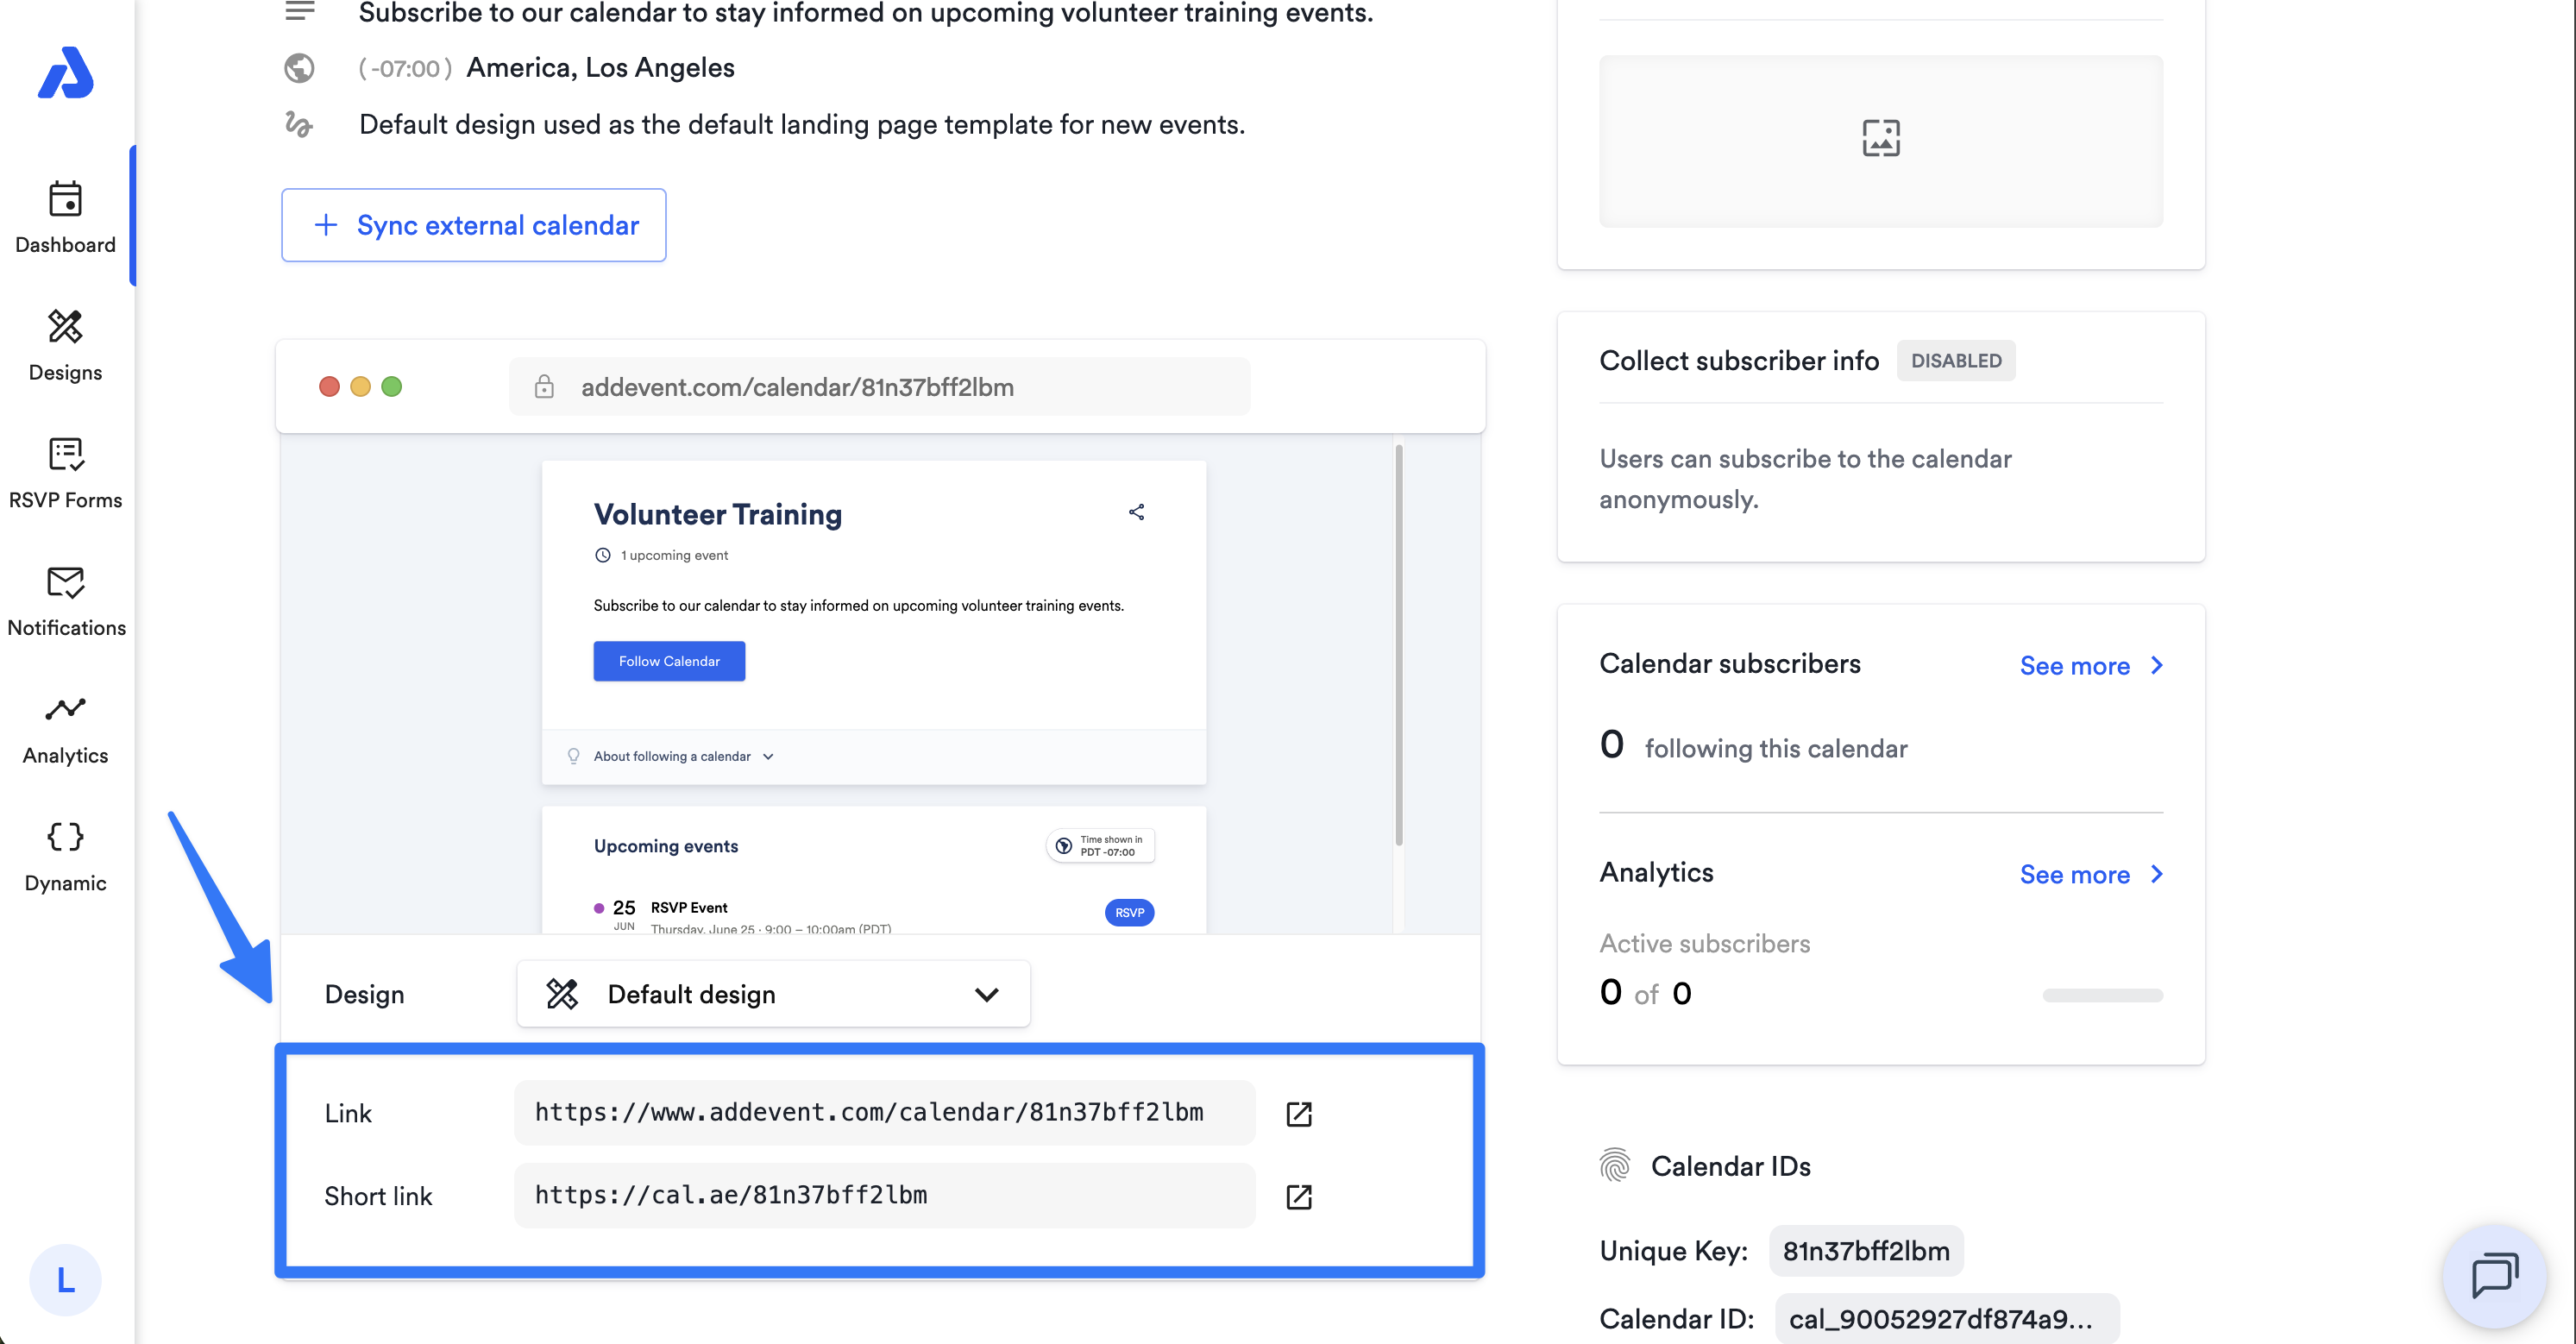
Scroll down to the calendar landing page preview section.
-
Under the Design dropdown, you will find two separate landing page links: full link and a short link. Both links direct your audience to the your calendar landing page.
-
Click your preferred link to copy it.
-
Share the link by pasting it in a text message, email, social media post, or hyperlink text.
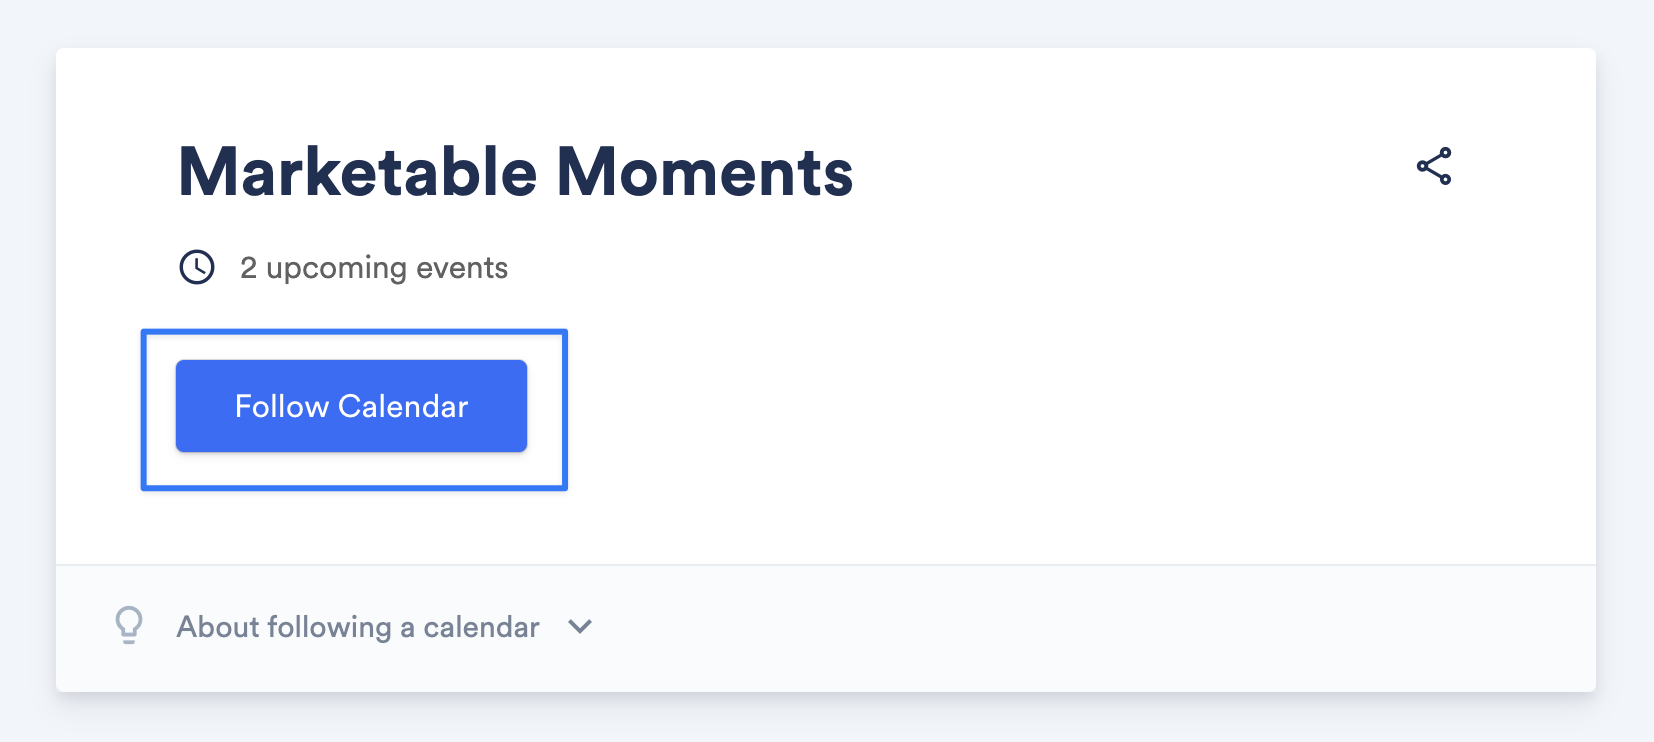
Using the Follow Calendar Button on the Calendar Landing Page
To allow your audience to subscribe to your subscription calendar and add it to their external calendars from the calendar landing page, follow the below steps:
- Direct your audience to the Follow Calendar button on your calendar landing page.
- After clicking the Follow Calendar button, subscribers can select their preferred calendar platform and add all events from your calendar to their external calendar service. The subscription calendar will be displayed on their calendar service
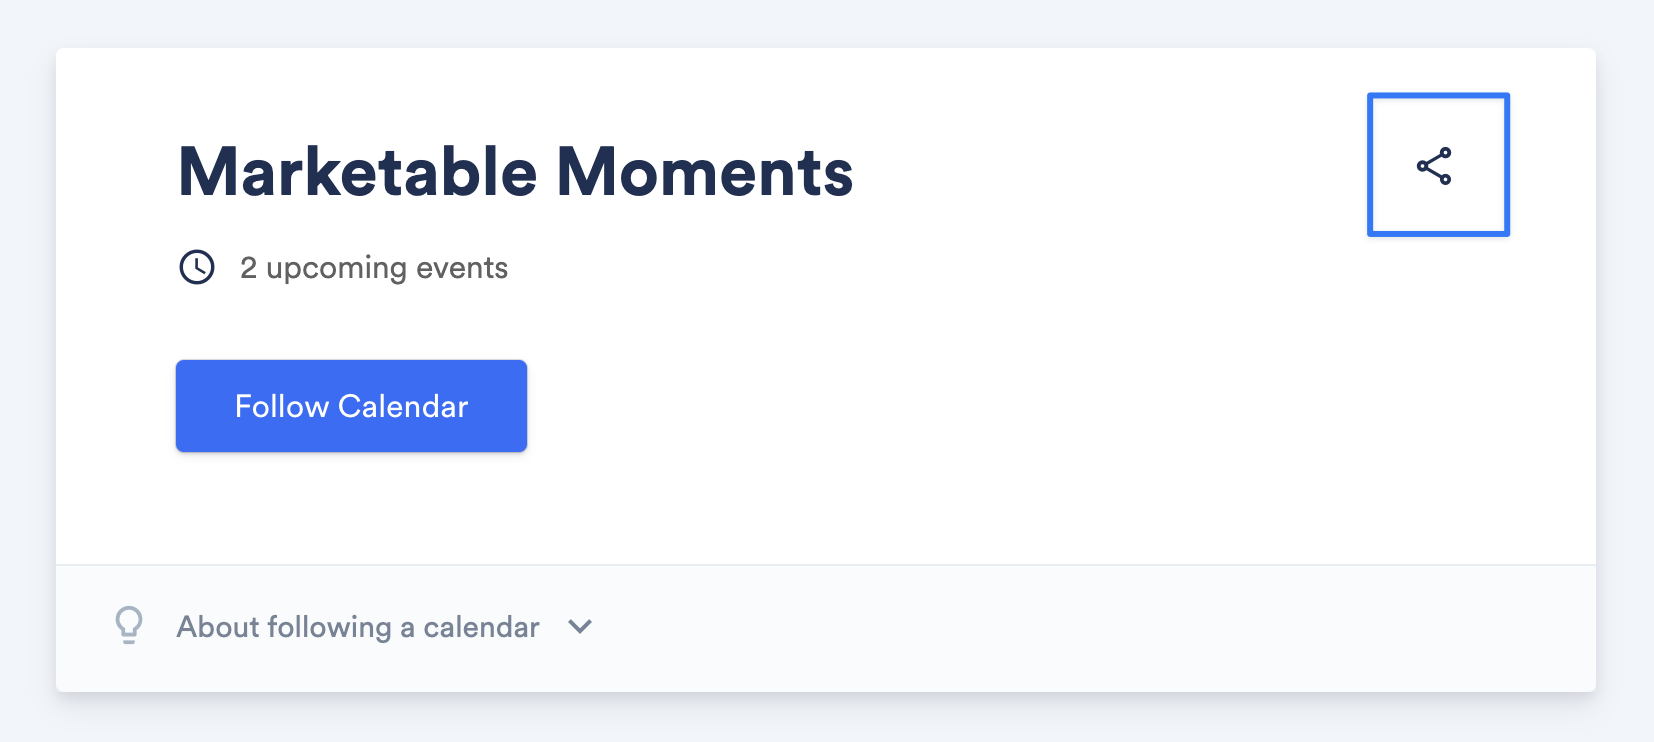
Using the Share Button on the Calendar Landing Page
The share button on your calendar landing page makes it easy to share your calendar directly on social media platforms like Facebook, Twitter, and LinkedIn. Click the Share button, choose the social media platform, and follow the prompts to post your calendar page.
How Users Subscribe to a Calendar - Anonymous or Sharing Information
When users click the link corresponding to their preferred calendar service, they will be redirected to that service with an option to subscribe to (or follow) your calendar. Here are two options for handling calendar subscribers:
- Anonymous Subscribers: If you enable anonymous subscribers, users are sent directly to their calendar service to add the events. They won’t need to provide any information before subscribing.
- Collect Subscriber Information: If you prefer to gather subscriber information, users will first be redirected to a calendar landing page. Here, they’ll be prompted to provide details (like name or email) before they can subscribe. Click here for more instructions on how to collect subscriber information.
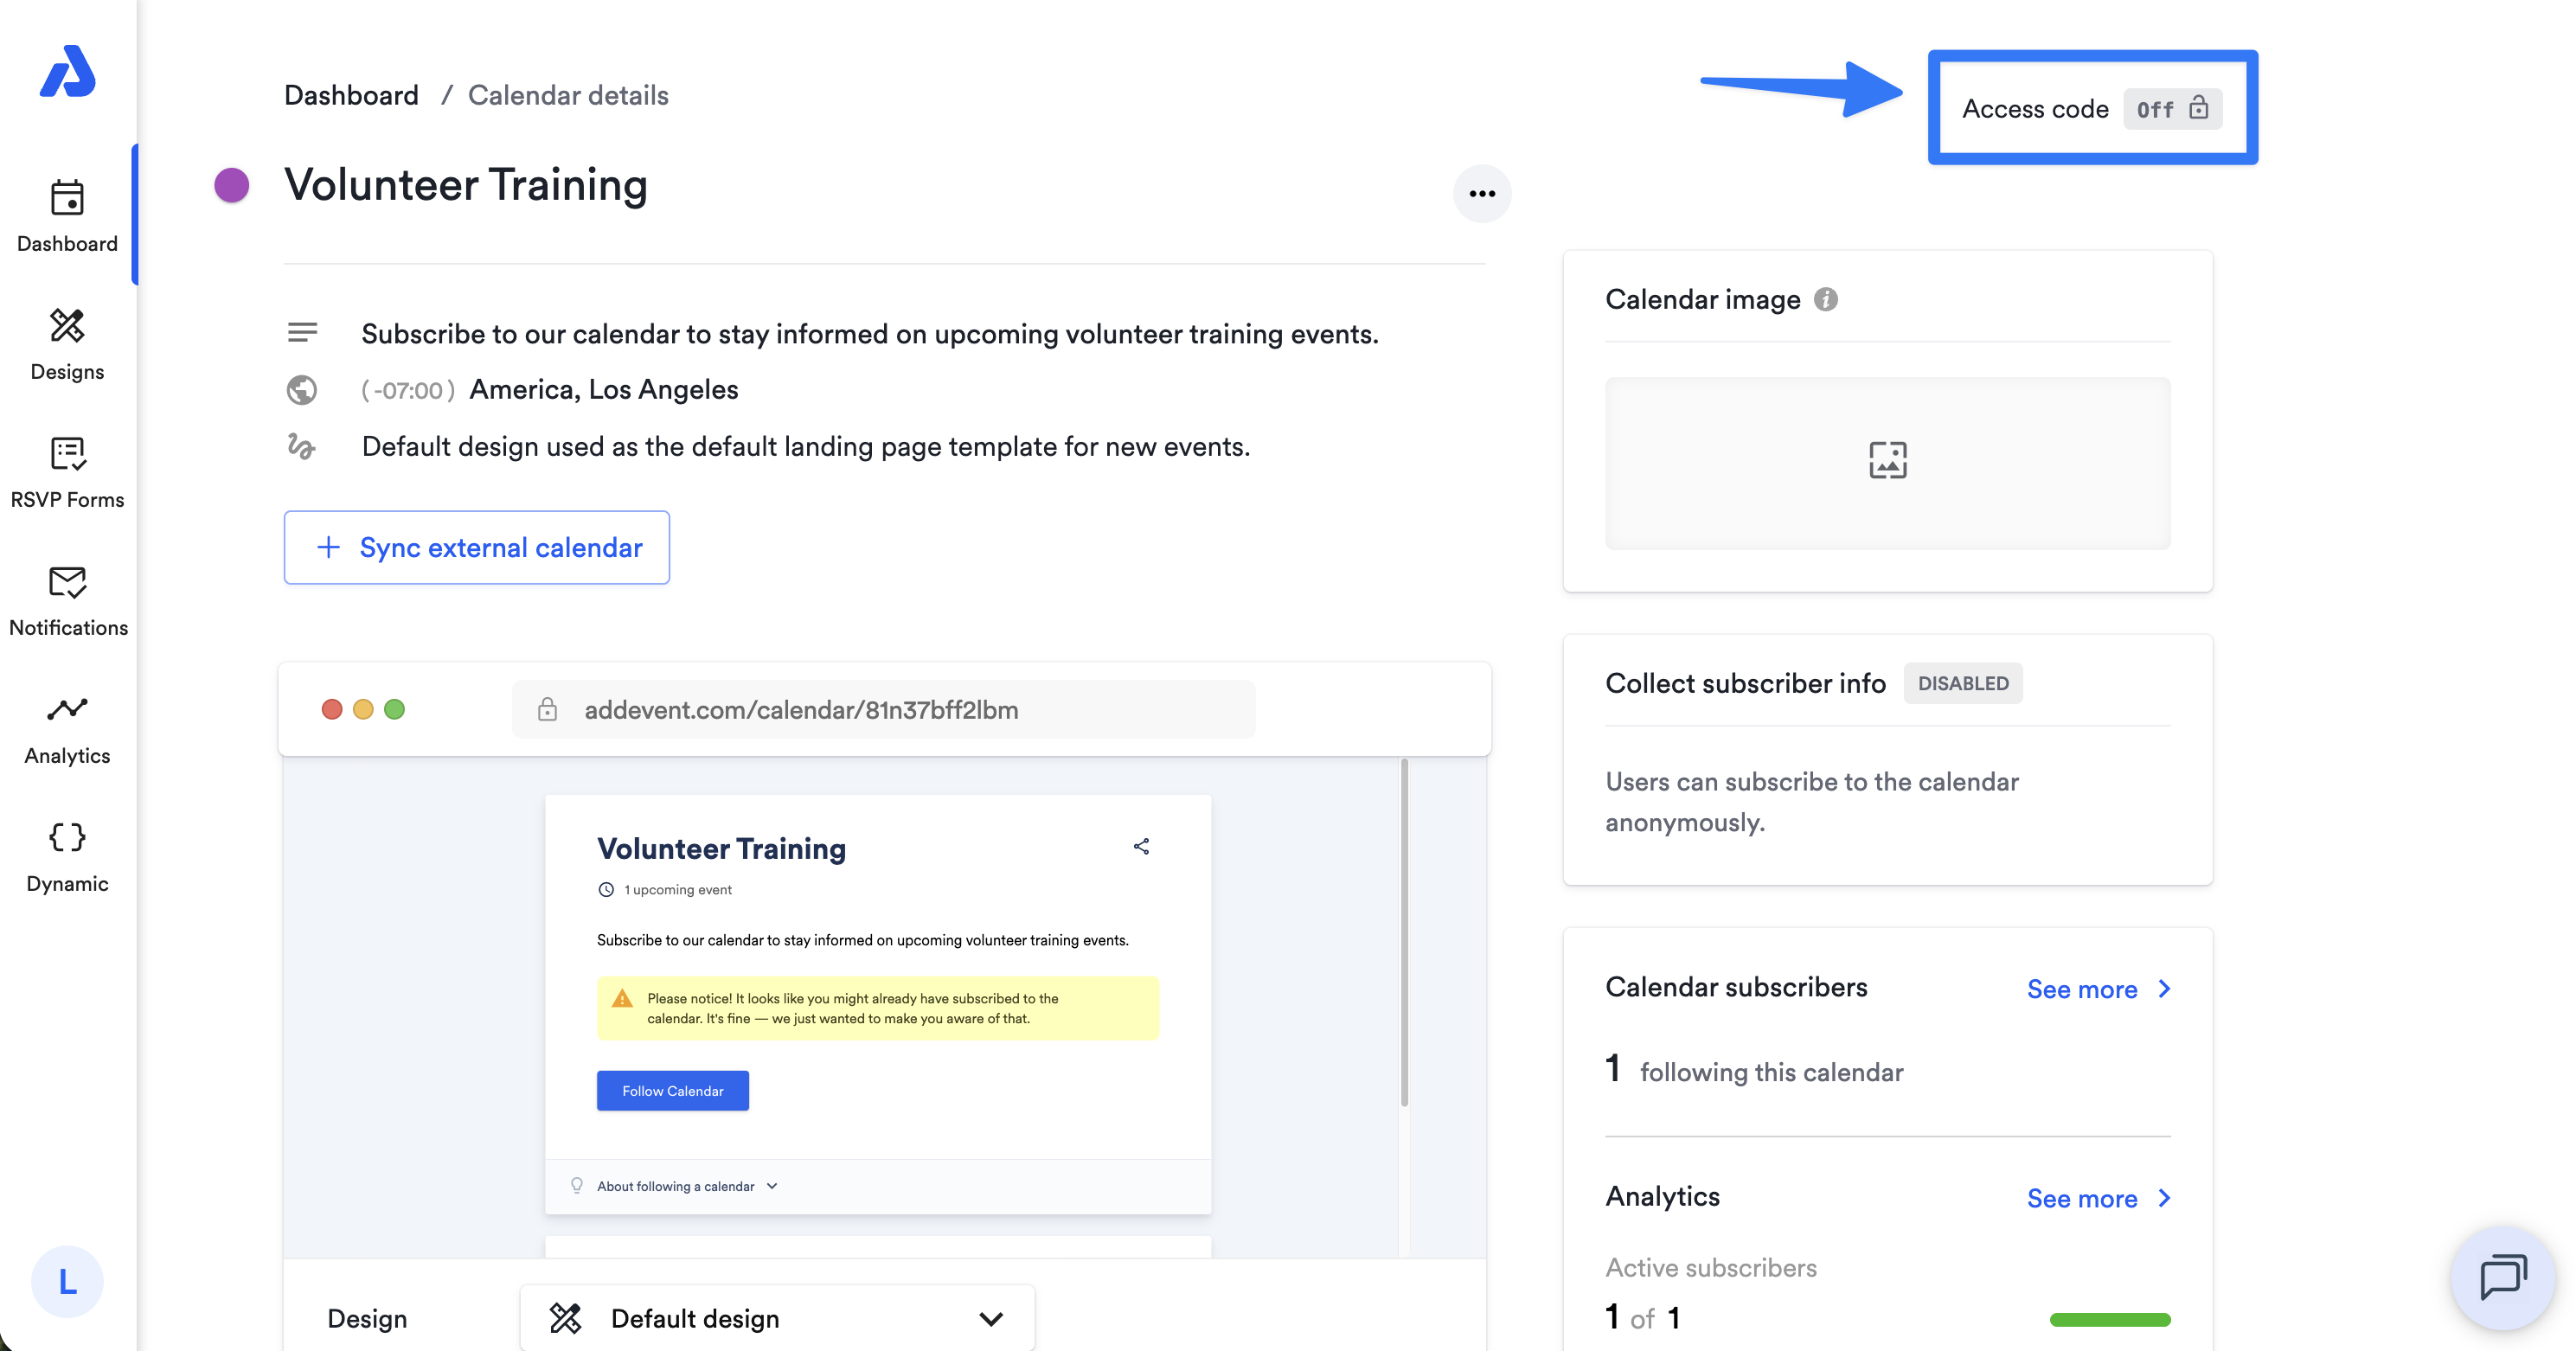
How to Apply an Access Code to Your Calendar Landing Page
Requiring an access code provides additional privacy, allowing only those with the code to view your calendar's details, view upcoming events, and subscribe to your calendar.
-
Click on the calendar's title from the Dashboard. You will be directed to the Calendar details page.
-
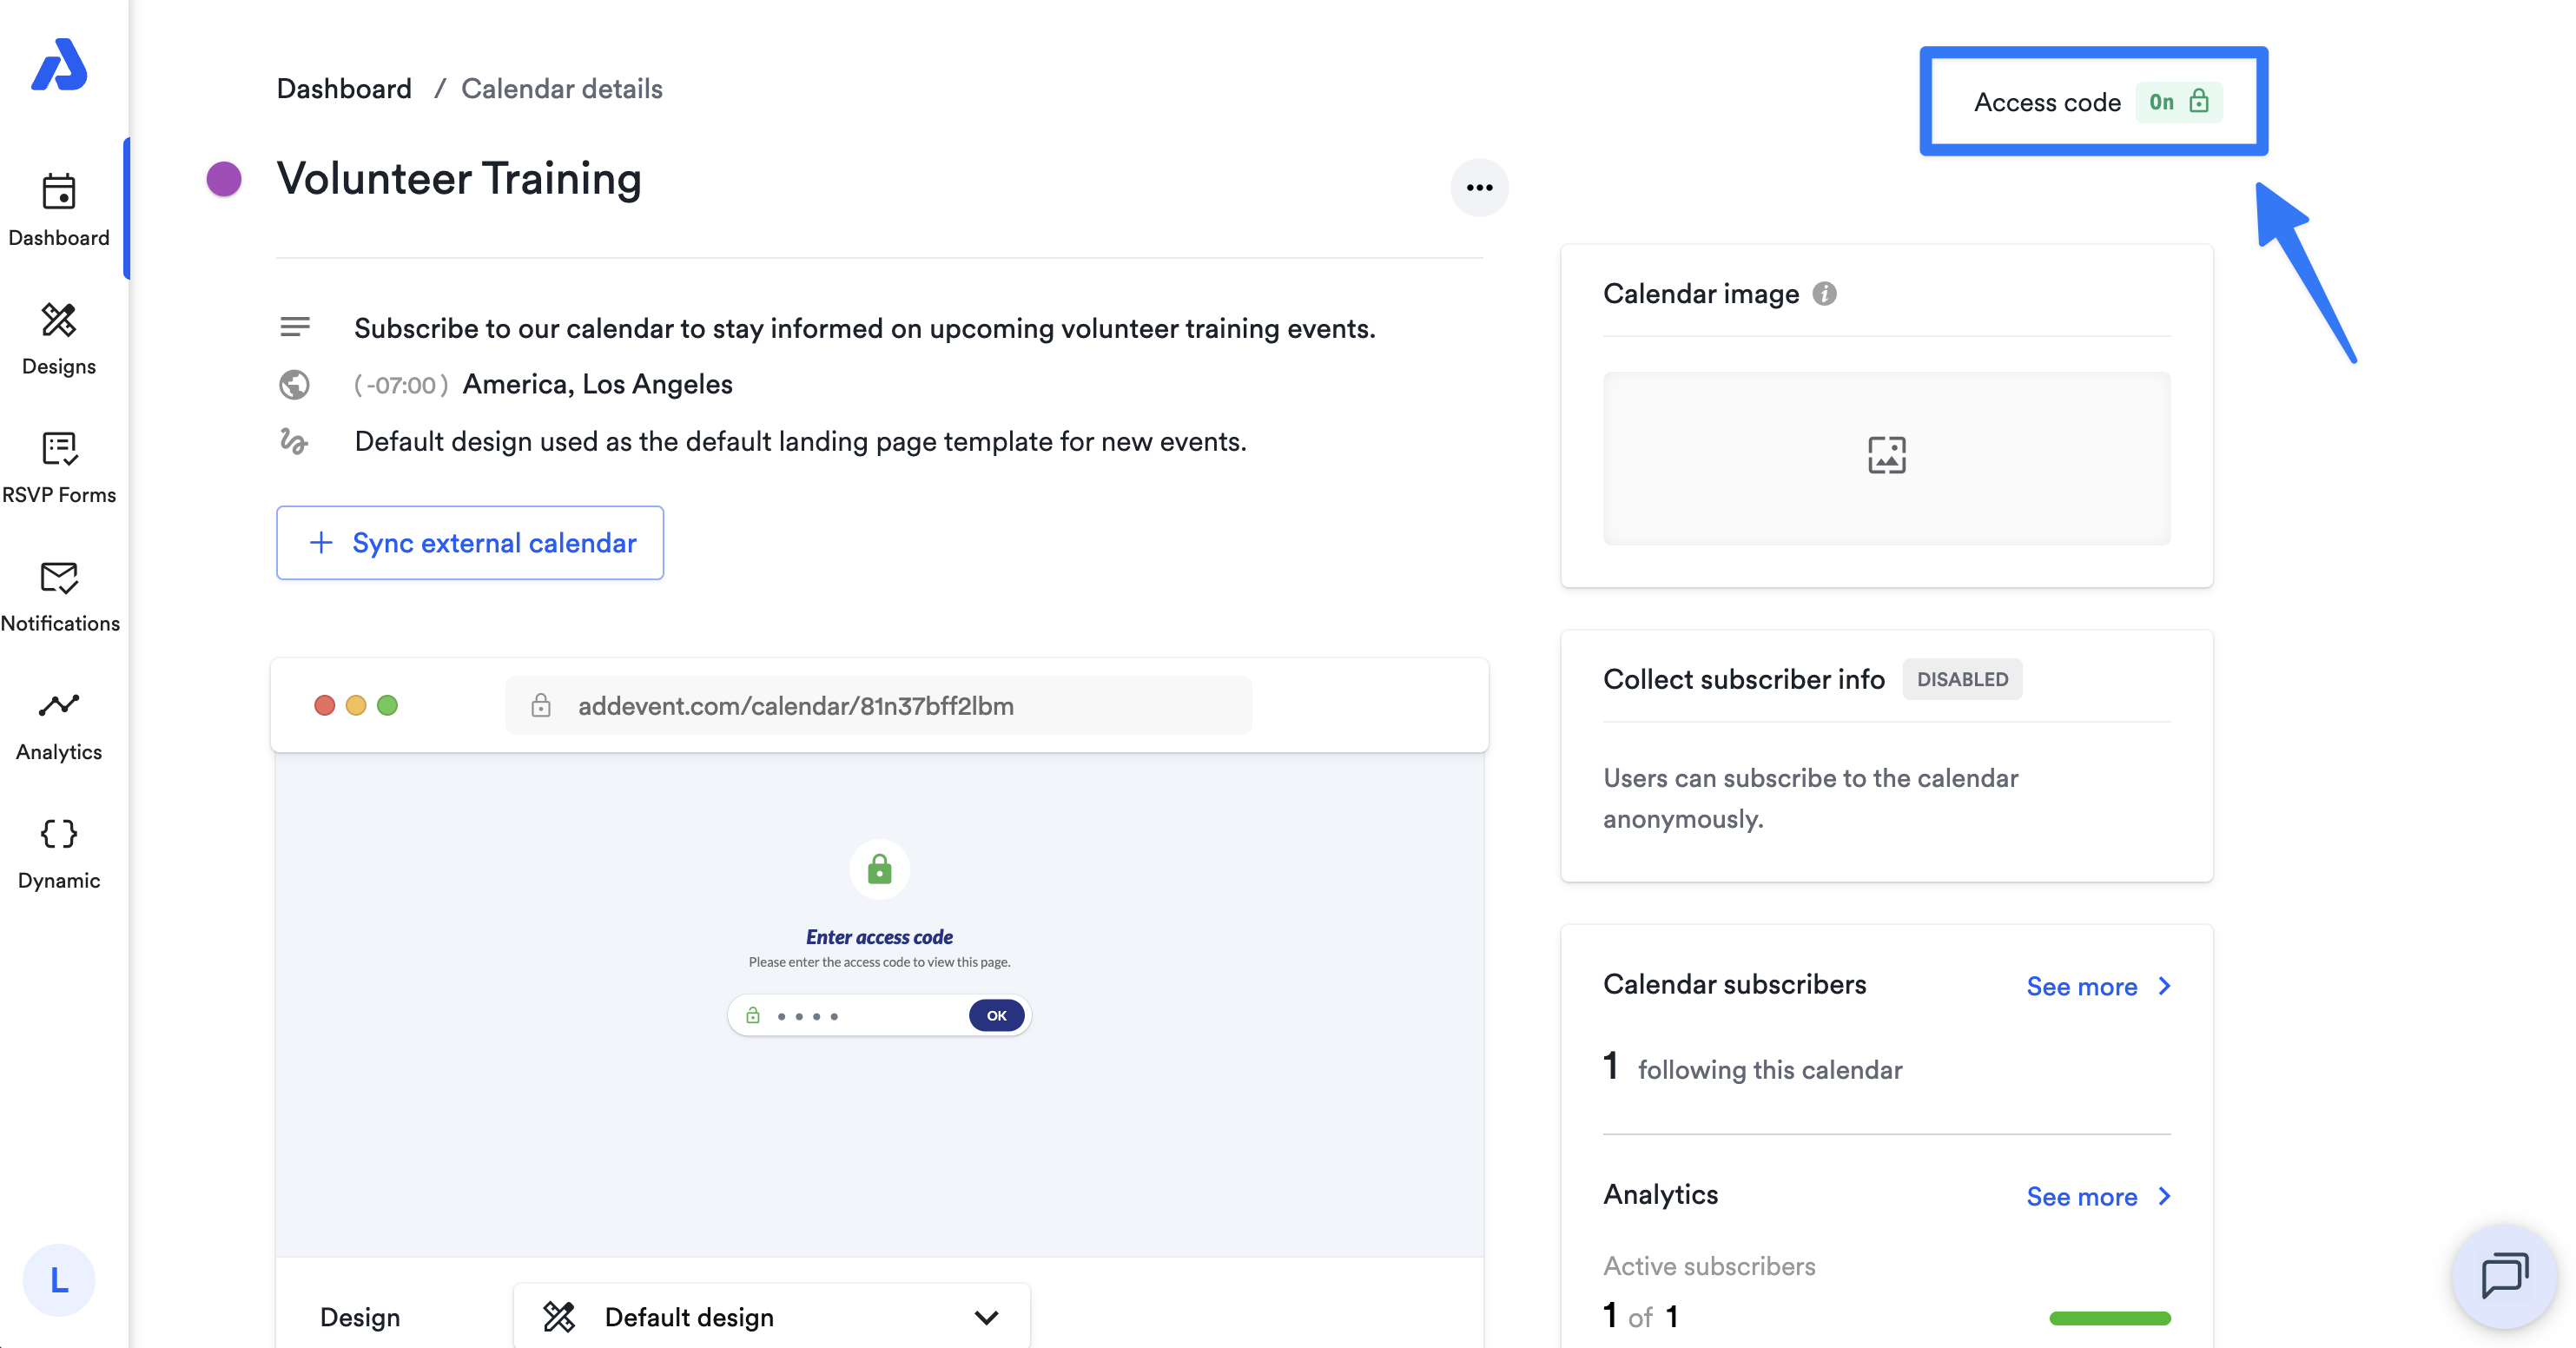
On the top-right corner of the Calendar details page, click the option for an Access code.
-
Toggle the access code switch to the On position and input an access code in the field below.
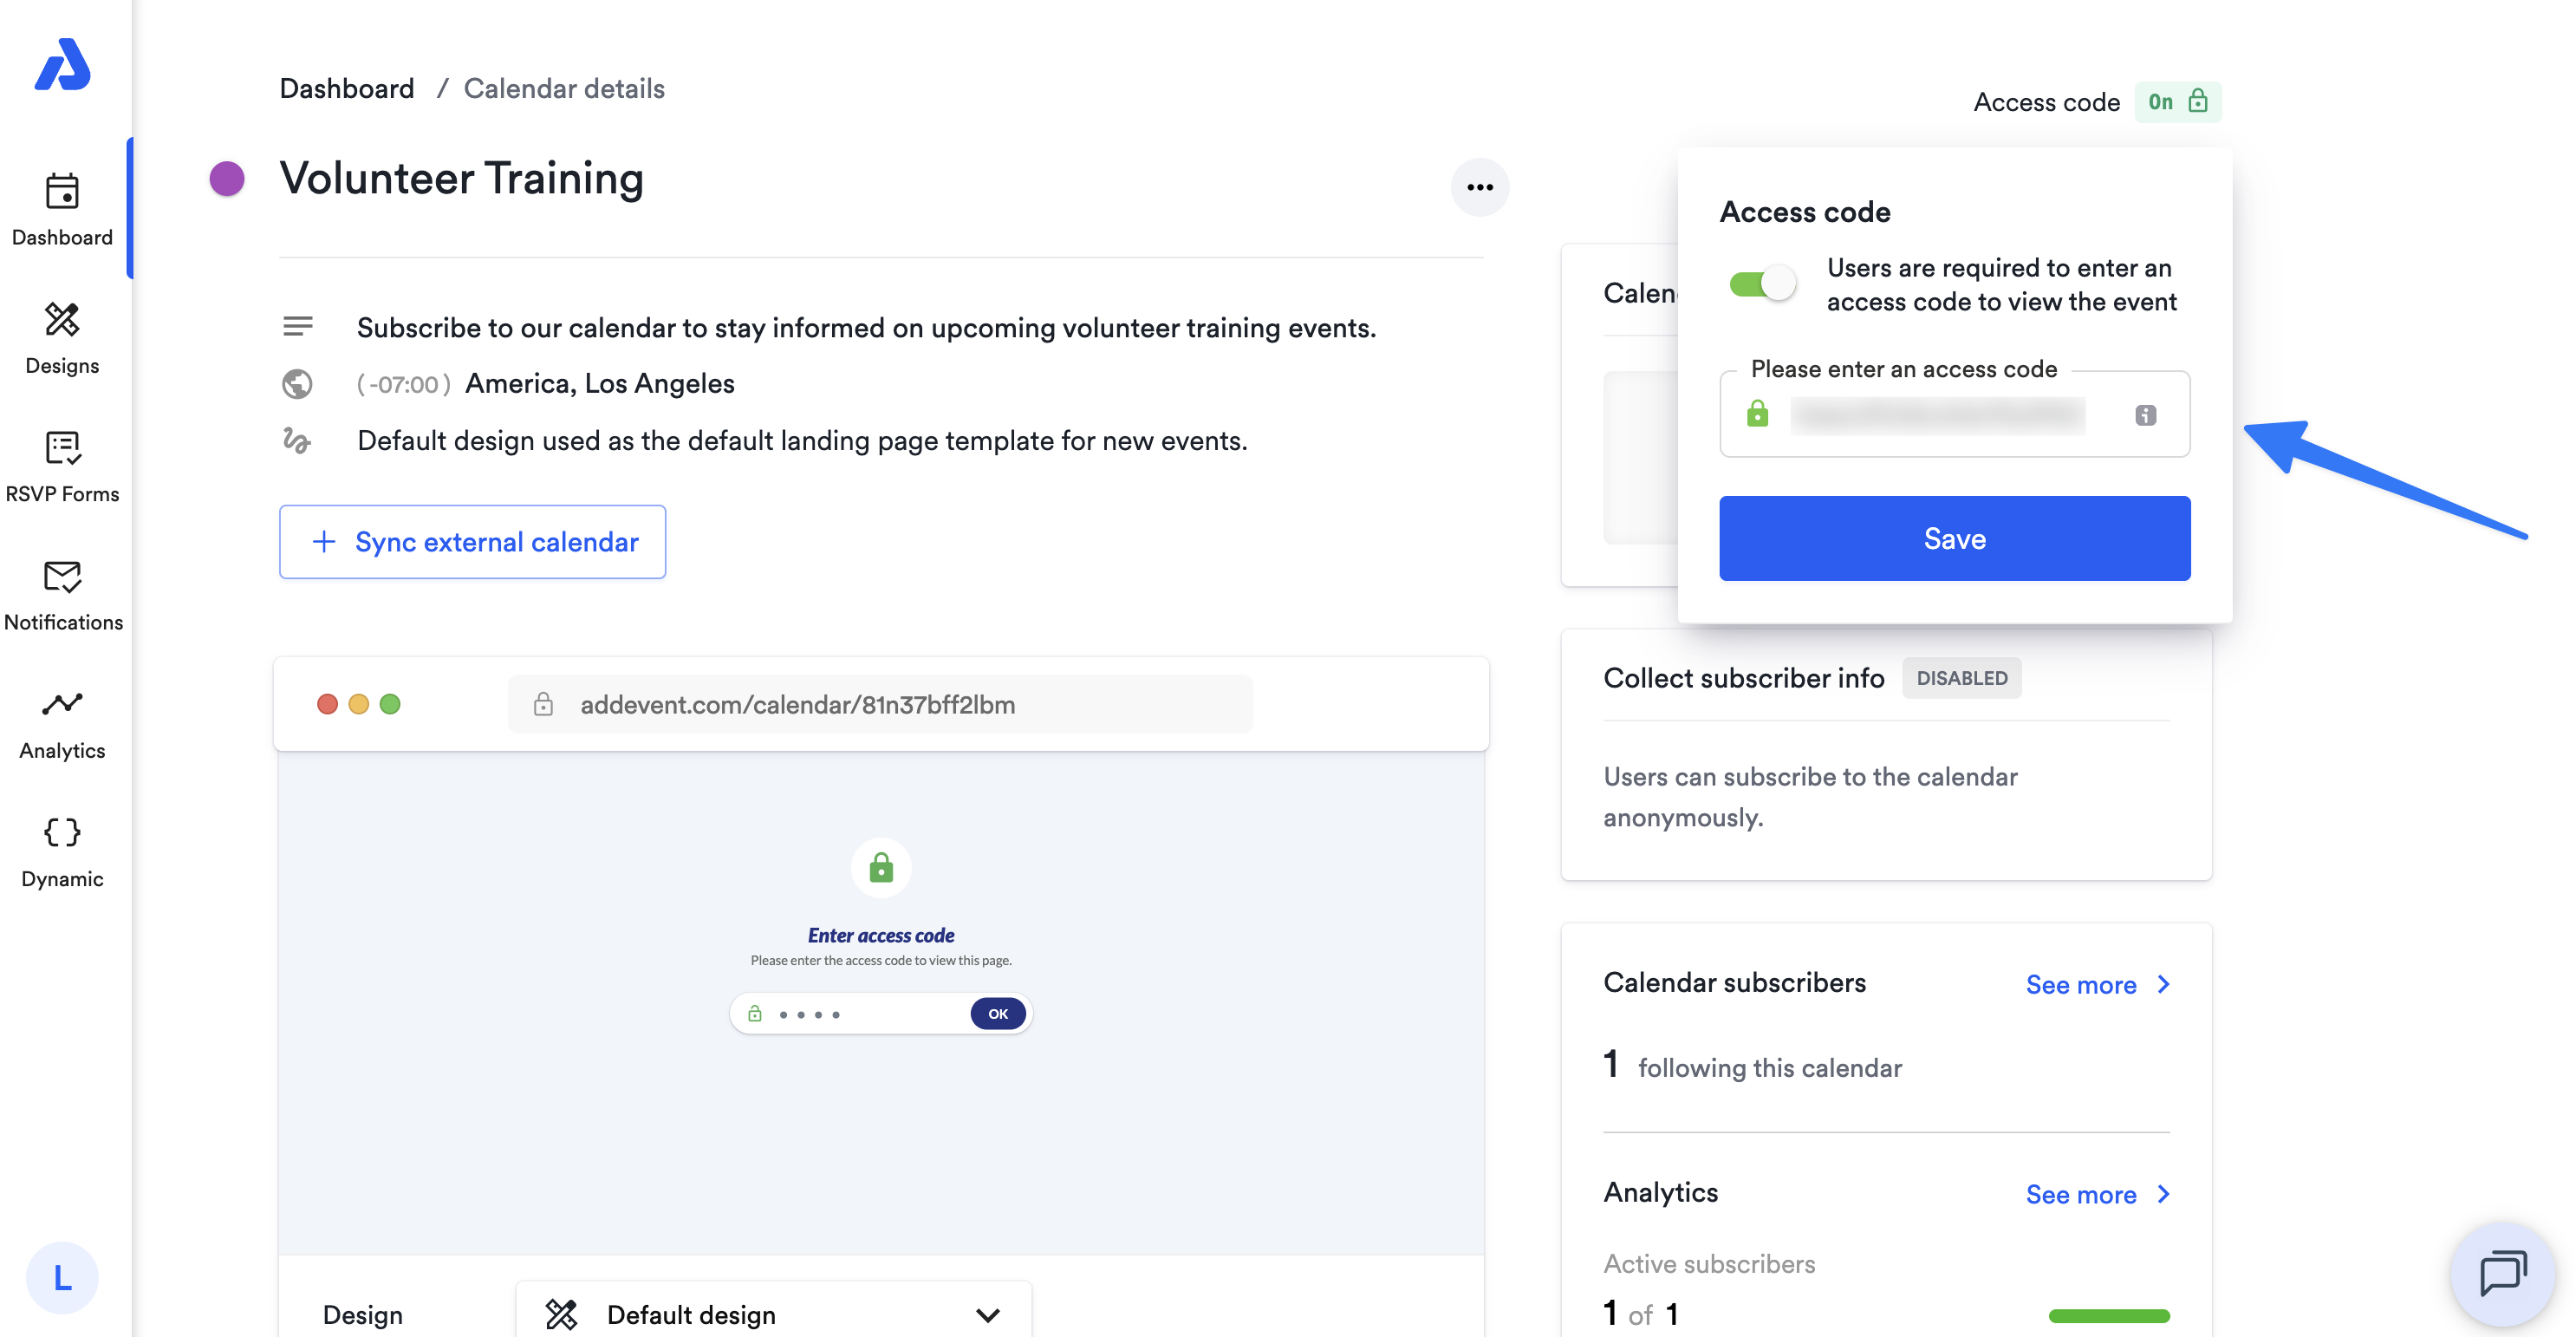
-
Click the Save button.
The calendar landing page will indicate that an access code is enabled by the green "On" icon.
See our help doc here for more details on adding an access code to your calendar landing page.
Updated about 1 month ago