Create an RSVP Event
This help doc explains how to create an RSVP event in the AddEvent Dashboard. Creating RSVP events allows you to share events with your users, get those events onto their calendars, collect registrations, send reminder emails, and more. Click here to learn more about RSVP functionality. Events live within your calendar(s).
Creating an RSVP event
There are two different ways to create a new RSVP event in the Dashboard:
-
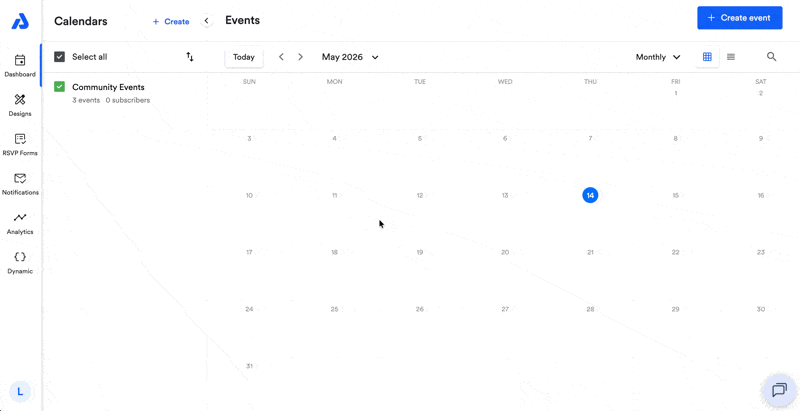
Click the + Create event button located on the upper-right corner of the Dashboard.

-
Click on the day from the calendar view that the event will occur on. Then, you can either use the quick create modal pop-up or select More options to be directed the Create event page shown in the below gif.
From the Create event page, you can enable RSVP functionality by clicking the Turn on RSVP button in the RSVPs section located on the right side of the create event page. You can then select which RSVP form you want to use for the event, as well as change the following basic RSVP settings:
- Setting a seat limit for the event and customizing the message shown to users when all the seats are full.
- Choose how you want to be notified of new RSVPs to the event.
- Manually turn off the ability for end-users to RSVP.
- Set a timer to disable RSVP's a certain amount of time before the event begins.
Once you are finished editing your RSVP settings, click Create event.
Watch this Tutorial!
Updated about 2 months ago