Change the Color of the Add to Calendar Button for an Event/Calendar Landing Page
This help doc shares instructions how to change the color of the Add to Calendar button for an event/calendar landing page.
Edit or Create an Event or Calendar Landing Page Design Template
To change the color of the Add to Calendar button, begin by accessing your event or calendar landing page design template.
-
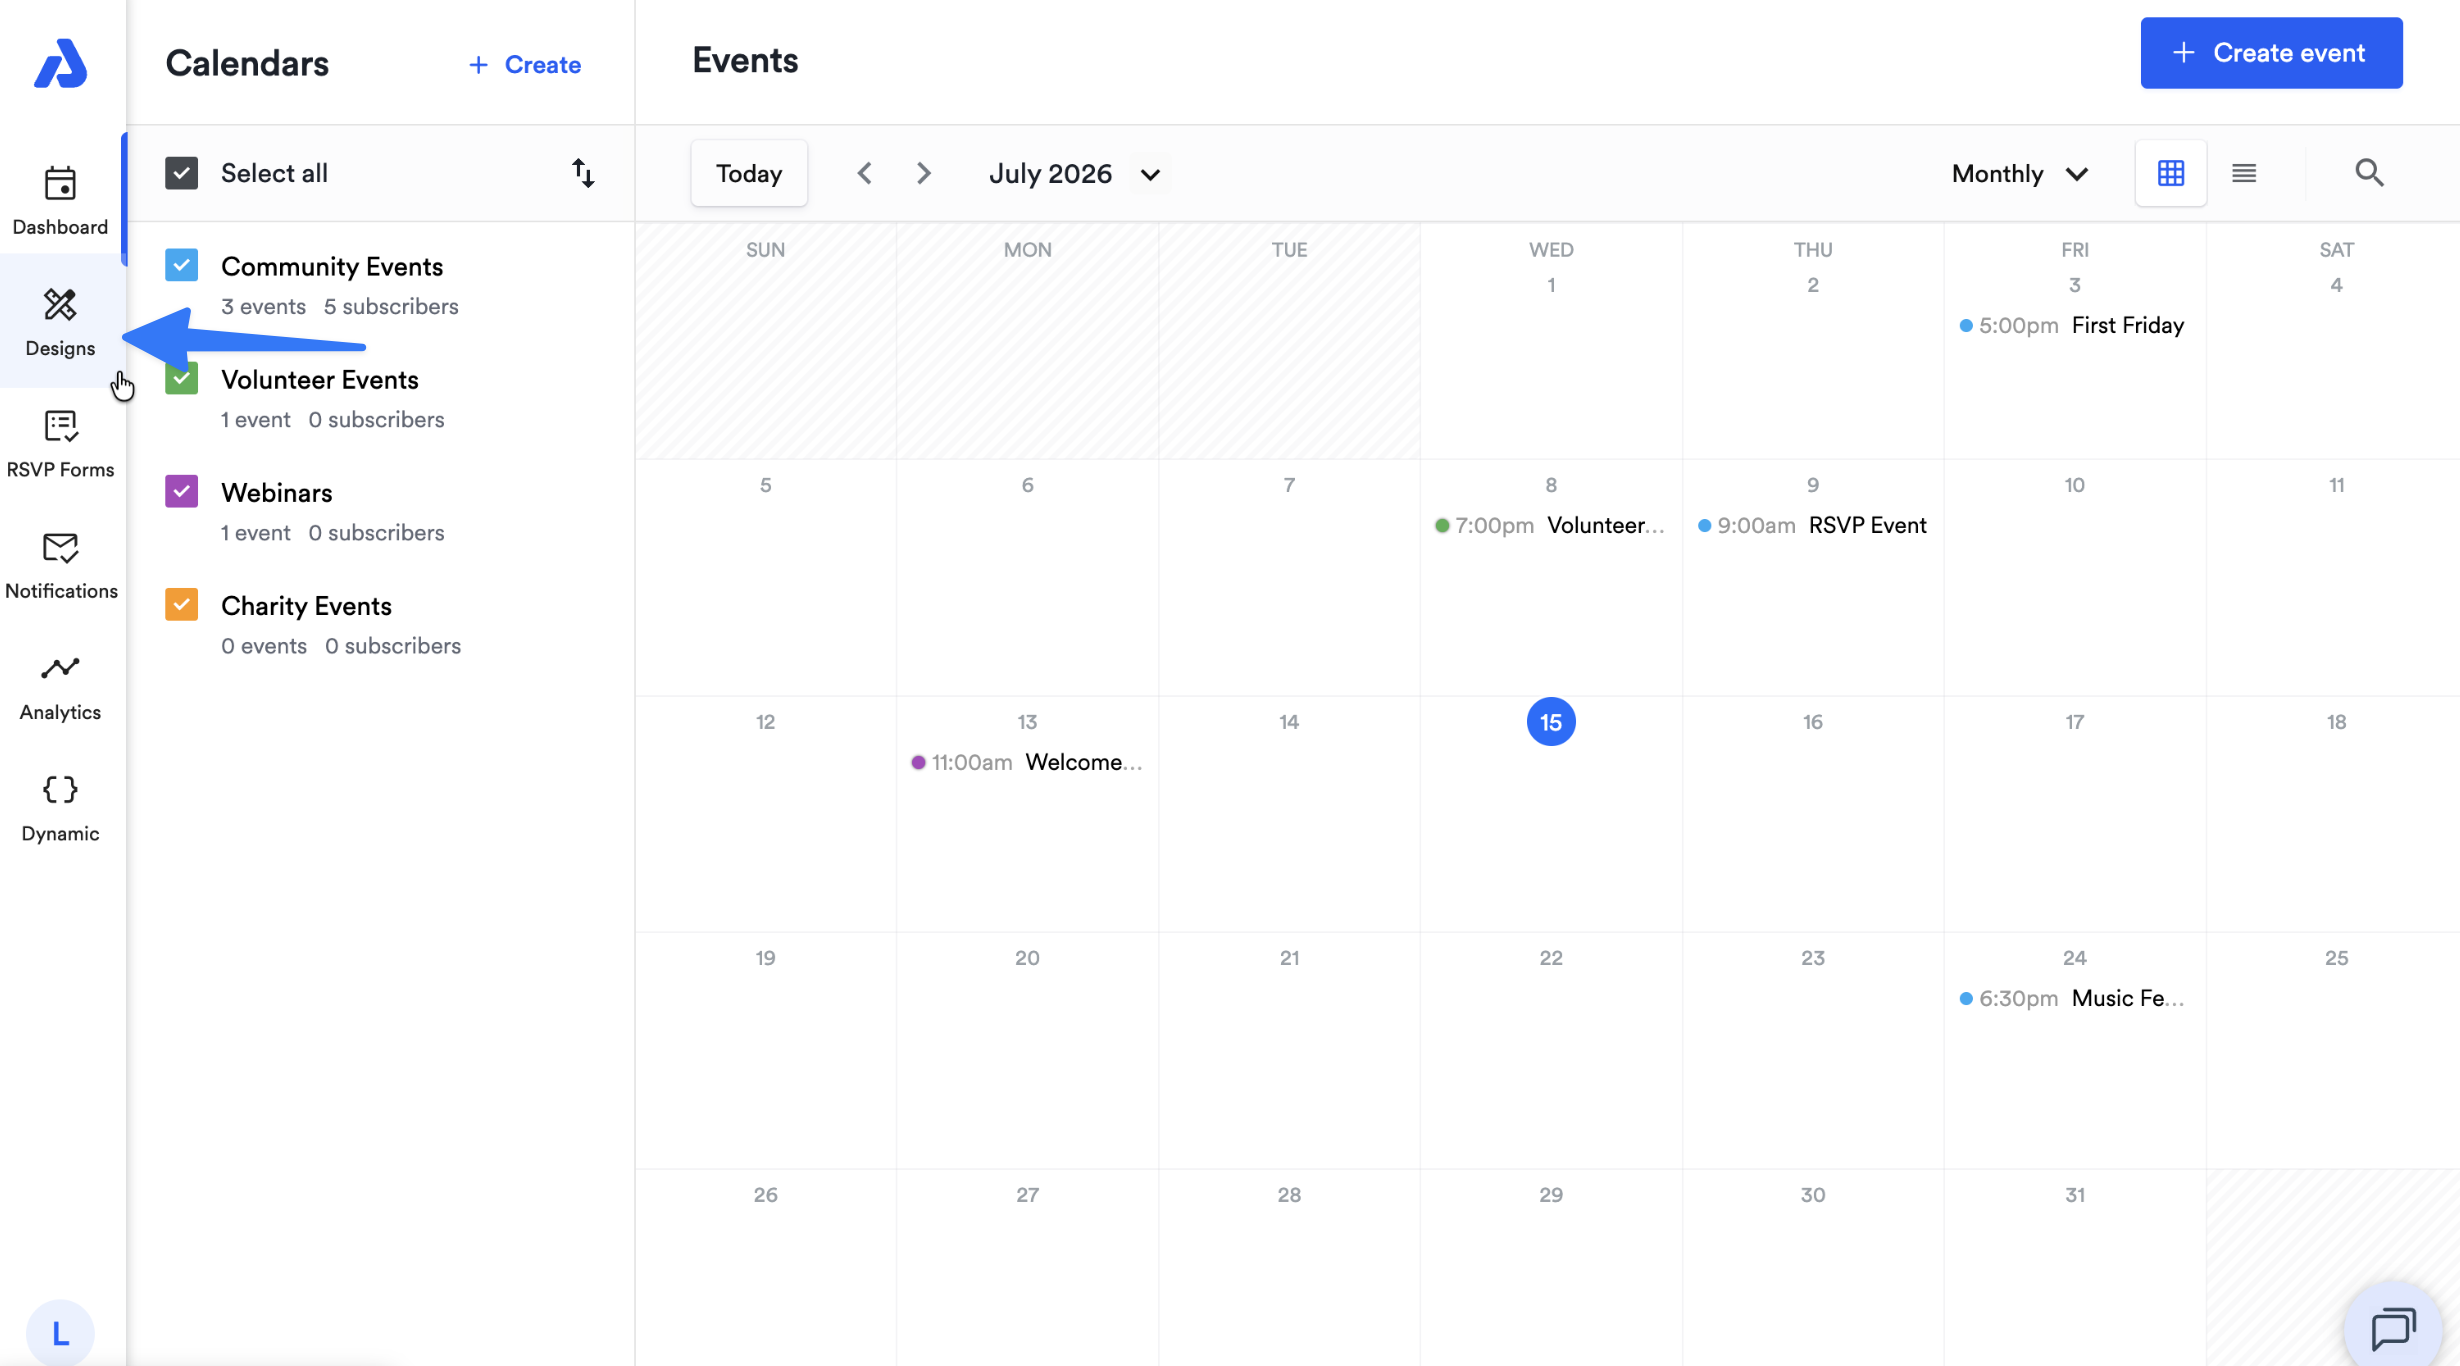
From the Dashboard, select the Designs tab located on the left-hand navigation menu (https://dashboard.addevent.com/designs).
-
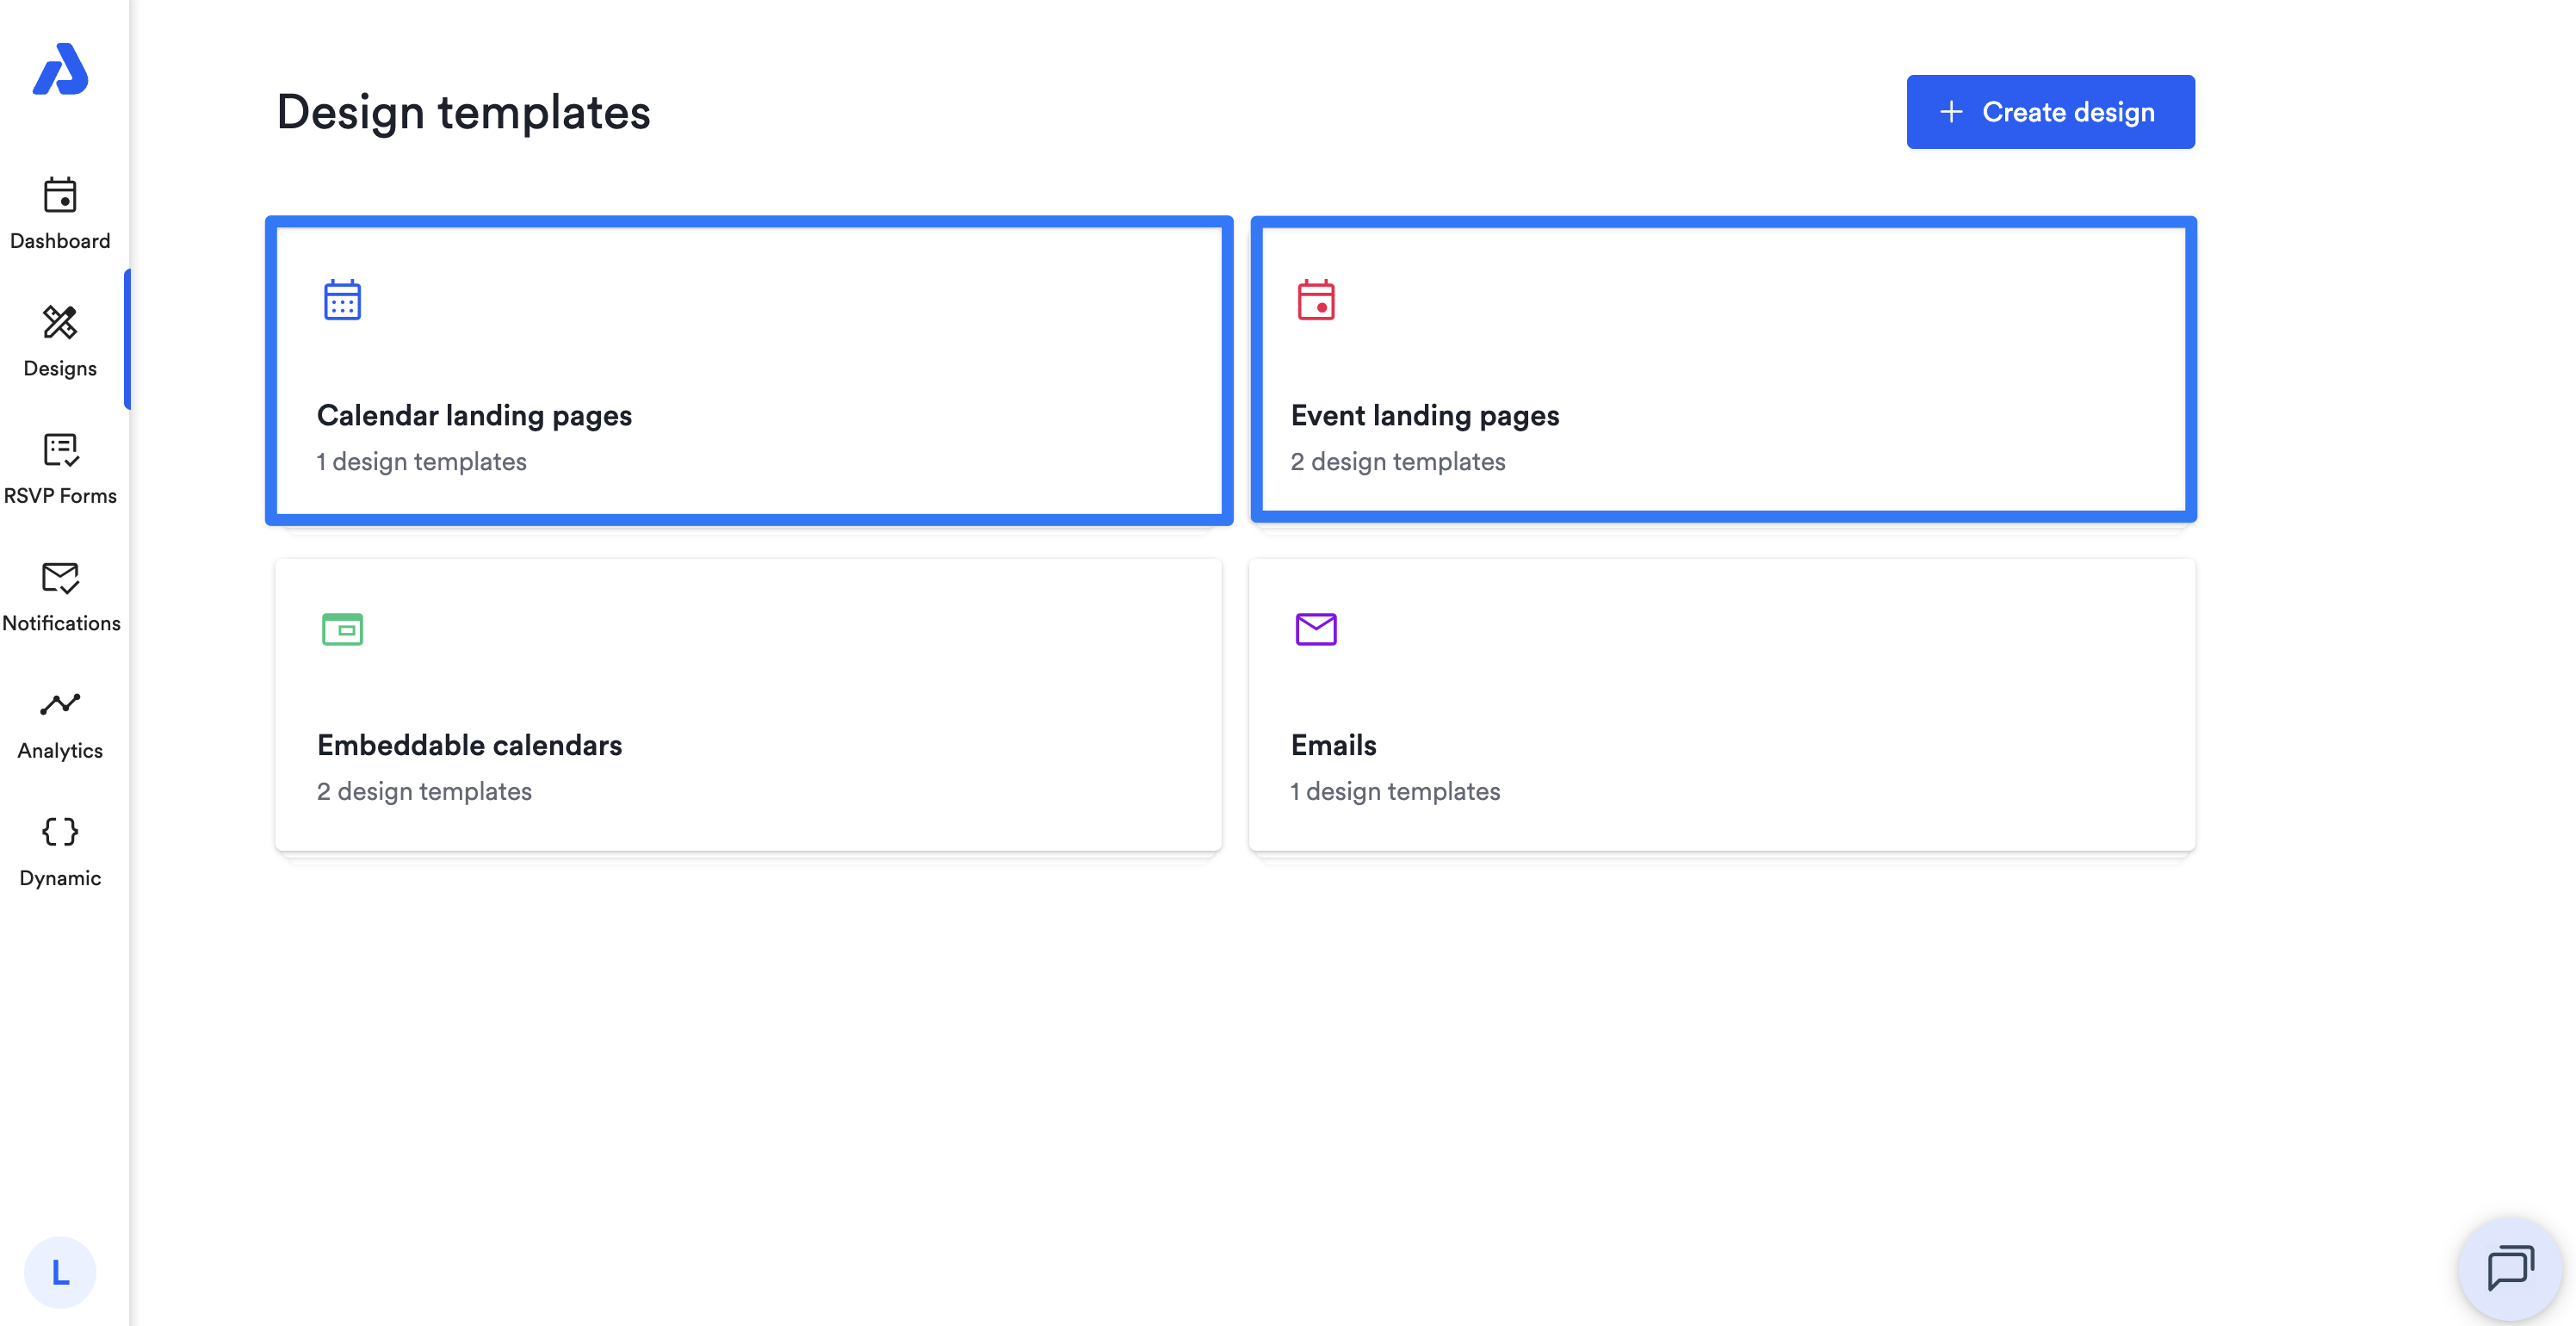
Depending on whether you are sharing an event or a calendar, select either the Calendar landing pages or Event landing pages option:
-
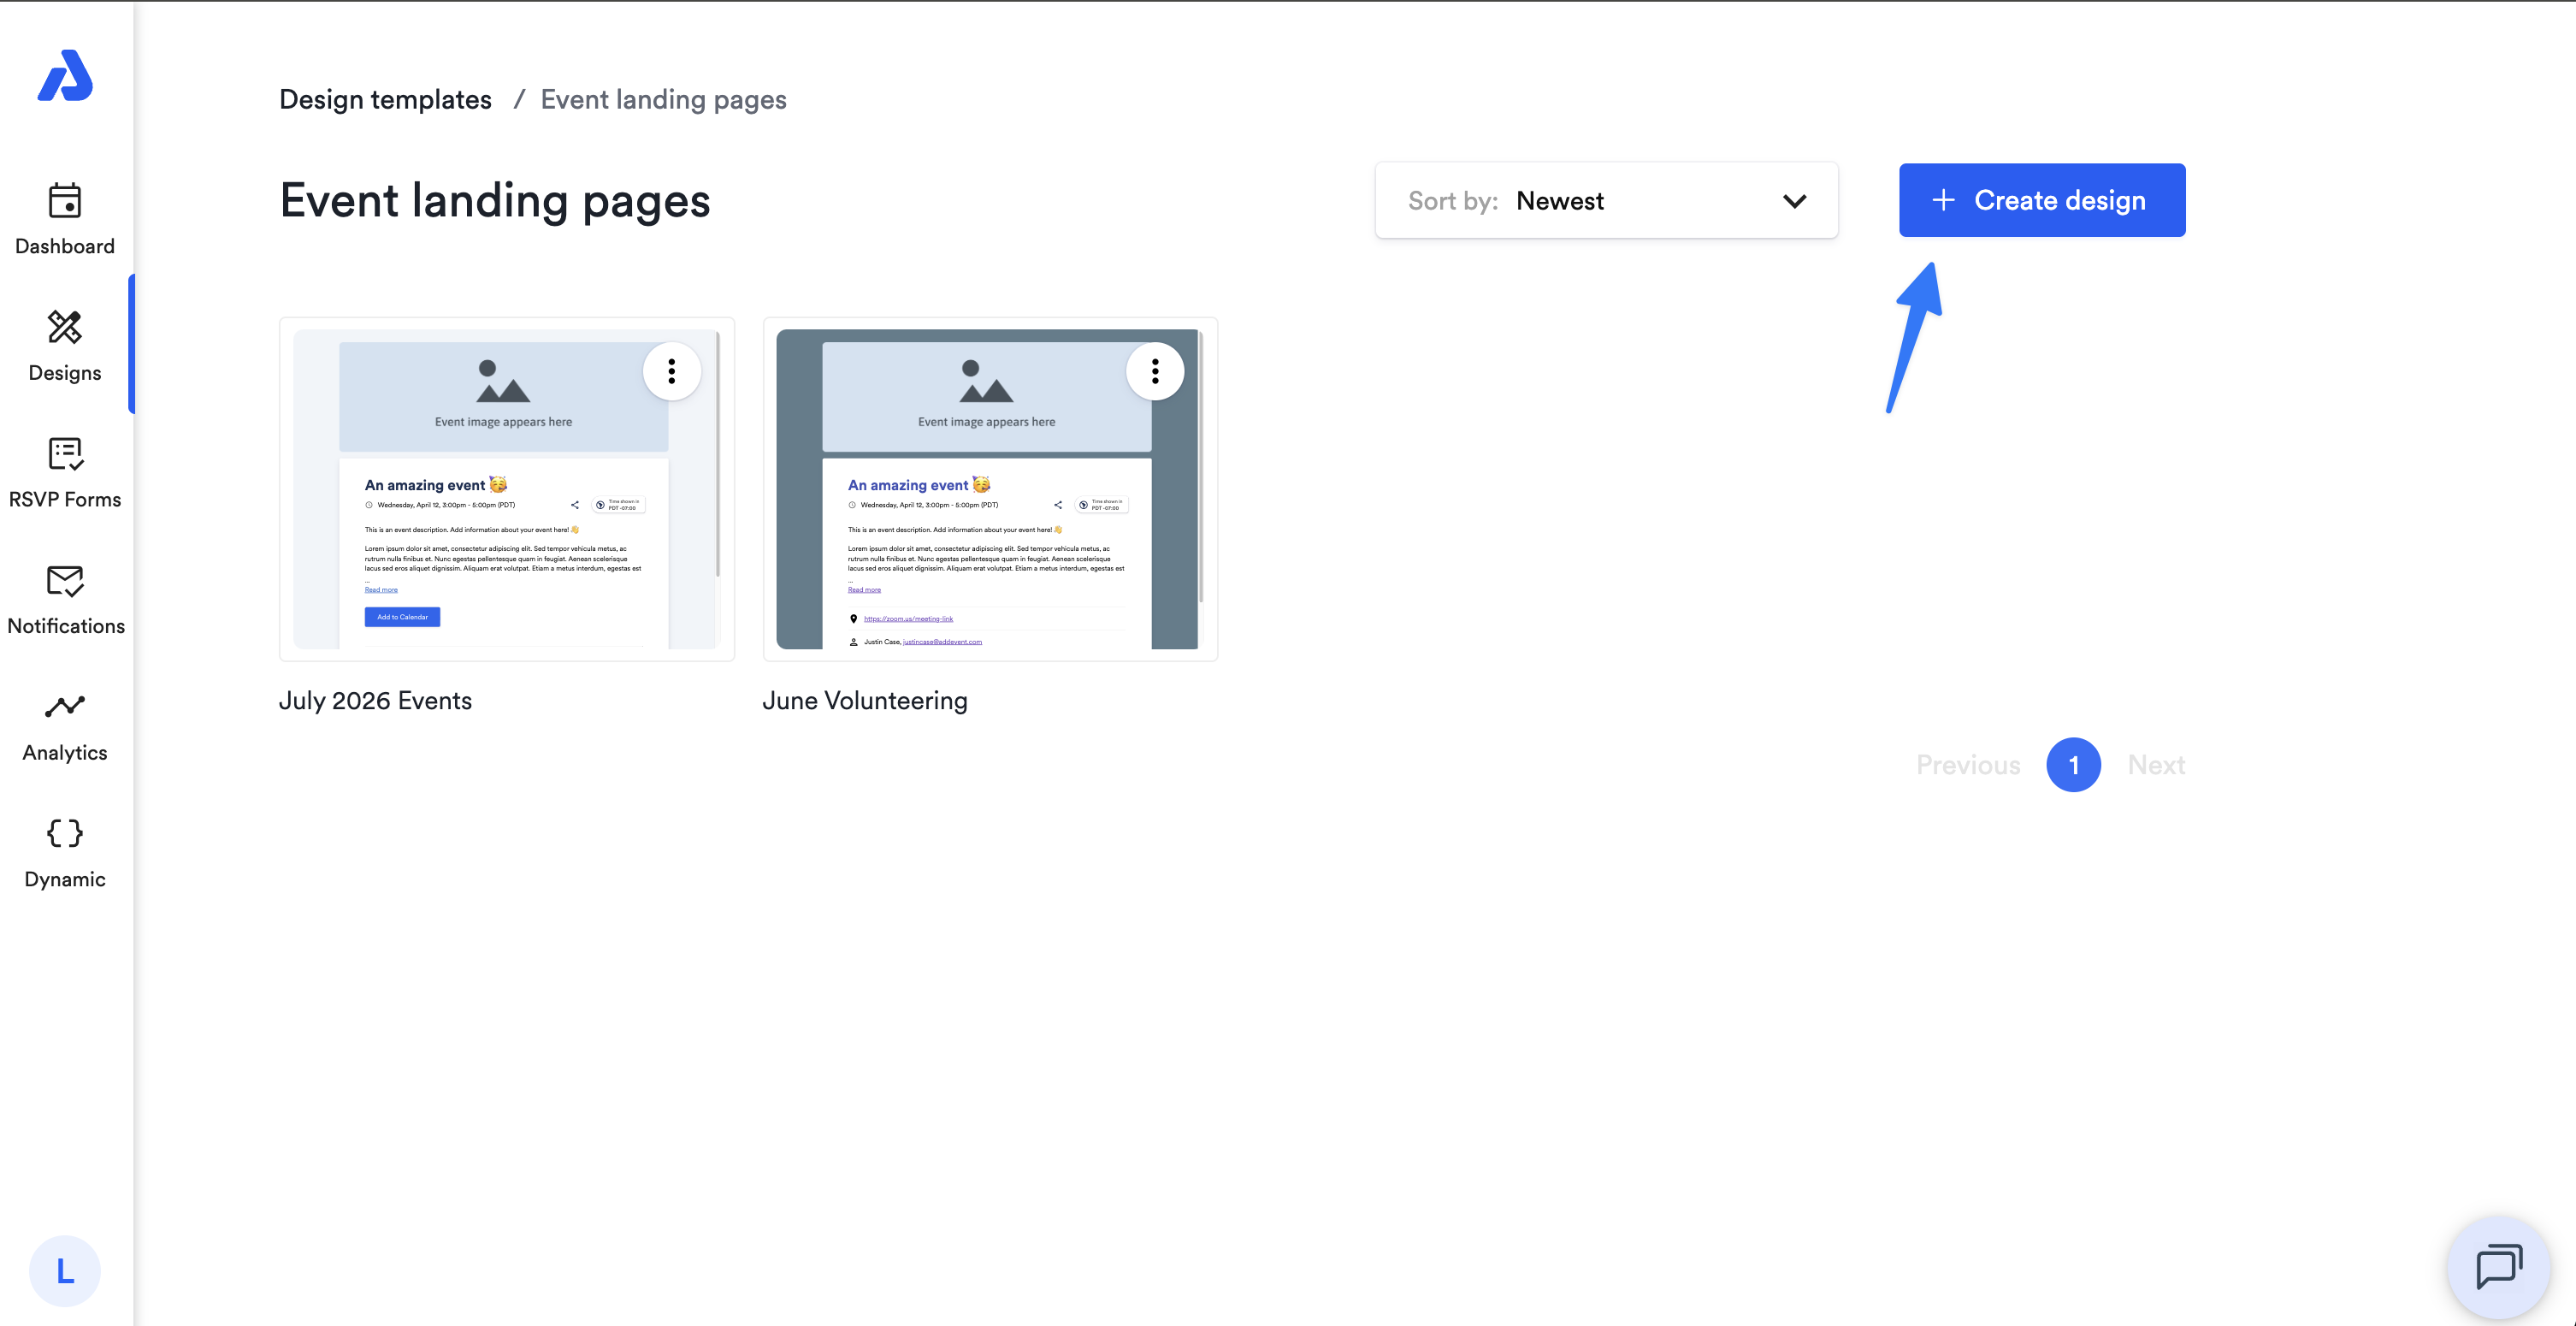
Click the + Create design button located on the top-right of the page to create a new design, or click into an existing design to make edits.
Changing the Color of the Add to Calendar Button
In your design template, follow the steps below:
-
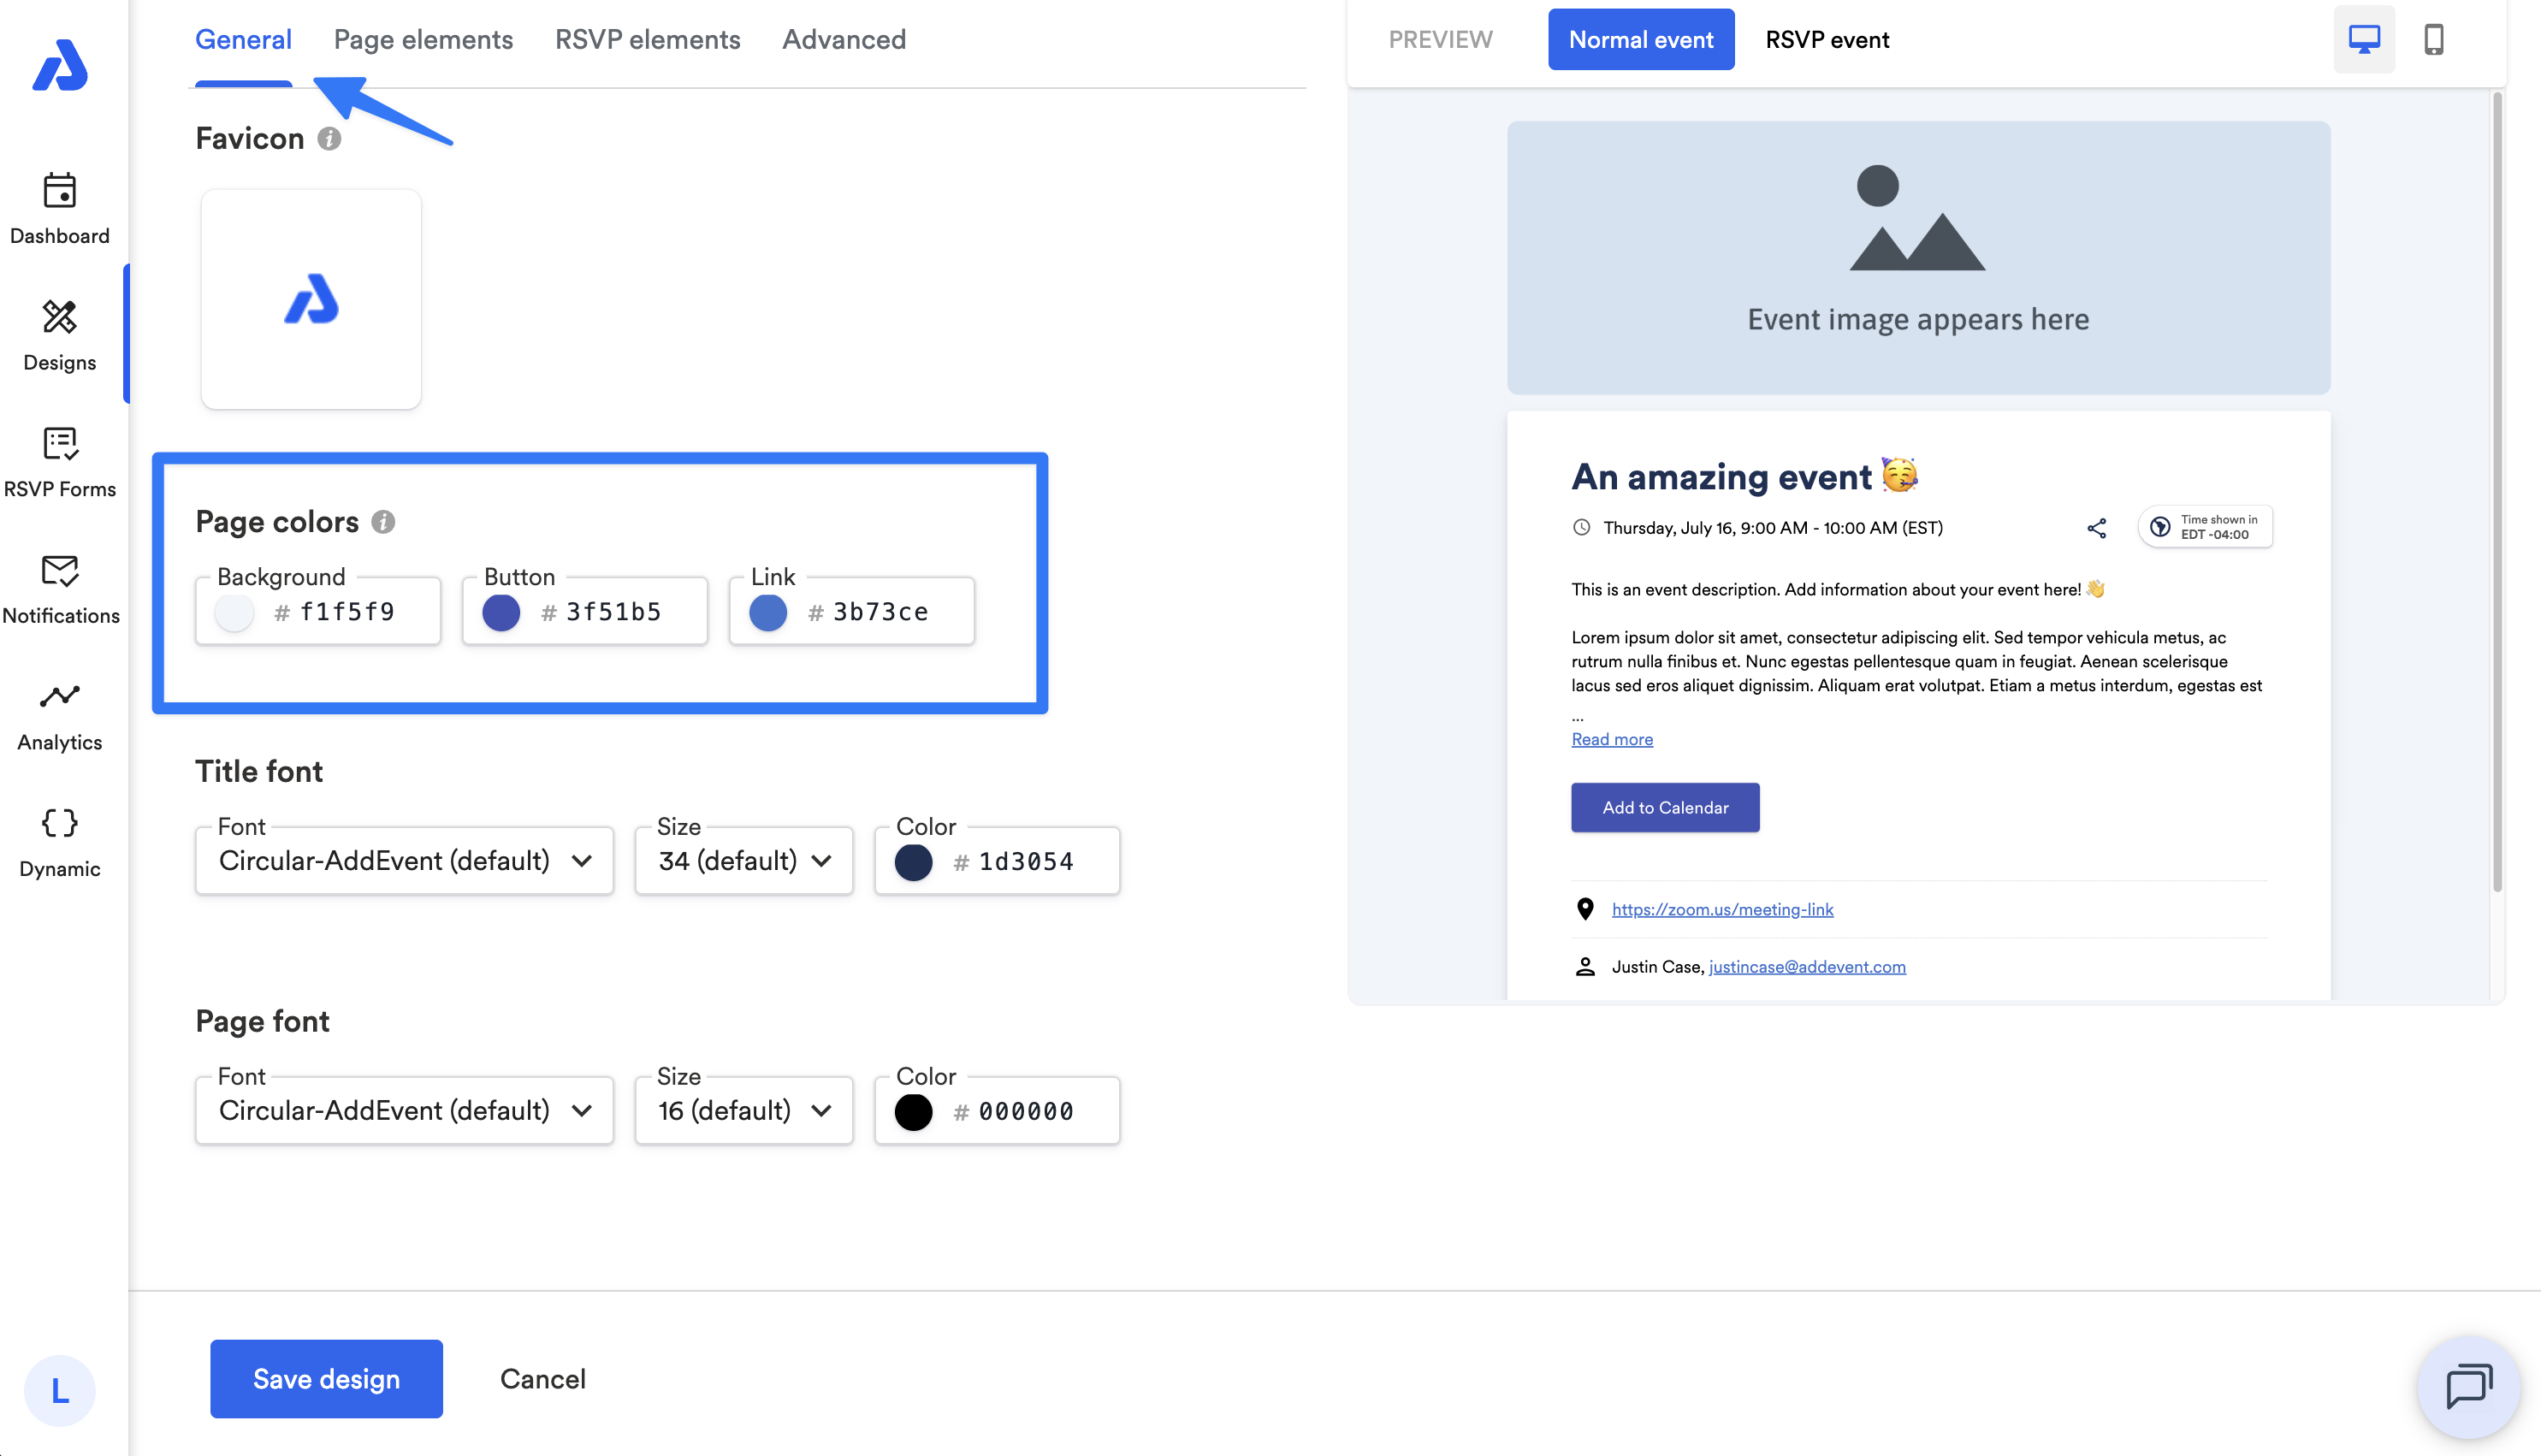
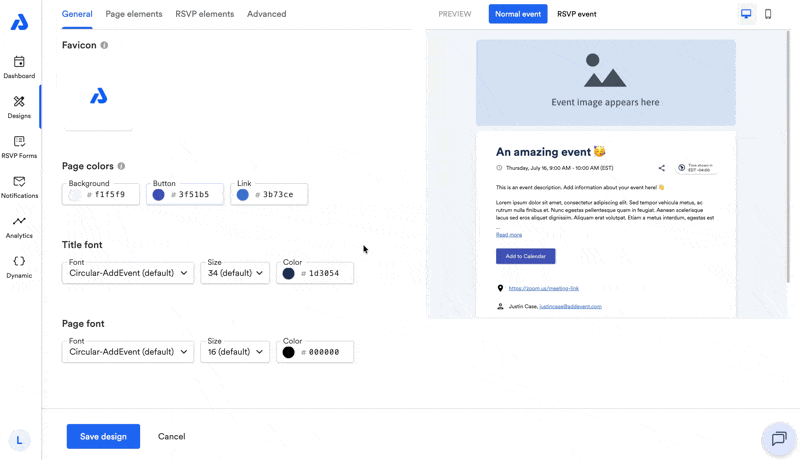
Within the General tab of the event/calendar landing page design template, scroll down to the Page colors section.
-
Select the Button option and either paste in your HEX code or select a color from the color picker.
- After finishing making edits to the design, click the Create design / Save design option at the bottom of the page.
- Apply the design template to your calendar/event. To learn how to apply a design template, see our help docs below:
Watch this tutorial!
Updated 2 days ago