Customize Embeddable Calendars
An embeddable calendar is a powerful tool that allows you to both have a presentation of the calendar with your events and give your attendees the ability to add to the events they are interested in - or subscribe to the whole calendar. In this article, we will review the process of embedding your calendar into a web page.
New and Improved Feature!
Custom Templates are no longer available in AddEvent 2.0. This is because we've built design templates. Design templates are a no-code feature allowing you to customize your event landing pages, calendar landing pages, and embeddable calendar. Please check out the Embeddable Calendar Landing Page Designs help section for details.
Navigating to the embeddable calendar
-
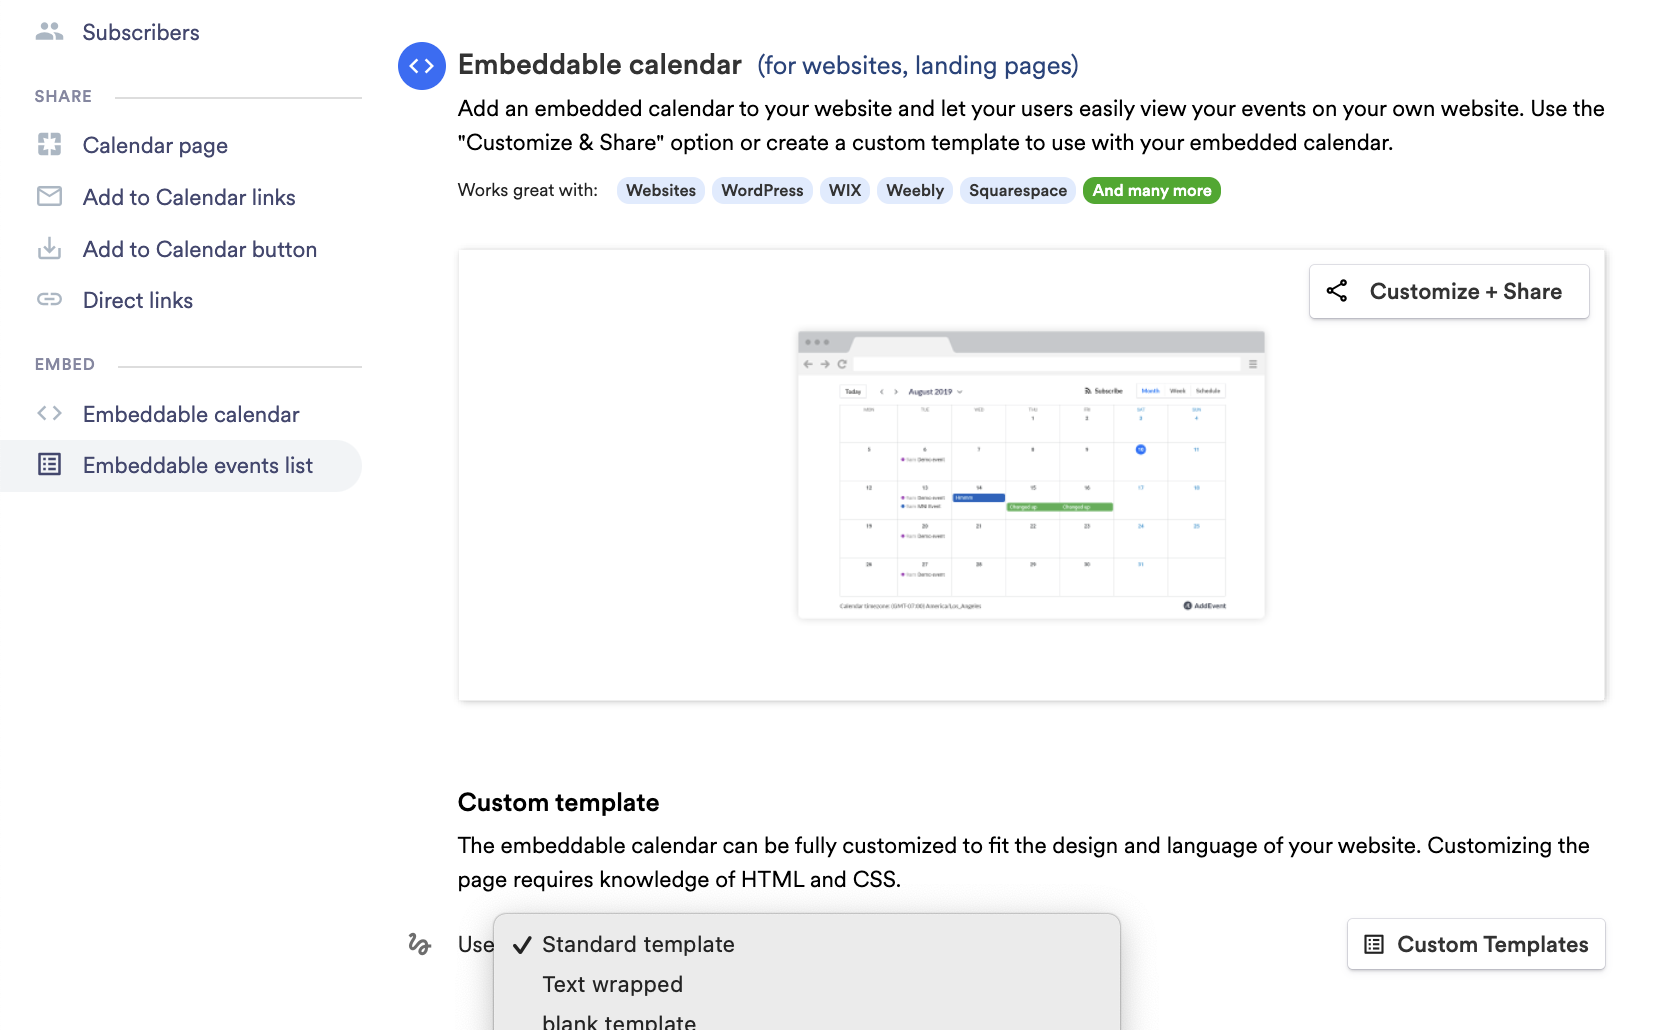
Please open the Calendar page of the calendar you want to embed. Scroll down to the Embeddable calendar section.
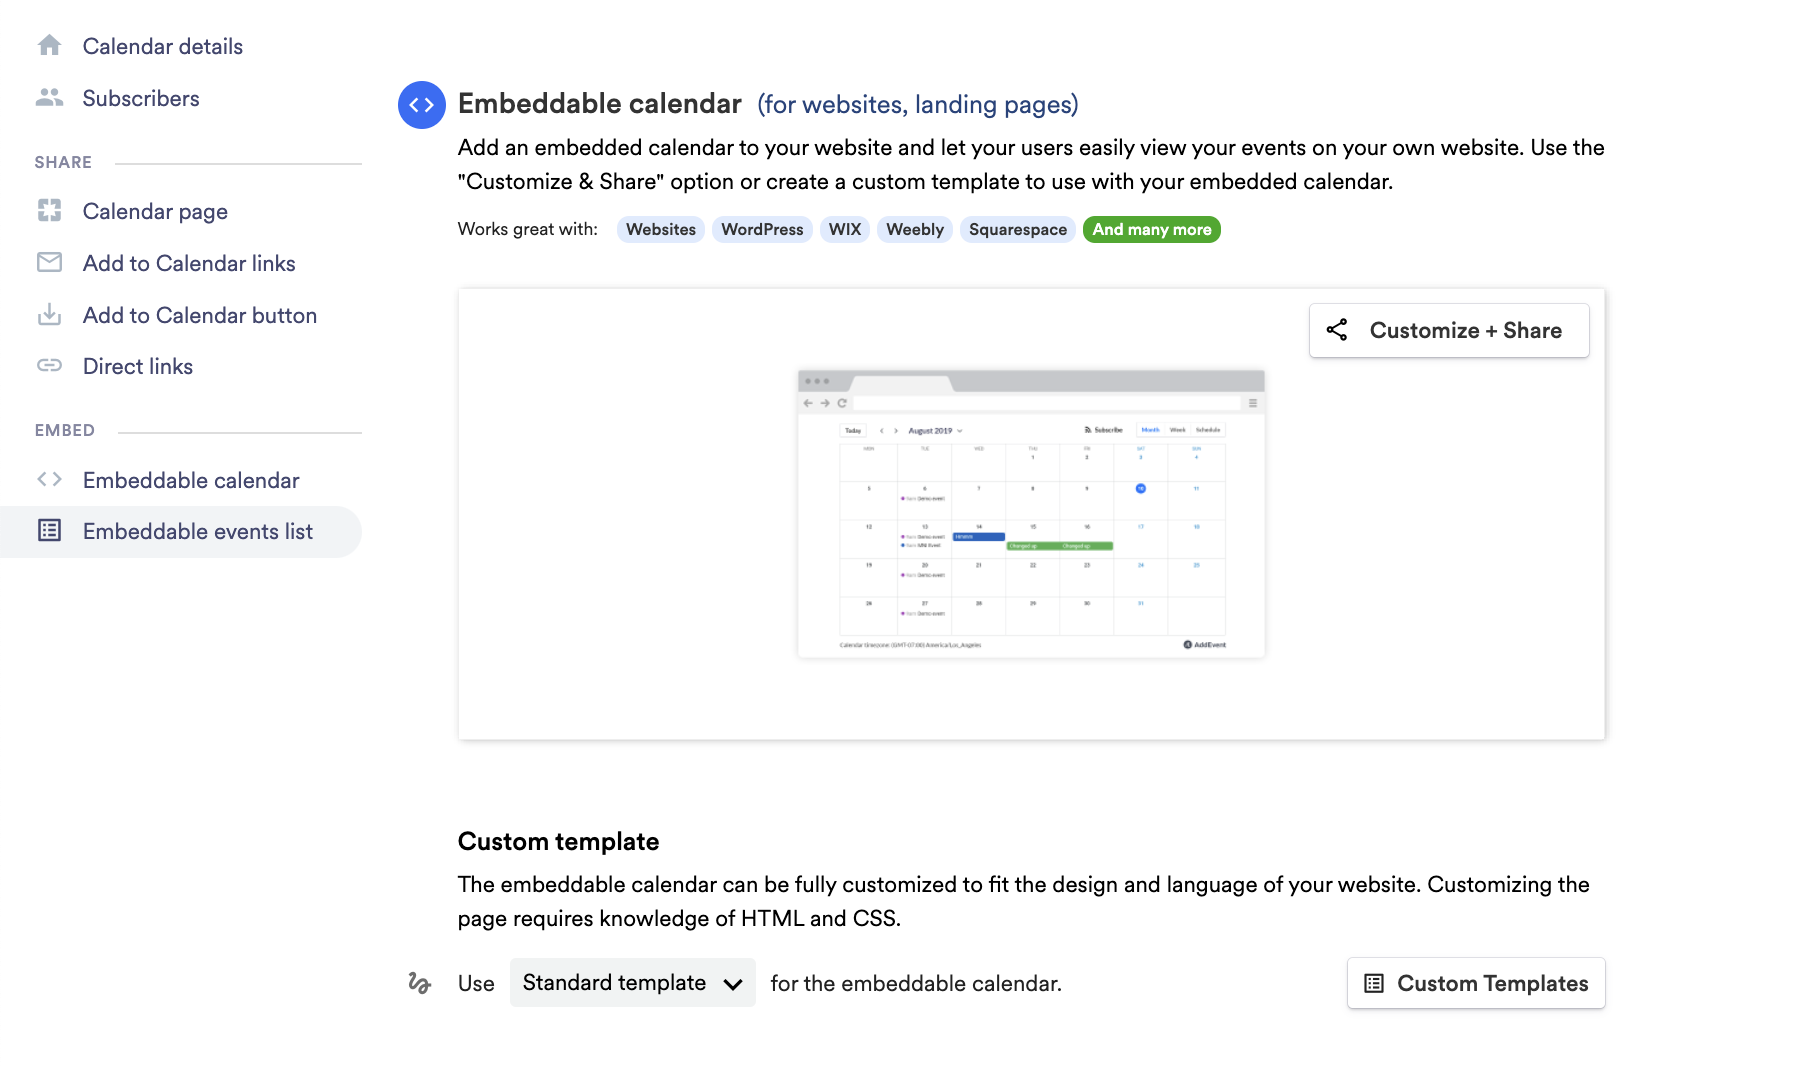
There are two options here for customizing the way your embedded calendar looks:
- Quick Customize - Clicking this button will open a quick editor that allows you to select the default variant of the overall layout, as well as some other optional elements, such as a month/week switcher, timezone selector, or subscribe button.
- Custom templates - This section allows you to create and customize a template for your embeddable calendar using HTML markup. This tool requires some understanding of HTML/CSS, but in turn, it provides more options for how you want the calendar to look, such as inserting header images, changing button text, and changing fonts or colors.
Let's review each option in more detail.
Quick customize
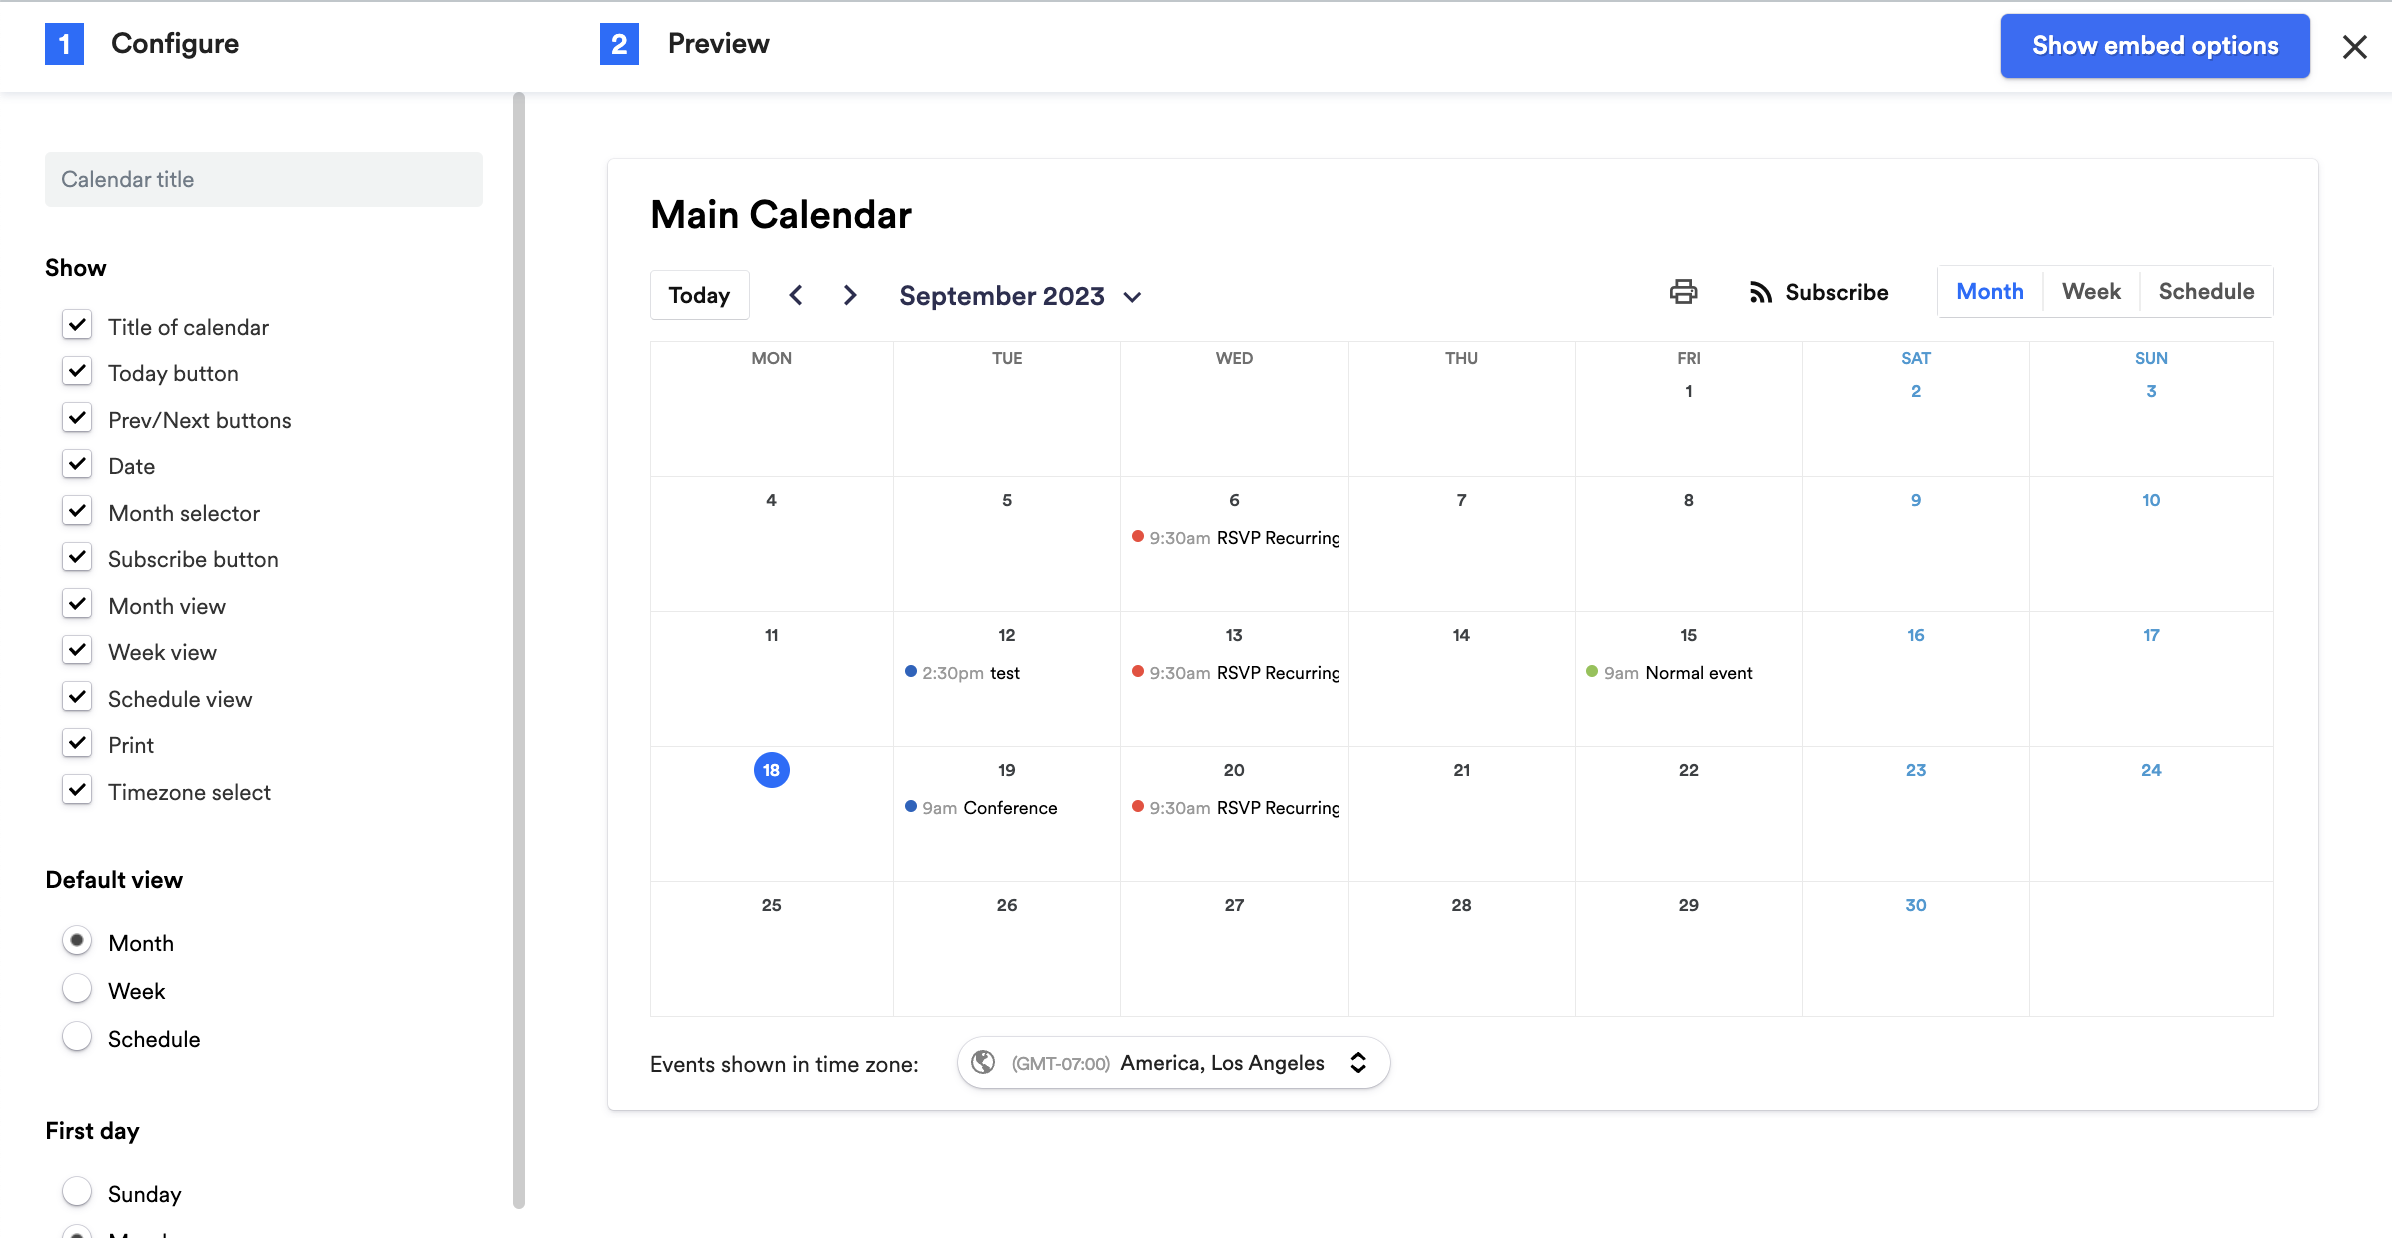
Clicking this button will open a window with a preview of the embedded calendar in the middle and customization options on the left.
-
You can select which elements, the default time format, the first day of the week, and the calendar that you want to be displayed in this format.
-
Once you've selected all the needed parameters, please click Copy Code to obtain the HTML code of the calendar view you've constructed. Once you've obtained the code of the calendar, you can embed it into the Web page by inserting the code in the appropriate location of the page.
Custom Templates
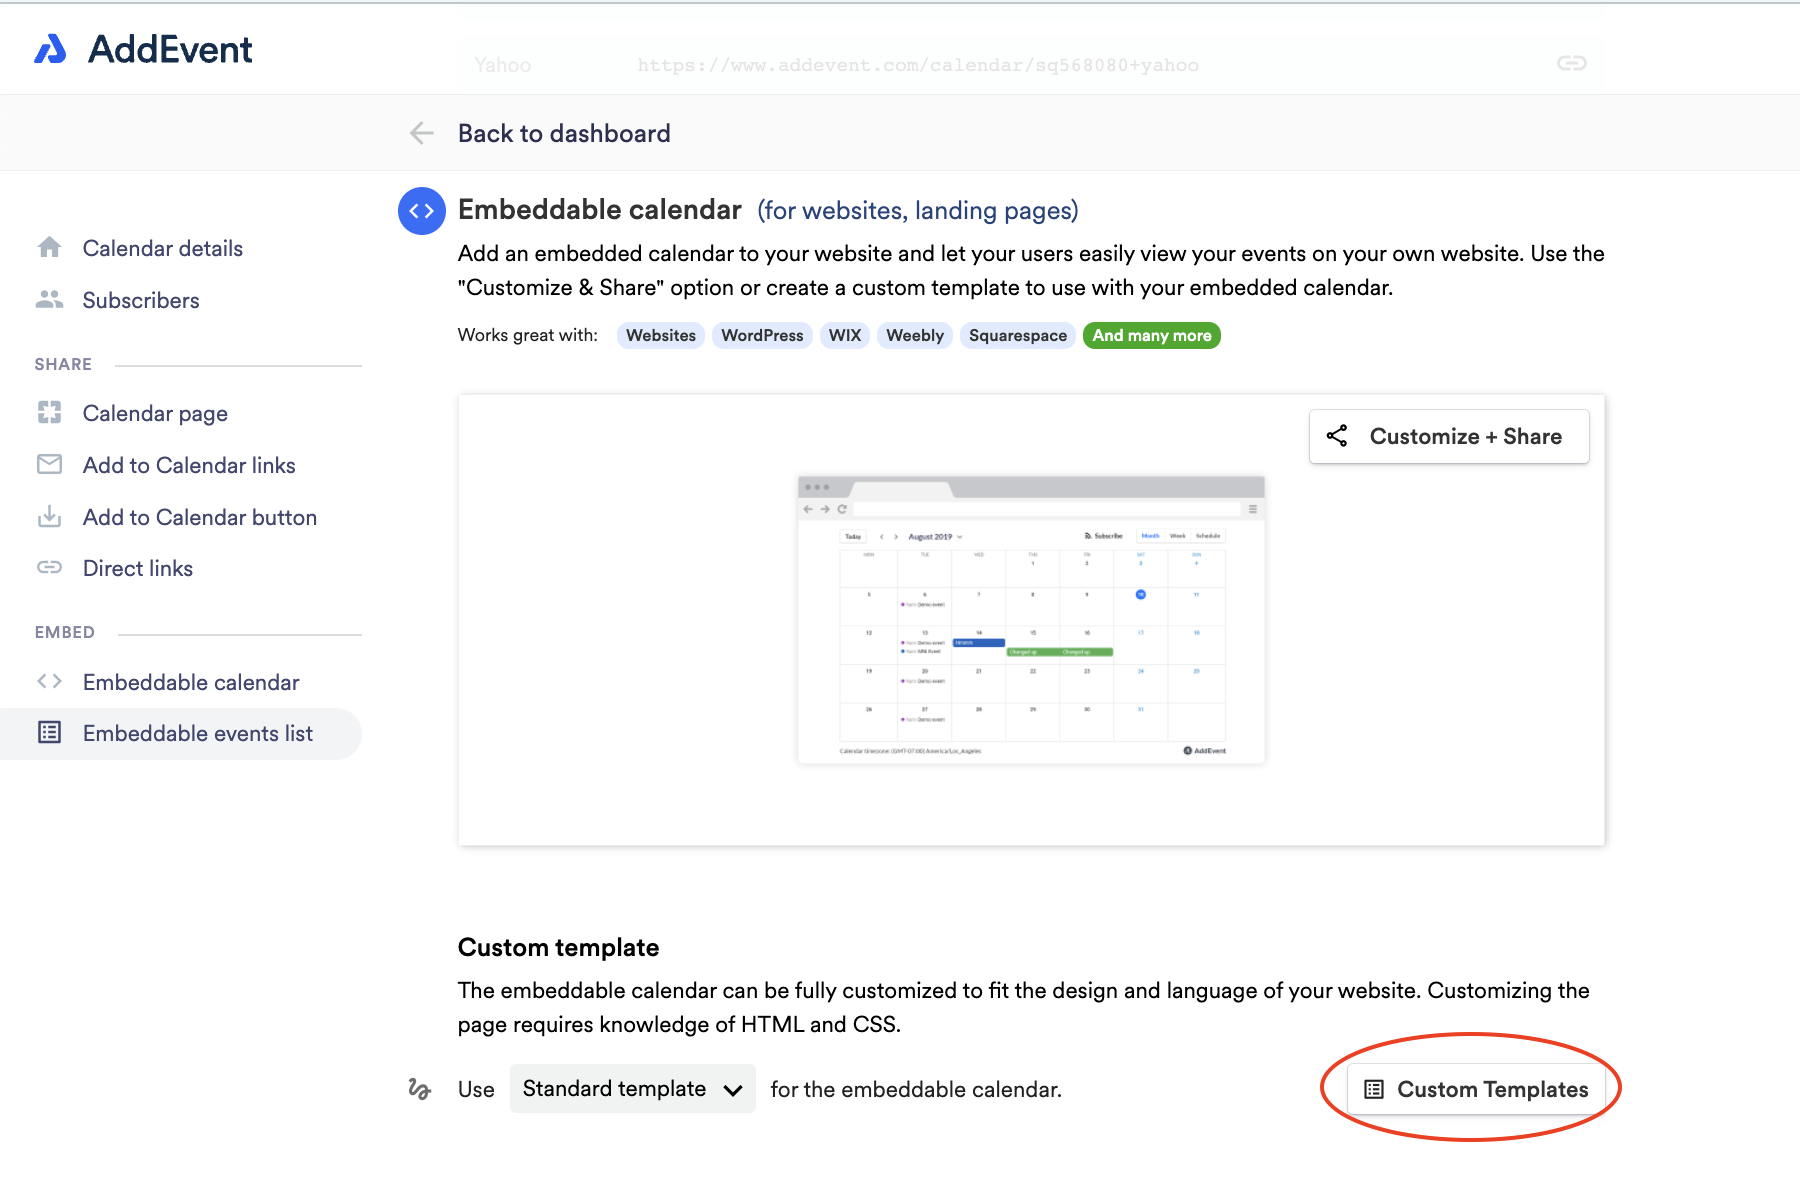
This option allows more robust editing of your embedded calendar.
-
Please click Custom Templates in the Calendar landing page section to access the template editor:
-
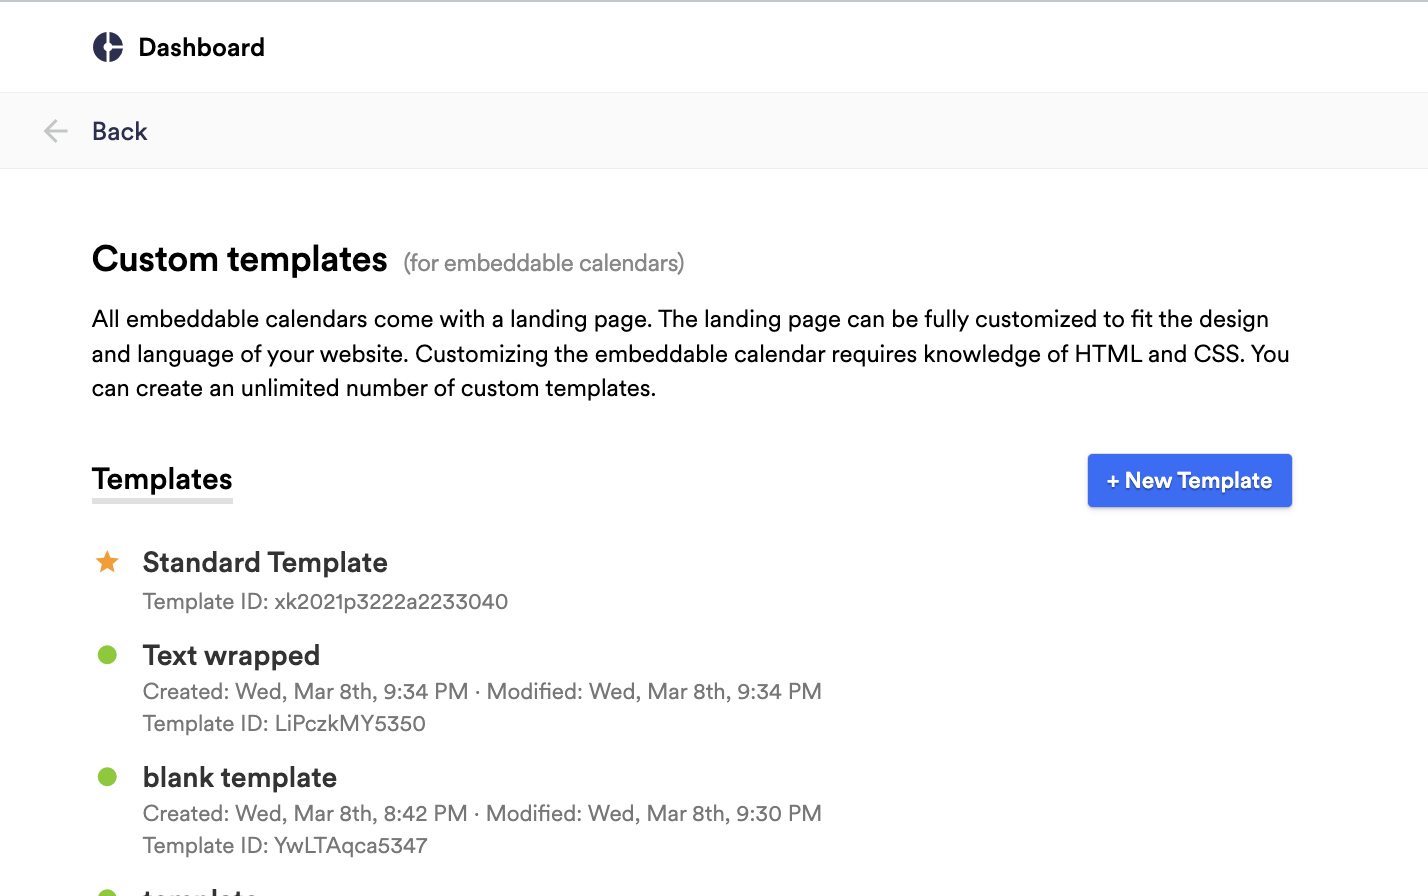
Here, please click + New Template:
-
You will be directed to the Custom Template editor page:
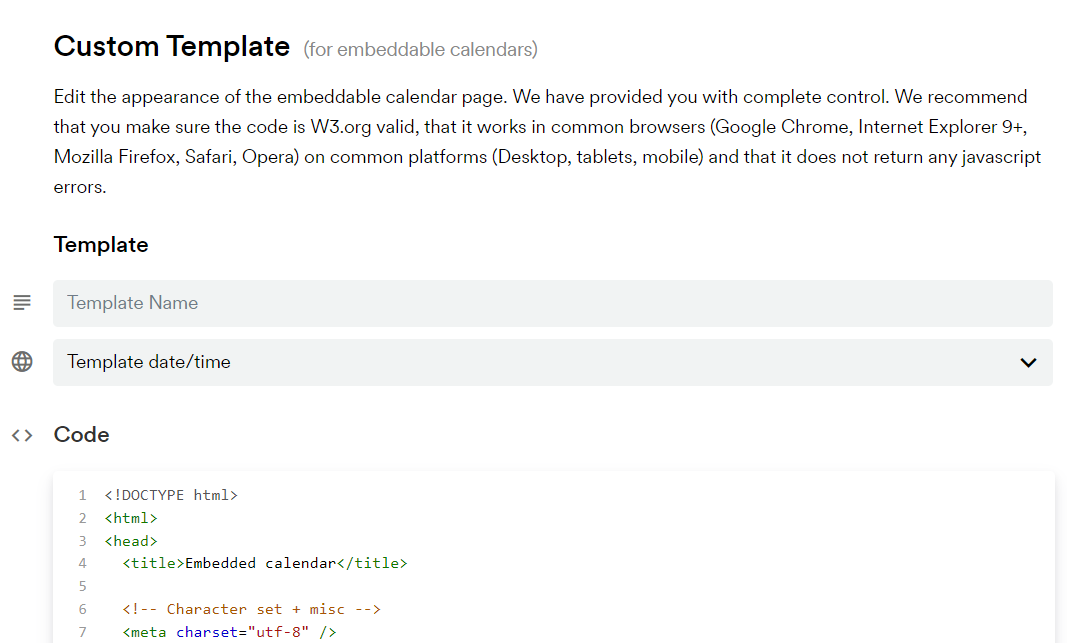
This page consists of three sections:
- Template details
- Template code
- Data tags and attributes
In the context of this tutorial, we are interested in the first two.
Template details
The first section contains the fields describing the template: Name, language, and Template ID.

In the first field, you can specify any template name you need. The second field allows you to select the language/locale that will be used for date formatting and some hardcoded elements, such as ToS consent. The third field contains the unique Template ID (the third field will appear once the template is saved).
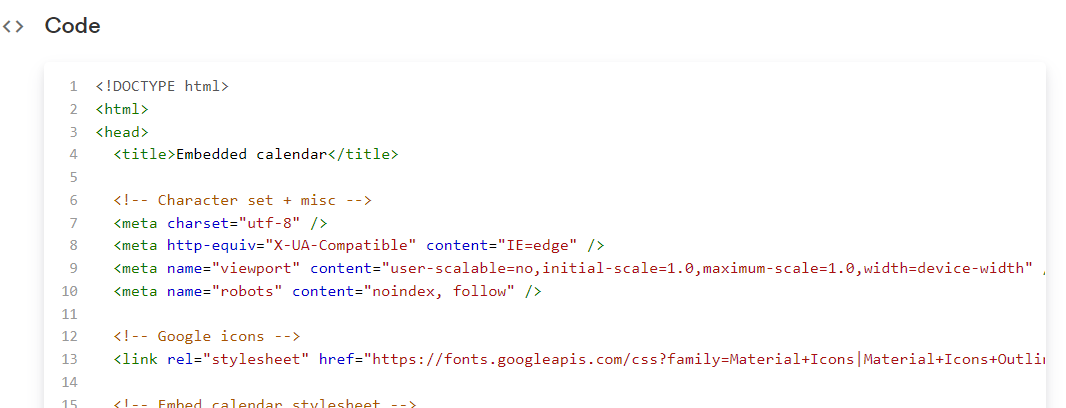
Template code
The second section contains the code of the template.
-
You can make the changes you need here. For examples of what you can do with your template, please check the other documents in this section of our documentation.
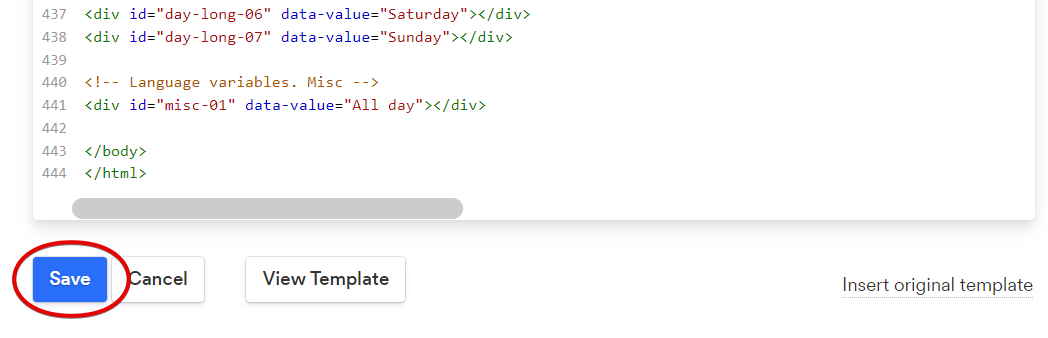
-
Once you've made all the needed changes in the code section, please specify the name of the template and click Save:
Applying the template and embedding the calendar
Once the template is saved, you can apply it to all the calendars you want to be using this template. This can be done on the calendar page.
-
Please navigate to the Embeddable Calendar section of the Calendar page:
-
Please select the needed template from the dropdown and click Set.
-
Now, you can copy the code for embedding your calendar by clicking Copy Code at the Embed code box:
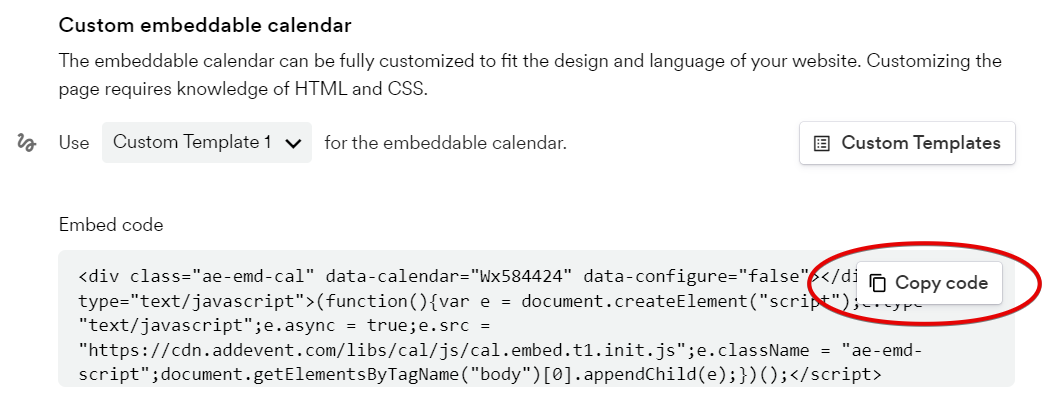
-
Just like with the Quick Customize method, you can now embed the code in your website or landing page.
Updated 5 months ago