Expand the Calendar Description
This help doc explains how to create a custom template to disable the calendar description from being truncated.
New and Improved Feature!
Custom Templates are no longer available in AddEvent 2.0. This is because we've built design templates. Design templates are a no-code feature allowing you to customize your event landing pages, calendar landing pages, and embeddable calendar. Please check out the Calendar Landing Page Designs help section for details.
Creating a Template
-
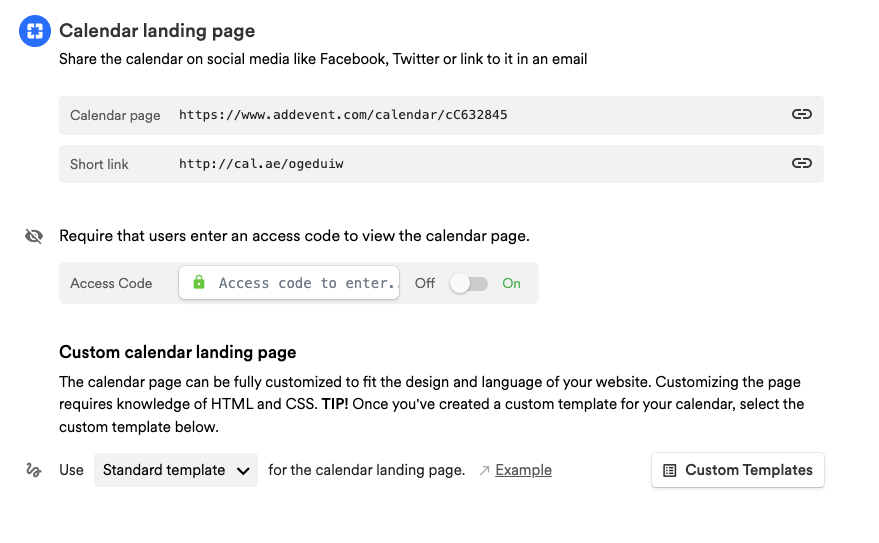
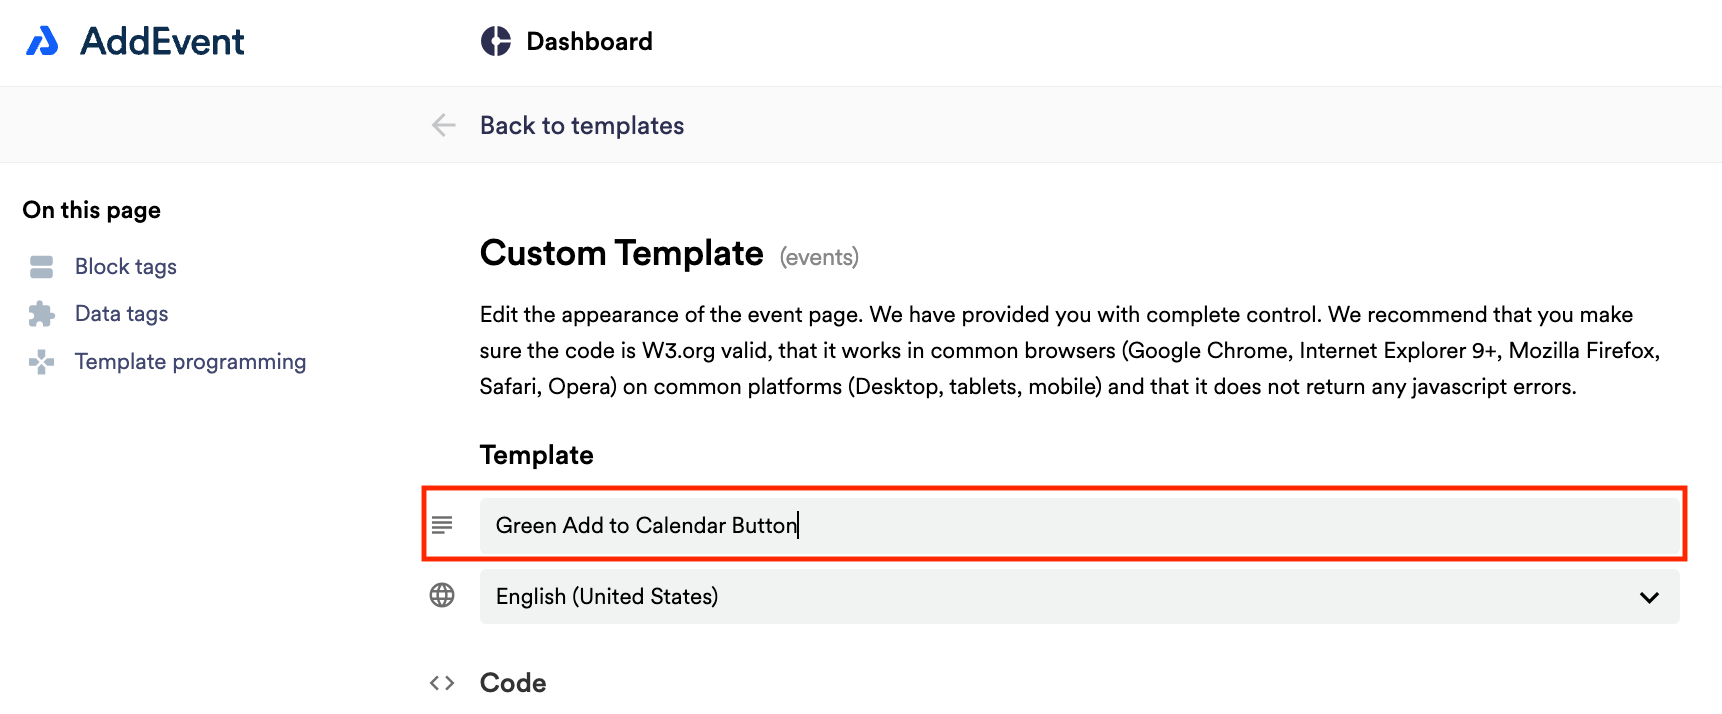
Scroll down to the first sharing method, Calendar landing page. Create a custom event landing page template by clicking Custom Templates in the app and clicking + New Template. Add a name for the template.
Expanding the Calendar Description
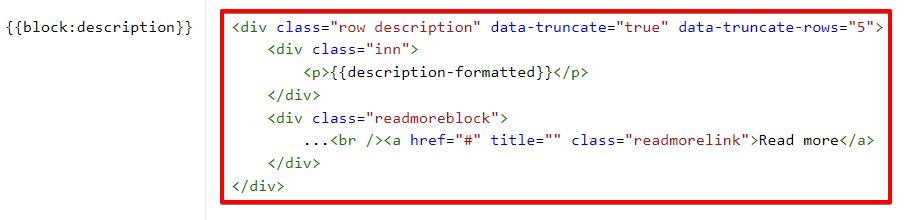
On the Custom Template editing page you will need to replace the {{block:description}} block tag in the Code section with the corresponding code from the Block tags section:
Once that is done, you need to change the value of parameter data-truncate from "true" to "false". The result should look like this:
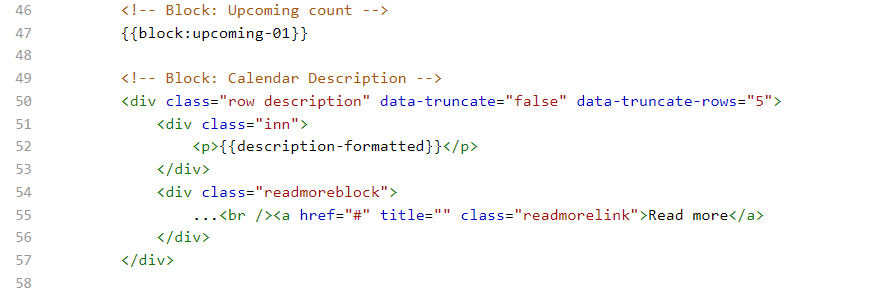
If you don't want to disable description truncation completely but want to change how many rows should be displayed before the Read more button, you can leave
data-truncateas"true"and set the needed number of rows to display indata-truncate-rows.
Applying a custom template to a calendar landing page
Once all the needed changes are made, you can apply the modified template to any calendar
- Navigate to the calendar page on which you want to use the template.
- Scroll down to the Calendar page part in the Share section of the calendar page.
- Select the needed custom template from the dropdown and click Set:
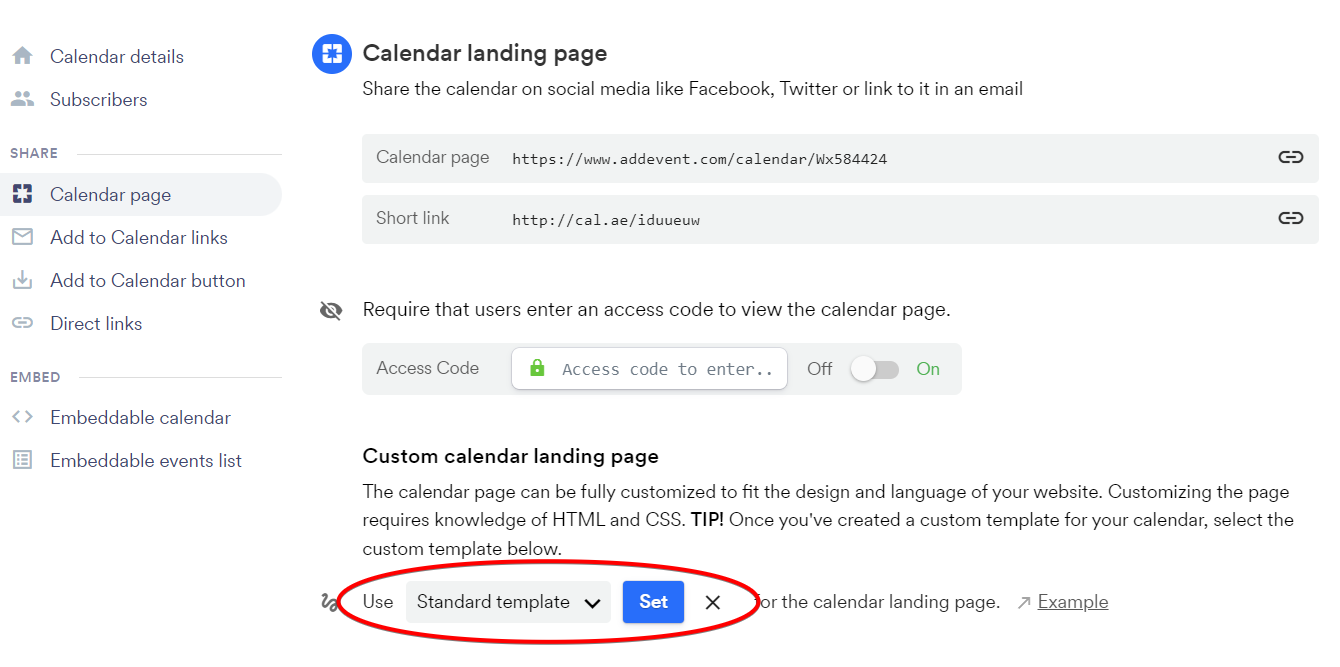
Once set, the template will be used for rendering the calendar landing page.