Event Location
This help doc explains the functionality of your events' Location field. The Location field allows you to save and reuse locations where your events take place, making it easy to set up online and physical event locations.
How to Add a Location to an Event
To apply a location to your event, follow the steps below:
- From the Dashboard, click on the event's title. You will then be directed to the Event details page.
- Click the three dots icon located to the right of the event's title, and then click the Edit option. You will then be directed to the Edit page.
- Under the event's description, click the dropdown located to the right of the red pin icon to choose the location type for your event.
- Select the Create location option.
- Select the location type that fits your event:
- Online location (e.g., Zoom, Google Meet, Microsoft Teams)
- Physical address (for in-person events)
Saving and Reusing Locations
- To save a location, go to the event's editing page.
- In the location dropdown, click New Location and select the type of location you would like to add. Select the Address option if you have a physical location for your event, or any other type if the event is online.
- Enter the necessary details for your location type and click Save to add it to your saved locations.
- Your new location will now be saved to your Saved Locations, but you need to select the specific location you want to assign to your event from the dropdown for your selection to save.
| Online location | Physical address |
|---|---|
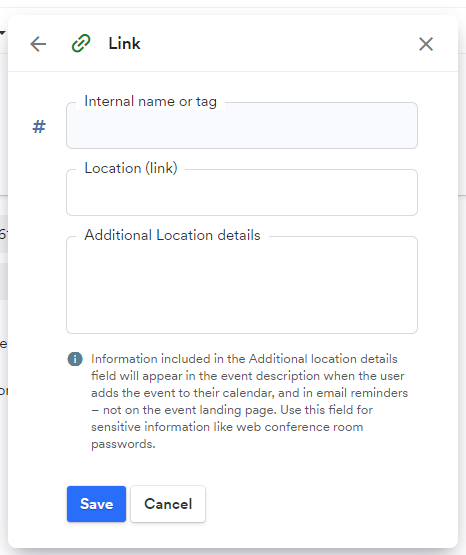 | 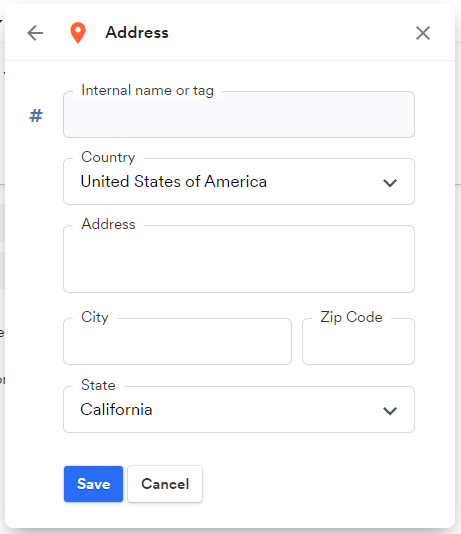 |
Saved Location Properties
There are three sections for each location, except the address:
| Property | Description |
|---|---|
| Internal Name or tag | This name is visible only to you and account users (admins and editors). It helps identify locations if you have specific links for specific events, for example. |
| Location (link) | Paste a video conferencing link here. This link will be visible to event attendees on the event landing page and once saved to the attendees' calendars. |
| Additional location details | You can input other details about your location here. It will only appear in the event description once saved to a calendar and email reminders. The additional location details will not be visible on the event landing page. |
Additional Location Details (Privacy Option)
If you want to keep location details private until an attendee adds the event to their calendar, use the Additional Location Details field. This field ensures the details won’t show on the event landing page but will appear in the attendee’s calendar after adding the event or RSVPing. This option works for both regular and RSVP events.
You can also remove the location field from view on your event landing page(s) by customizing an event landing page design template. See our help doc here for more details.