Update the Font on Landing Pages
You can change the font of your calendar or event landing page using a custom template, and it's as simple as pasting a line of code! The following are applicable to both calendar and event landing pages.
New and Improved Feature!
Custom Templates are no longer available in AddEvent 2.0. This is because we've built design templates. Design templates are a no-code feature allowing you to customize your event landing pages, calendar landing pages, and embeddable calendar. Please check out the Design Template help section for details.
Creating a Custom Landing Page TemplateTo create a custom landing page template for your event, follow these steps:
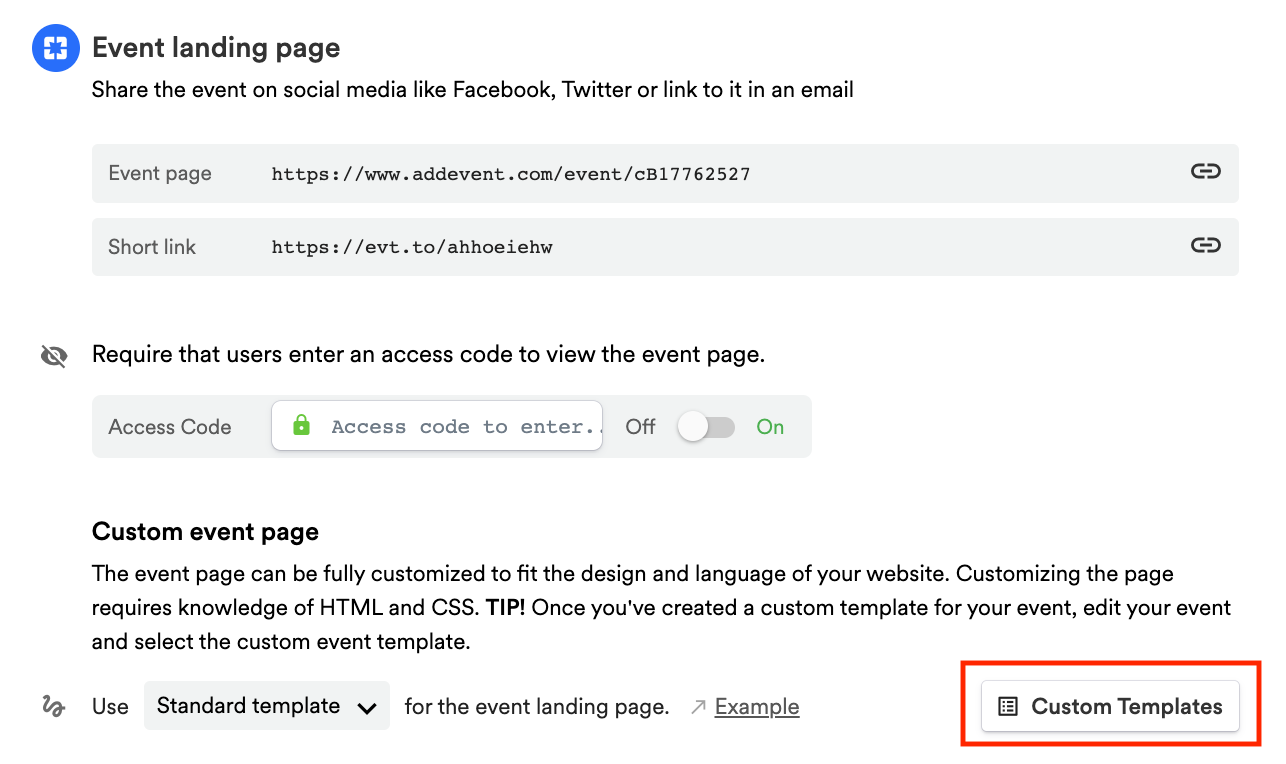
- Navigate to the Event Landing Page: Go to the Event Landing Page section, which is the first sharing method in the app.
- Open Custom Templates: Click Custom Templates within the app.
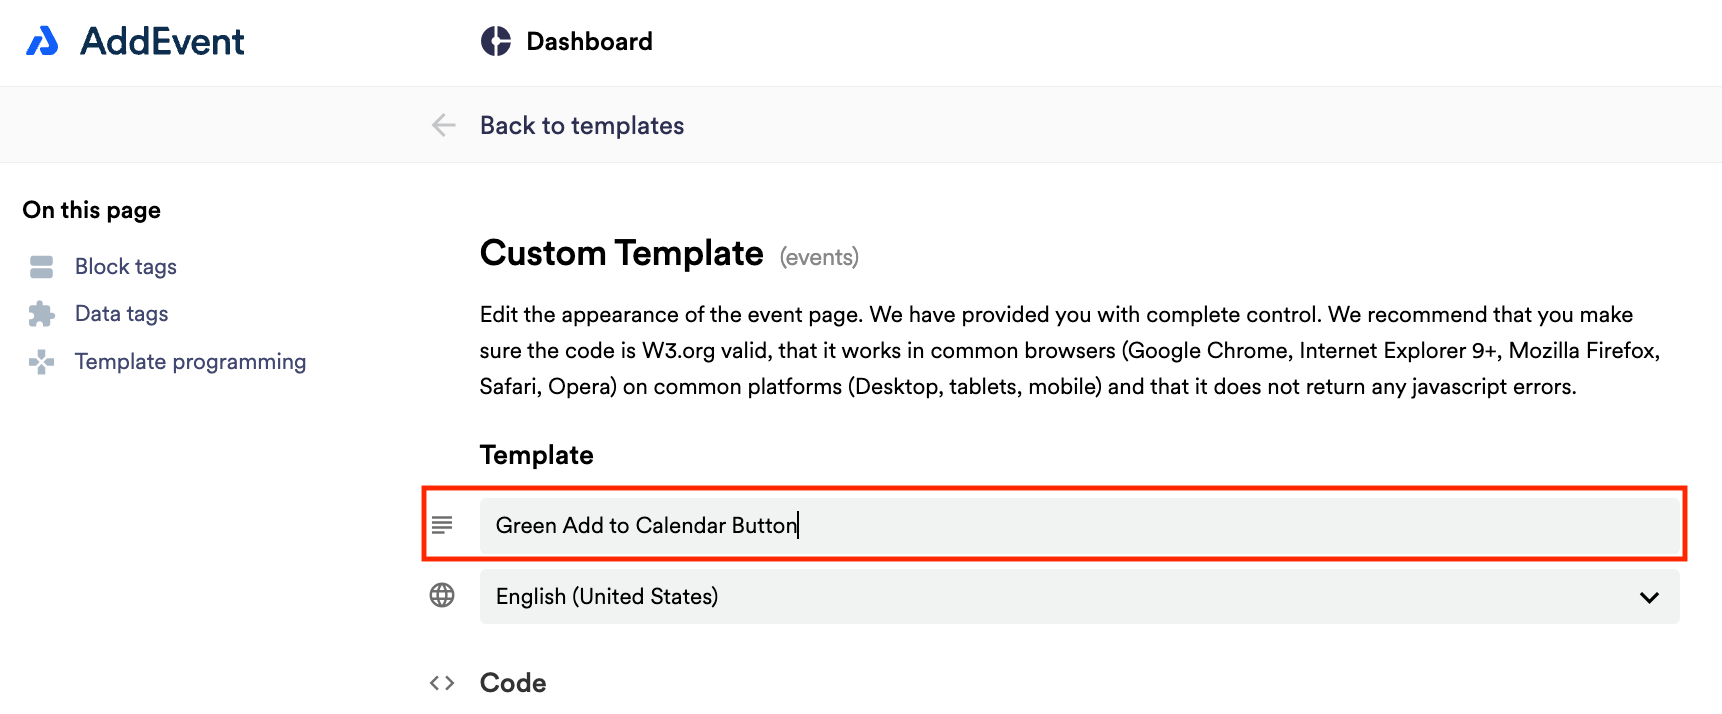
- Create a New Template: Click + New Template to start a new template.
- Name the Template: Give your new template a memorable name to make it easy to select later.


Updating the Font on the Landing Page
To change the font on your custom event landing page, you’ll need to add specific code to the template’s head section:
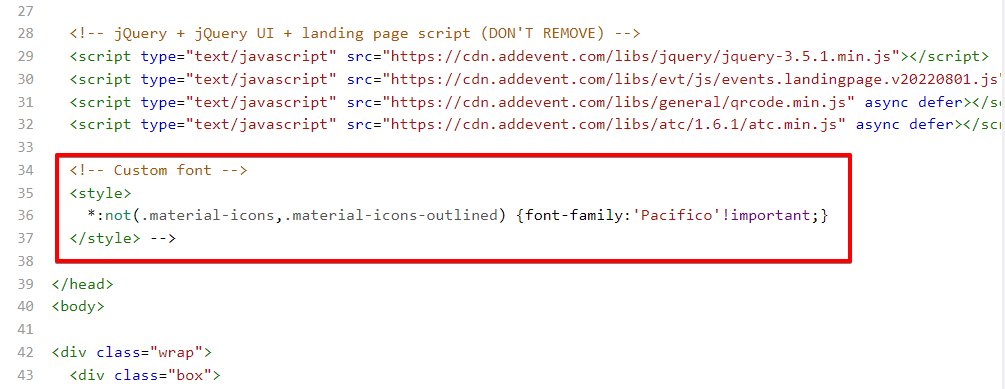
- Add Font Code: Copy and paste the following code into the head section of the template:
<!-- Custom font -->
<style>
*:not(.material-icons, .material-icons-outlined) {font-family: 'Pacifico'!important;}
</style> - Select Your Font: Replace "Pacifico" in the code with the name of the font you’d like to use. You can find fonts on the Google Fonts page.
- Insert the Code: Once you have your code updated with your font choice, insert it into the template code as shown below:

Saving and Applying the Template
After you’ve finished editing your template, follow these steps to save and apply it:
- Name and Save the Template: In the field above the code section, enter a name for your template, then click Save at the bottom of the code section to save your changes.

- Set the Template for Your Event or Calendar: Return to the event or calendar page and select the new template from the dropdown menu to apply it.
Your event landing page will now display using the new font.
Updated 3 months ago
