Websites for Dynamic Add to Calendar Buttons
This help doc explains how to add a website and why is it needed for our Dynamic Add to Calendar Button.
Adding a Website
- Click the tab for Dynamic Events on the left-hand navigation bar.
- Click the Websites tab at the top of the page (https://dashboard.addevent.com/dynamic-atc?tab=websites).
- Click the + Add website button, and then enter the domain or sub-domain where your Add to Calendar Button is located. Then click Save.
Verifying your website
Verification is not necessary to use the Dynamic Add to Calendar button on your website/domain. However, in order to keep your data secure, your website/domain will need to be verified in order to see usage and analytics for the dynamic Add to Calendar button on that domain.
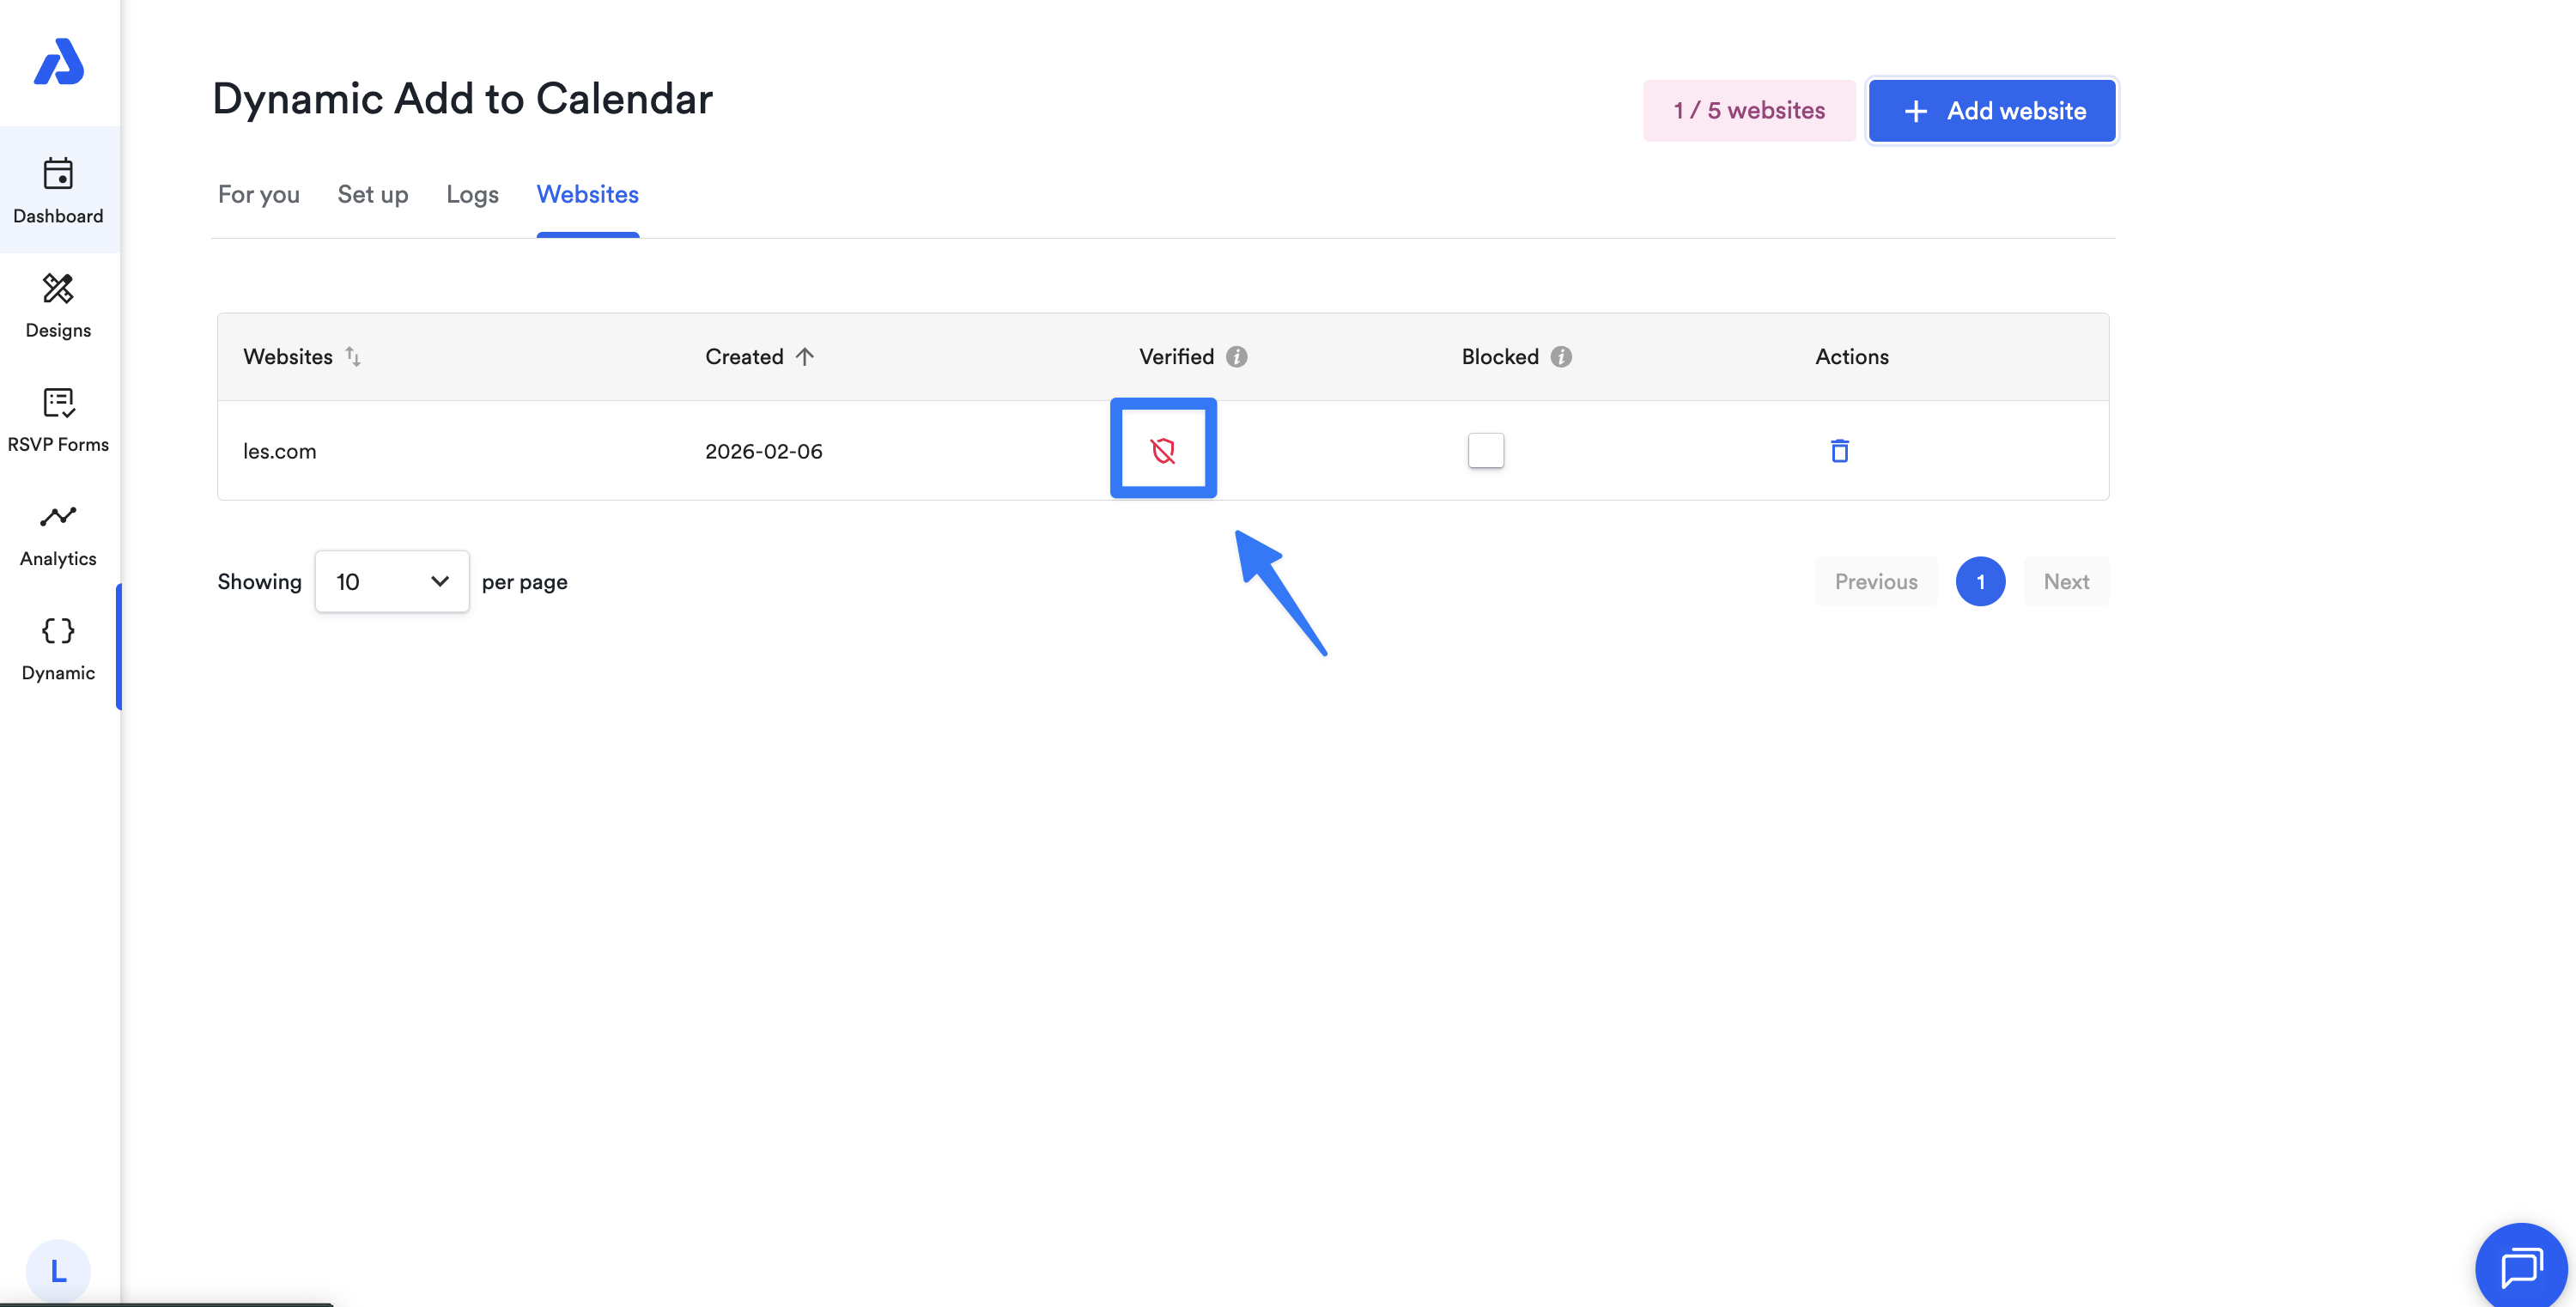
- First, click the shield icon next to the entry for the domain you just added
- Choose the method you want to use to verify your domain
- HTML File: Download an HTML file and upload it to your domain
- DNS Records: Add a TXT record to your domain configuration
- Follow the steps for your chosen method to verify your domain and unlock the usage statistics for your Dynamic Add to Calendar button.
If your website has not already been verified, the shield icon will display in a red color:
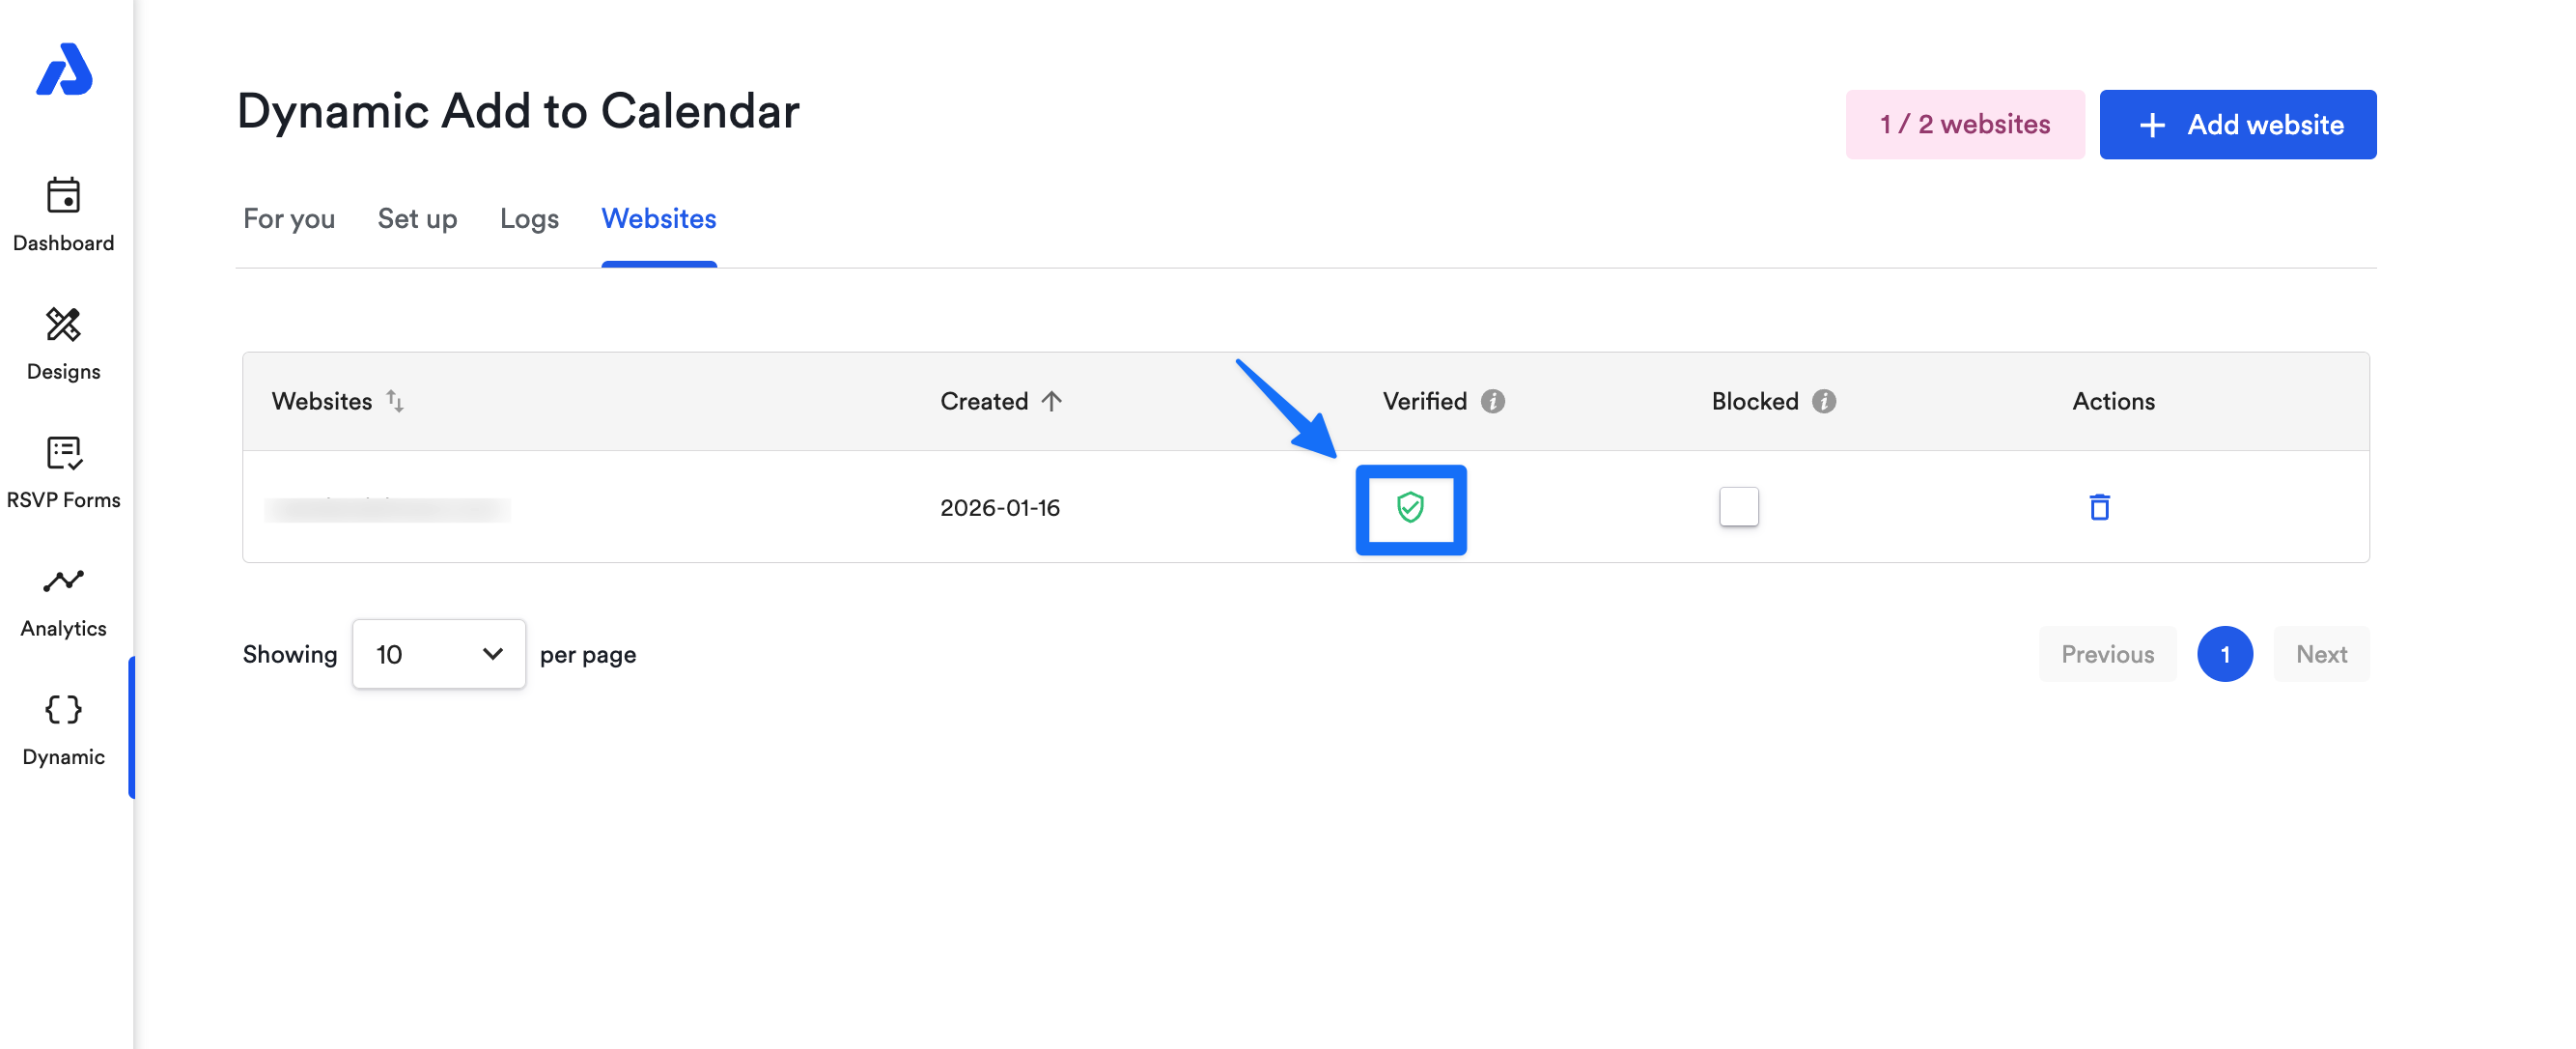
If your website has already been verified, the shield icon will display in a green color:
Why do I need to add a domain?
In order to use our services, you need a license. By adding the website(s) where you use our services, you let our system know that the website is part of your account and has a valid license.
What if I use AddEvent on a SaaS platform, and I don't want to add websites manually?
If you want to add usage websites automatically, simply include the client tag in your button code. Here is the documentation for more details: Dynamic Add to Calendar button for websites
What happens if I forget to add my domain?Our engine records and analyzes incoming usage. In case activity on an unlicensed website is detected, our robot will try to send out a notification letting you know about the missing license.
This is a feature included in our paid plans. Please reach out to [email protected] for a free 7-day trial.
Updated 5 months ago