Change the Color of the Respond Button on an RSVP Event
This help doc explains how to change the color of the respond button on your event landing page using a custom template.
New and Improved Feature!
Custom Templates are no longer available in AddEvent 2.0. This is because we've built design templates. Design templates are a no-code feature allowing you to customize your event landing pages, calendar landing pages, and embeddable calendar. Please check out the Event Landing Page Designs help section for details.
Creating a template
-
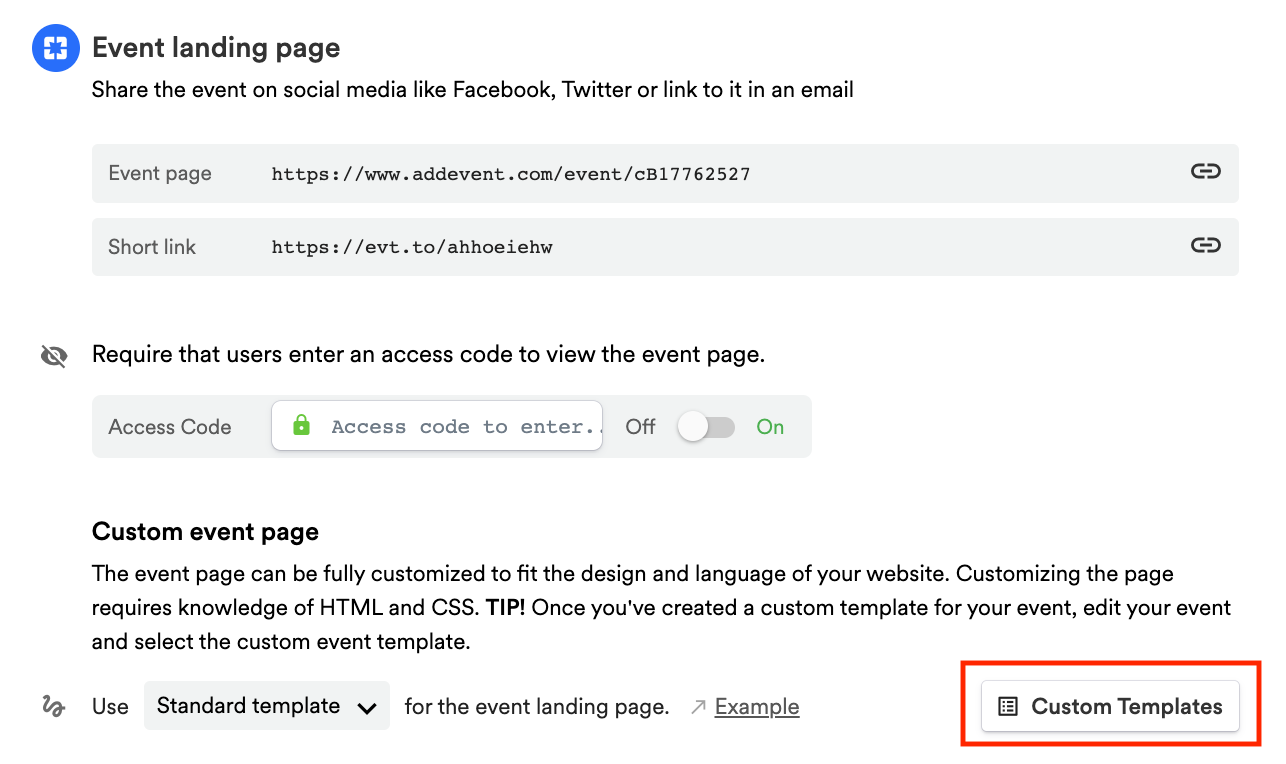
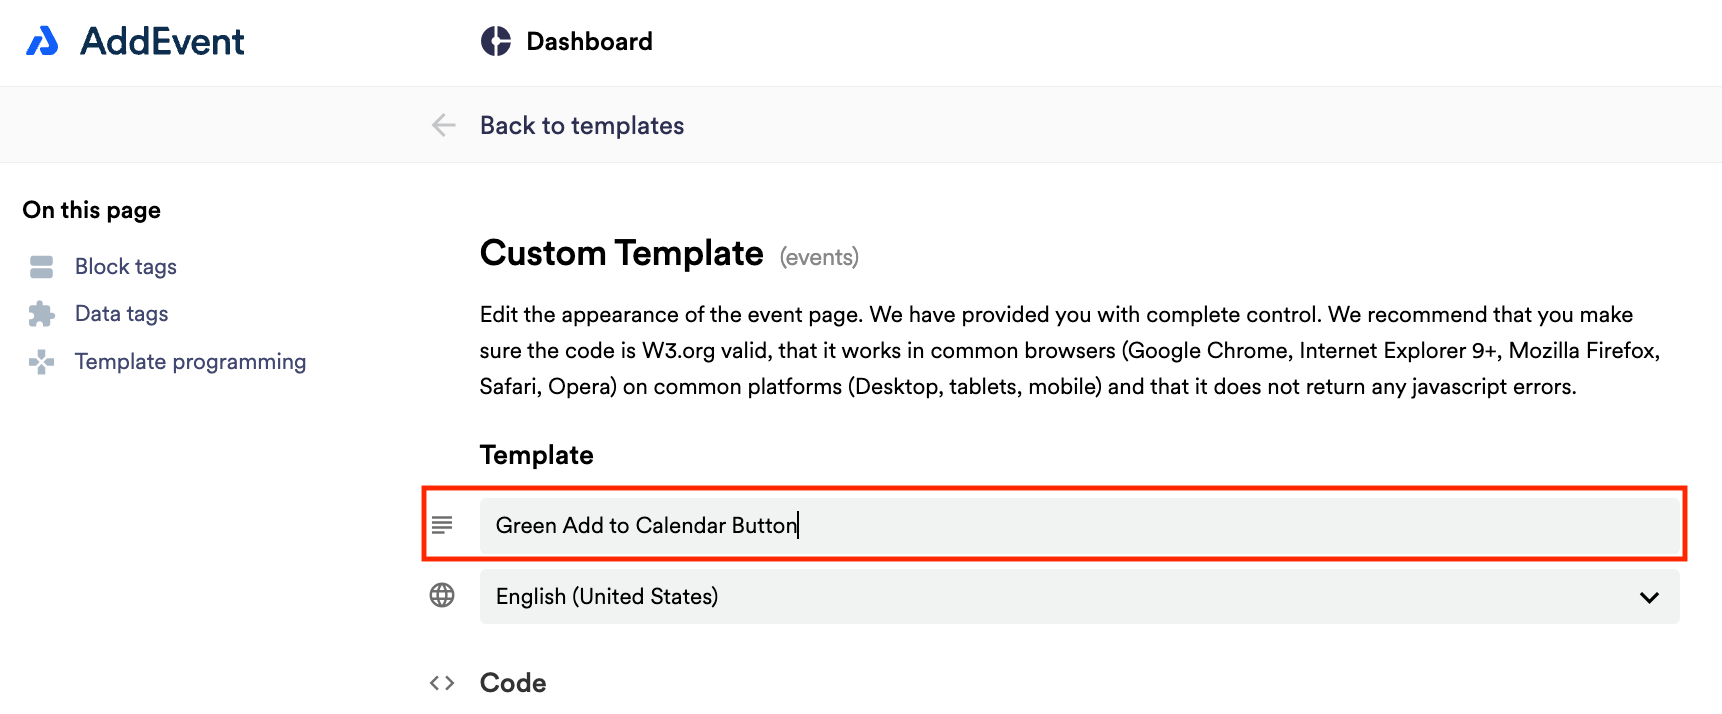
Scroll down to the first sharing method, Event landing page. Create a custom event landing page template by clicking Custom Templates in the app and clicking + New Template. Add a name for the template.
Customizing the Respond button
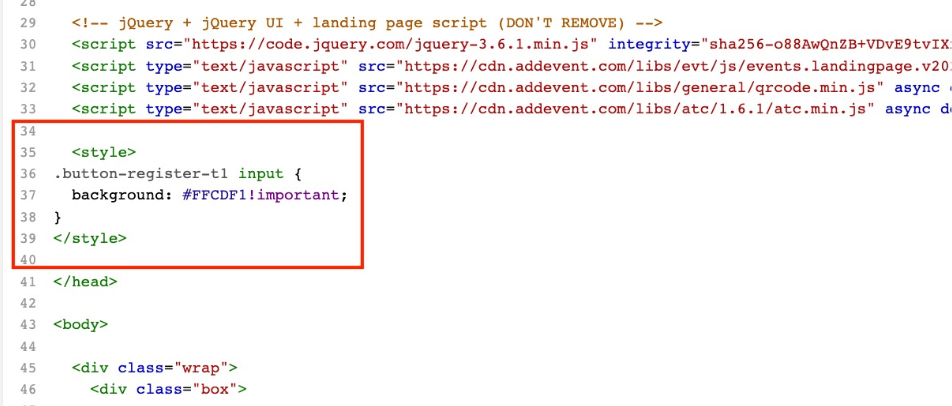
- You can copy the code below to paste it into your custom template. See the screenshot below for where to paste the code:
 <style>
    .button-register-t1 input {
      background: #000 !important;
    }
</style>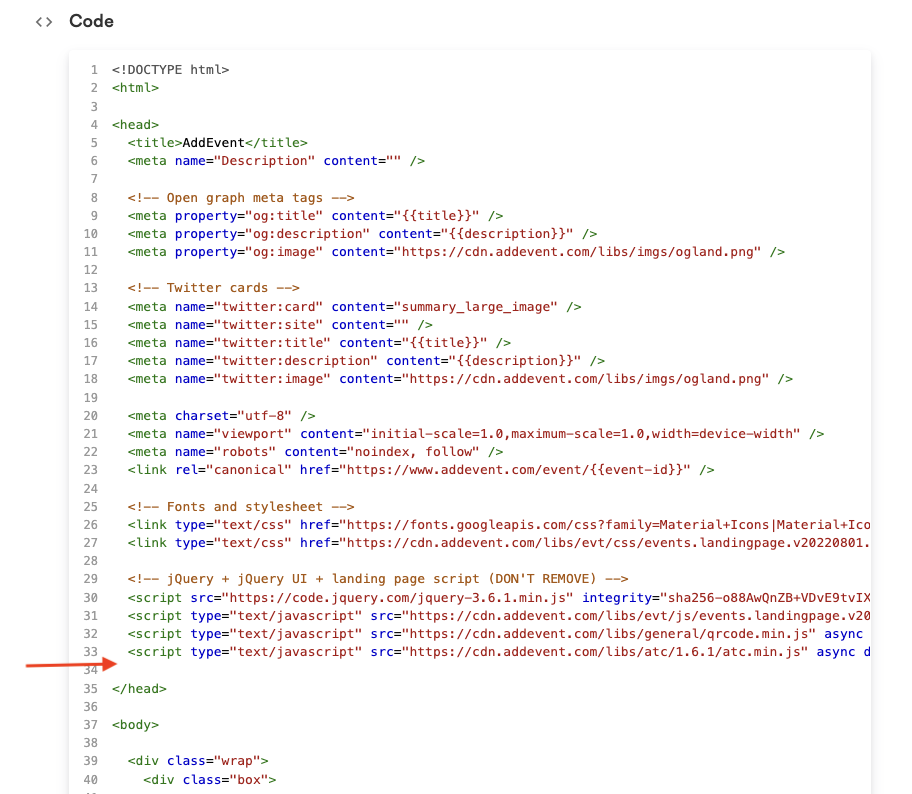
- Either use a HEX code that matches your branding or check out HTML Color Codes to select a color and copy the HEX code.
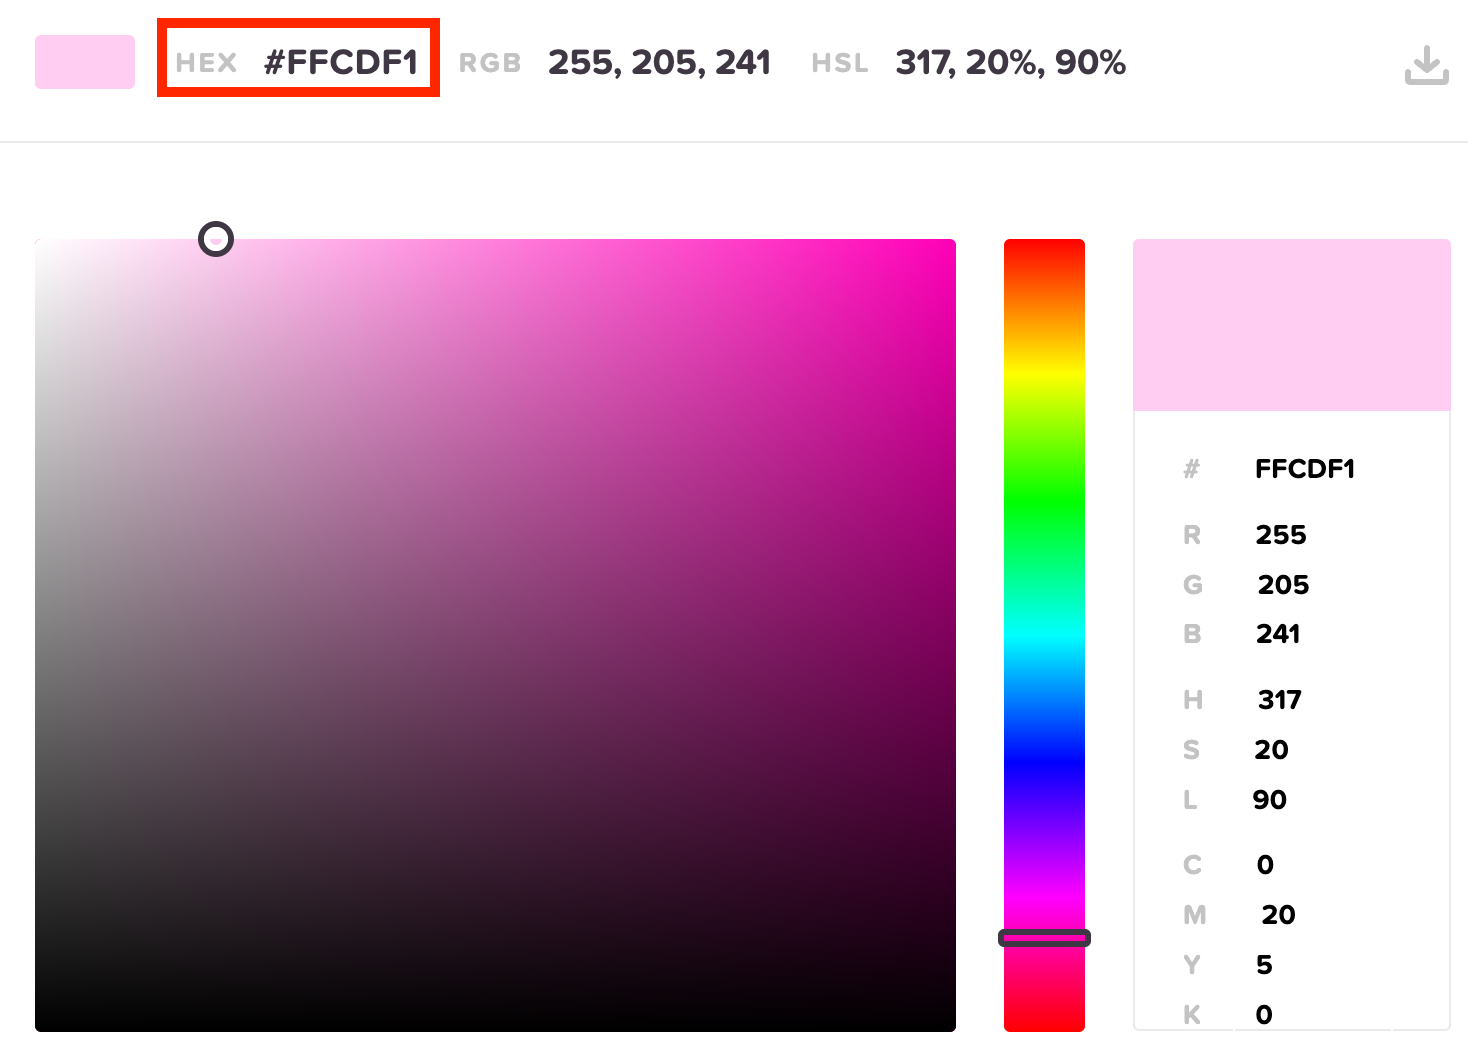
- Next, go back to your custom template and paste the hex code you chose, replacing the "#000".
- Scroll down to the end of your custom template and click Create.
- Head back to the event page and set your new custom template to your event by selecting it from the dropdown menu (where the newest templates are always at the top).

- Finally, click the Event page link to view your customized event landing page!
Updated 5 months ago