Landing Page Links for RSVP Events
This help doc explains how to set up and share the RSVP landing page for your event. An RSVP landing page is perfect for sharing event details on social media or for displaying additional information to attendees before they register and add the event to their calendars.
Accessing the RSVP Landing Page Link
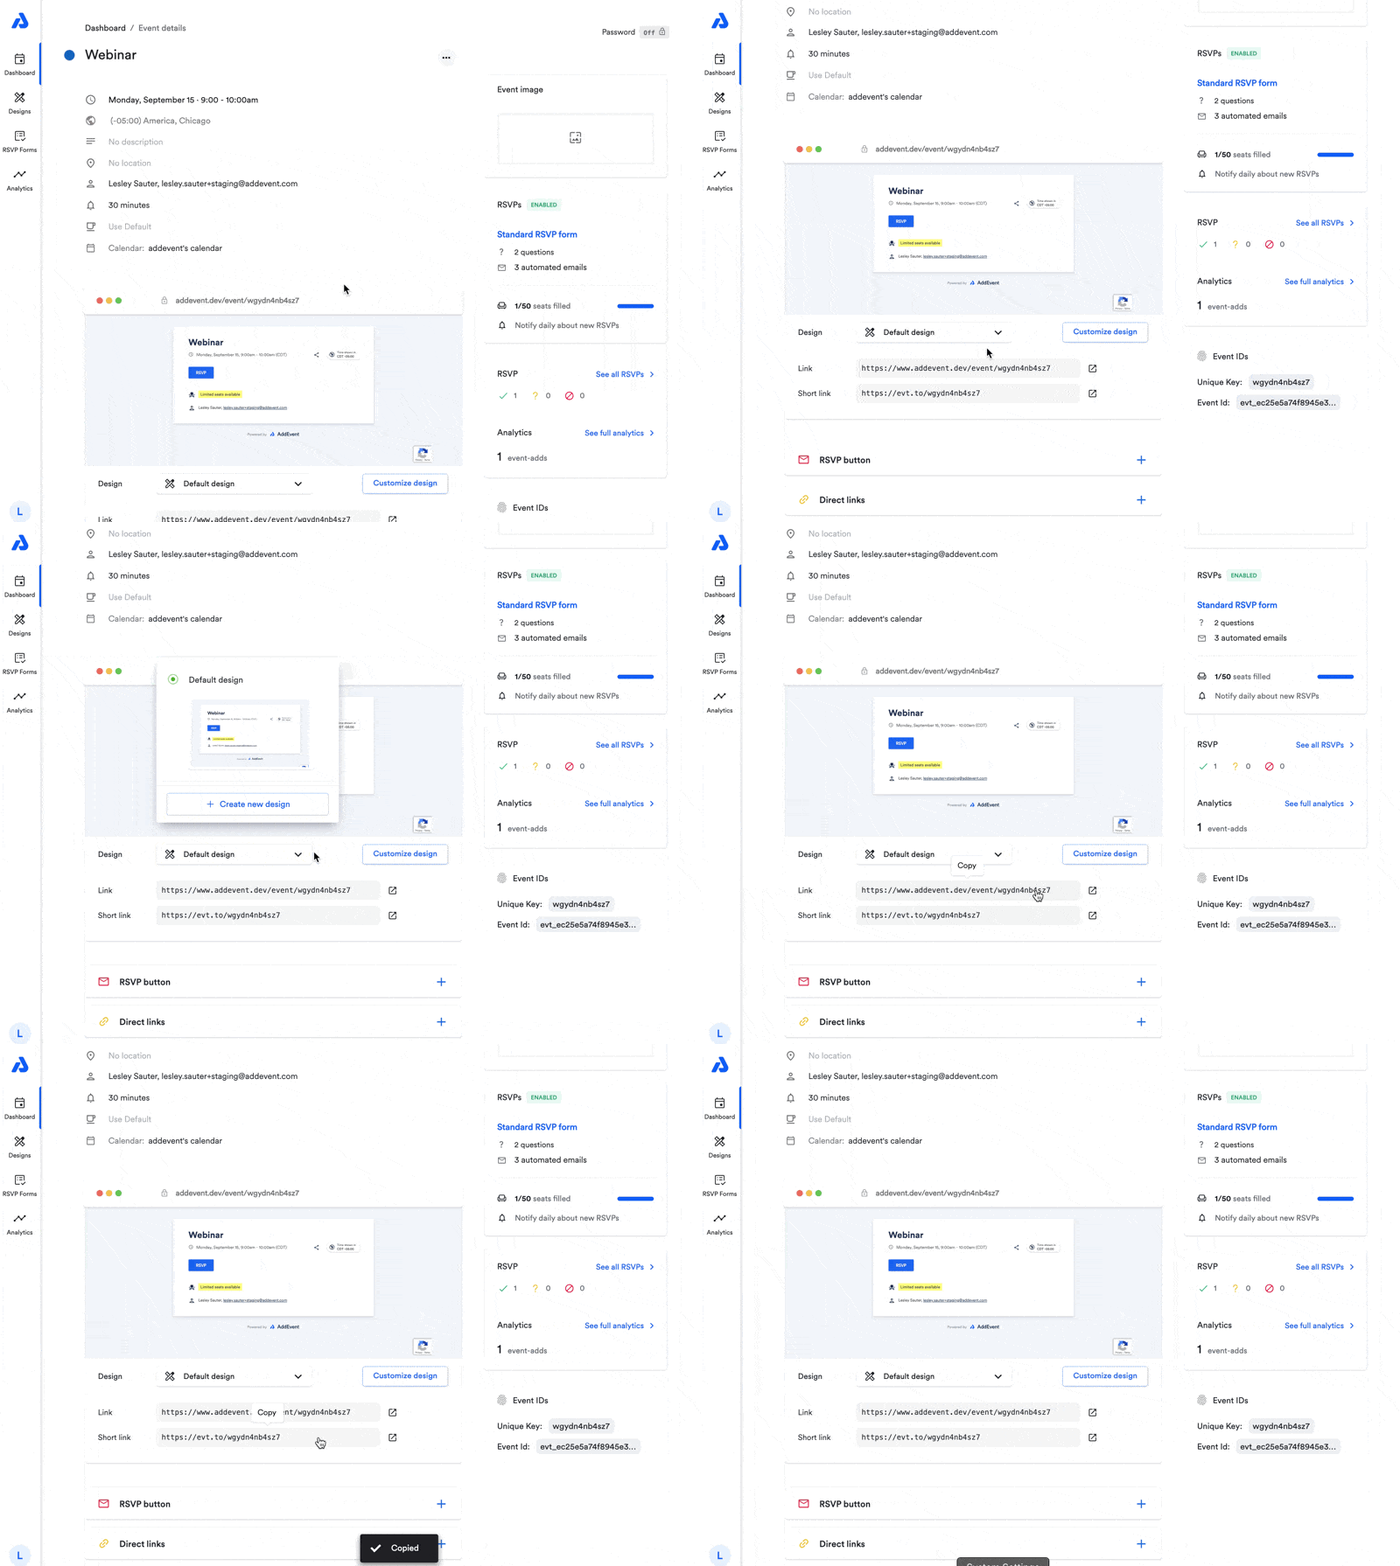
To access the RSVP landing page links from your event details page:
- Navigate to the event landing page preview section of your event details page.
- (Optional) Select which design you want to use for your event landing page.
- Click the Link or Short link to copy the landing page URL.
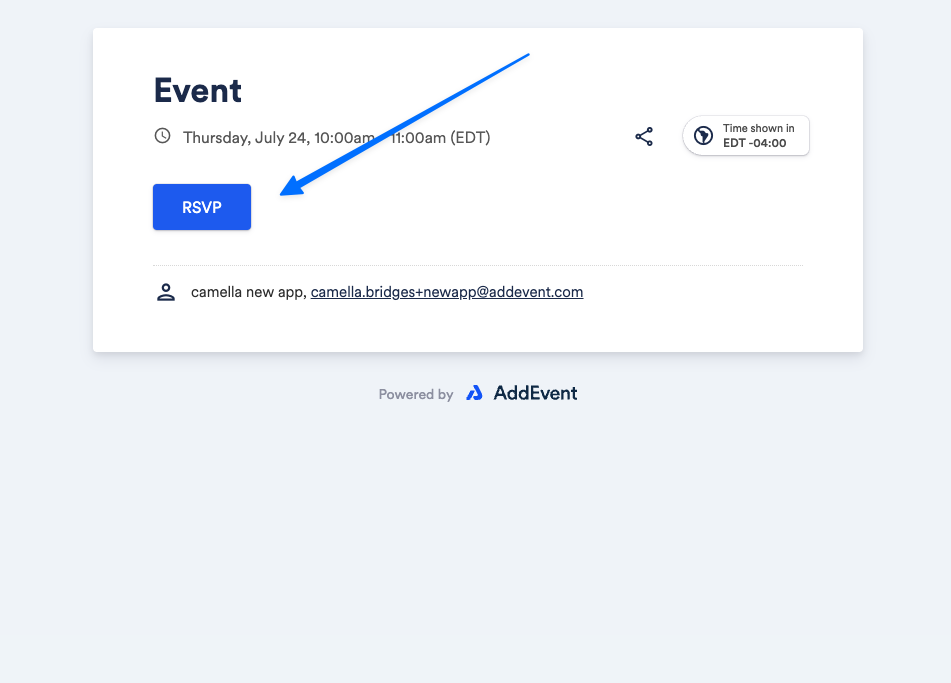
When a user clicks this link, they will navigate to the RSVP landing page, which displays event details such as the name, time, location, and description.
How Users Register on the RSVP Landing Page
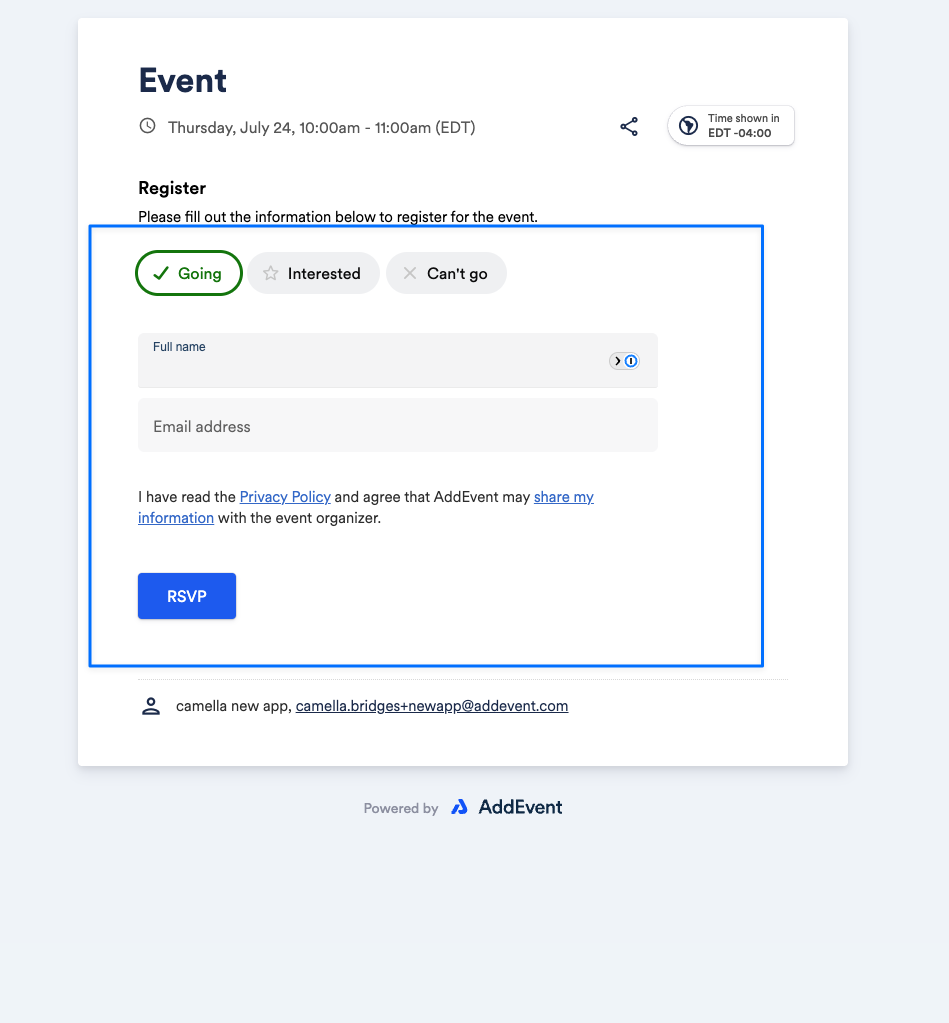
When users click the RSVP button, they will be prompted to enter their information and select their attendance status: “Going”, “Interested”, or “Can’t go”. They must complete this registration before adding the event to their calendar. To learn how to customize the RSVP form, click here.
Sharing RSVP Landing Page on Social Media
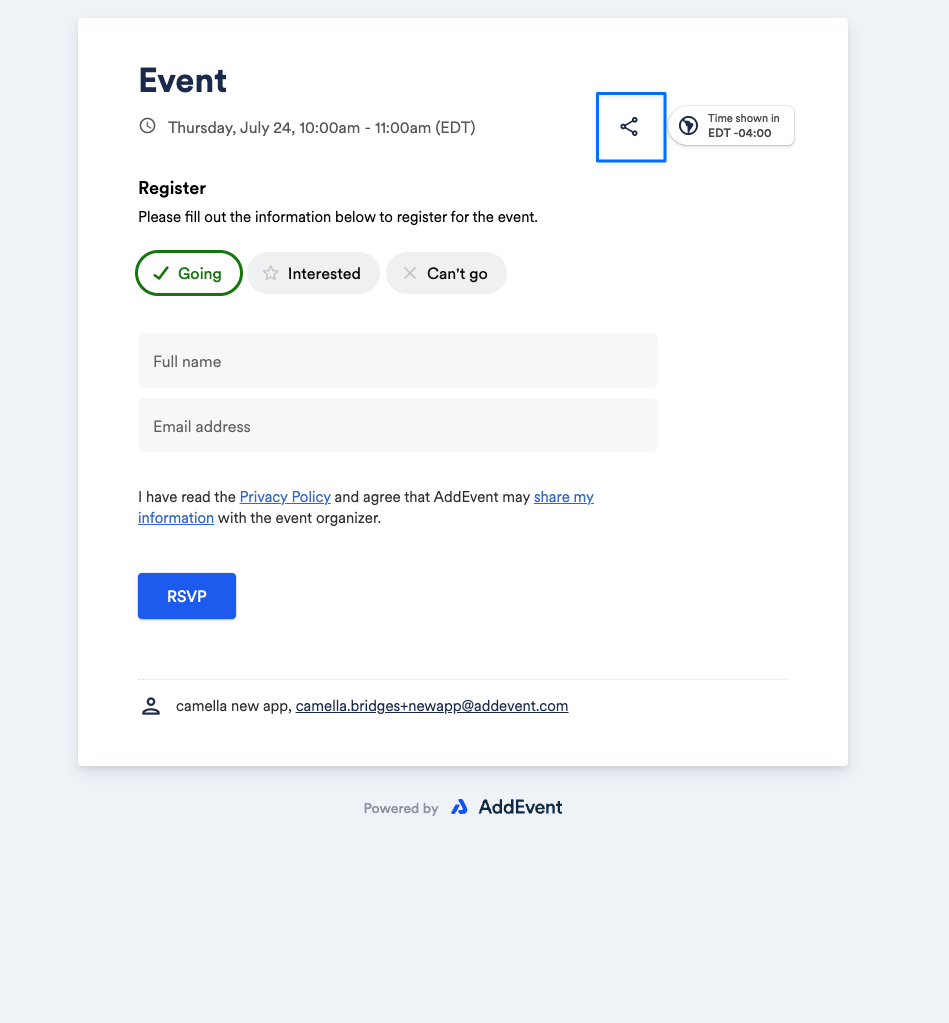
The RSVP landing page includes a share icon, allowing users to easily share your event on social media platforms like Facebook, Twitter (X), LinkedIn, WhatsApp, and more.
Adding a Password to the RSVP Landing Page
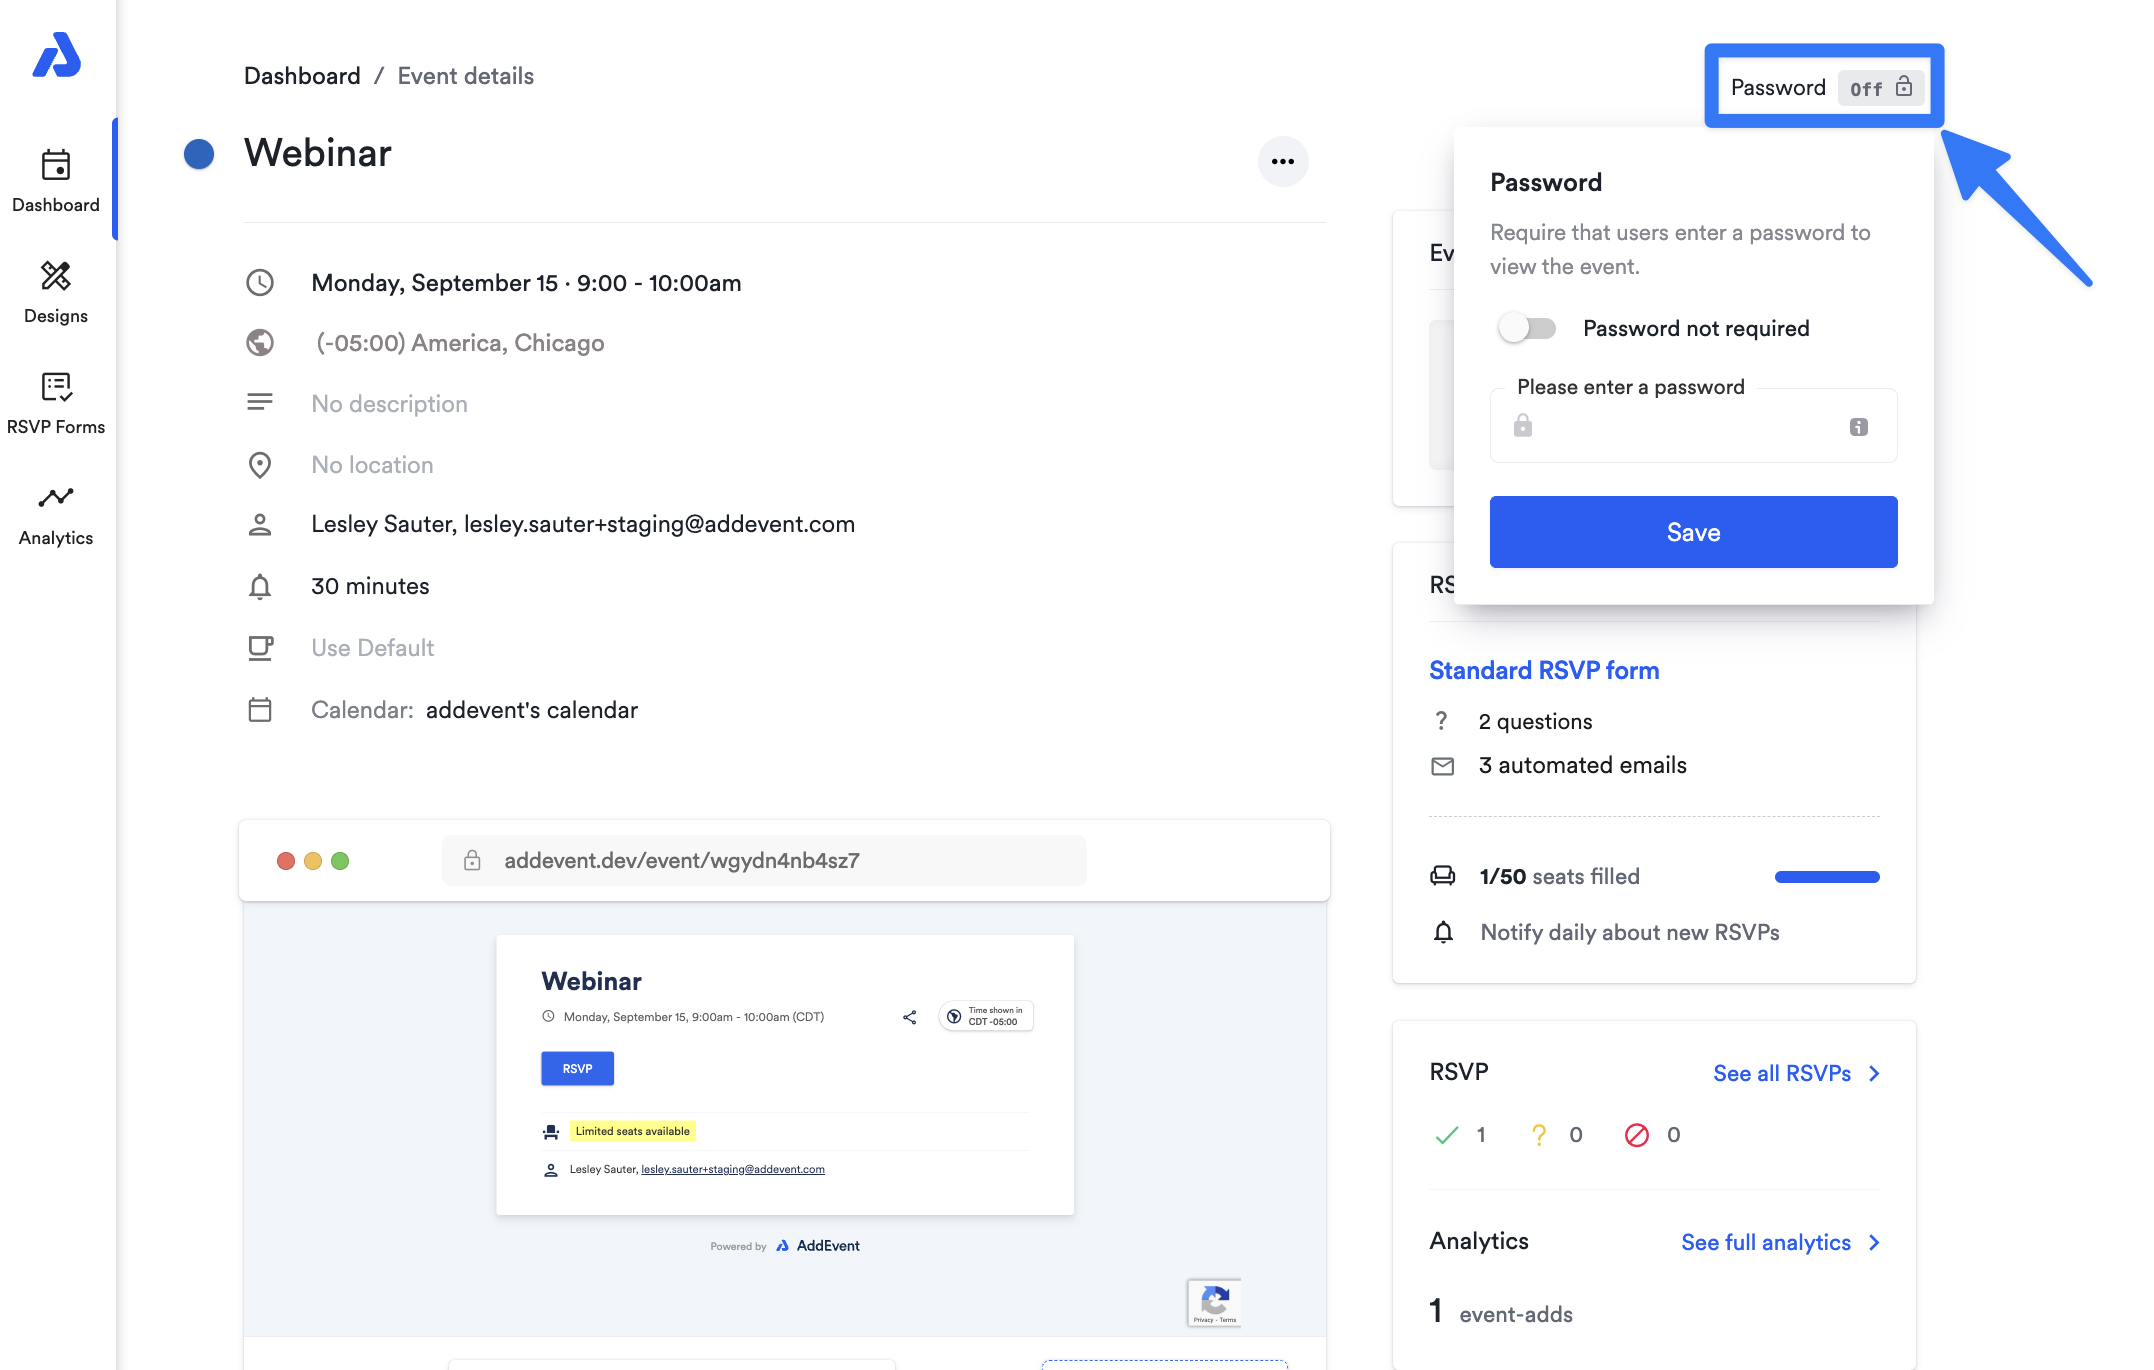
To restrict access to your event details, you can require your audience to enter a password to be able to view the RSVP landing pages. To enable a password requirement:
- Select the Password button found in the right-hand corner of the event details page.
- Toggle the option to be on.
- Type in a password in the field below and click the Save button.
If enabled, users will need to enter this password on the landing page before viewing the event information or adding it to their calendar.
Password on an Embedded RSVP Event
If you embed an RSVP event, the password requirement will still apply and prompt users to enter the password before being able to register for the event.
Updated 5 months ago
