Customize Branding
AddEvent has a ton of options for adding your branding to your public event and calendar pages. Account-wide branding settings, like your custom domain, sender identity, and color palette, live in the Branding tab. Logo, font, background color, and preview images are customized per design in the Designs section.
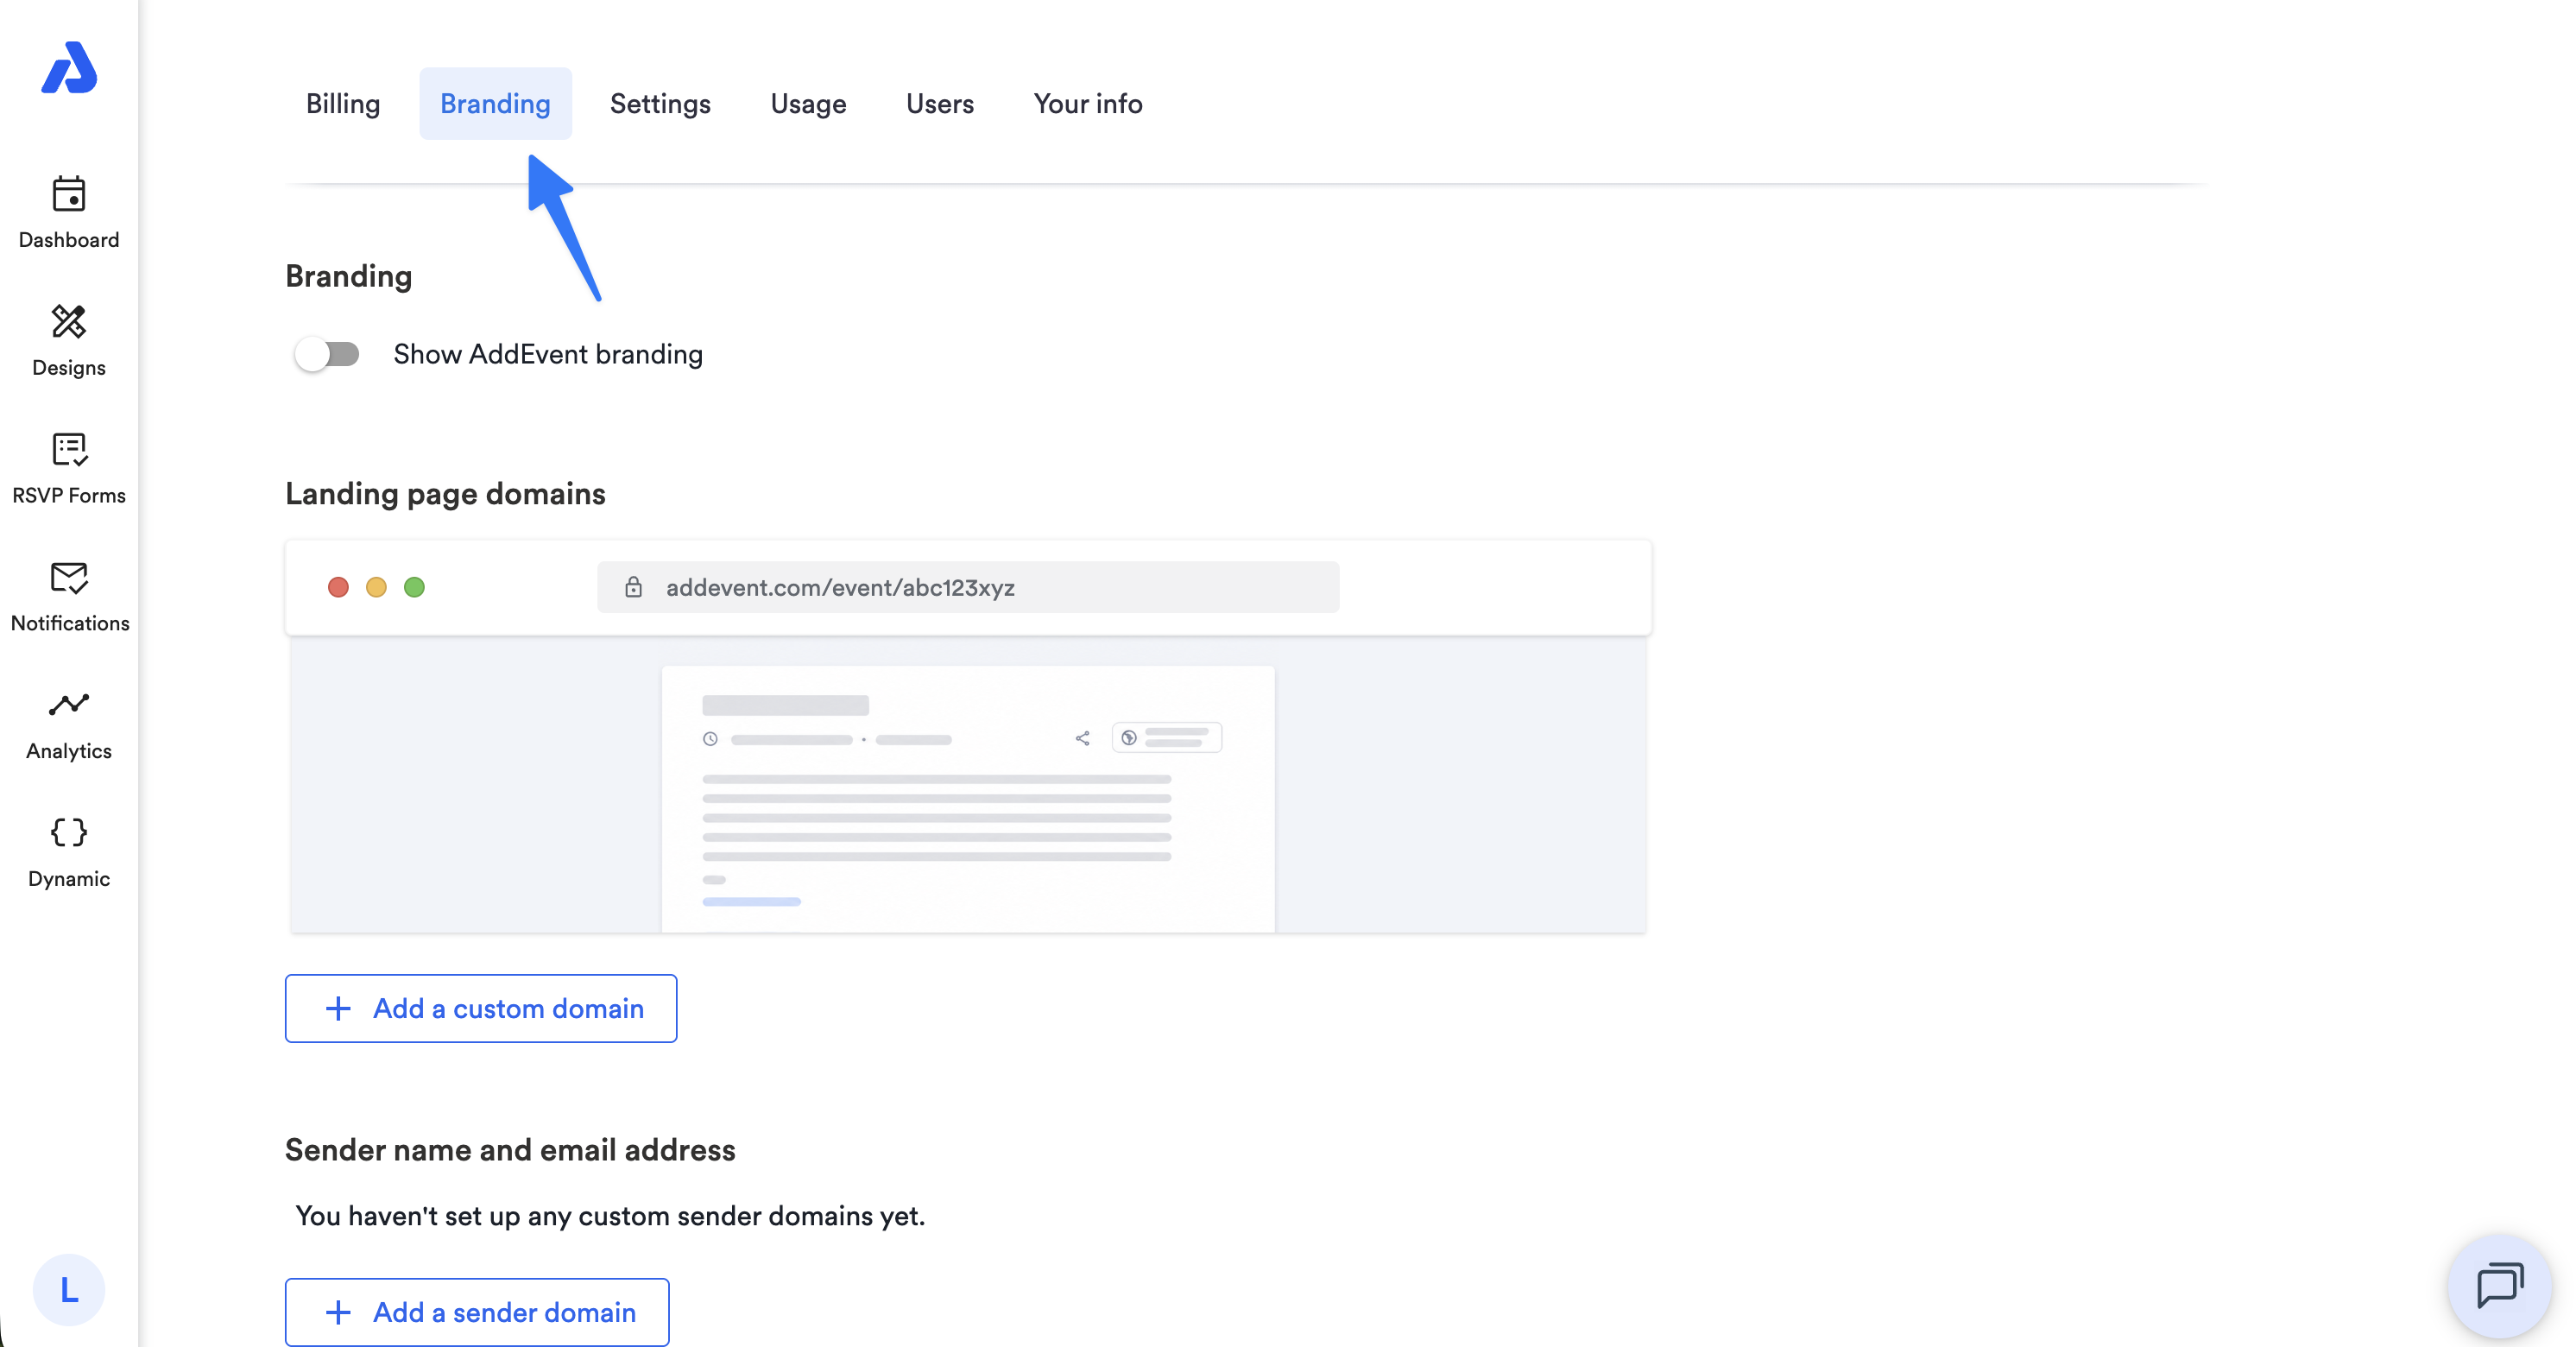
Remove AddEvent Branding
AddEvent branding appears on event and calendar landing pages, embeddable events, embeddable calendars, embeddable events lists, on the Add to Calendar button/links, in events on end-users' calendars, and in RSVP confirmation, reminder, and update emails.
To remove AddEvent branding, go to the branding page of your account, and toggle the AddEvent branding toggle to the Off position.
Landing Page Domains - Use a Custom Domain
By default, public links to events and calendars are hosted on addevent.com. For example:
- Event landing page link: https://www.addevent.com/event/vA8984410
- Calendar landing page link: https://www.addevent.com/calendar/ih348885
You can host your events and calendars on your own domain so they are stripped of AddEvent branding. For example, if your company website was hosted at www.yourcompany.com, you can host your events and calendars at events.yourcompany.com
Setting up your custom domain
-
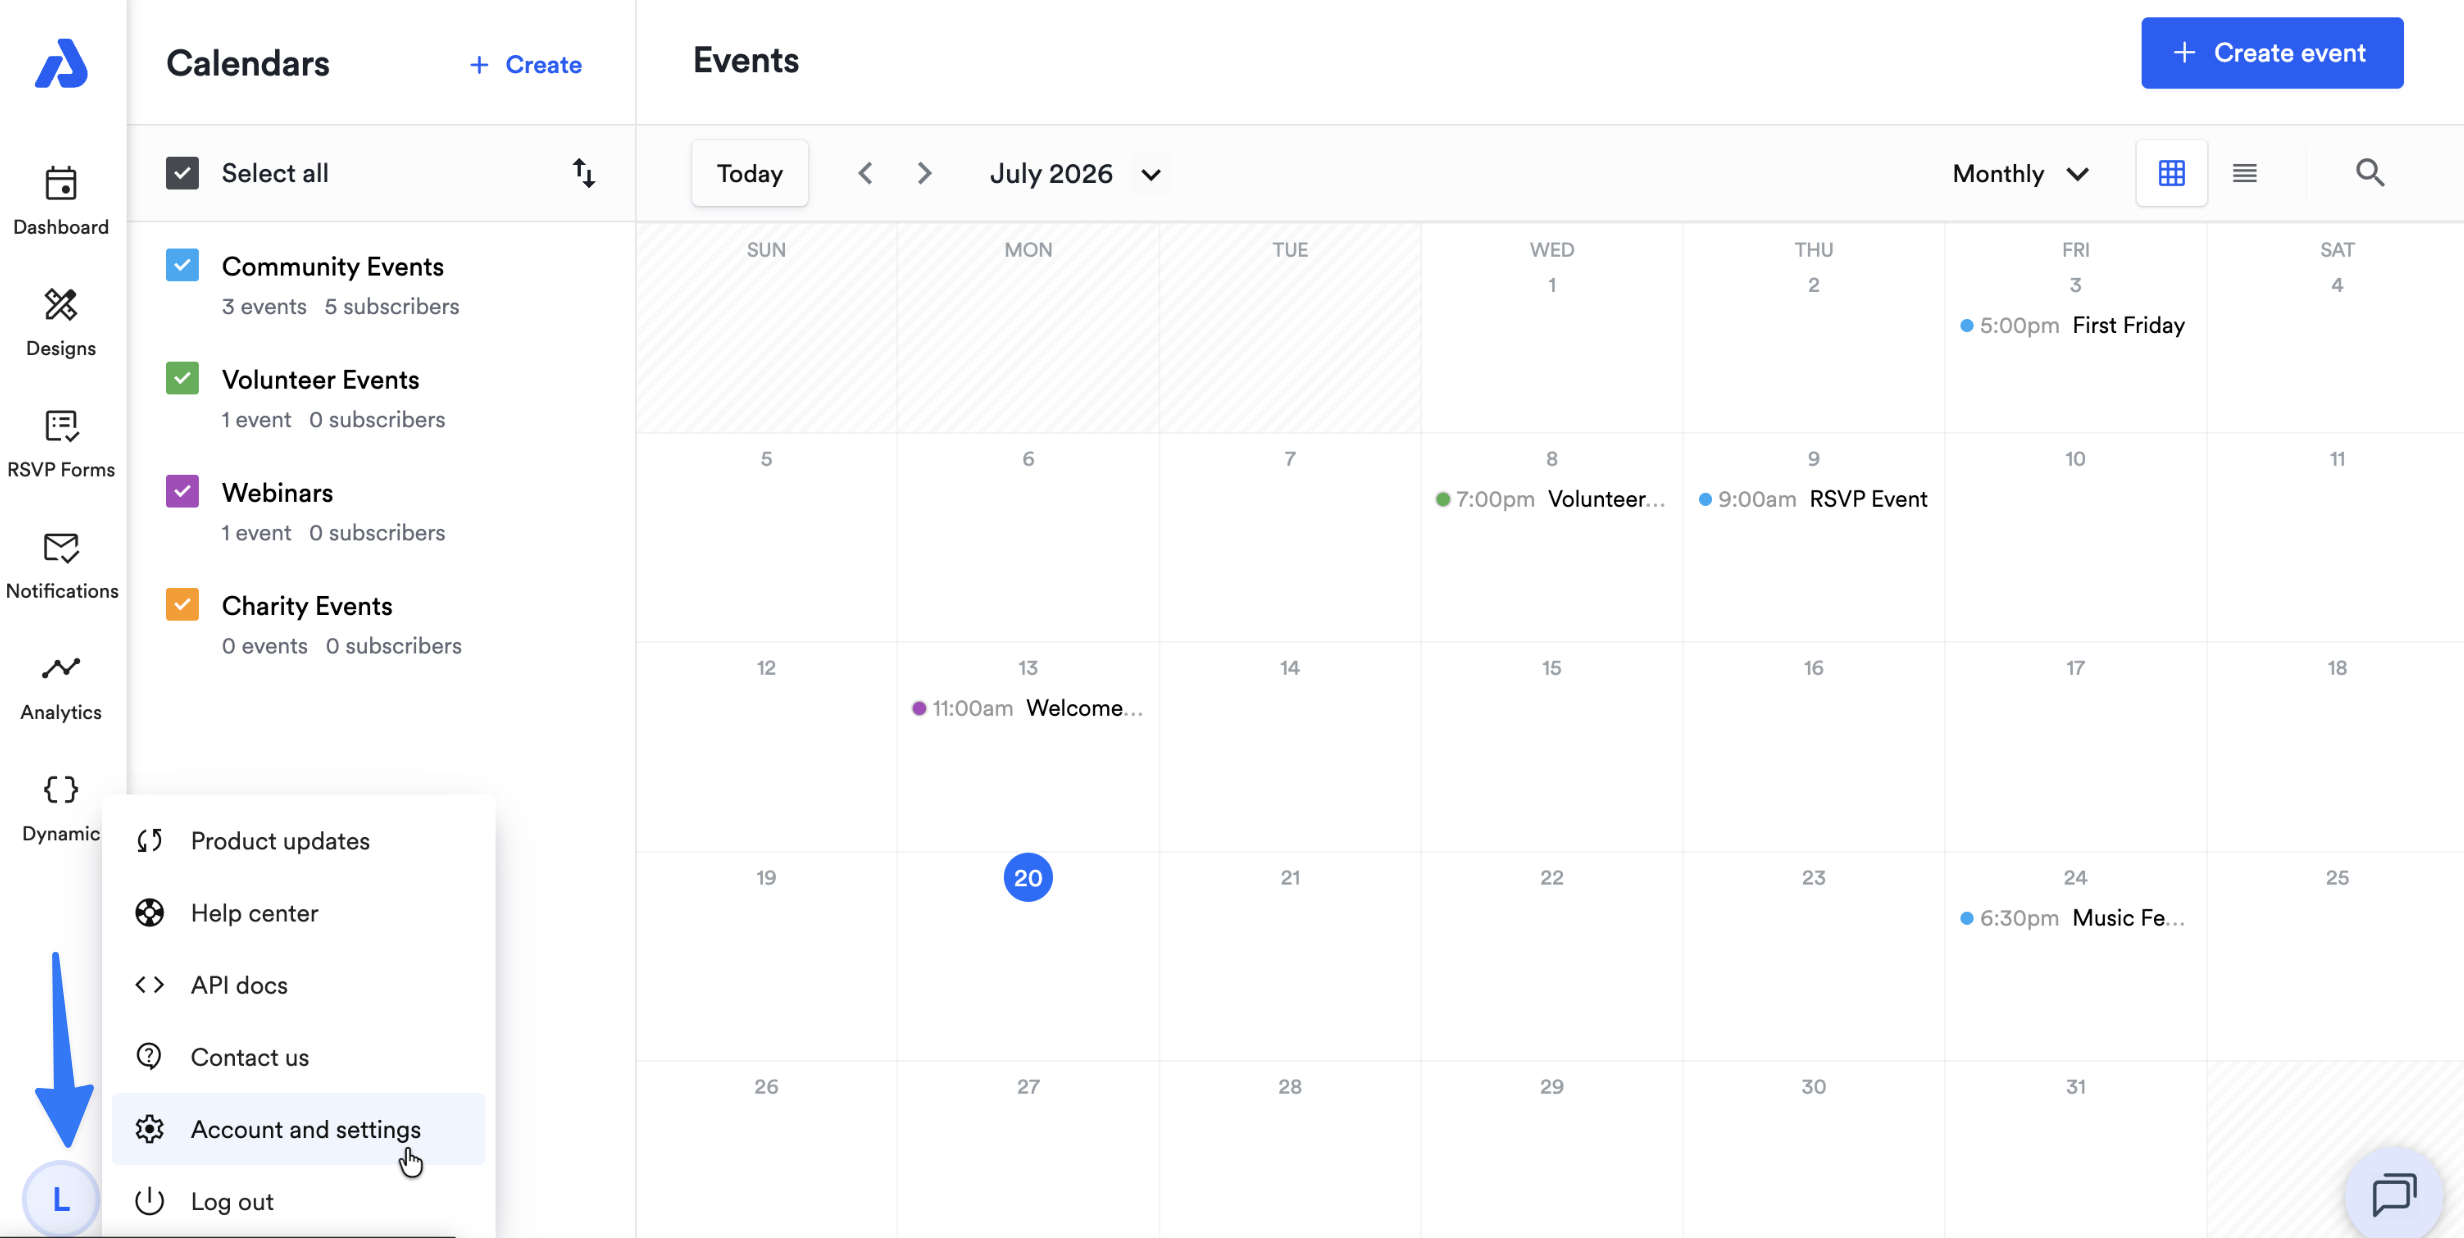
Click the blue circle in the bottom-left corner of the Dashboard.
-
Select the Account and settings option.

-
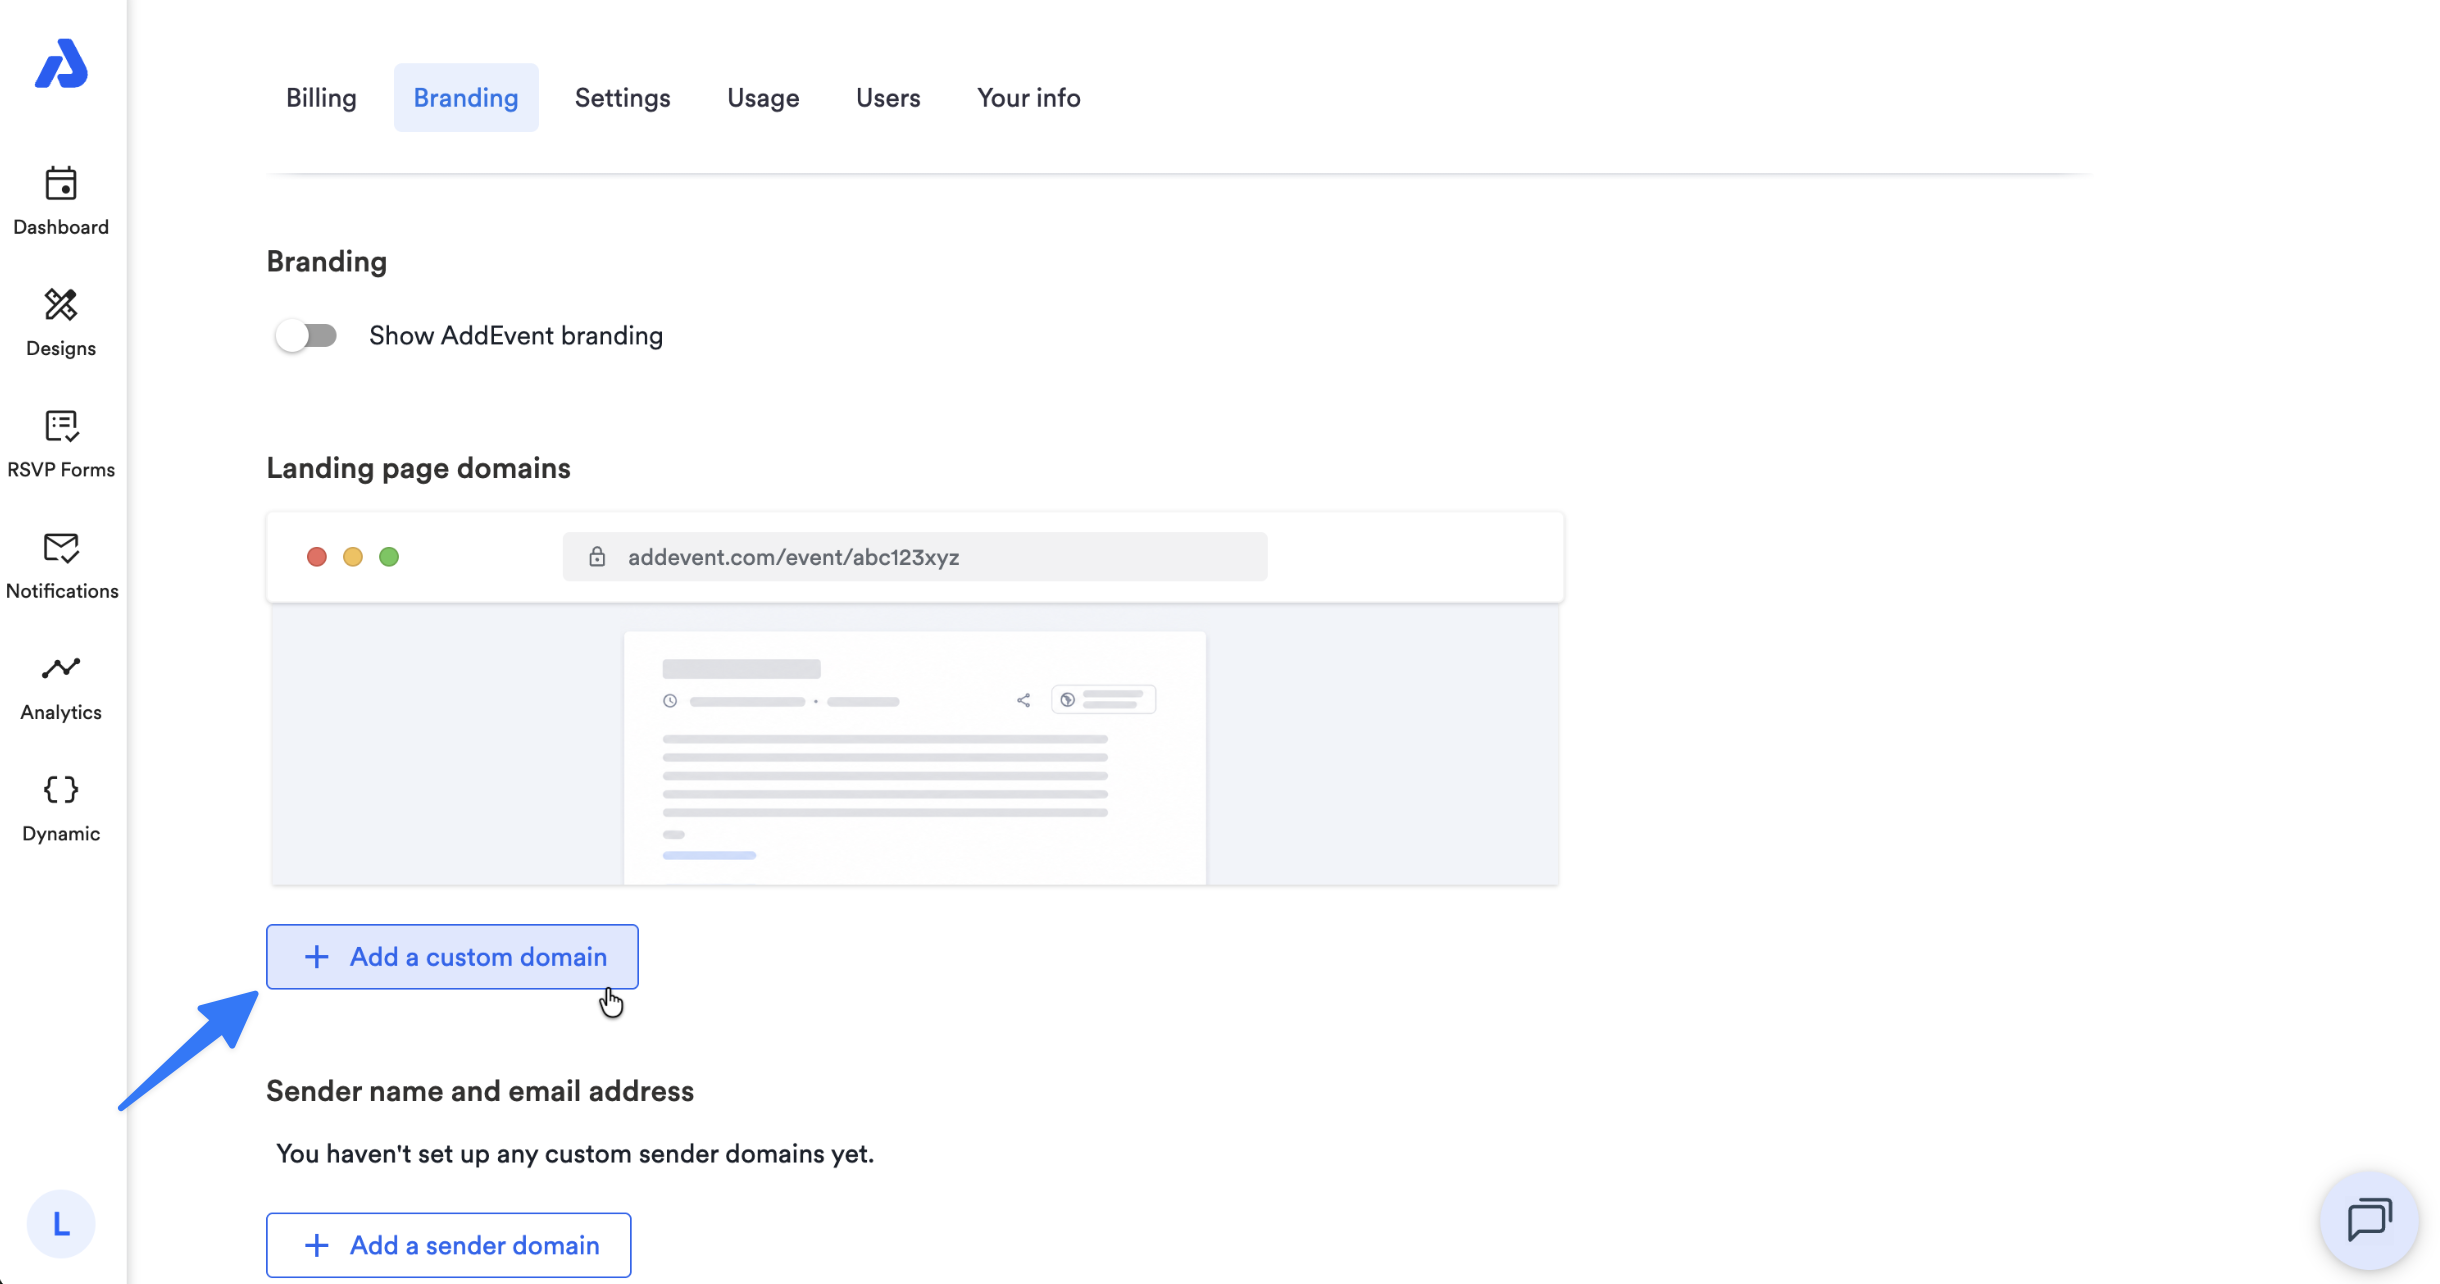
Select the Branding tab.
-
Under the Landing page domains section, click the Add a custom domain button.
-
Enter the domain you own.
-
Choose the subdomain you'd like to use (e.g., events, e, or calendar). This subdomain will be used for both your calendar landing pages and event landing pages.
-
Click the Submit button.

What happens after you submit
Submitting the form doesn't set the domain up automatically. When you submit, your request is sent to our team so an engineer can configure it on our end. Here's what to expect:
-
You'll get a confirmation email letting you know we've received your request and are working on it.
-
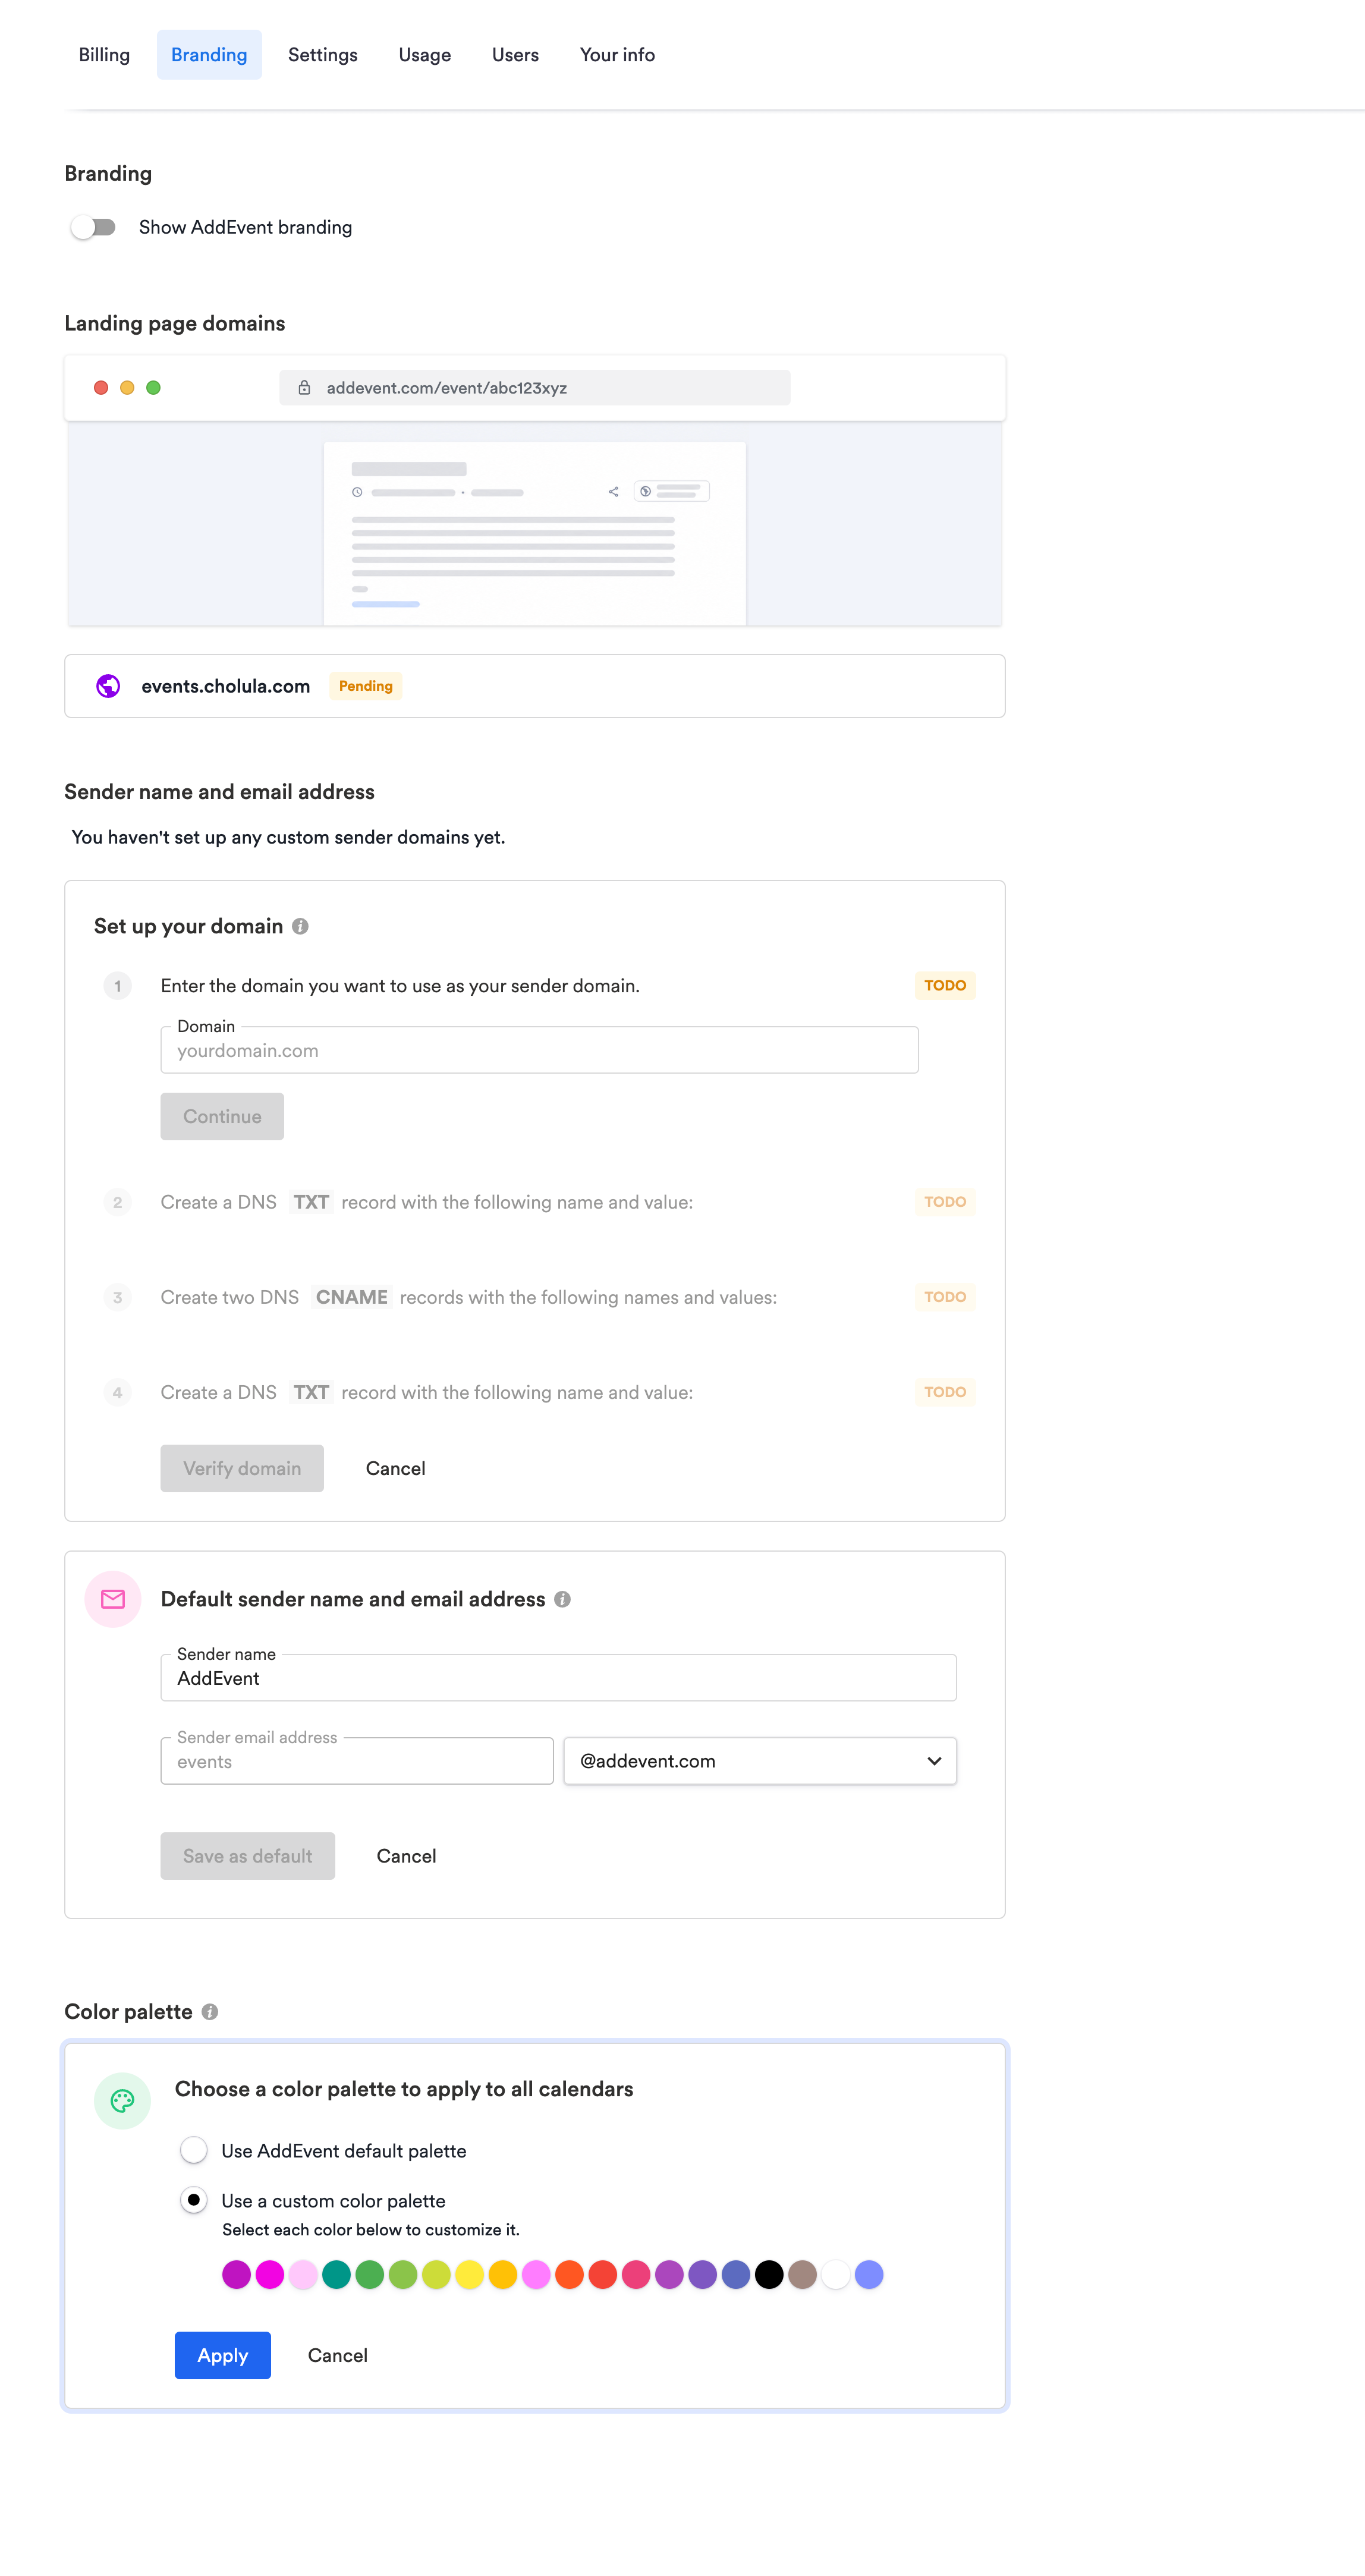
Your domain will show a
Pendingbadge in the Branding tab while setup is in progress.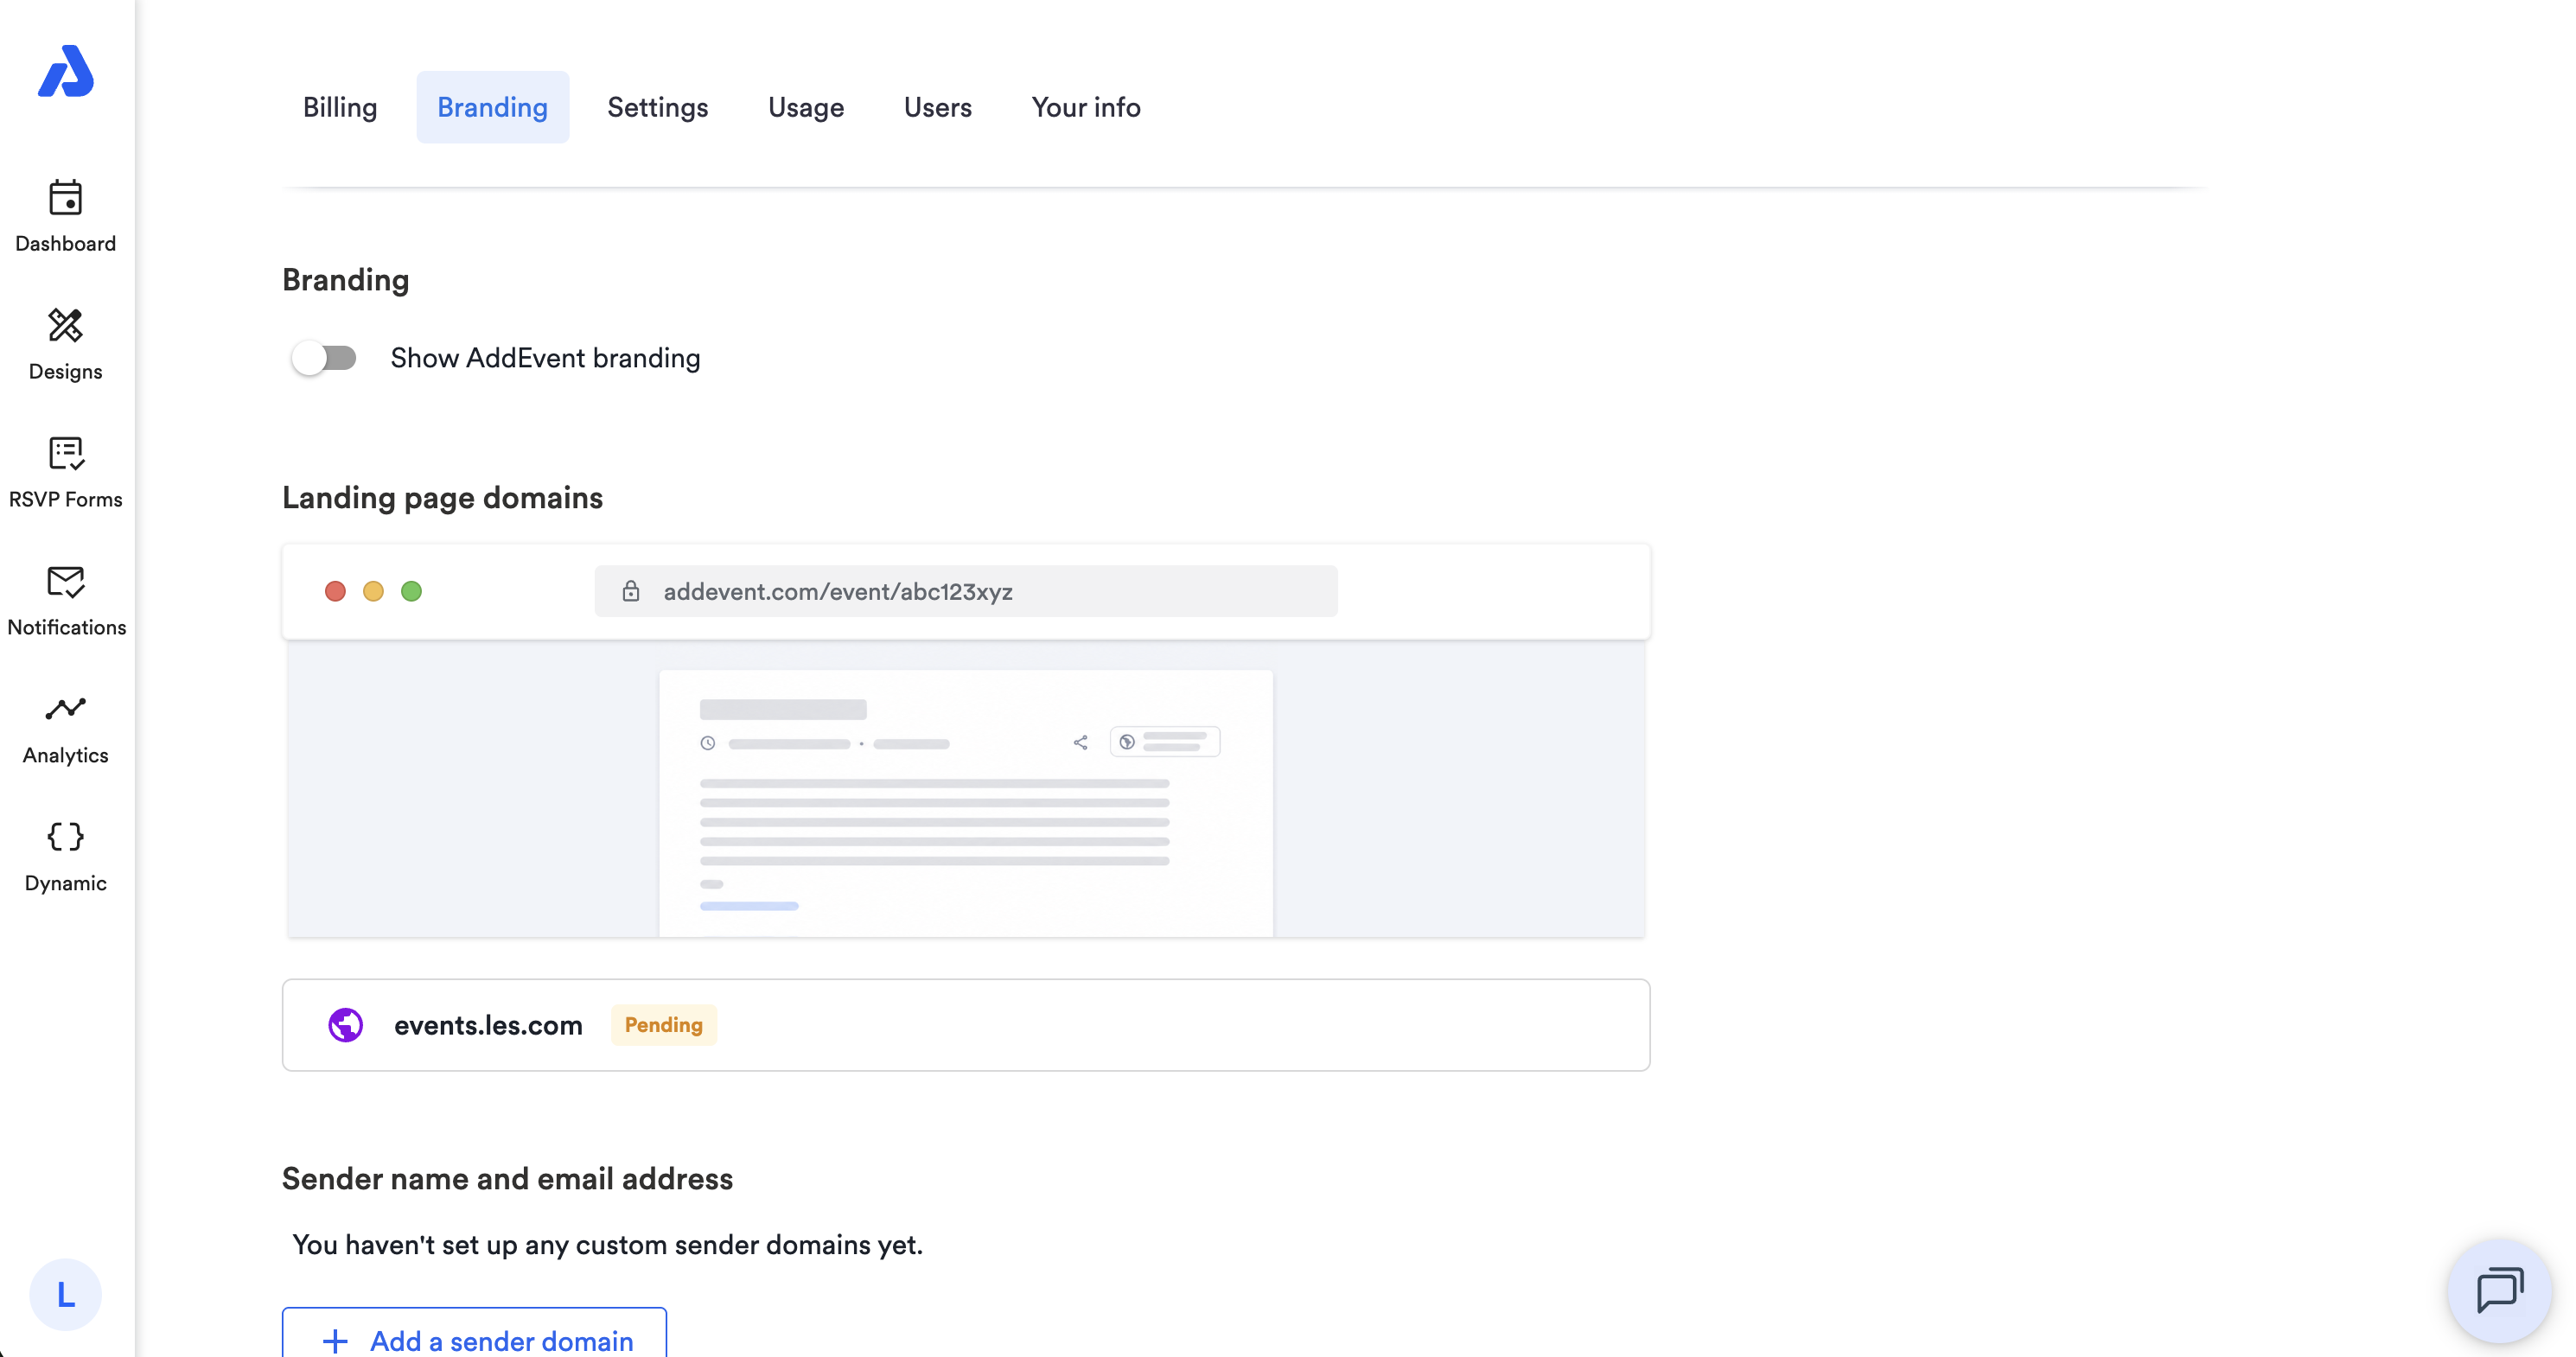
-
Once it's live, the badge will change to
Verified, and your custom domain will automatically appear on your event and calendar landing pages.
This process typically takes about 24 hours. If you ever need to make any changes to your custom domain, reach out to the support team and we'll assist.
Navigate to the Branding tab of your account settings to set up your custom domain.
Please note this is a Professional and Enterprise plan feature.
Have questions about your custom domain setup, or need to change it after submitting? Reach out to [email protected].
Restrictions
- You must own the domain you want to use to host your events and calendars
- The path part of the public link to the event or calendar (i.e.
.../event/{{event_unique_key}}or.../calendar/{{calendar_unique_key}}can't be changed - You must use a subdomain that is not being used for any other purpose. If your company website is hosted at
www.yourcompany.com, you can't also host your events and calendars atwww.yourcompany.com/...
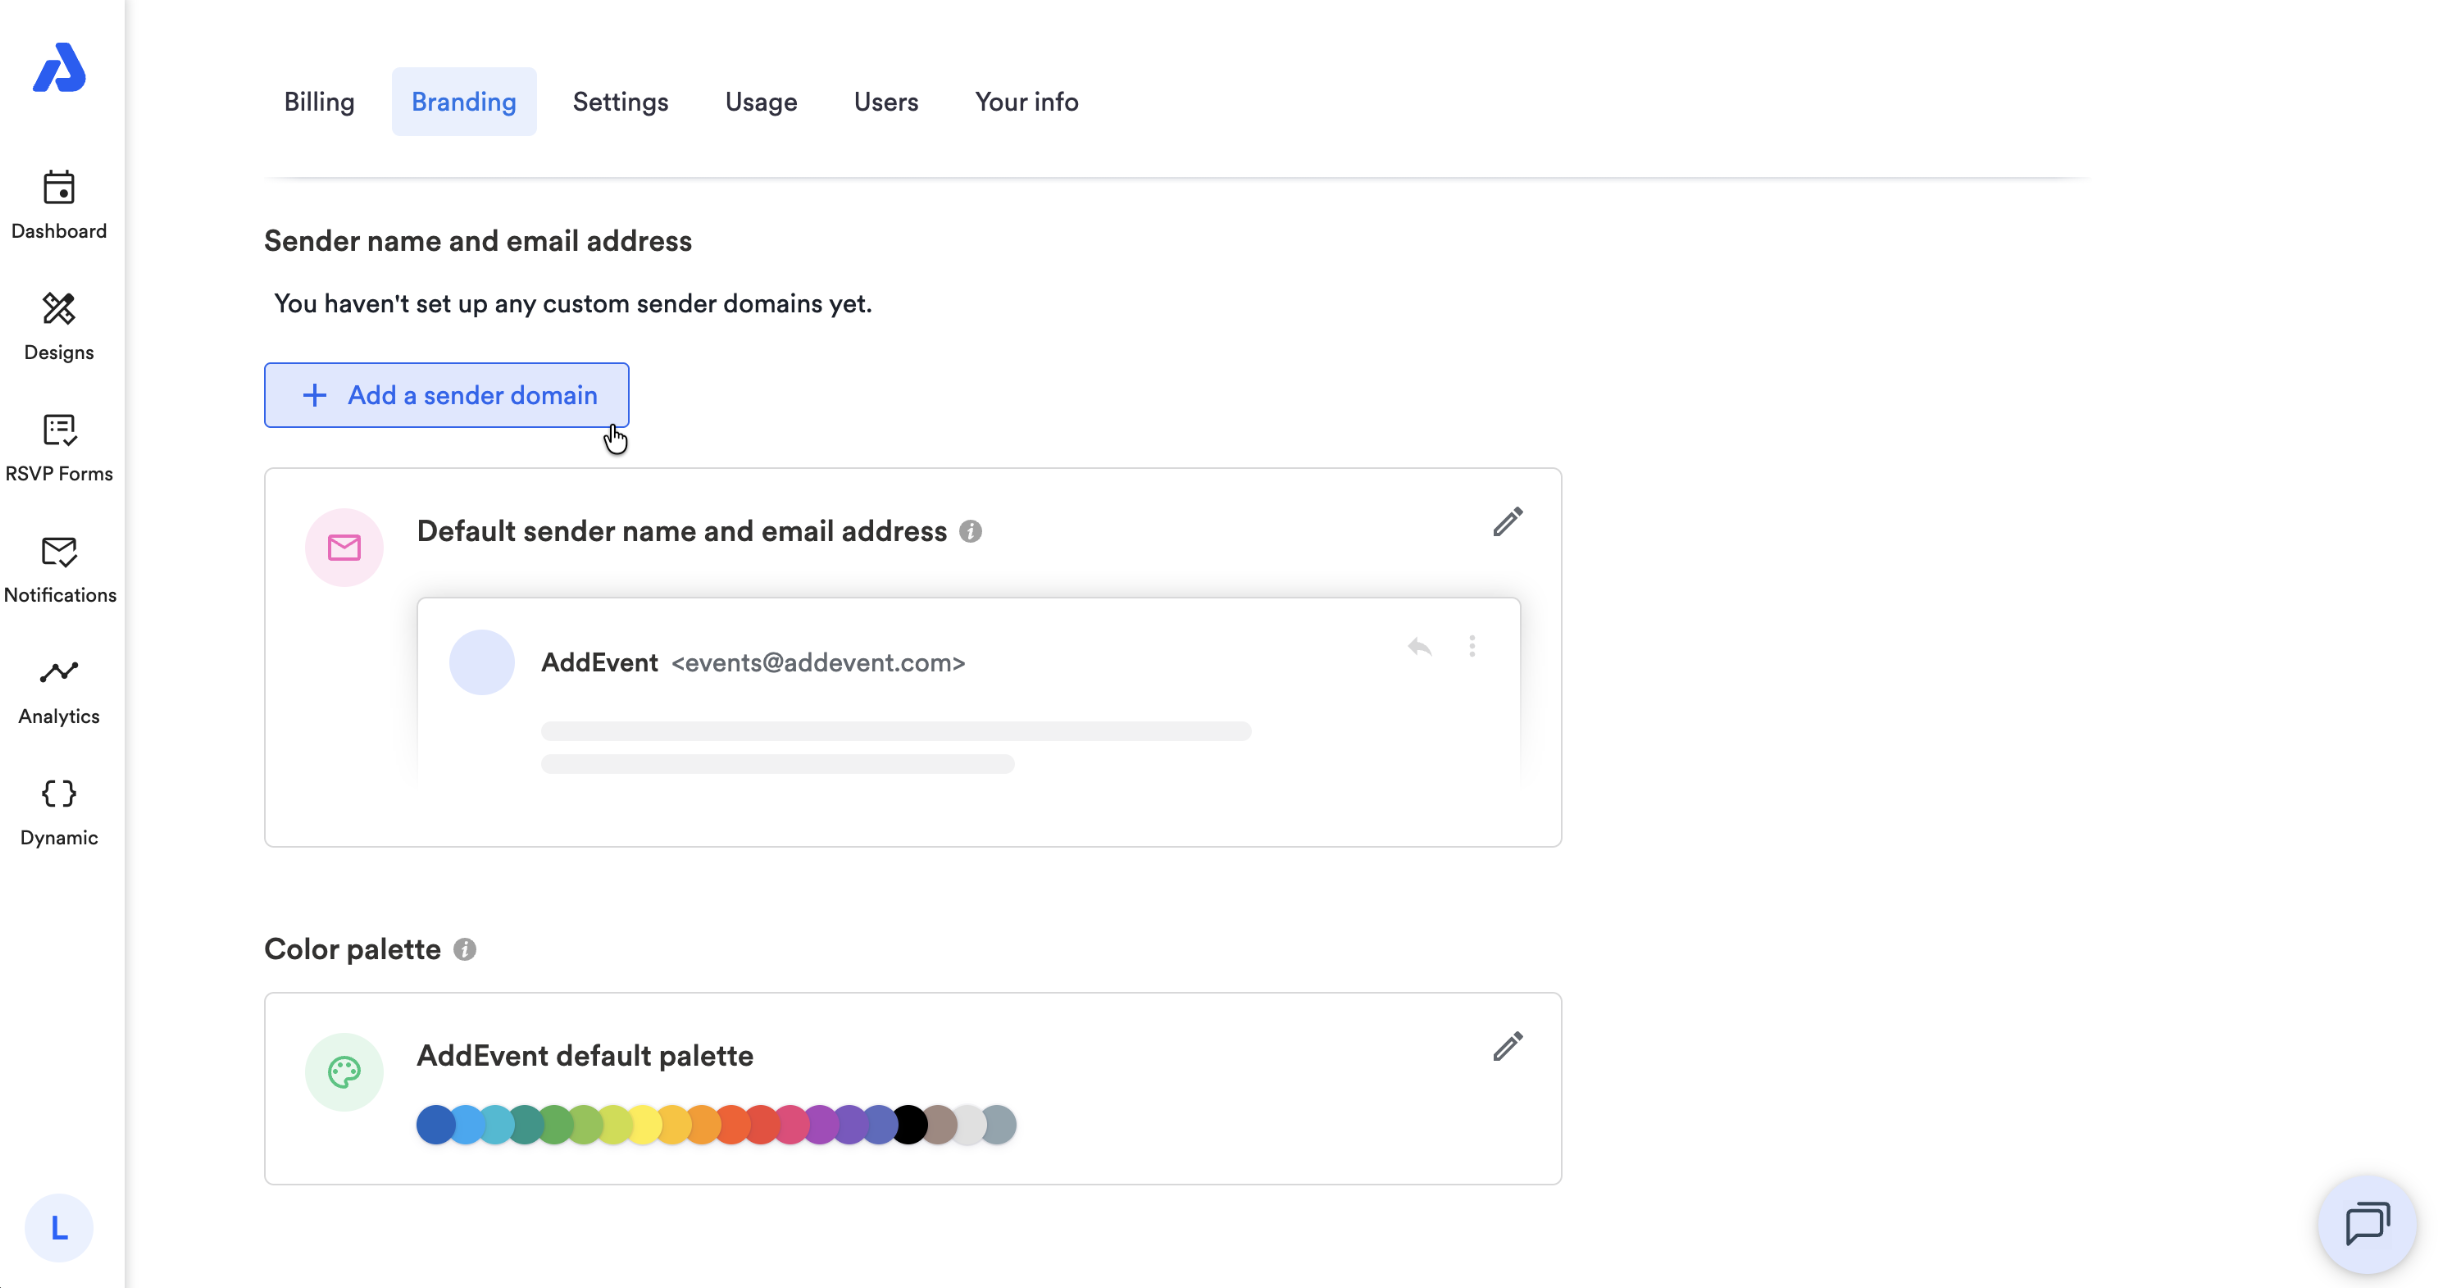
Customize RSVP Email Sender
By default, RSVP confirmation, reminder, and update emails are sent with a sender name of AddEvent.com, and a sender email address of [email protected]. Both the sender name and email address can be updated so your users recognize that your company is sending the emails they receive.
Updating sender name
To update the sender name for your RSVP emails, follow the steps below:
-
Click the blue circle in the bottom-left corner of the Dashboard.
-
Select the Account and settings option.
-
Select the Branding tab.

-
Scroll down to the Sender name and email address section, click the Add a sender domain button.
-
Follow steps 1-4 and click the Verify domain button.
Updating sender email address
Updating the sender email address requires verifying that you own the domain you wish to use with the service that we use to send emails on your behalf (Mandrill). If you would like to use a different sender email address, please follow the steps outlined in this help doc or follow the steps as shared in the app under Settings.
Until you set up a custom sender domain, your emails will continue to send from the default AddEvent sender shown in the Branding tab.
Add Your Logo & Brand Colors
Adding your logo, brand colors, font, and preview images to your public event and calendar pages is simple with design templates for your event landing pages, calendar landing pages, and embeddable calendars. Here are some suggestions to get you started:
- Add your logo as a header image
- Update the color of the Add to Calendar, RSVP, or Follow Calendar buttons
- Update the background color of your landing page
- Update the font
- Add a custom preview image for sharing on social media
Set a Brand Color Palette
The Color palette section of the Branding tab controls the colors available to add color tags for calendars and events. The color dots appear within your account's dashboard, on calendar landing pages, and embeddable calendars.
To customize the color palette, click the edit (pencil) icon on the palette card and update the colors to match your brand.
Add "Shared by Your Company" to All Calendar Invites
Adding a custom snippet to the bottom of calendar invites is a great way to promote your brand and remind users who shared the event with them. This works across all sharing methods, e.g., for event-adds for single events via the add to calendar button and subscription calendars.
We generally recommend using a short text snippet such as:
---
Shared by Your Company
or
---
Shared by yourcompany.comIf you'd like to add a custom text snippet to all events that are added to end-users' calendars, please reach out to [email protected].
Updated 2 days ago