

Customize RSVP Attendee Response Options
This help doc shares instructions on how you can use the Settings tab within your RSVP form to remove or edit the copy on the RSVP responses you offer for an RSVP event. For example, you can remove the "Maybe" option from your RSVP event's response options.
Edit or Create an RSVP Form
To edit the response options for your RSVP event, begin on the existing RSVP form Edit page or create a new RSVP form.
-
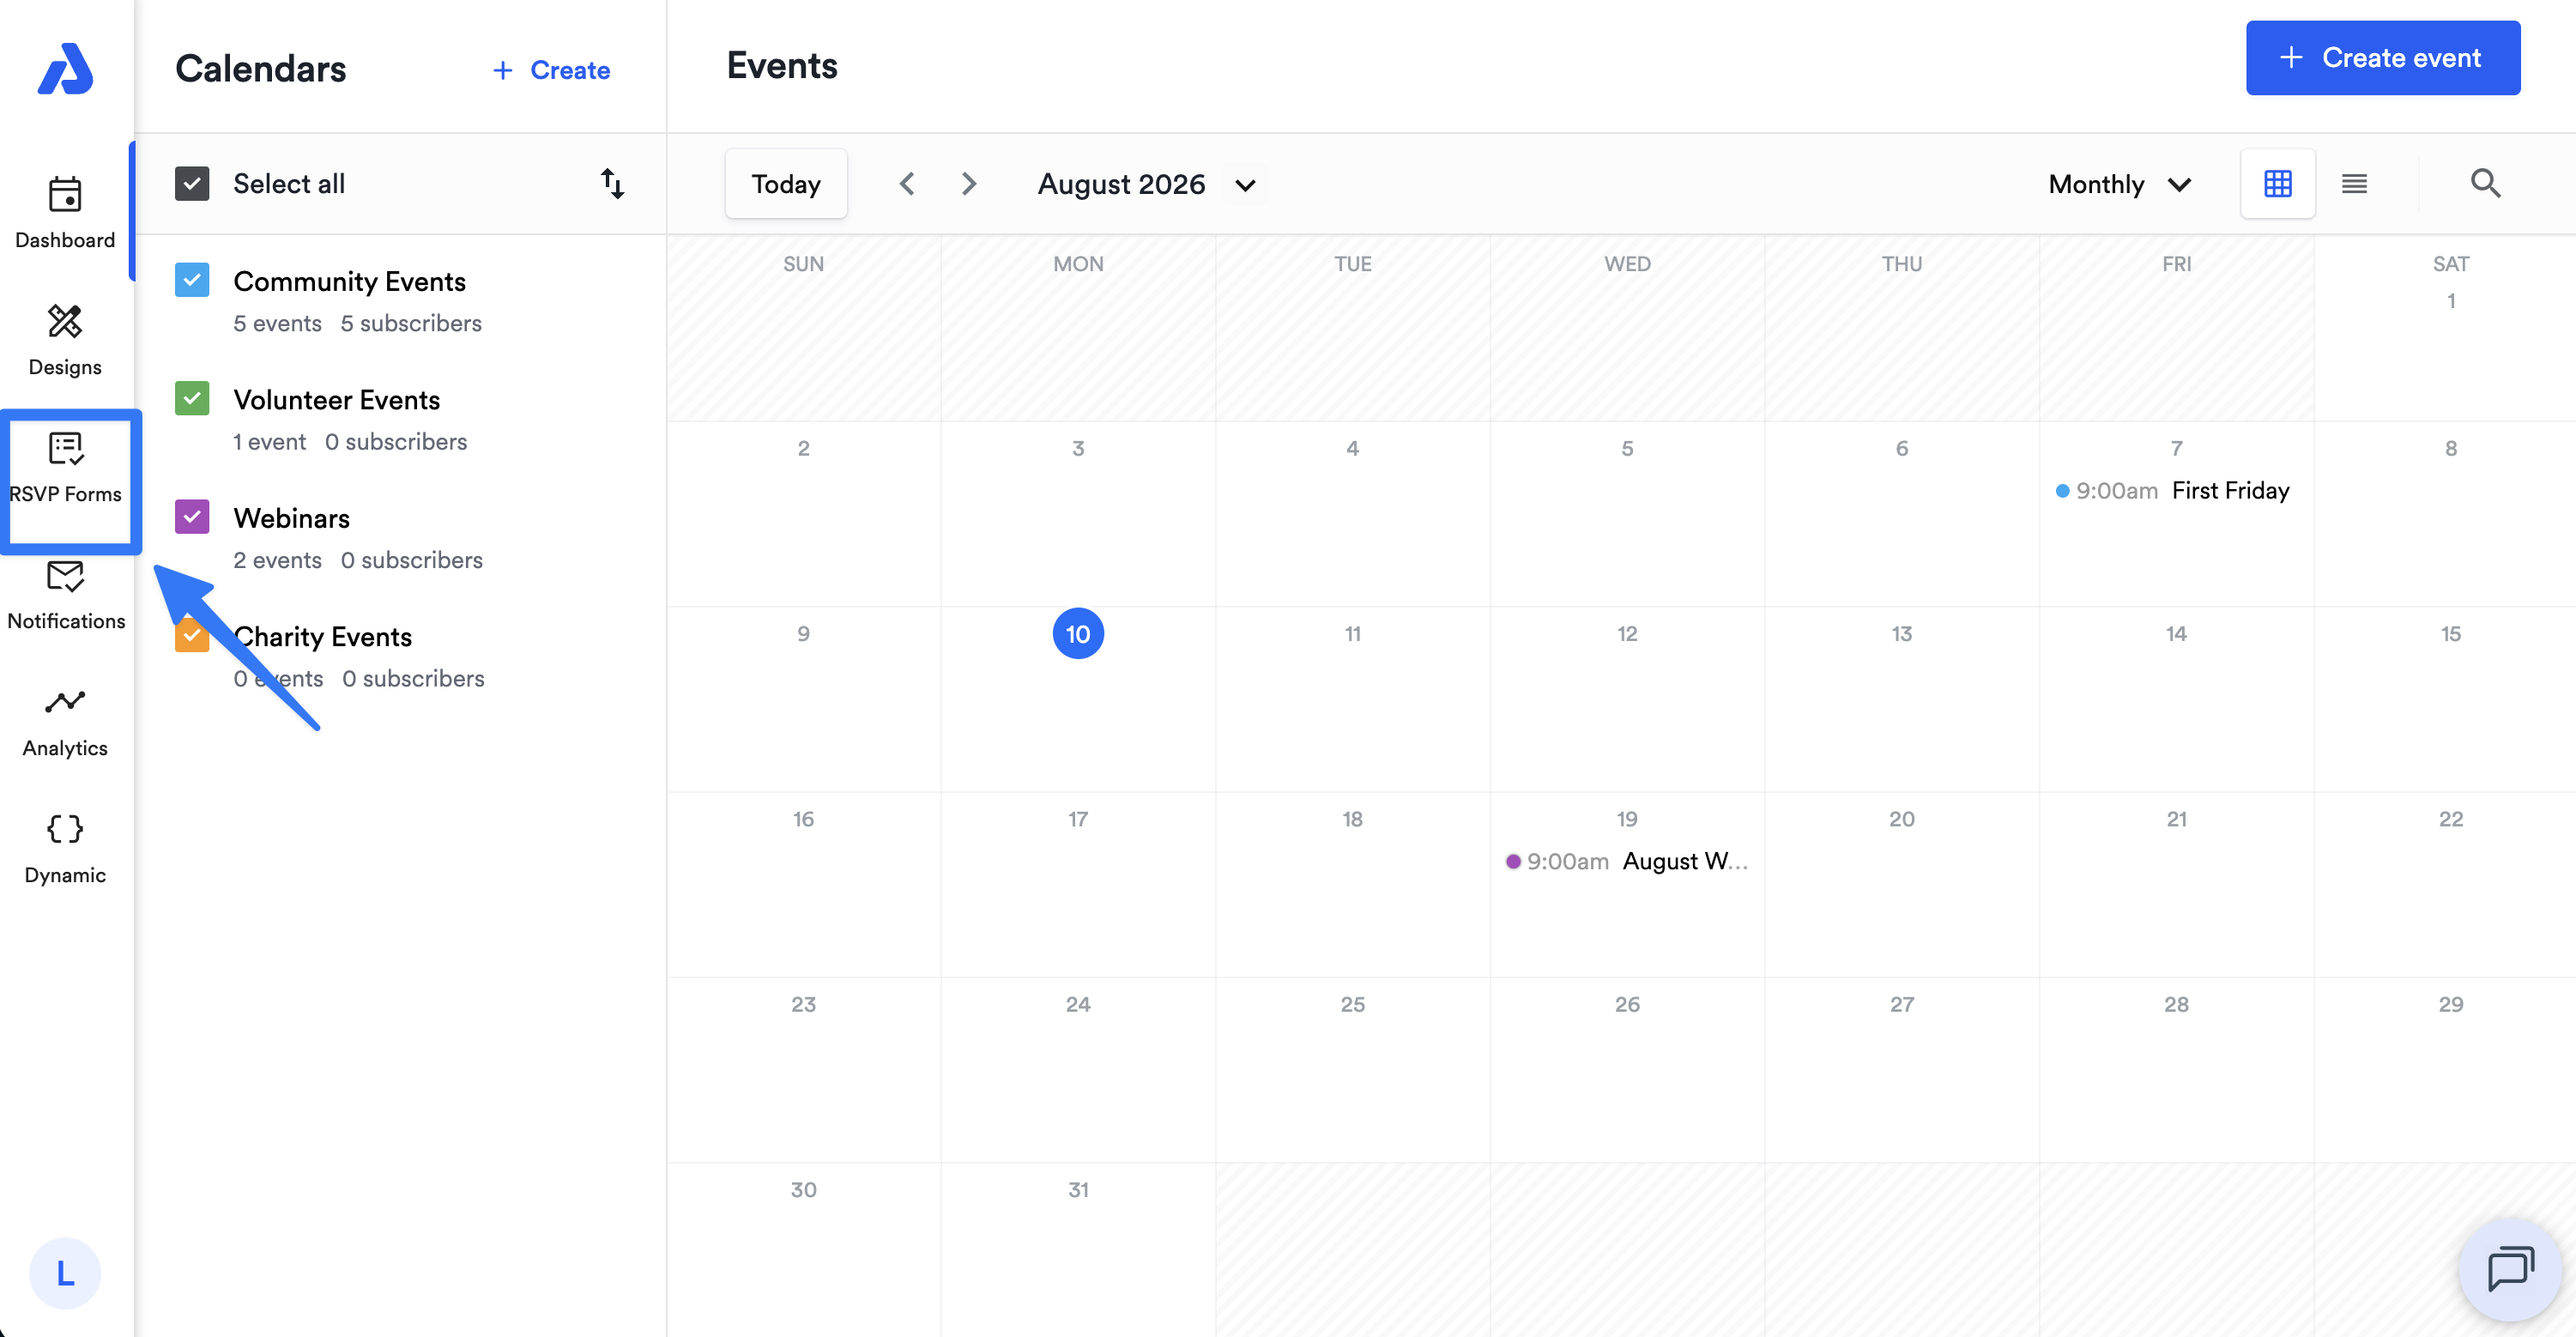
From the Dashboard, select the RSVP Forms tab located on the left-side navigation menu.
-
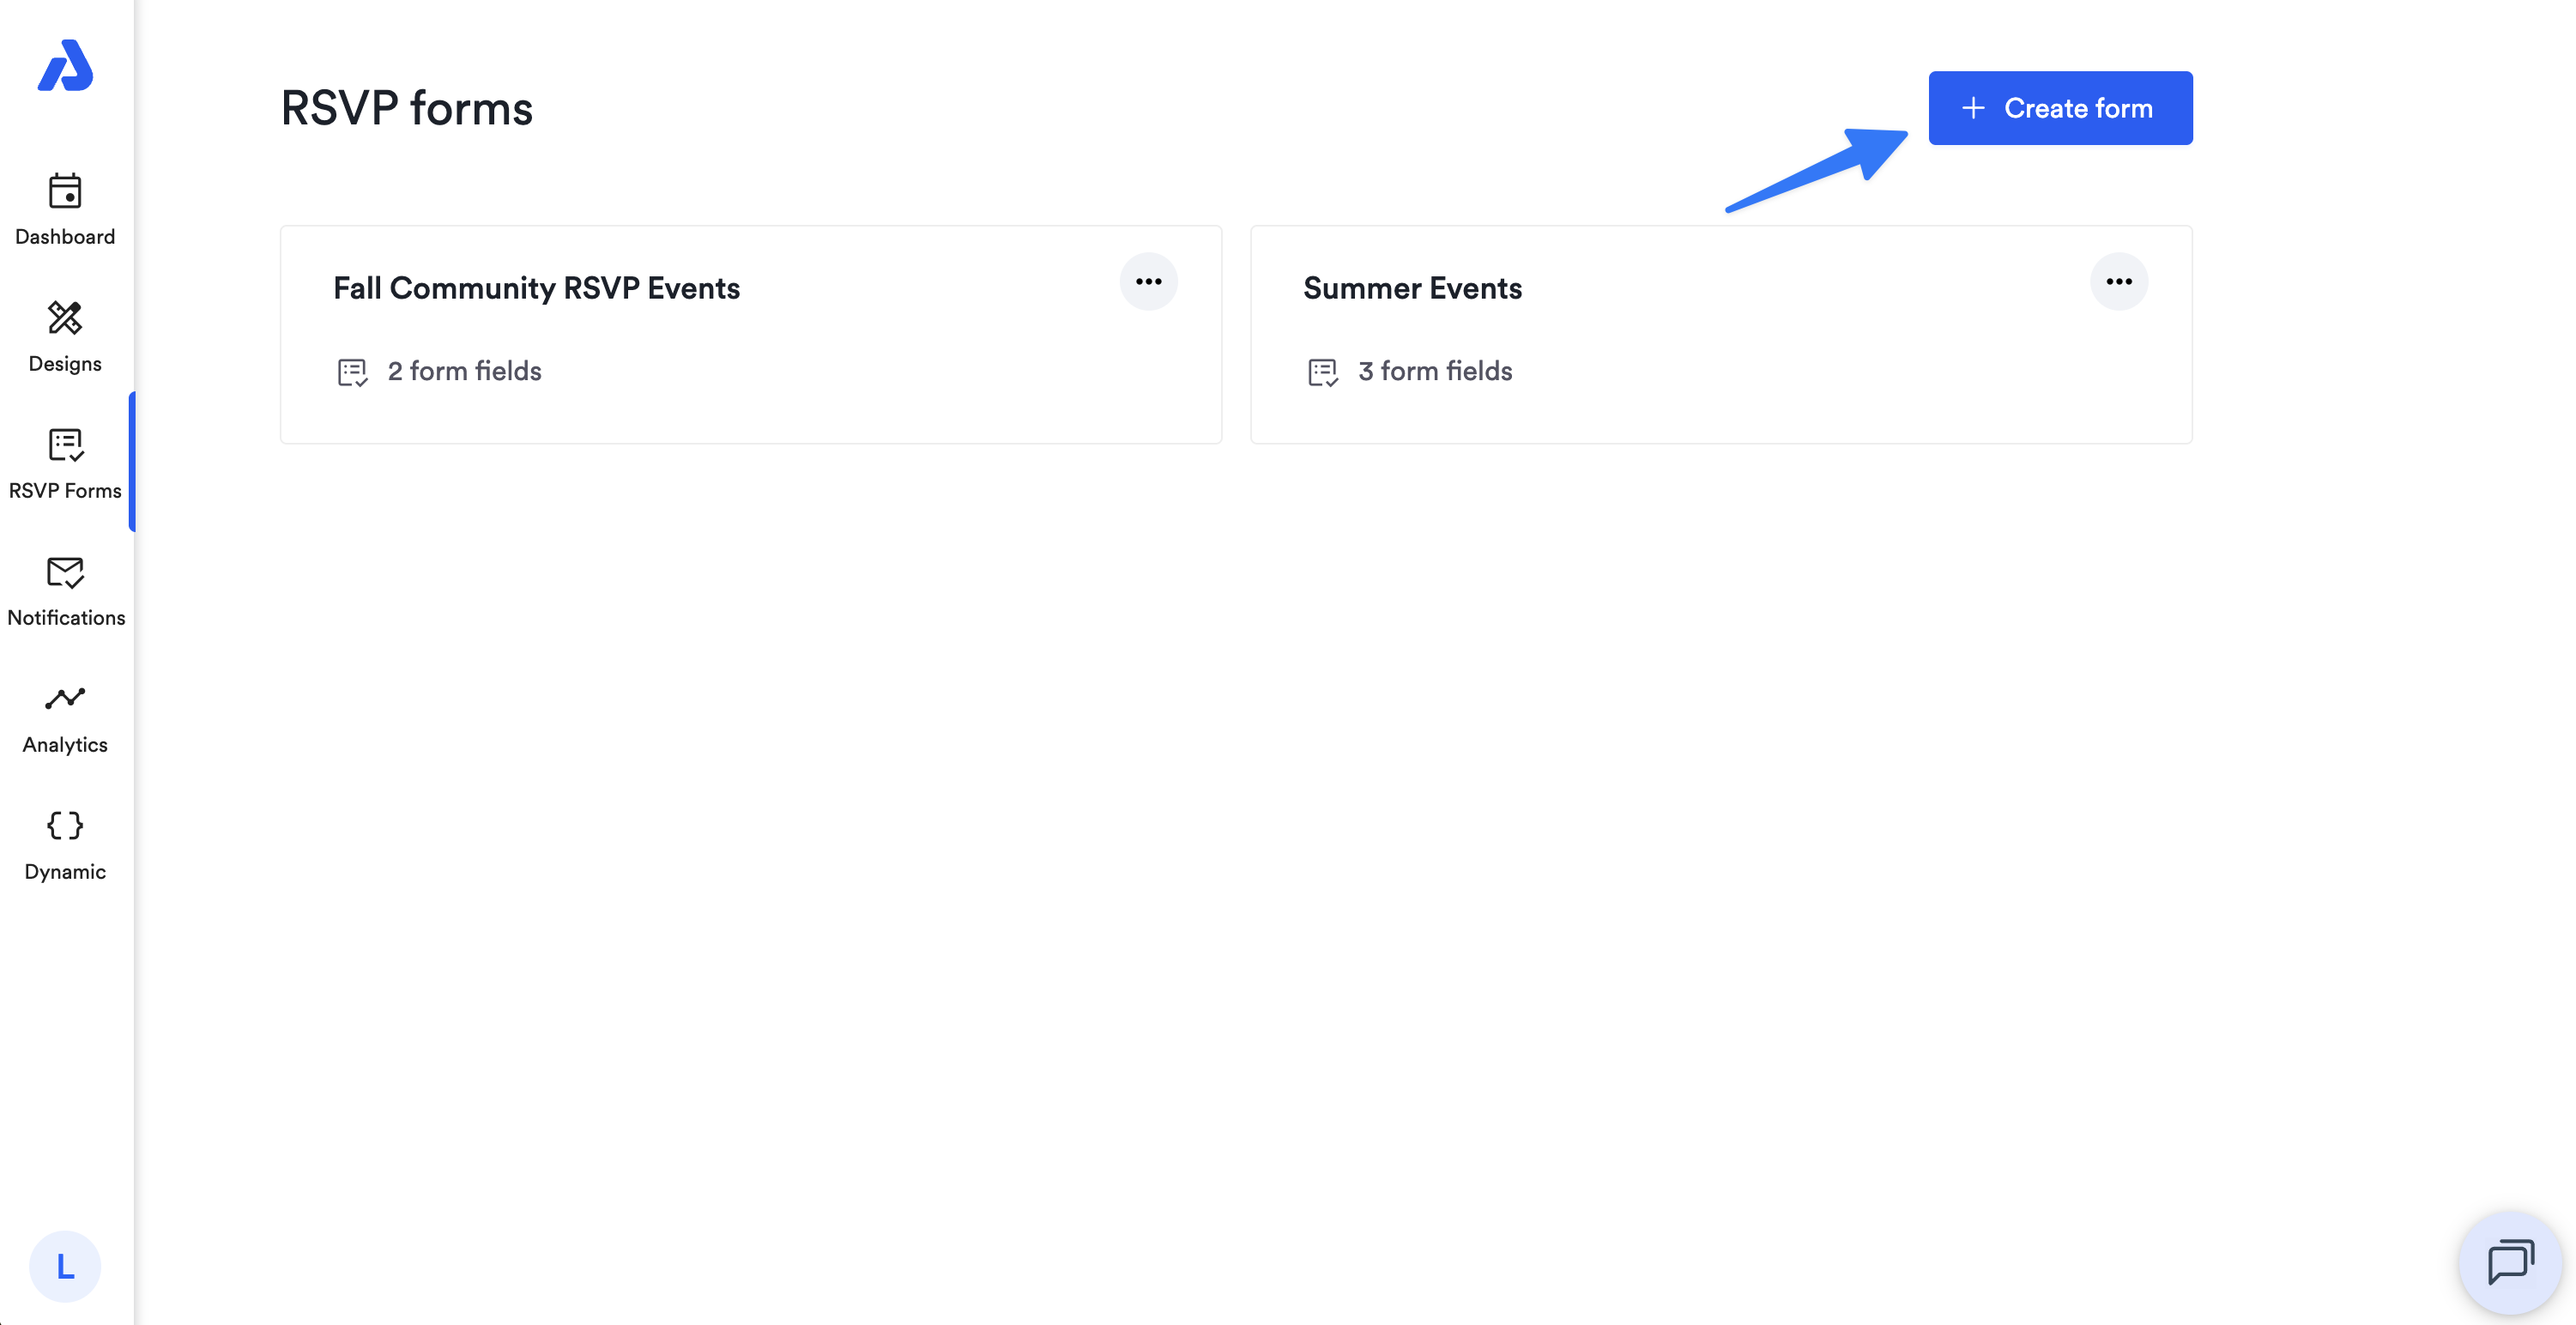
Select your existing RSVP form or click the + Create design button to create a new form.
-
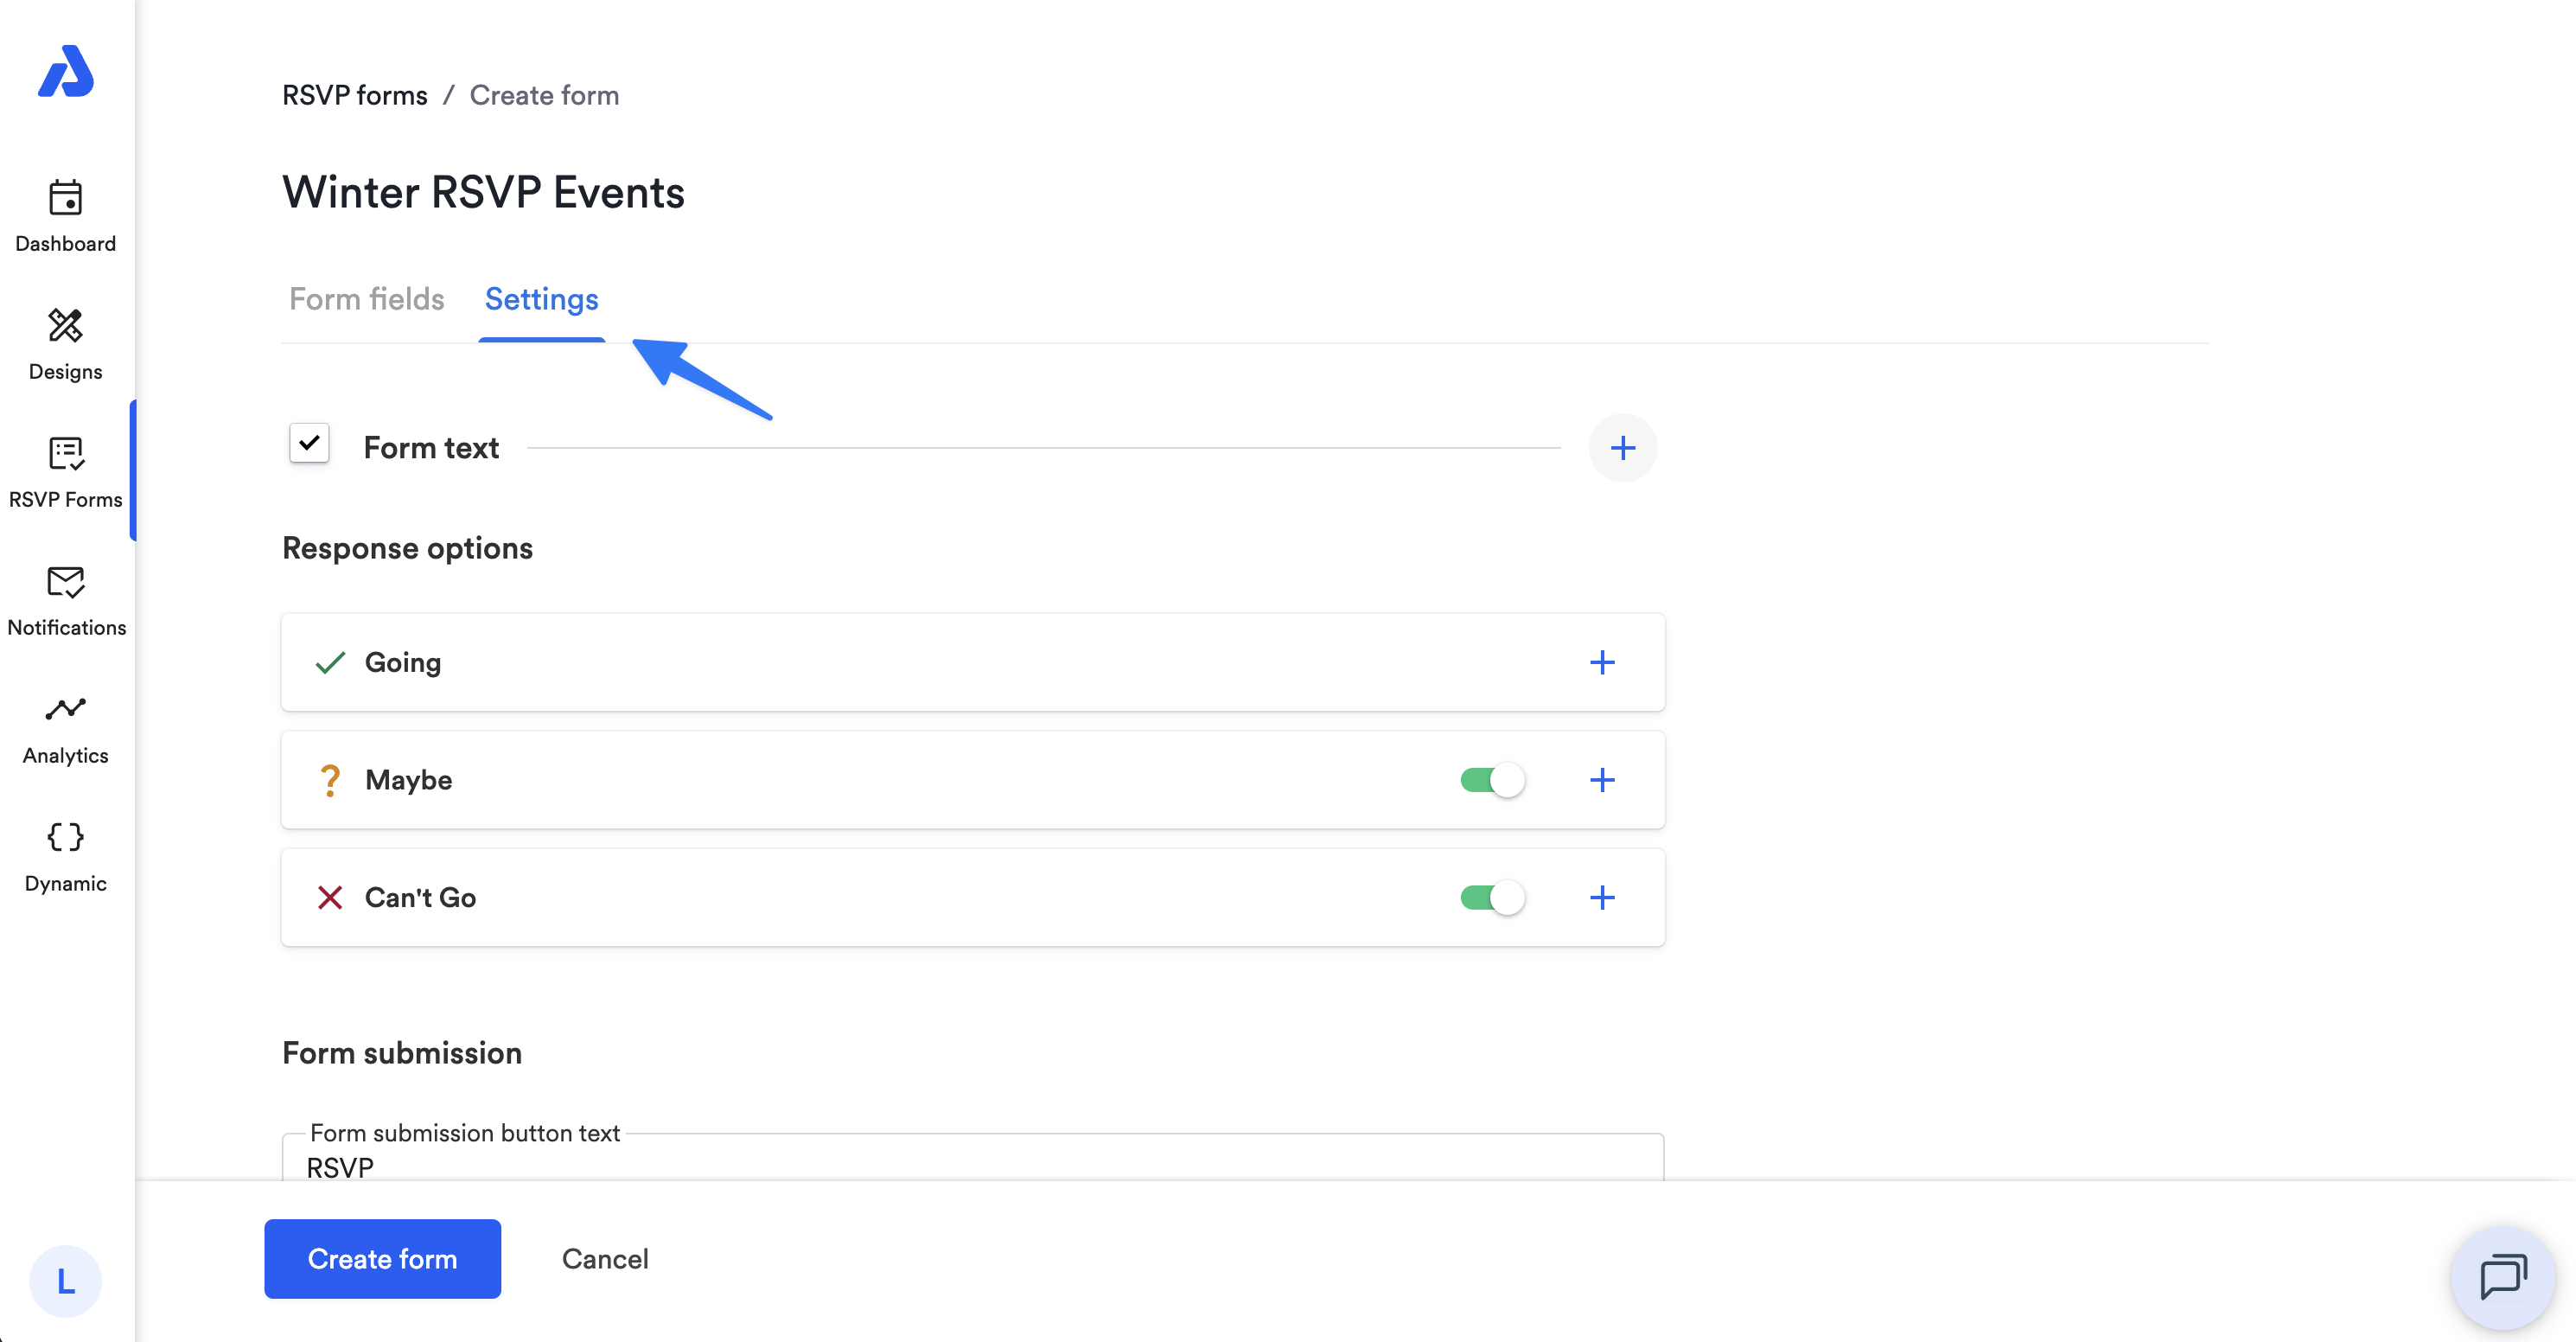
Once you're on the Create form / Edit page, select the Settings tab.
-
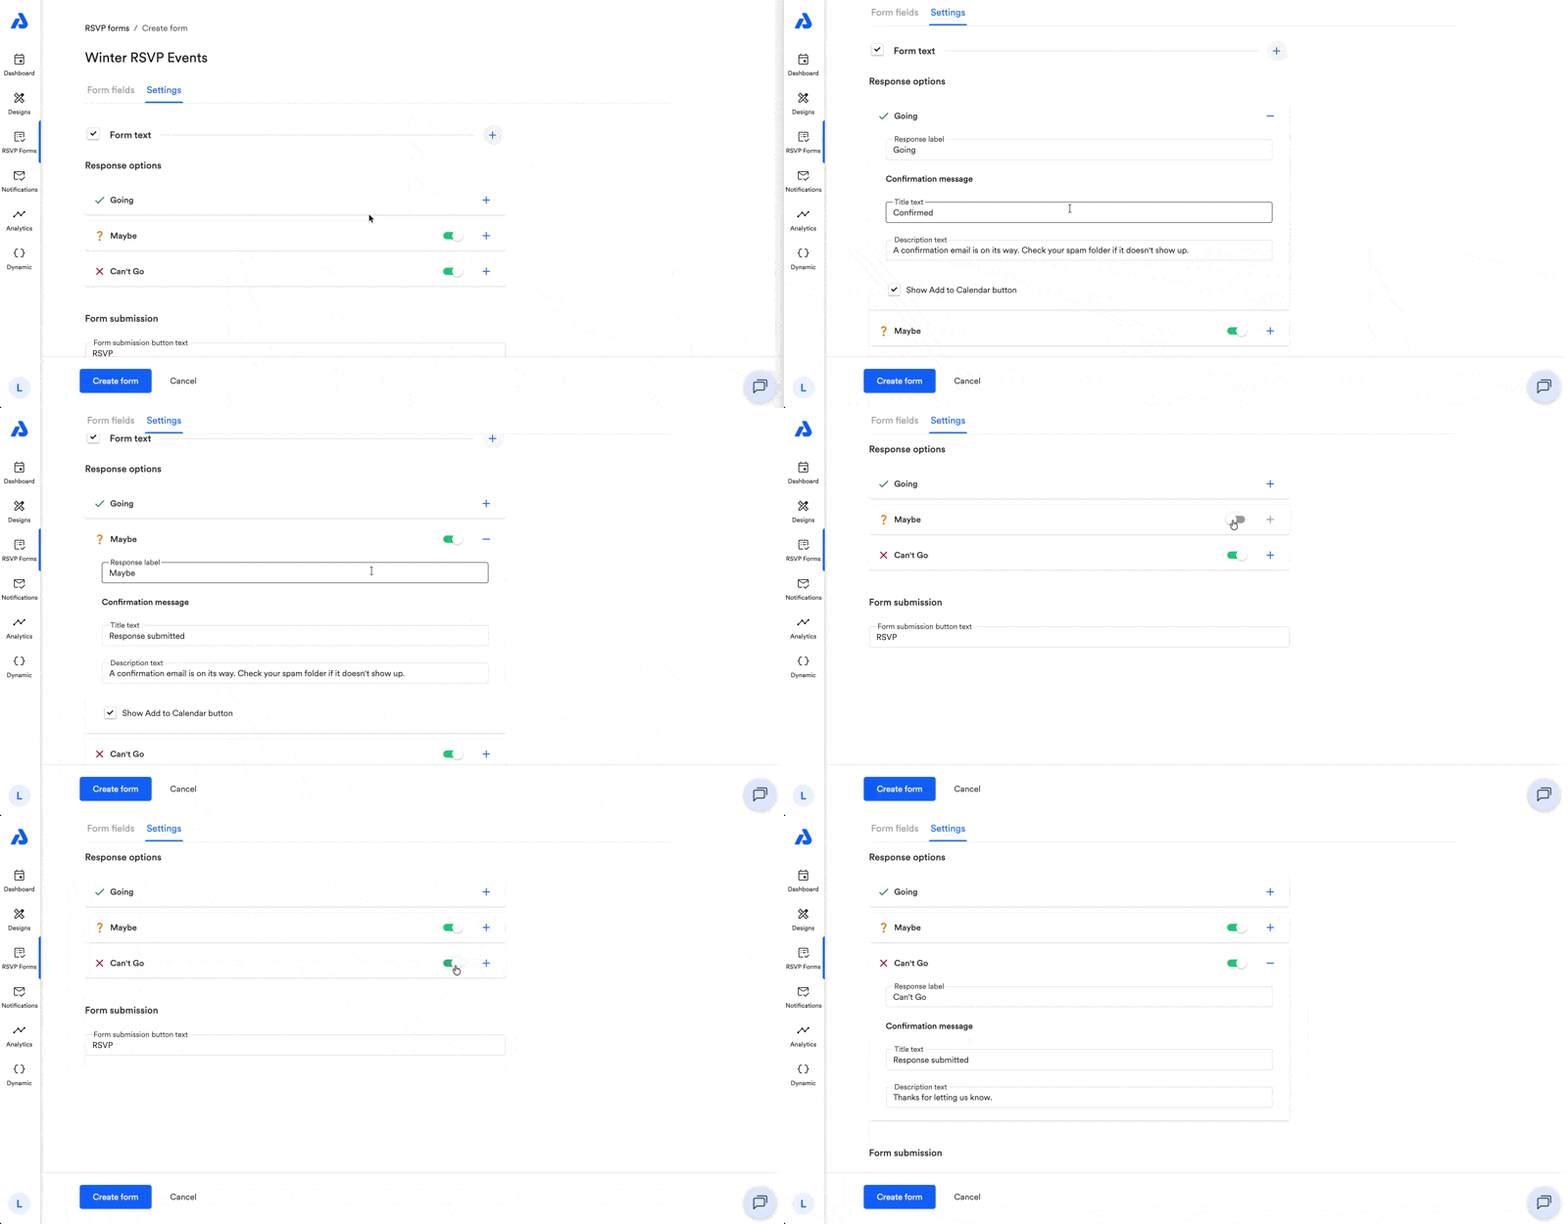
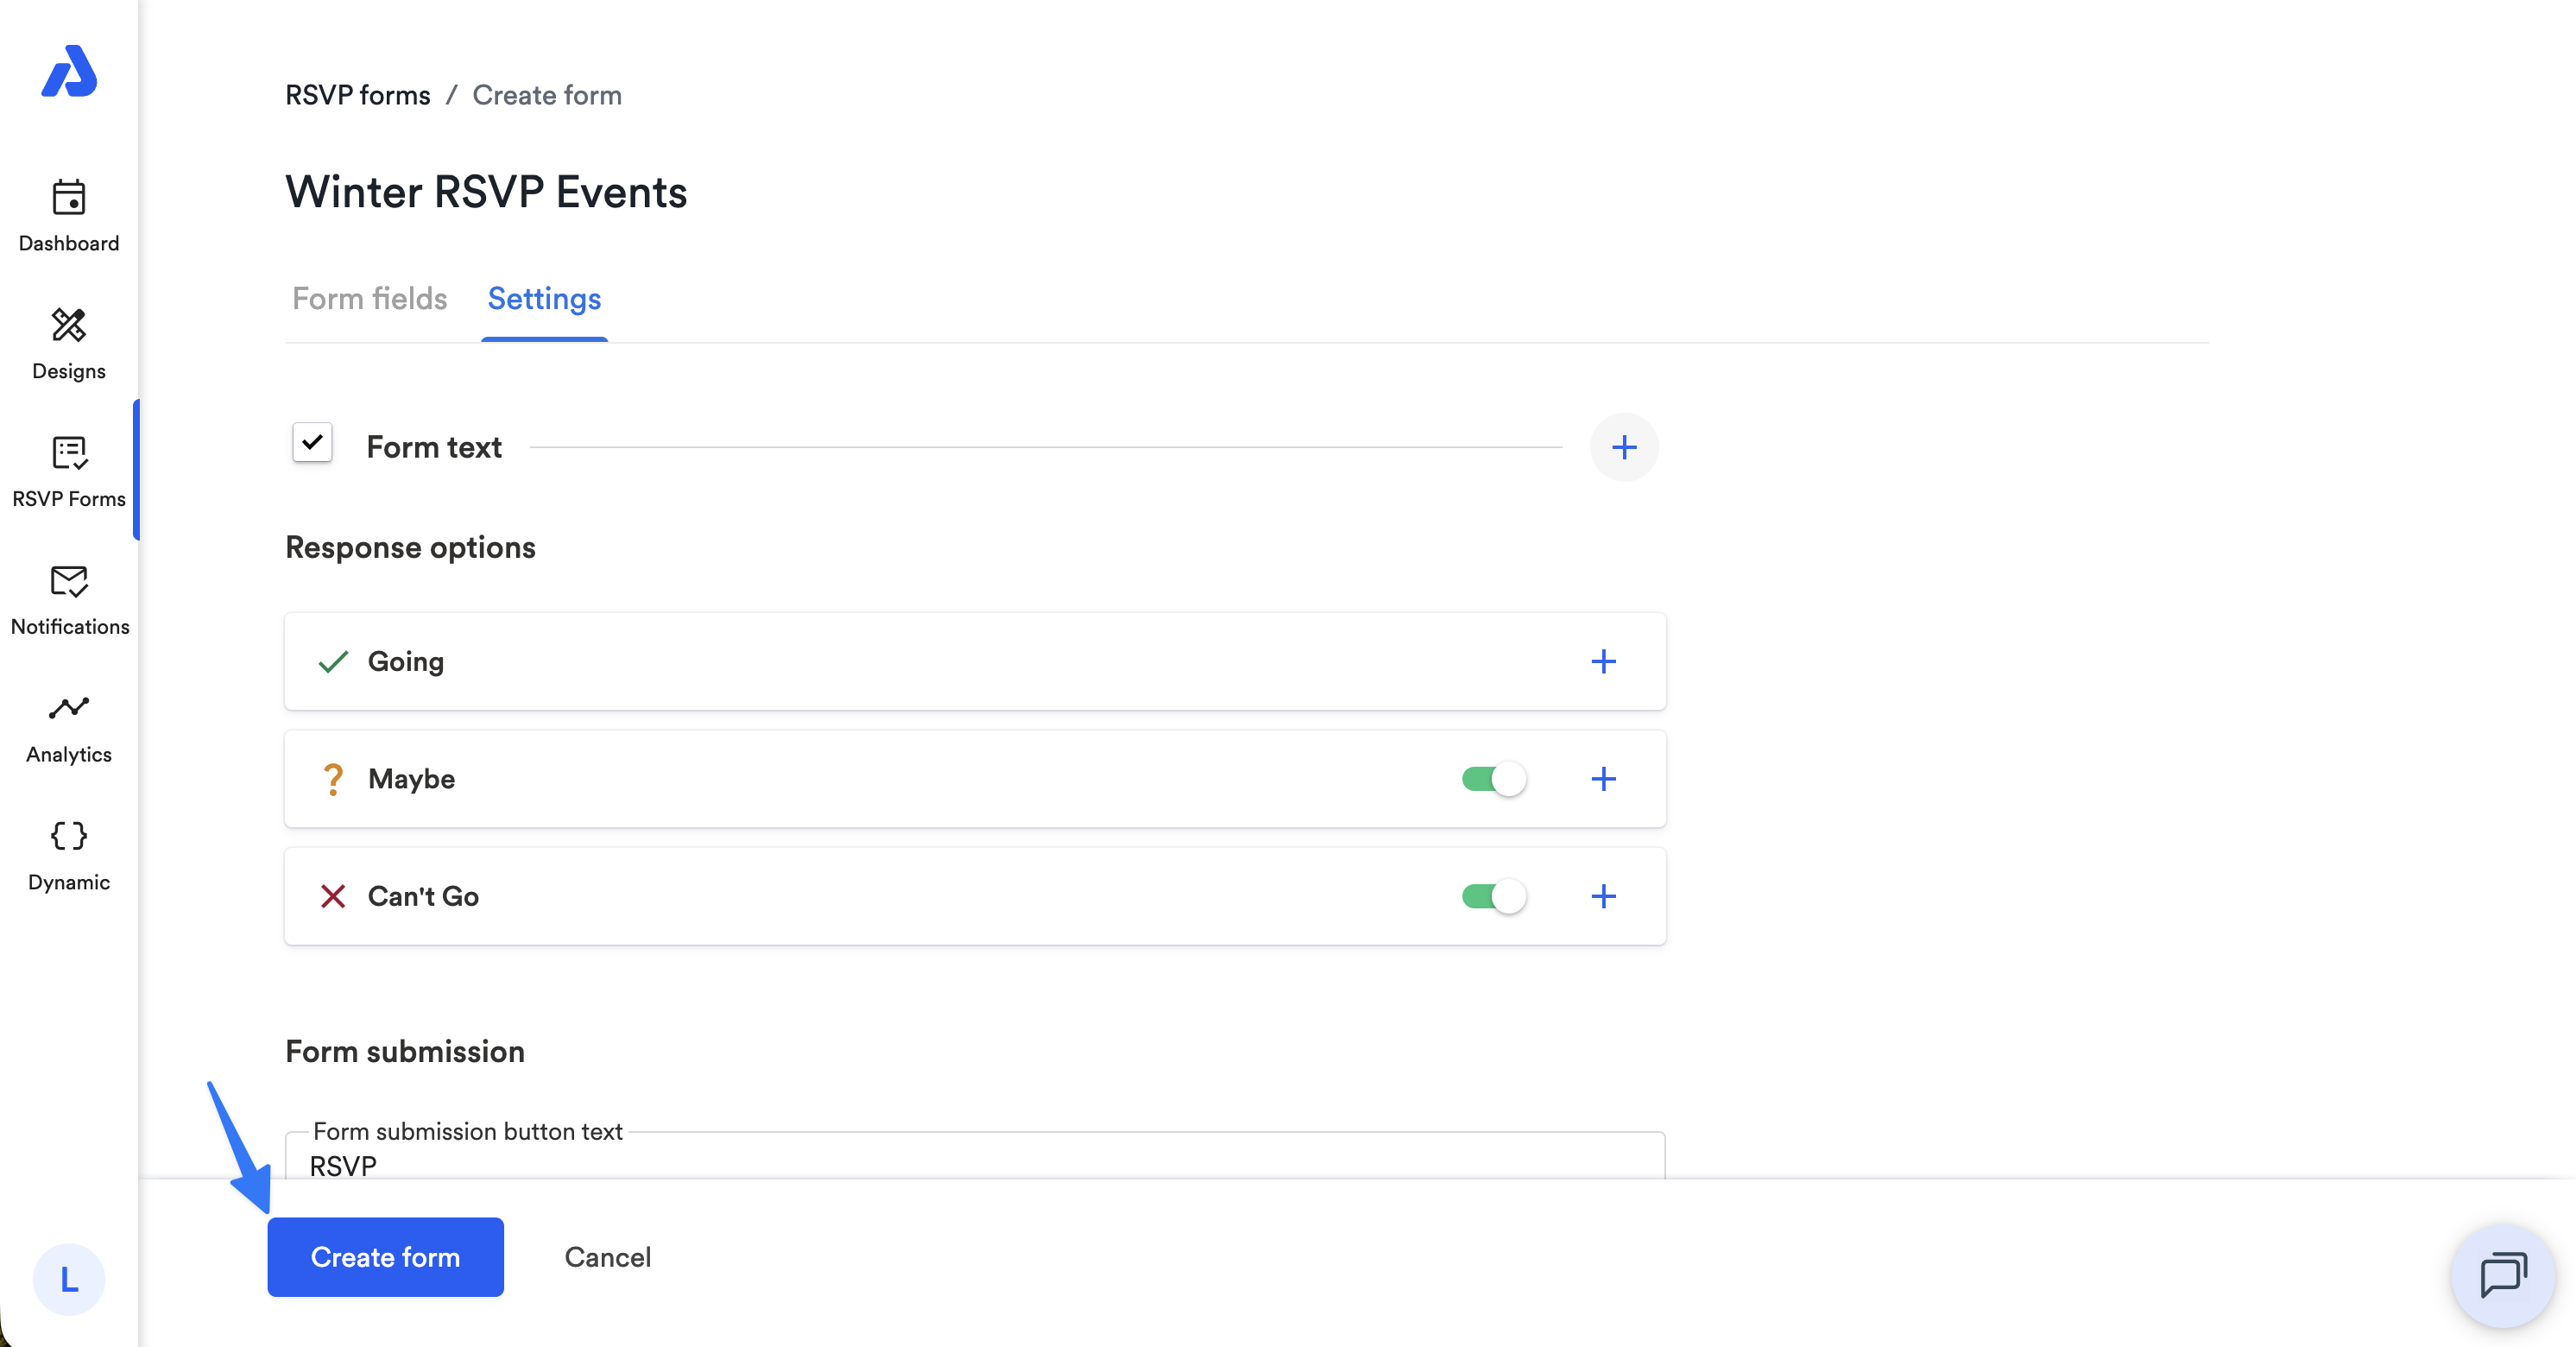
Click into each response option to edit the response options' labels or disable response options by toggling the response option on of off.
-
You can also edit the confirmation message that is displayed after registrants submit the RSVP form.
-
-
Once you're done making edits, save the RSVP form by clicking the Save form / Create form button located at the bottom of the page.
7. Lastly, if you haven't already, apply the RSVP form to your event. For step-by-instructions, see our help doc here: Apply a RSVP Form to an Event
Updated 17 days ago