

Elements Tab: Embedded Calendar Design Template
The Elements tab lets you control individual elements of your embedded calendar. You can turn elements on or off and adjust labels, images, and colors to match your organization’s branding.
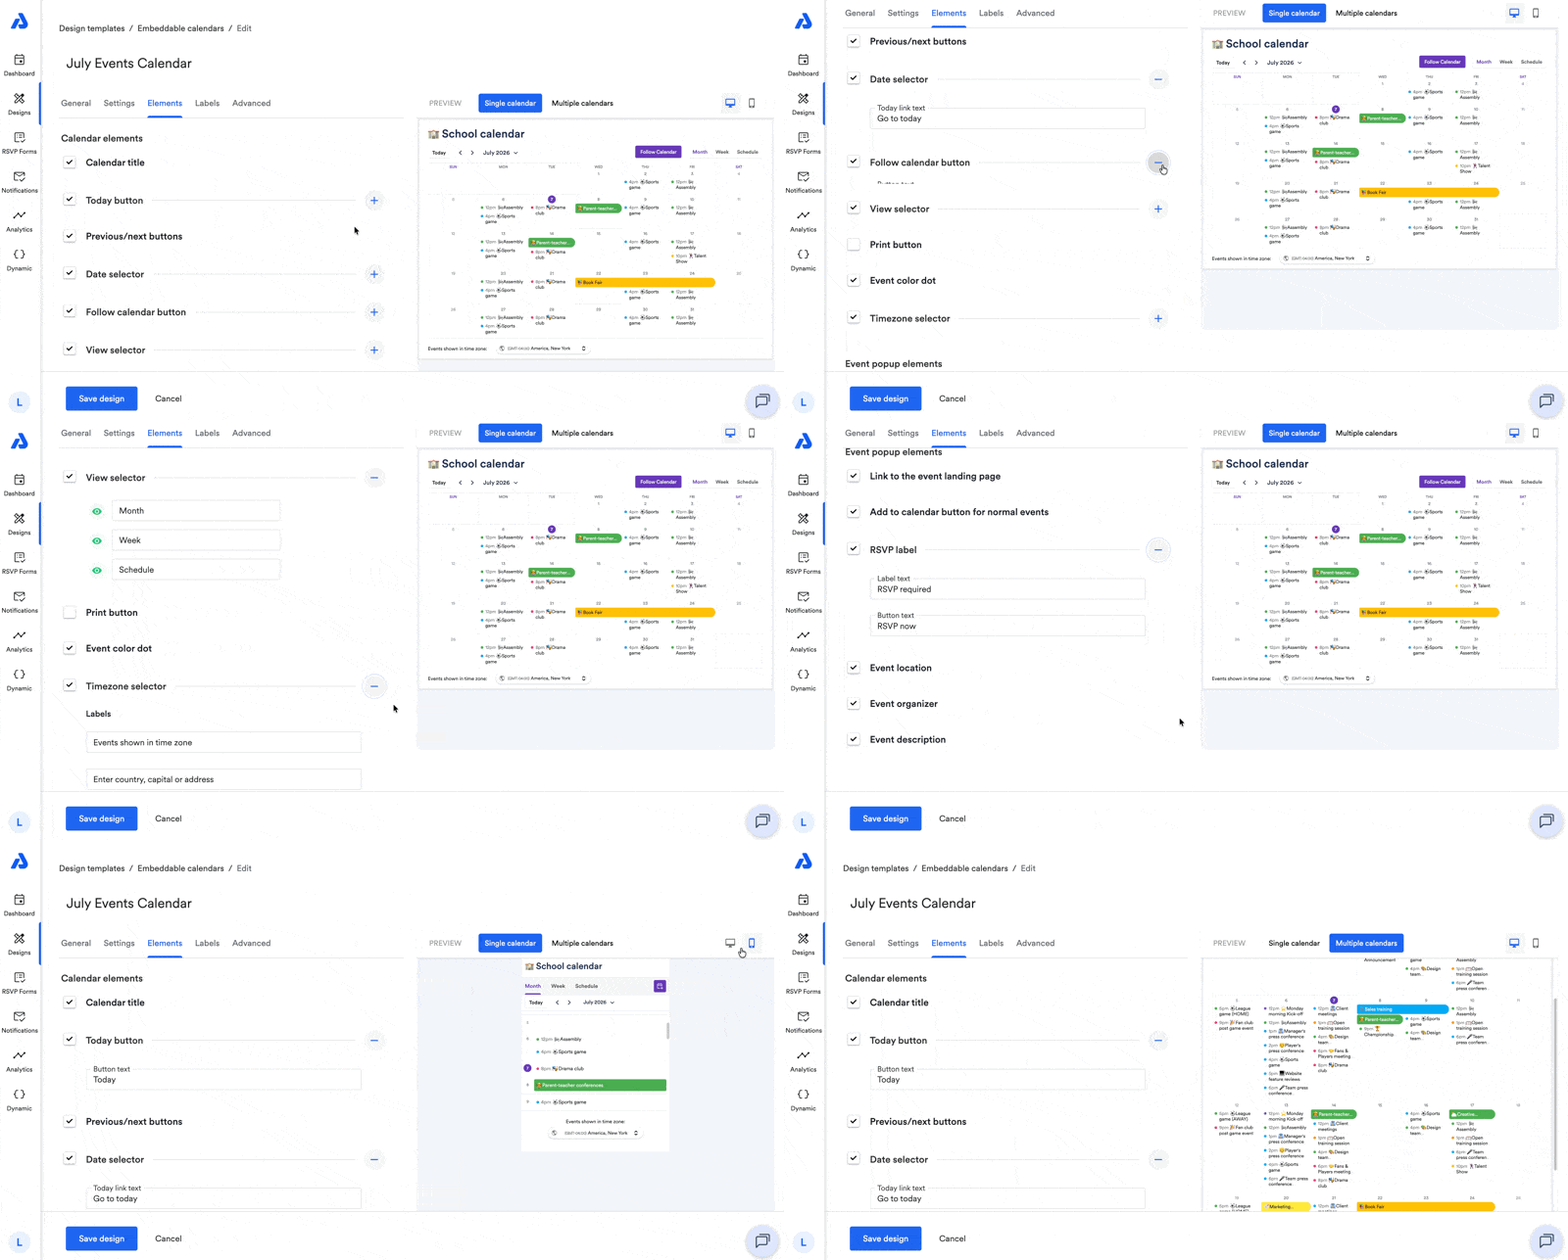
Elements Tab
Below are available settings within the Elements tab of the embeddable calendar design.
Calendar Elements
These elements can be turned on or off by using the checkbox located to the left of the option. Some of the calendar elements have extra options (e.g., relabeling), which is accessible by clicking the + icon to the right of the element.
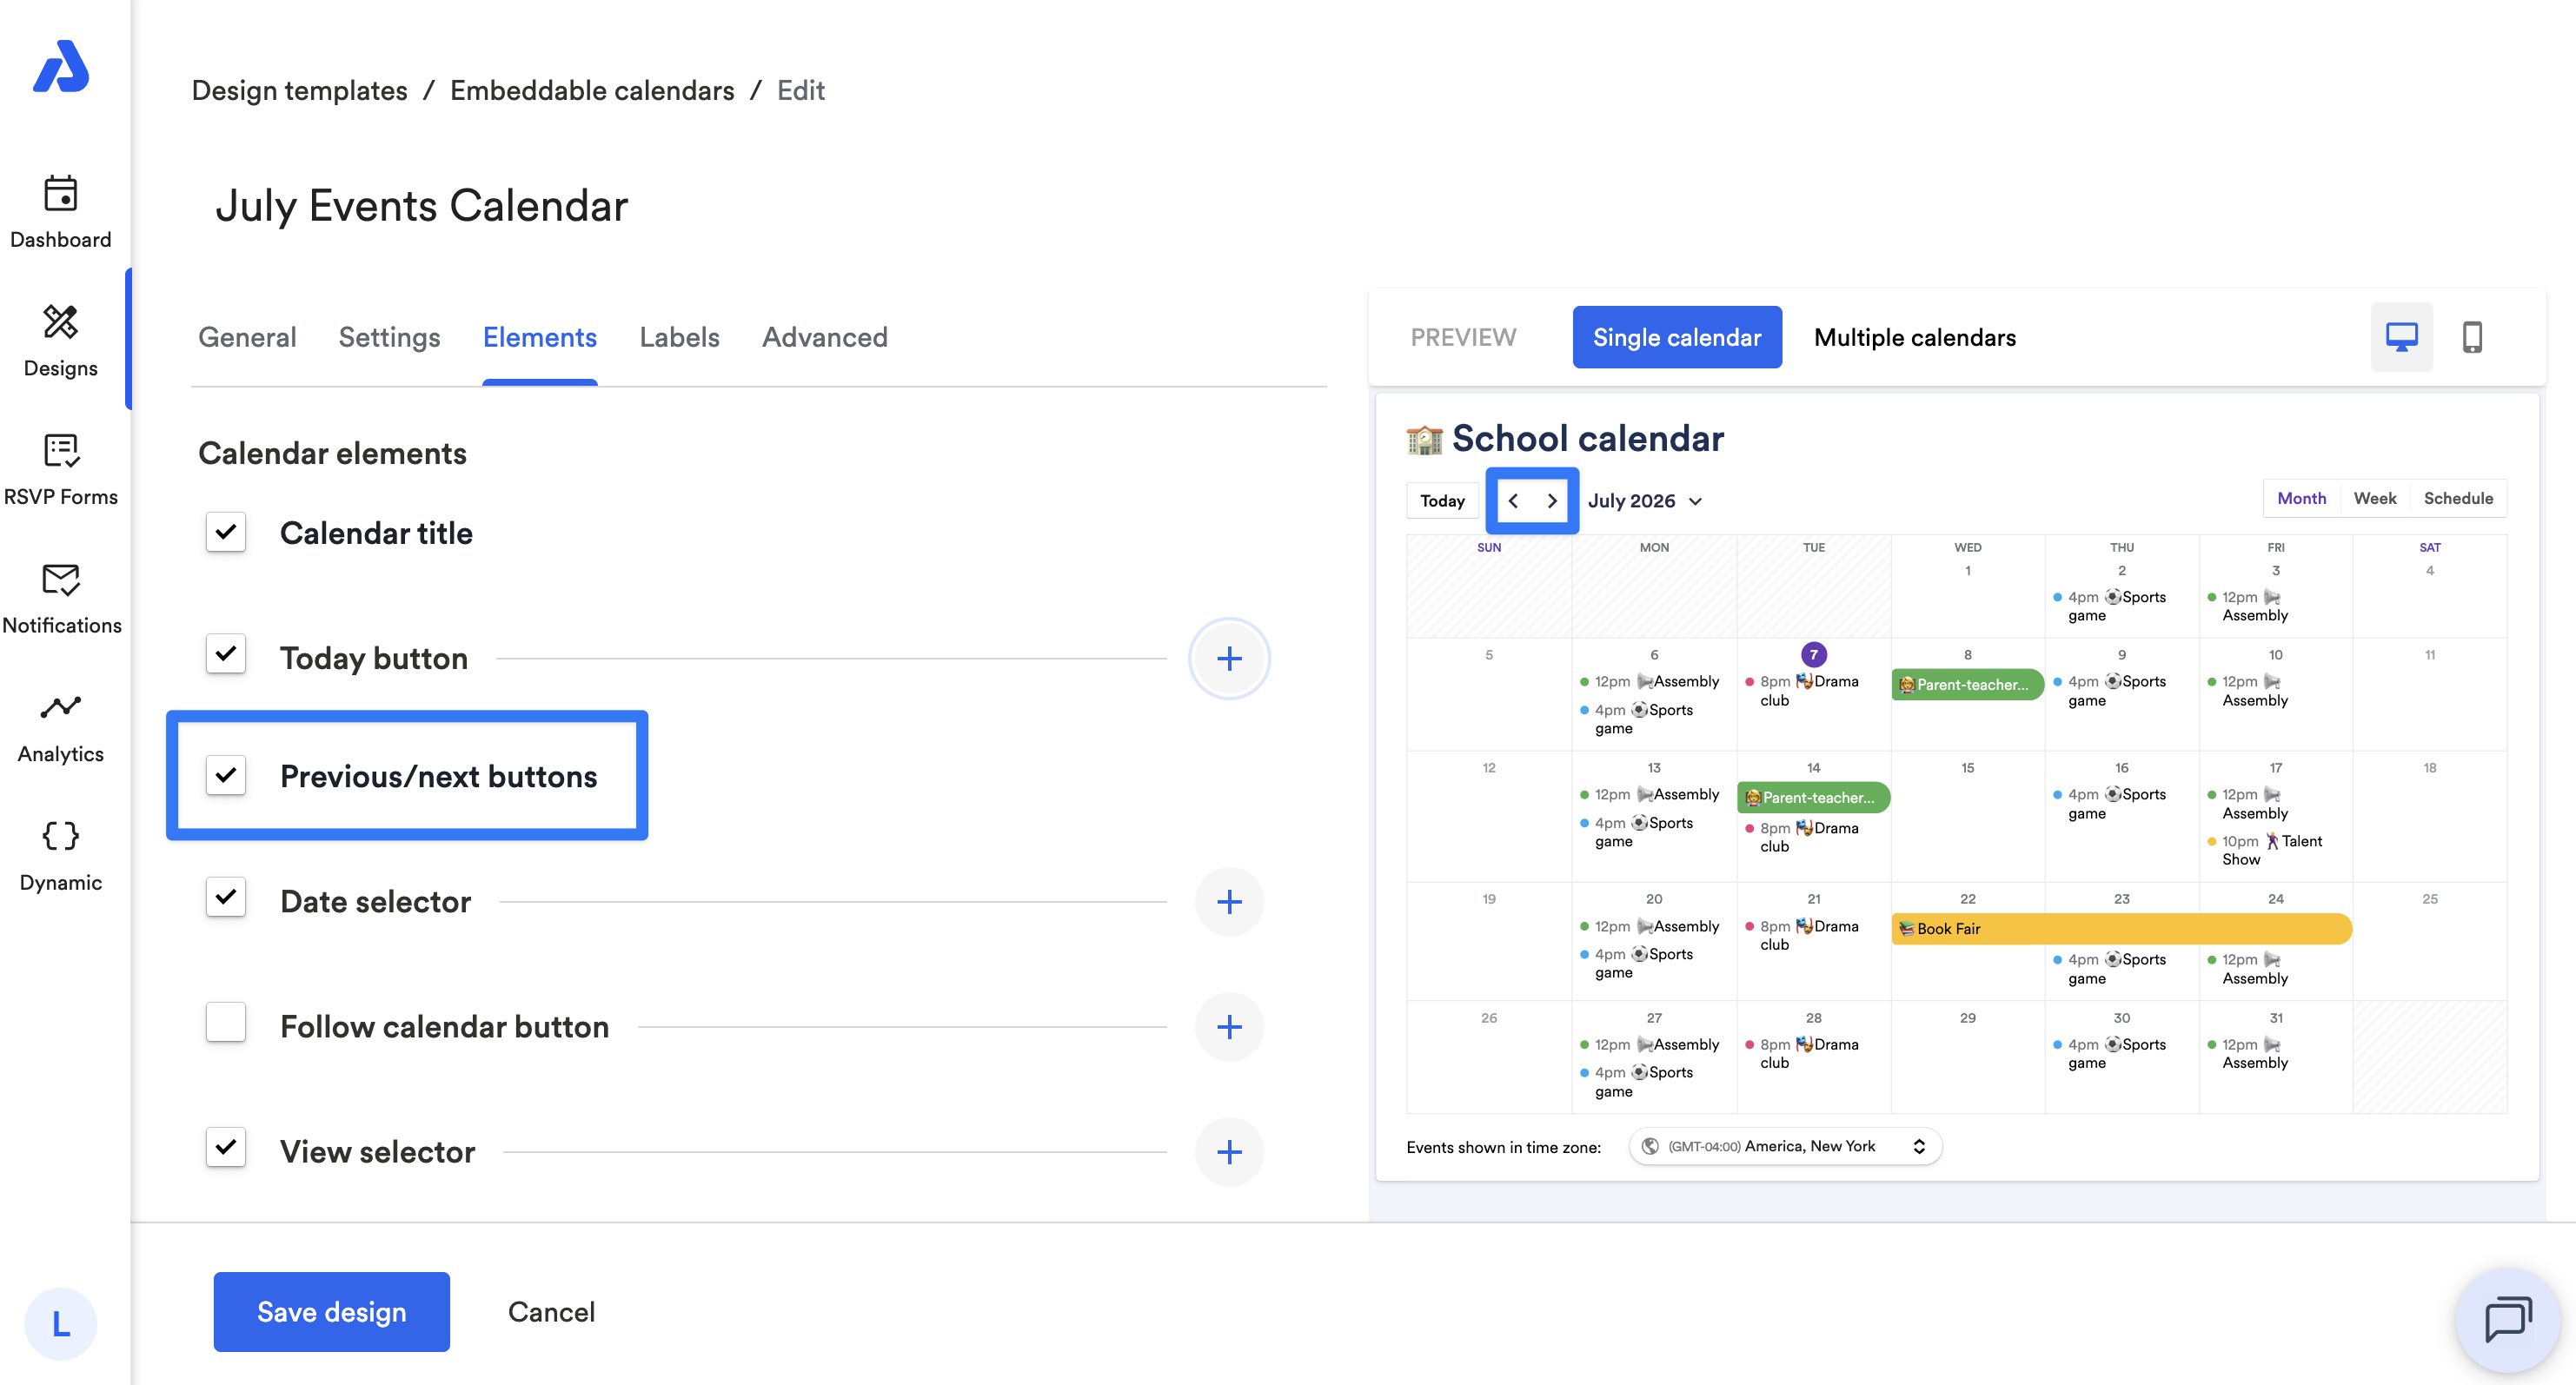
Calendar Title
You can enable or disable the calendar's title.
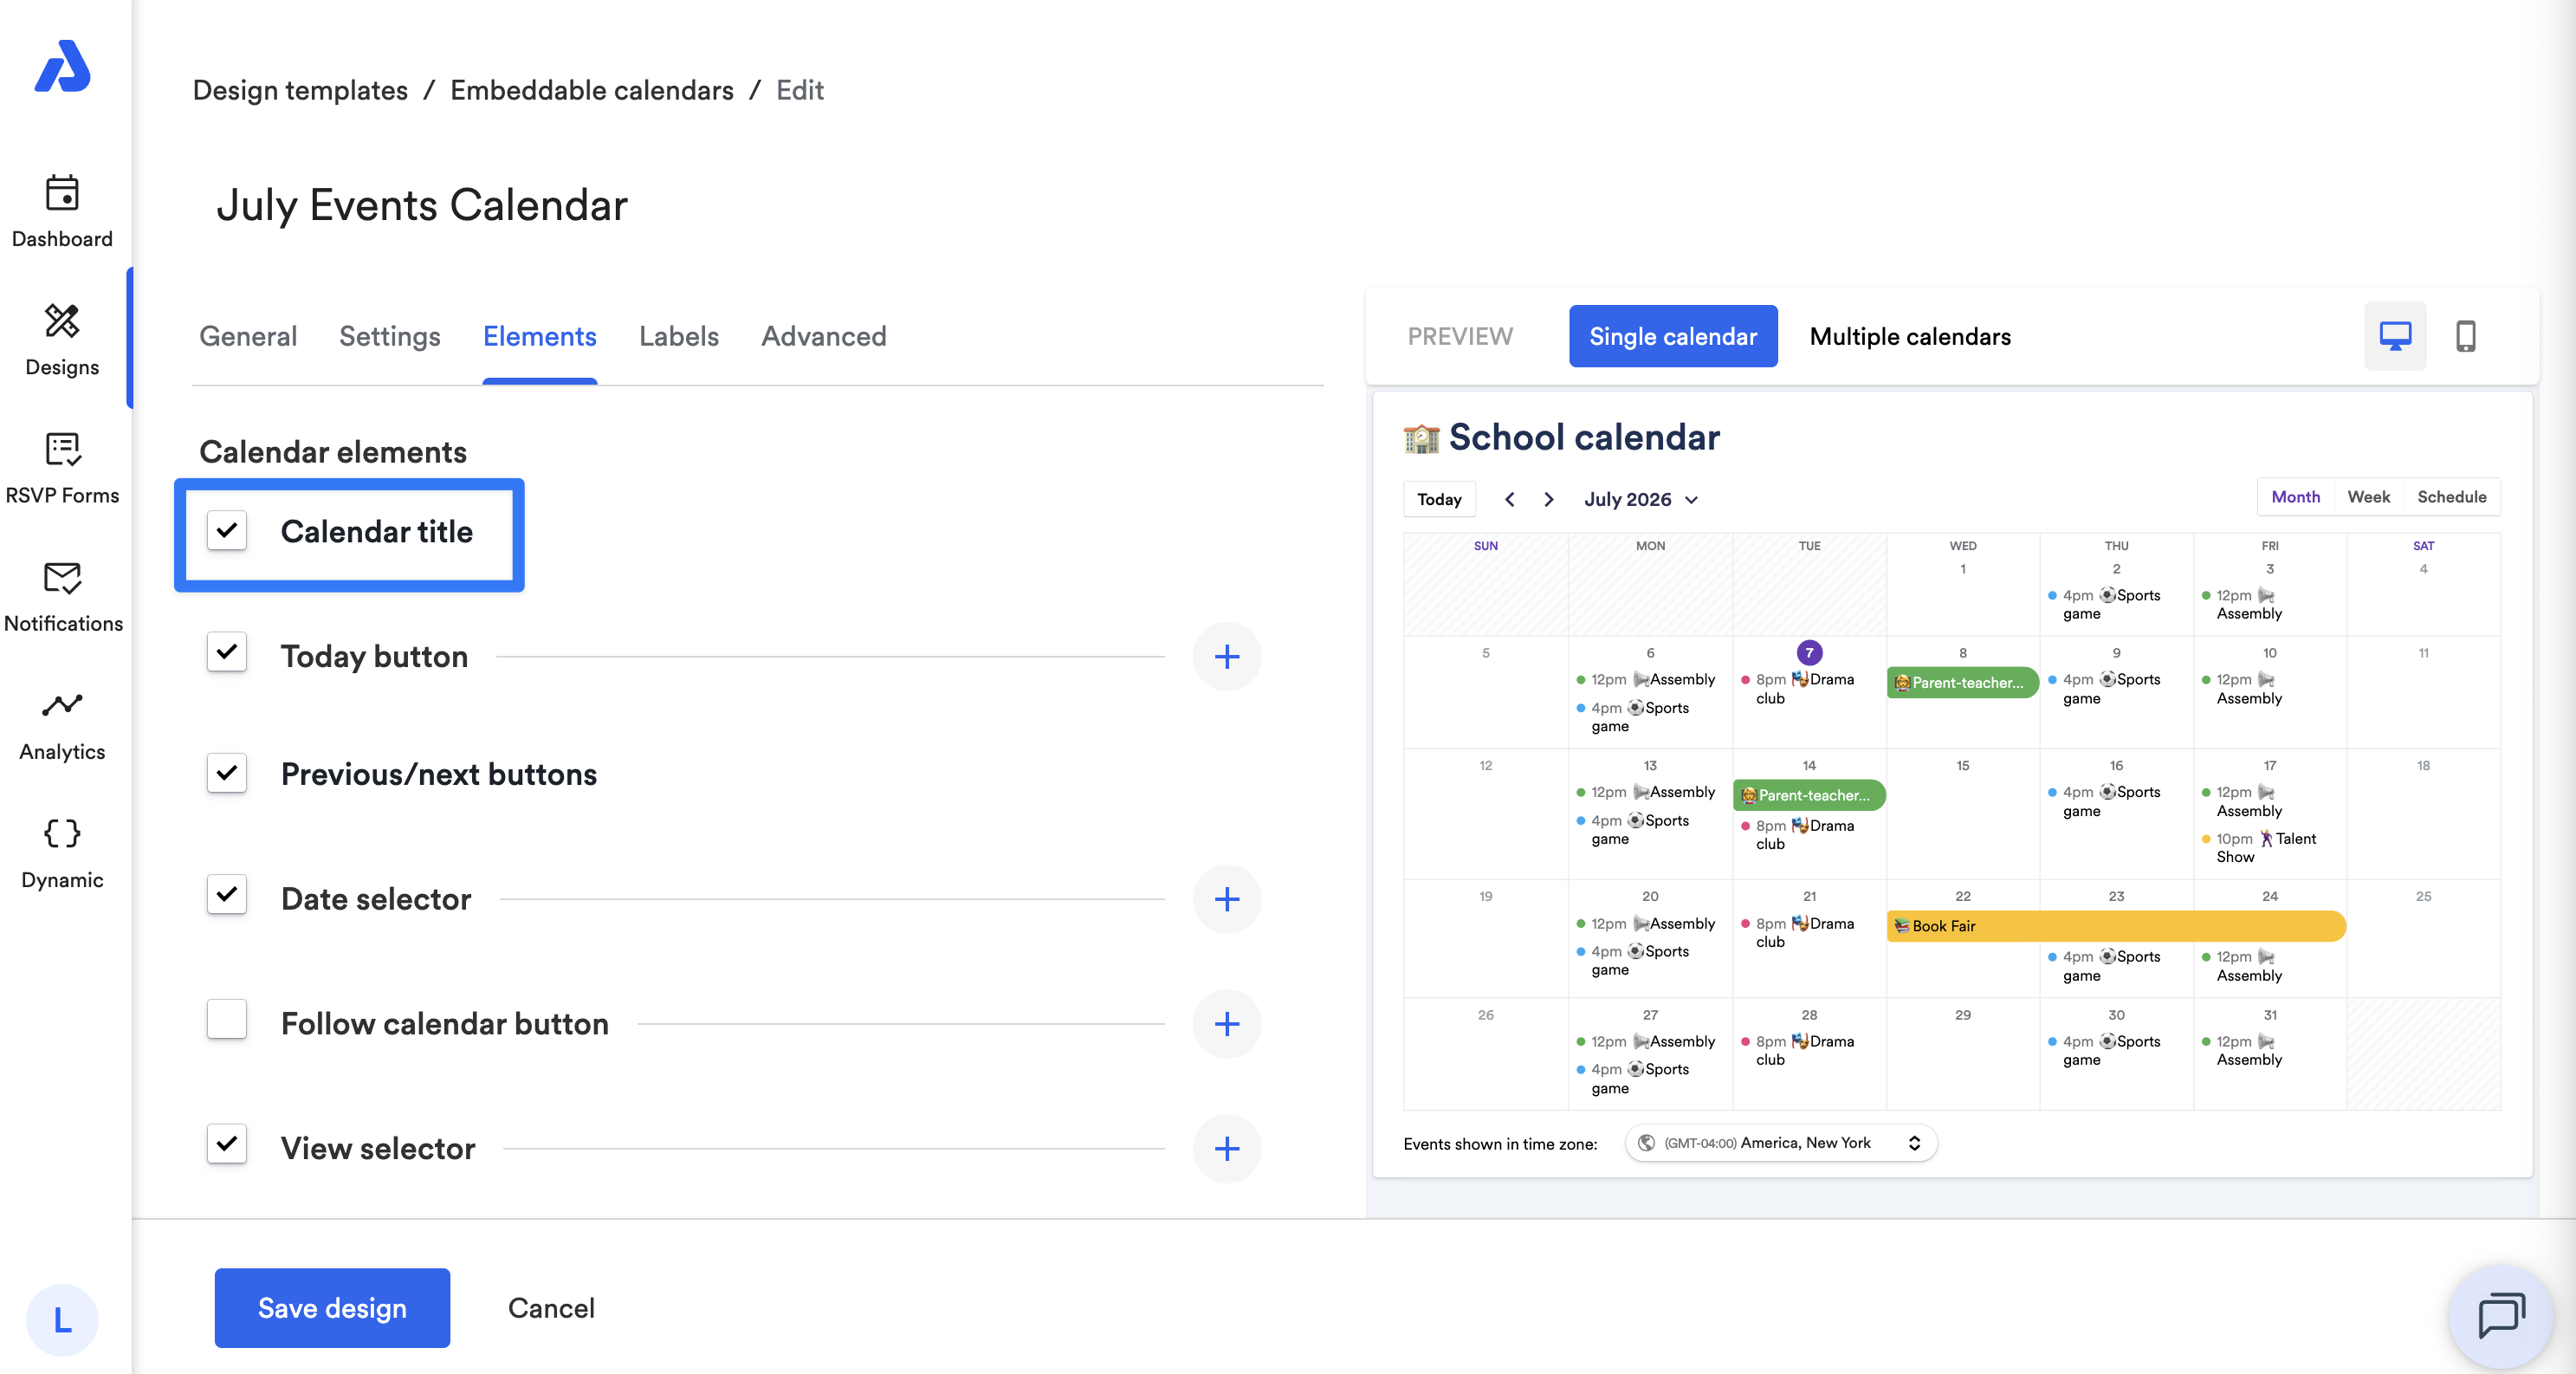
Today Button
You can enable or disable the "Today" button that's located at the top right of your calendar embed by default.
By clicking the + icon located to the right of the option, you can customize the button's label.
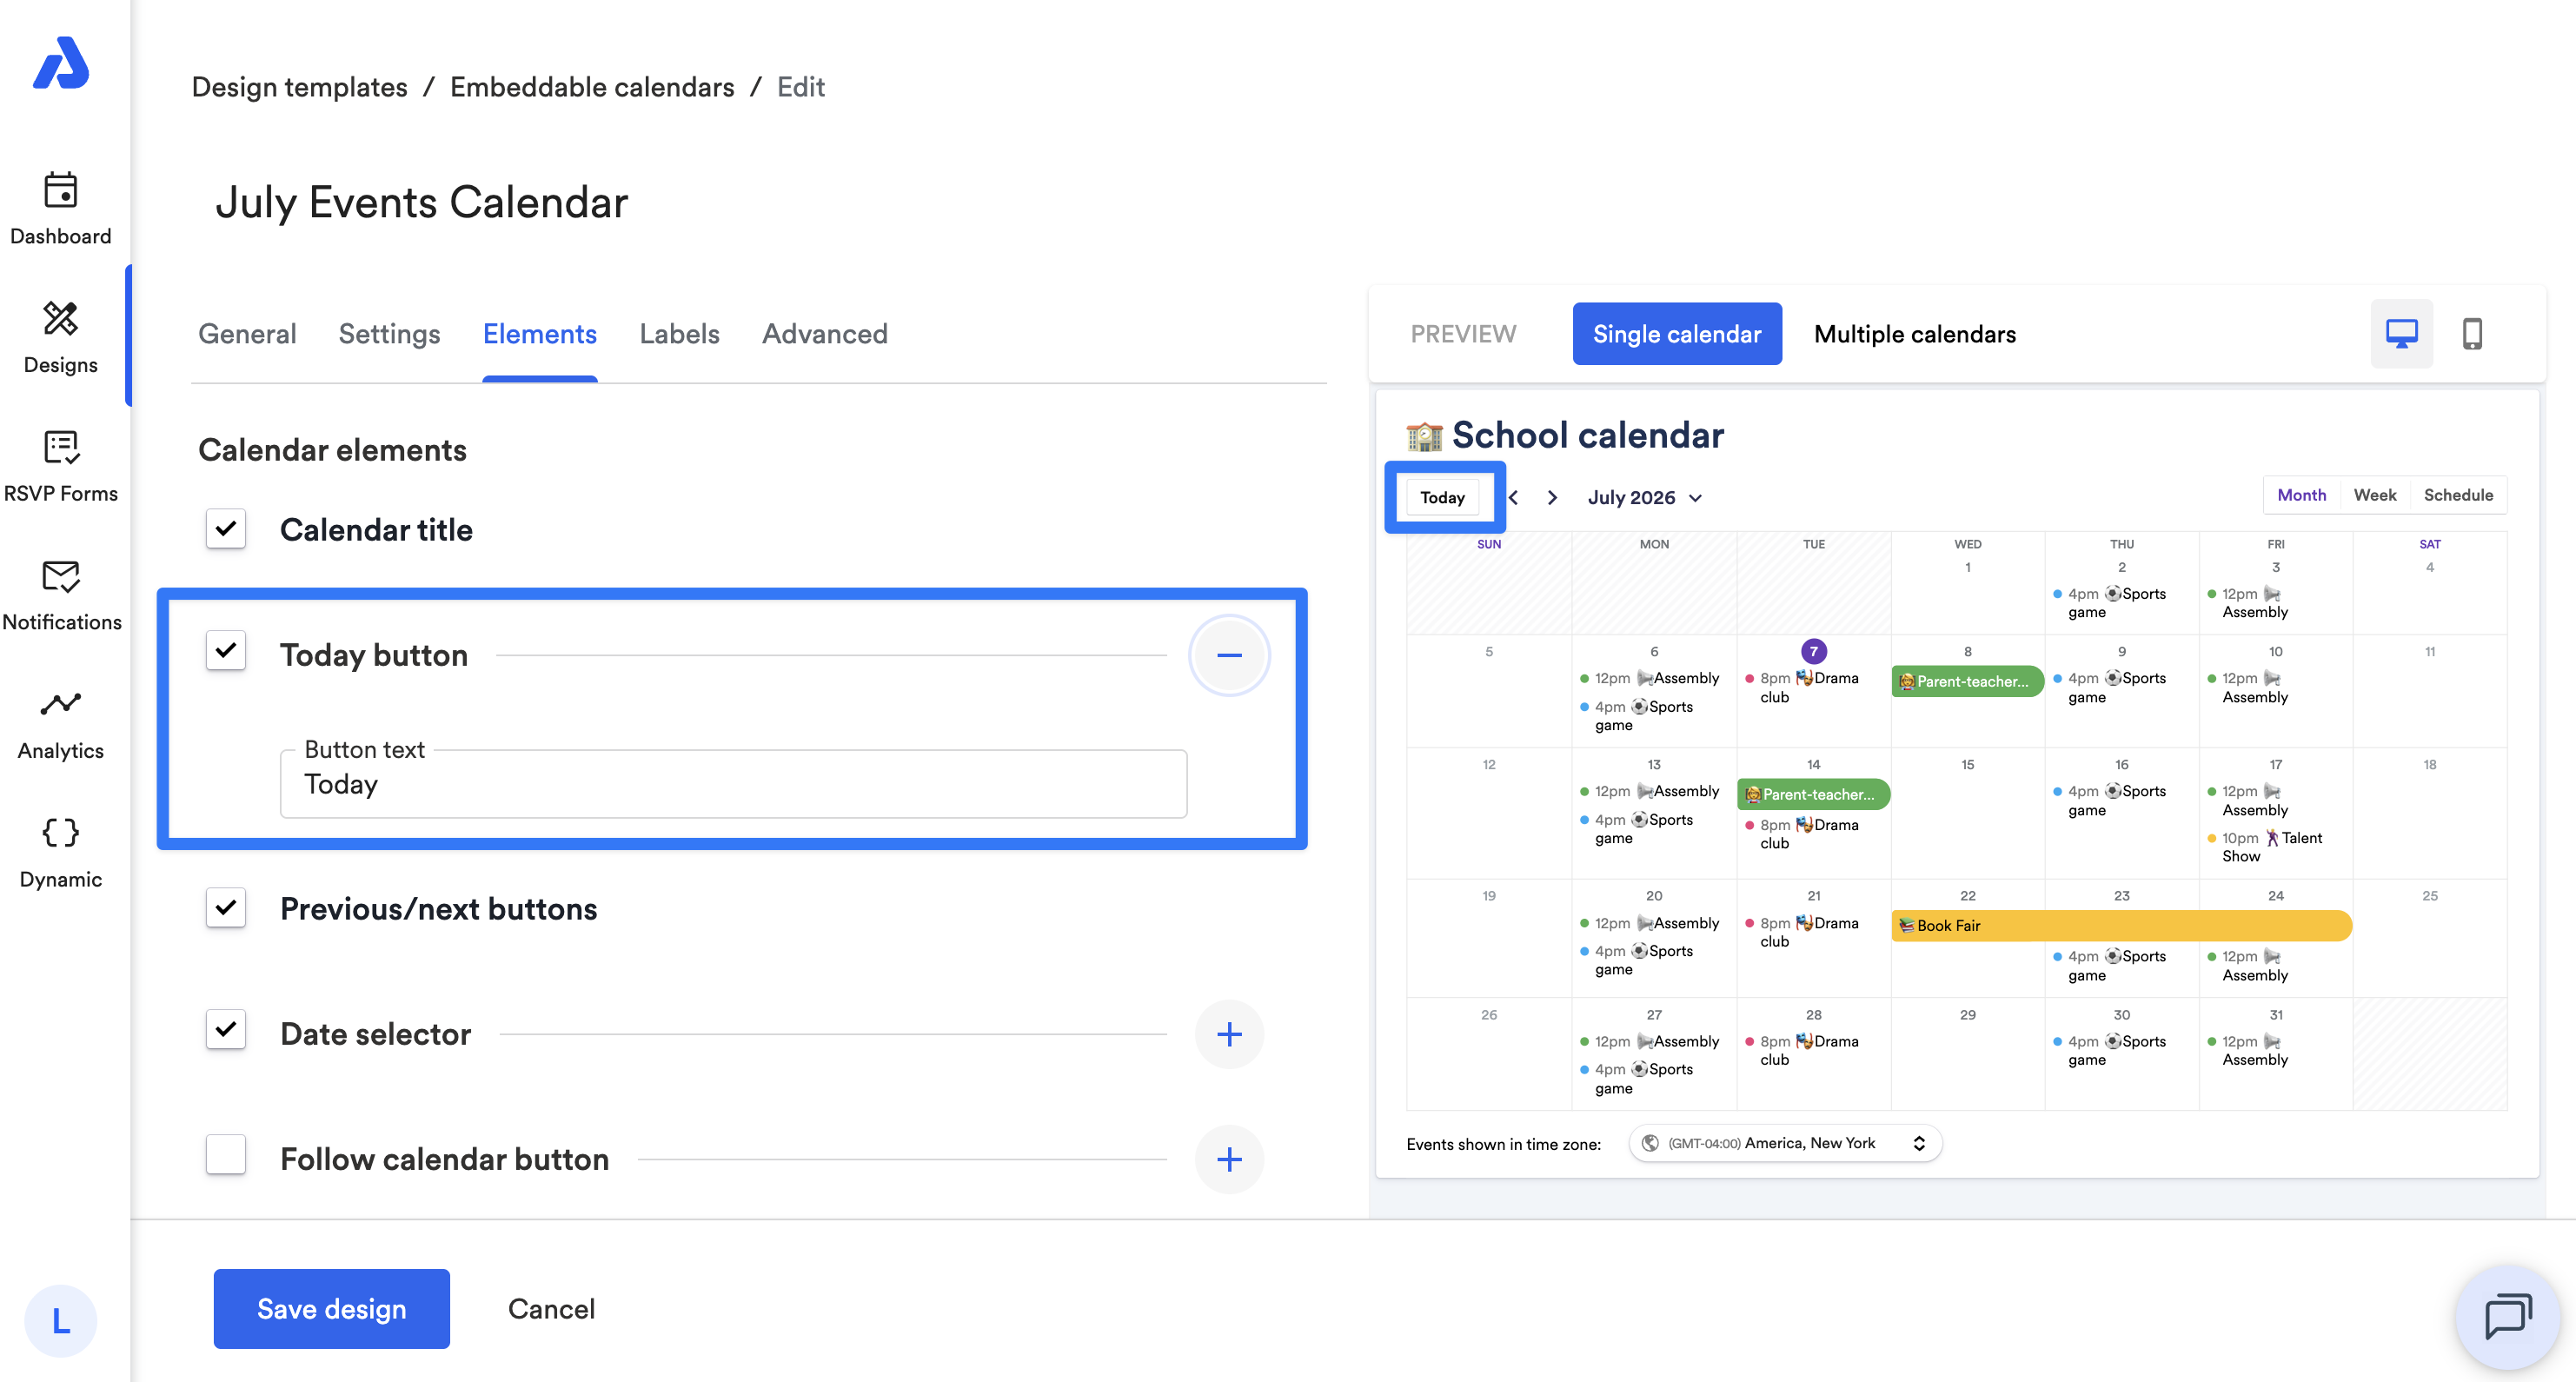
Previous/Next Buttons
You can enable or disable the "Previous" and "Next" buttons that are located to the right of the "Today" button by default.
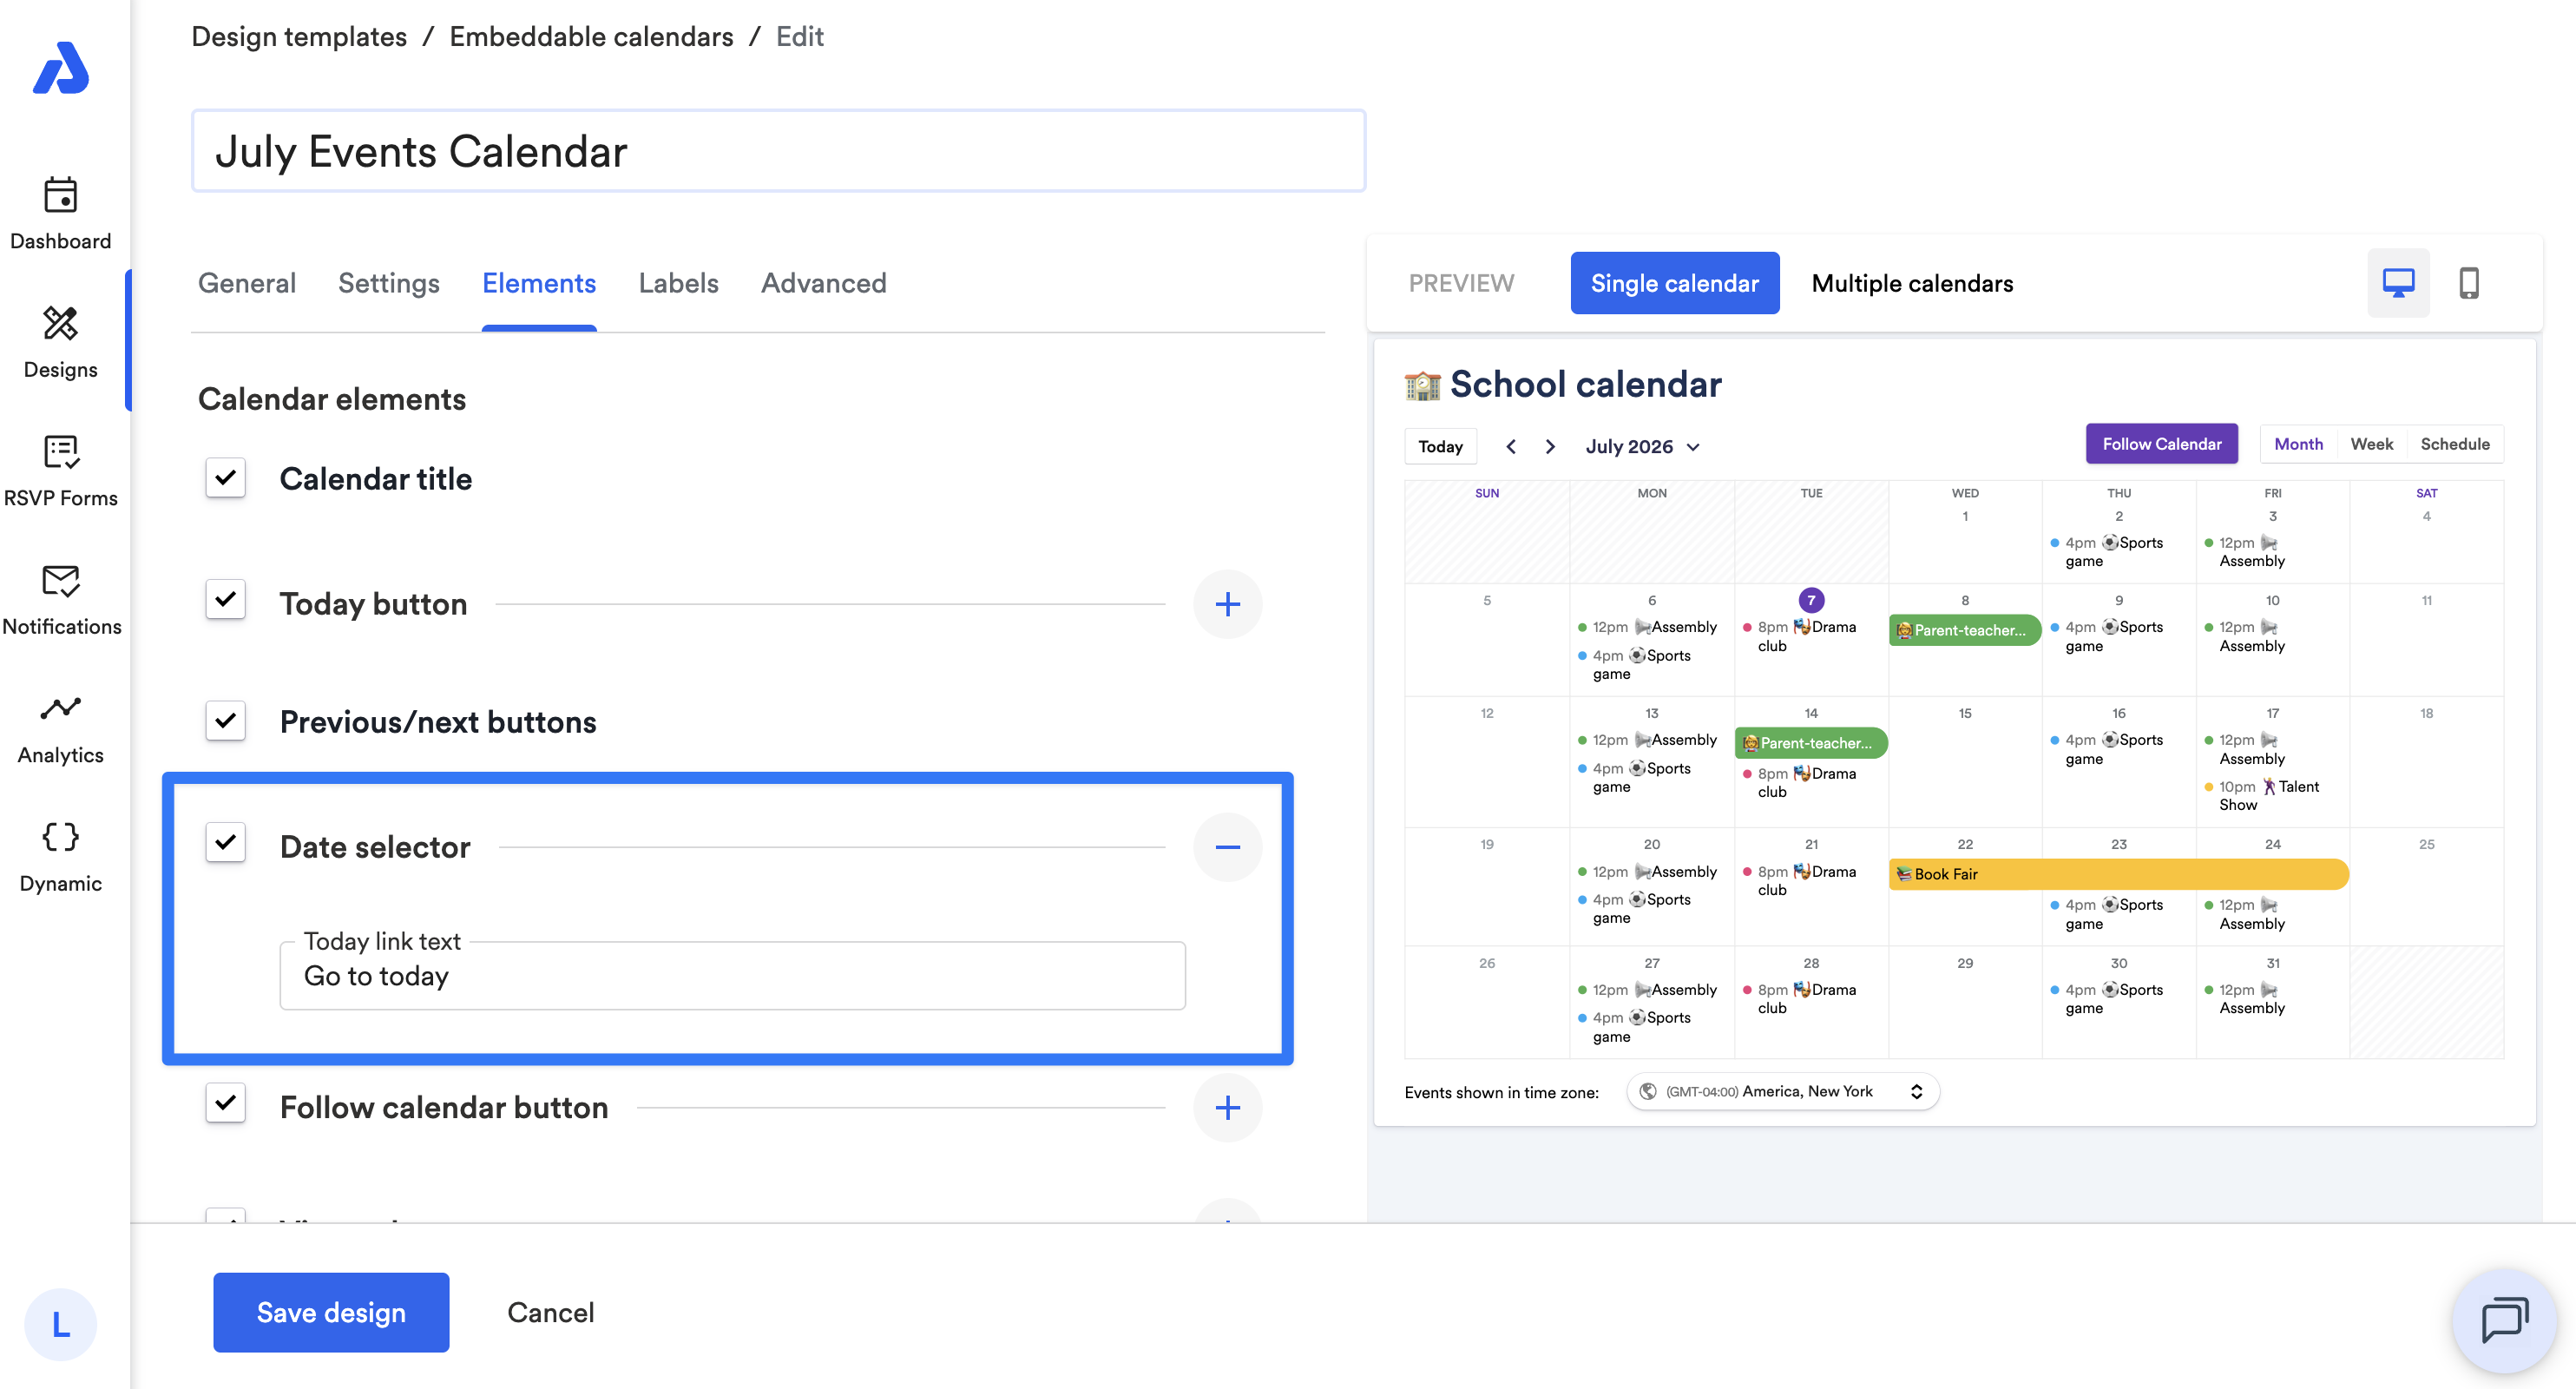
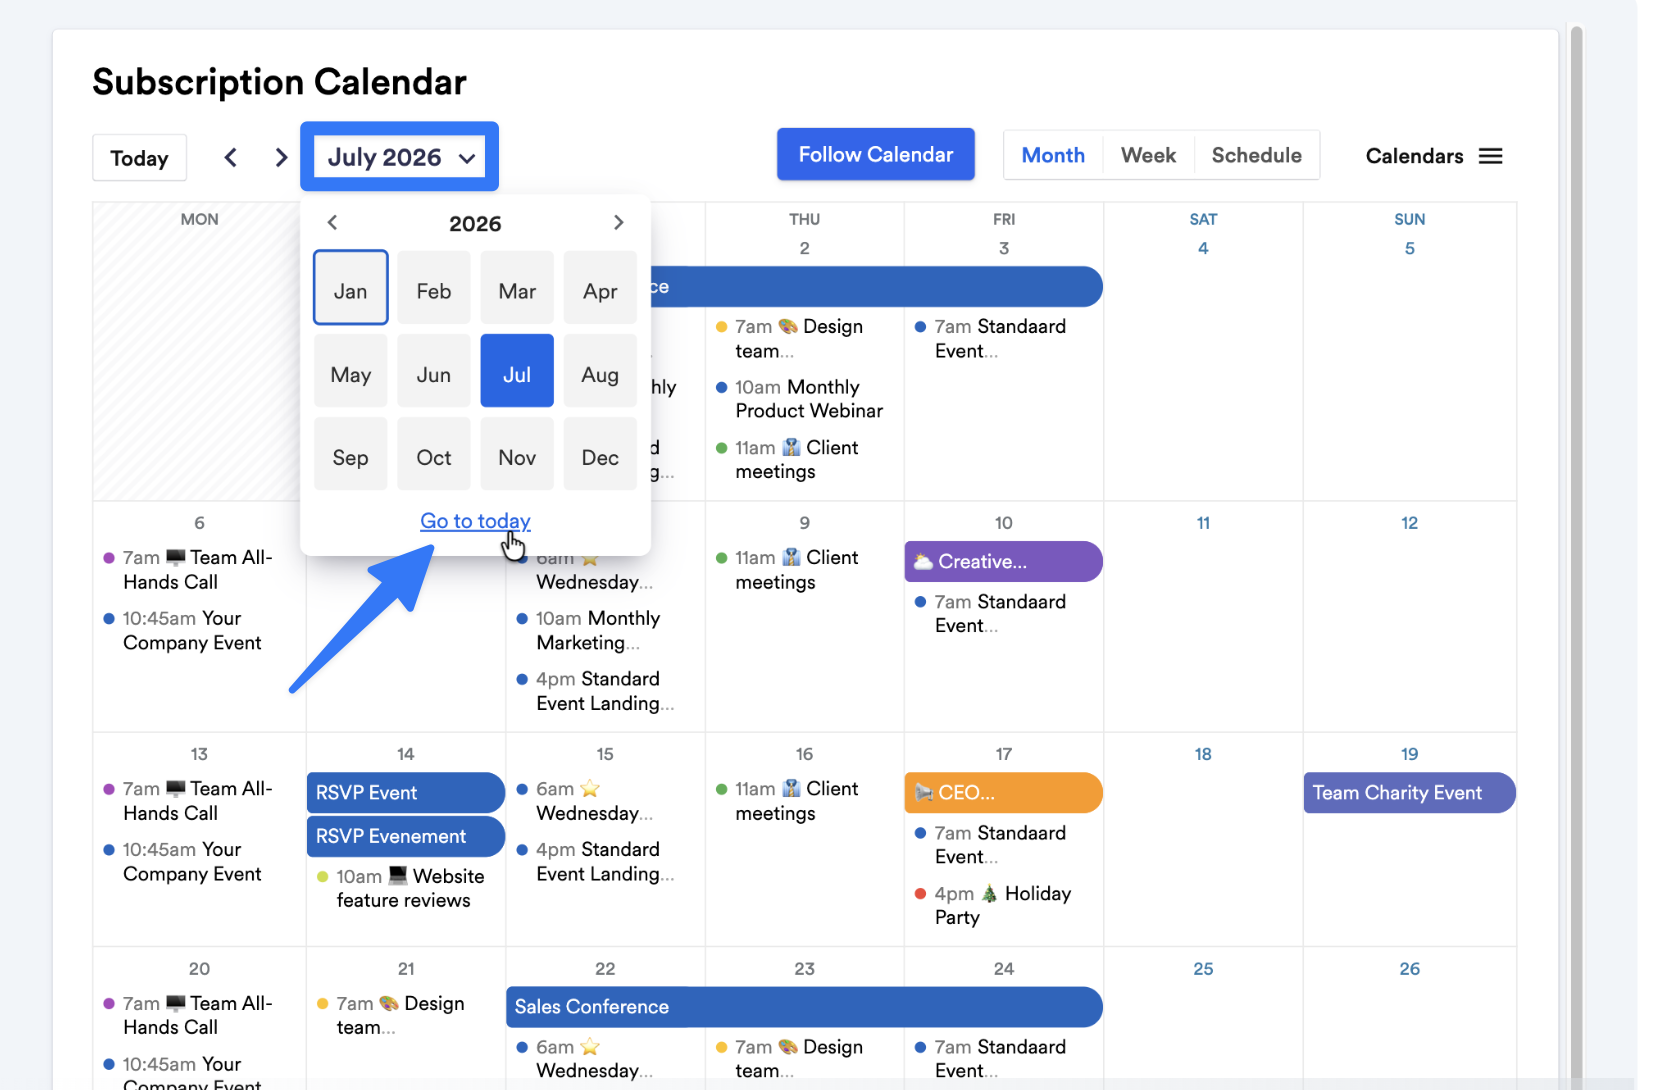
Date Selector
You can enable or disable the date selector that is located to the right of the "Previous" and "Next" buttons by default.
By clicking the + icon located to the right of the option, you can customize the "Go to Today" button label as well. You can see an example of where this button is displayed in the second screenshot below.
Follow Calendar Button
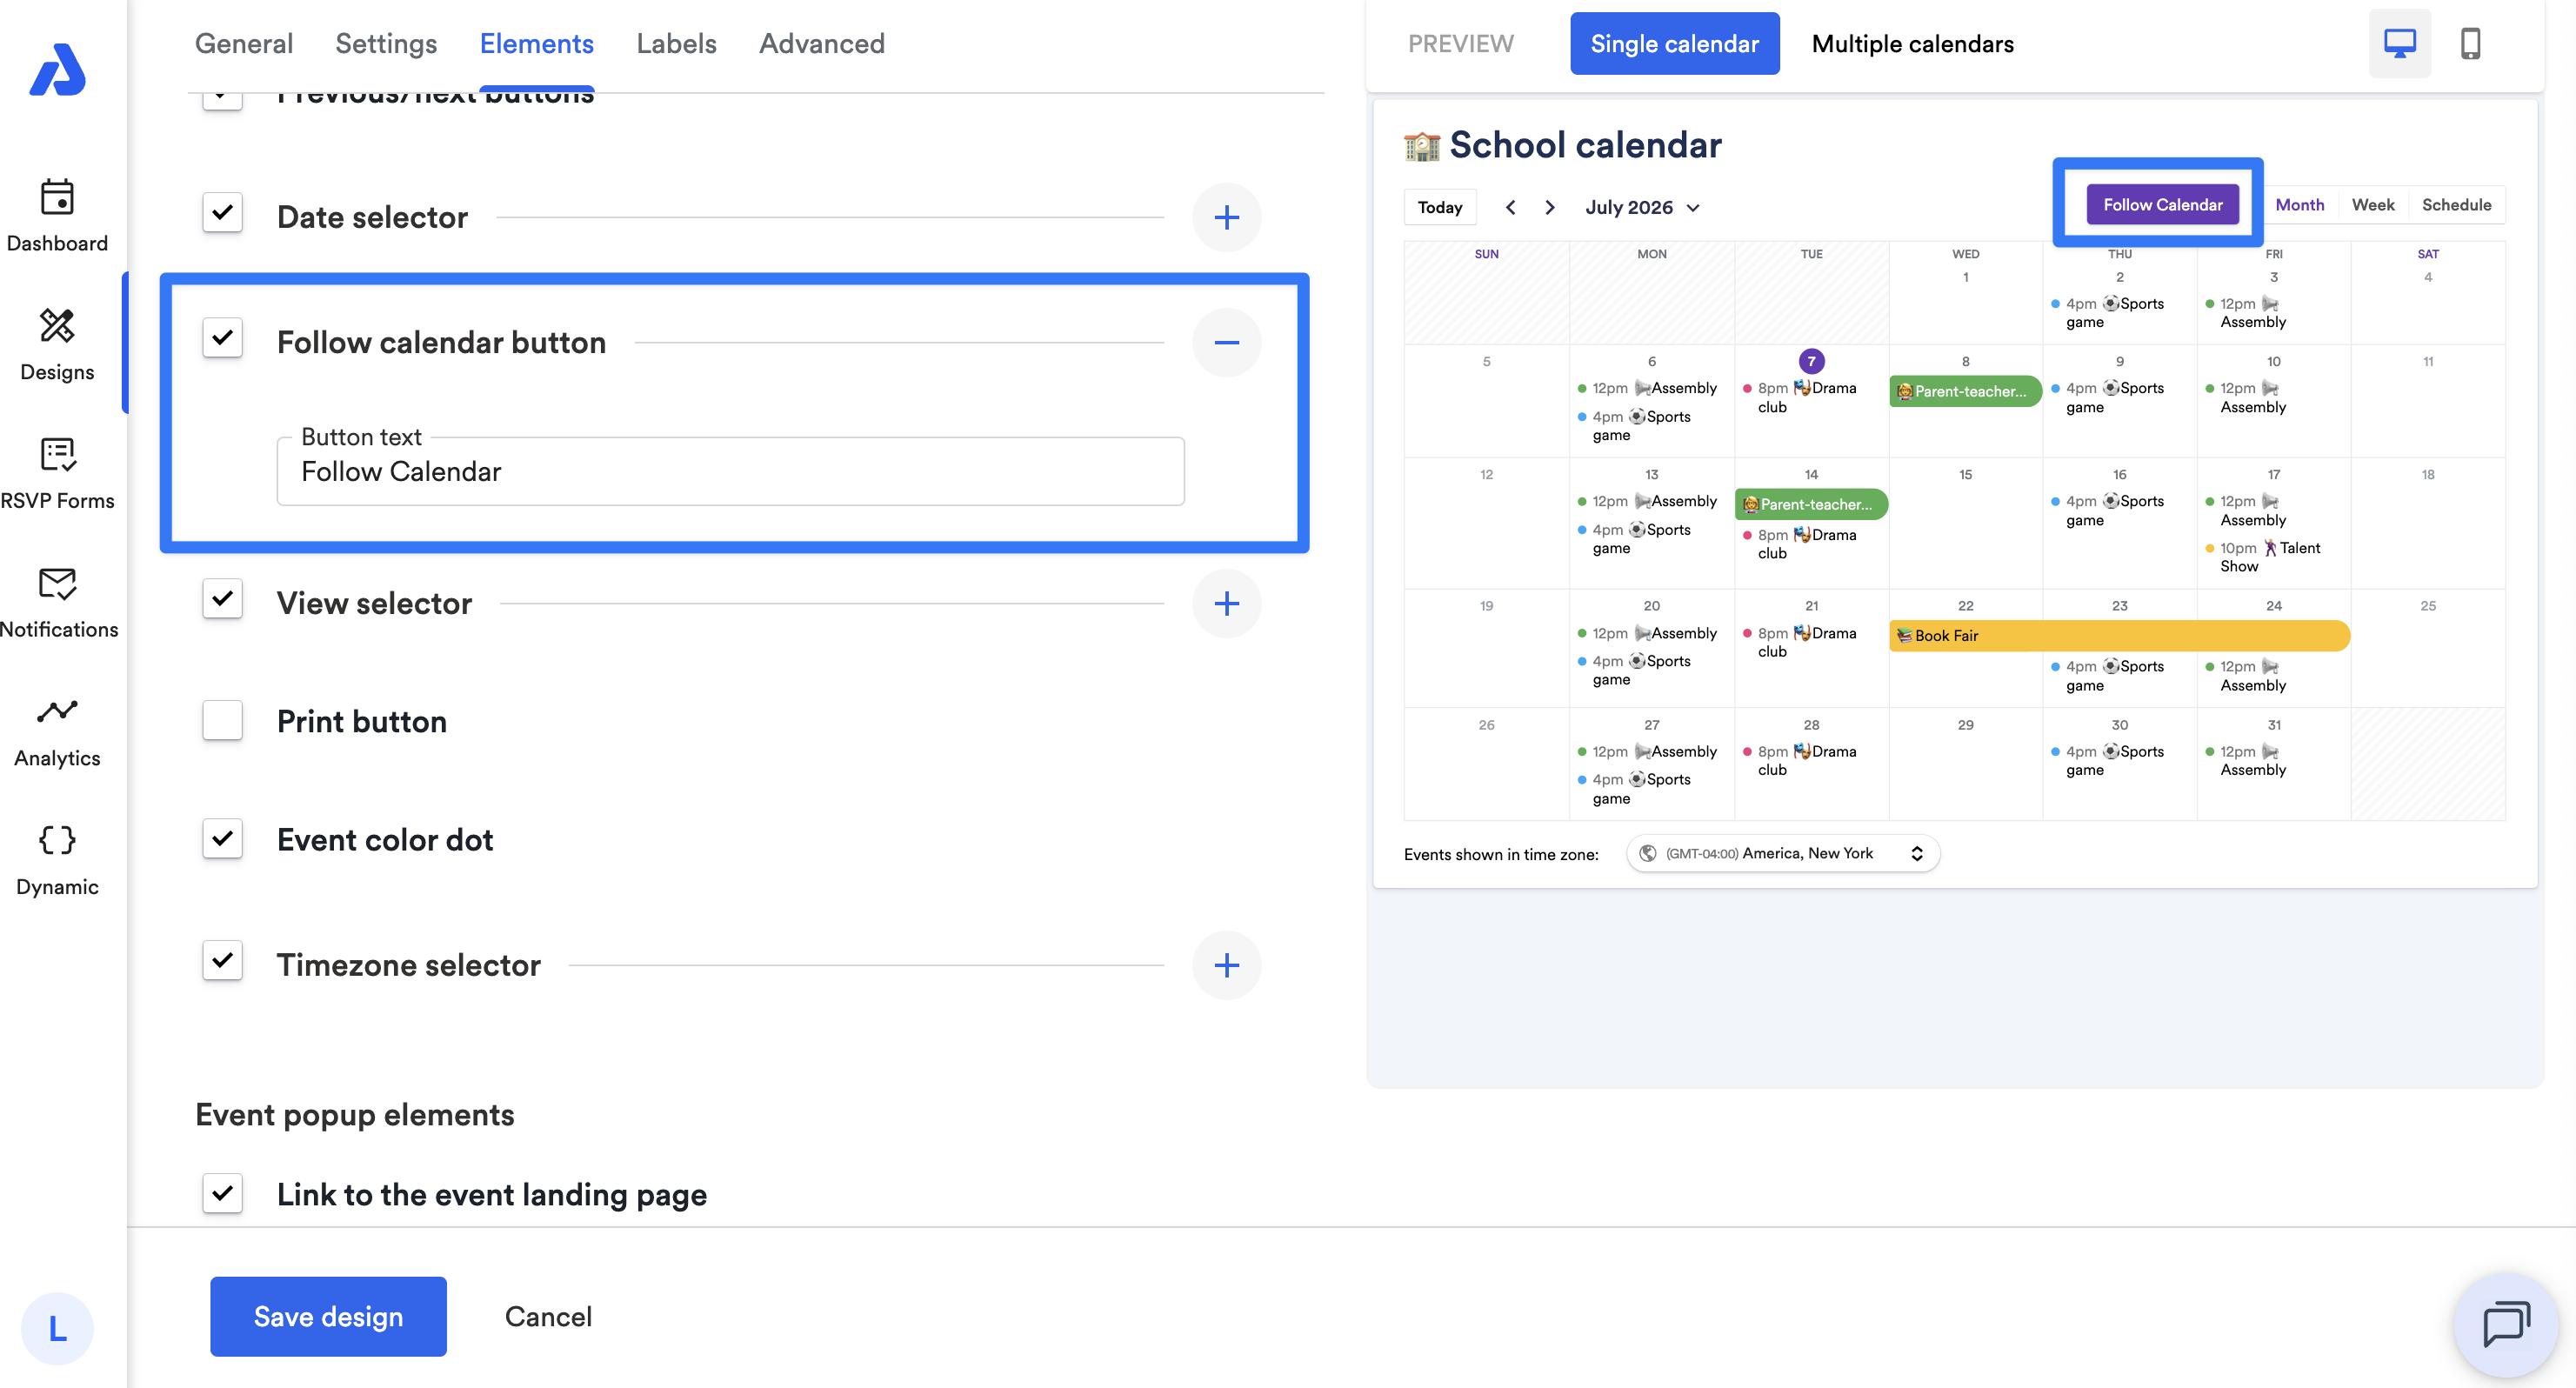
You can enable or disable the "Follow Calendar" button that's located to the right of the date selector by default. This button allows end-users to subscribe to your calendar and also add the subscription calendar of events to their external calendar service.
By clicking the + icon located to the right of the option, you can also customize the button's label.
View Selector
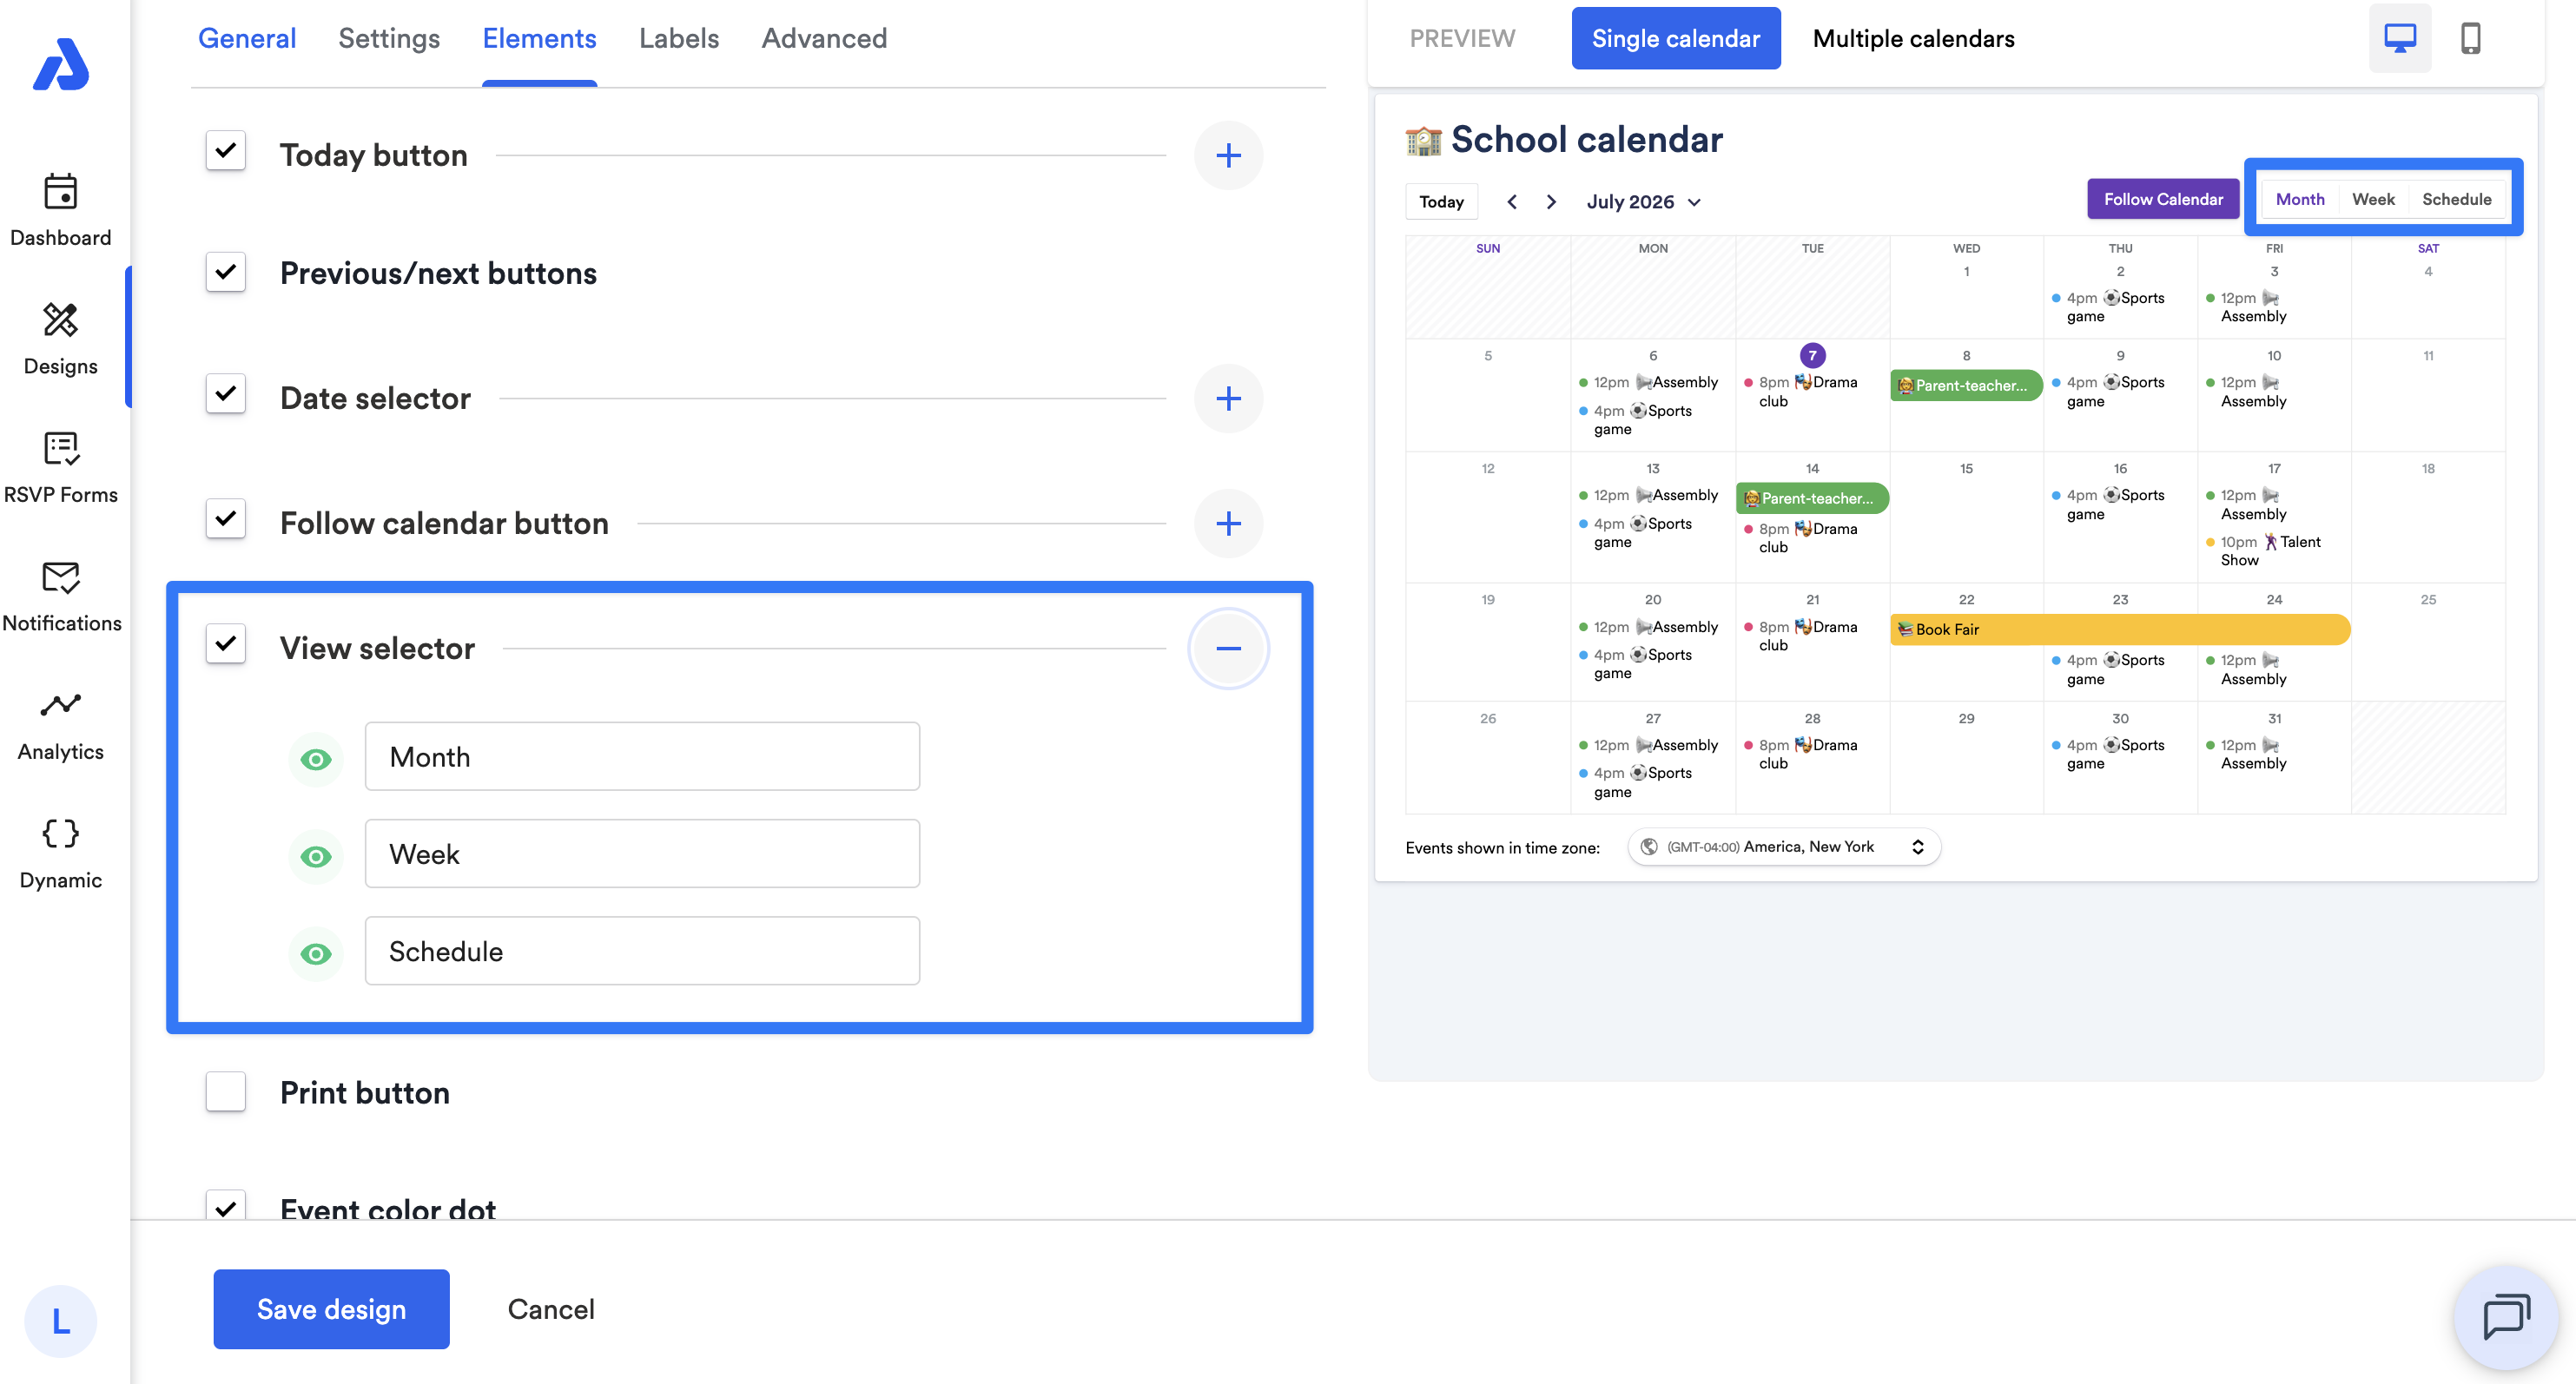
You can enable or disable the view selector that's located to the right of the Follow Calendar button by default.
By clicking the + icon located to the right of the option, you can:
- Include/exclude individual view options by clicking the eye icon located to the left of each view label.
- Customize each view's label.
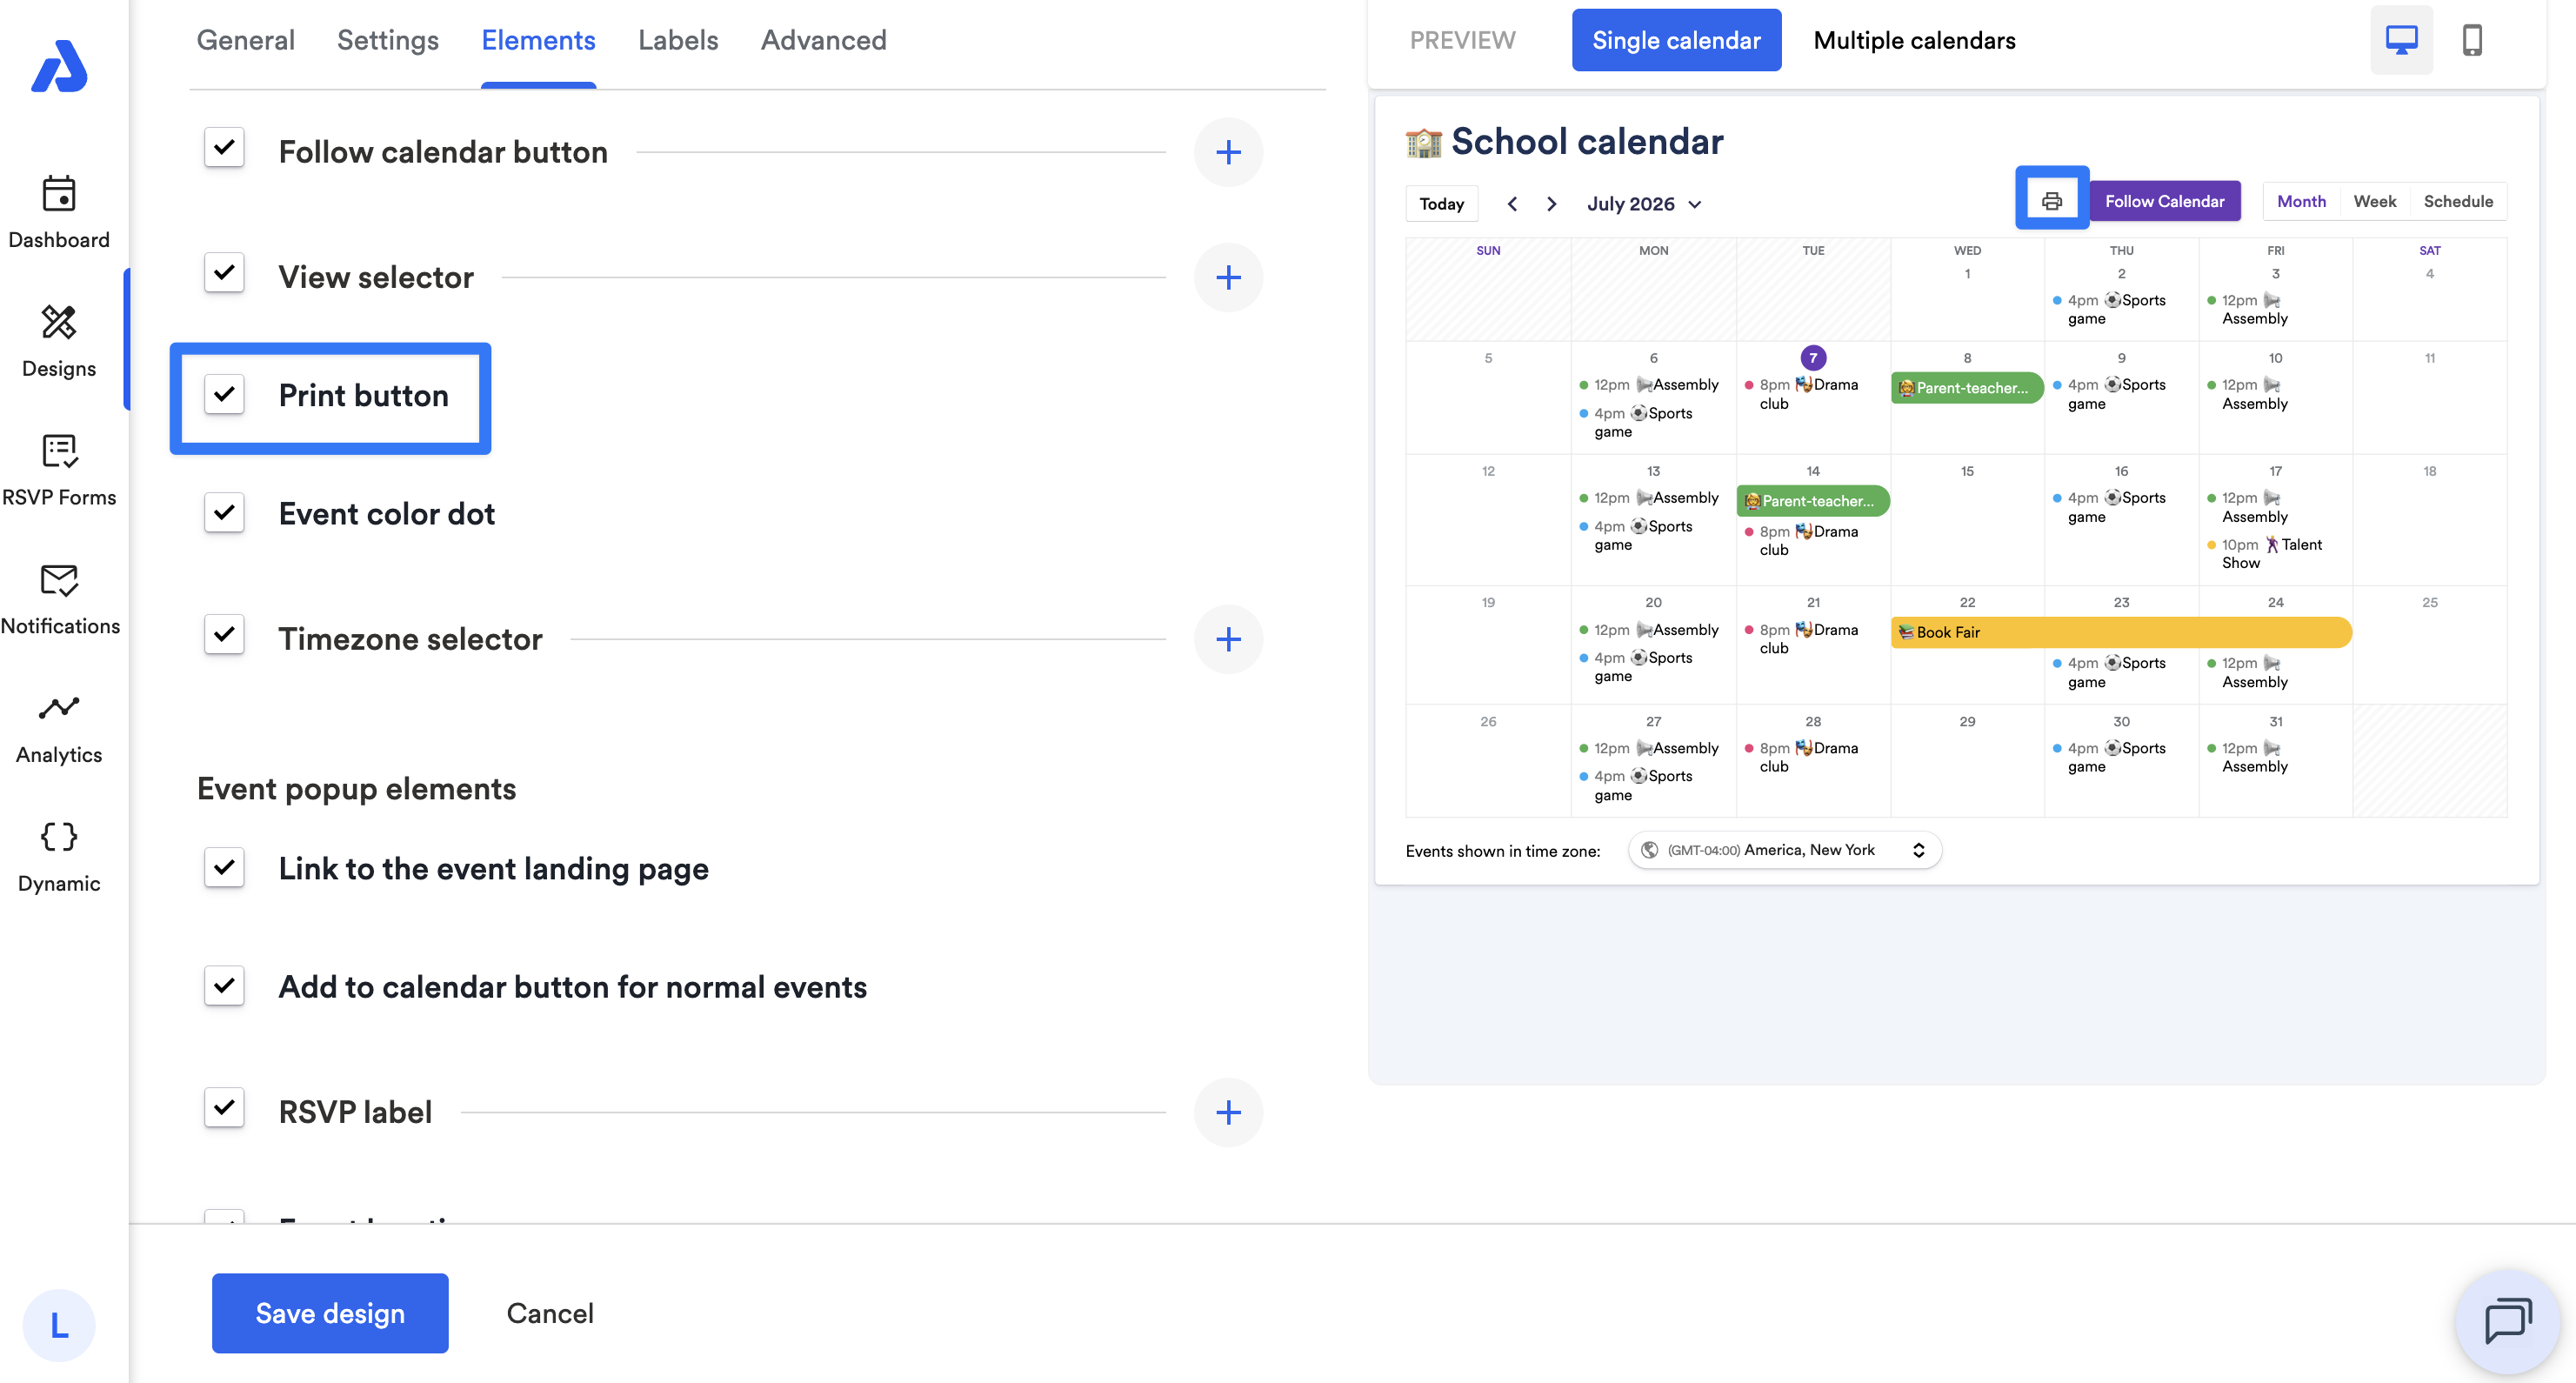
Print Button
You can enable or disable the Print button located to the left of the Follow Calendar button.
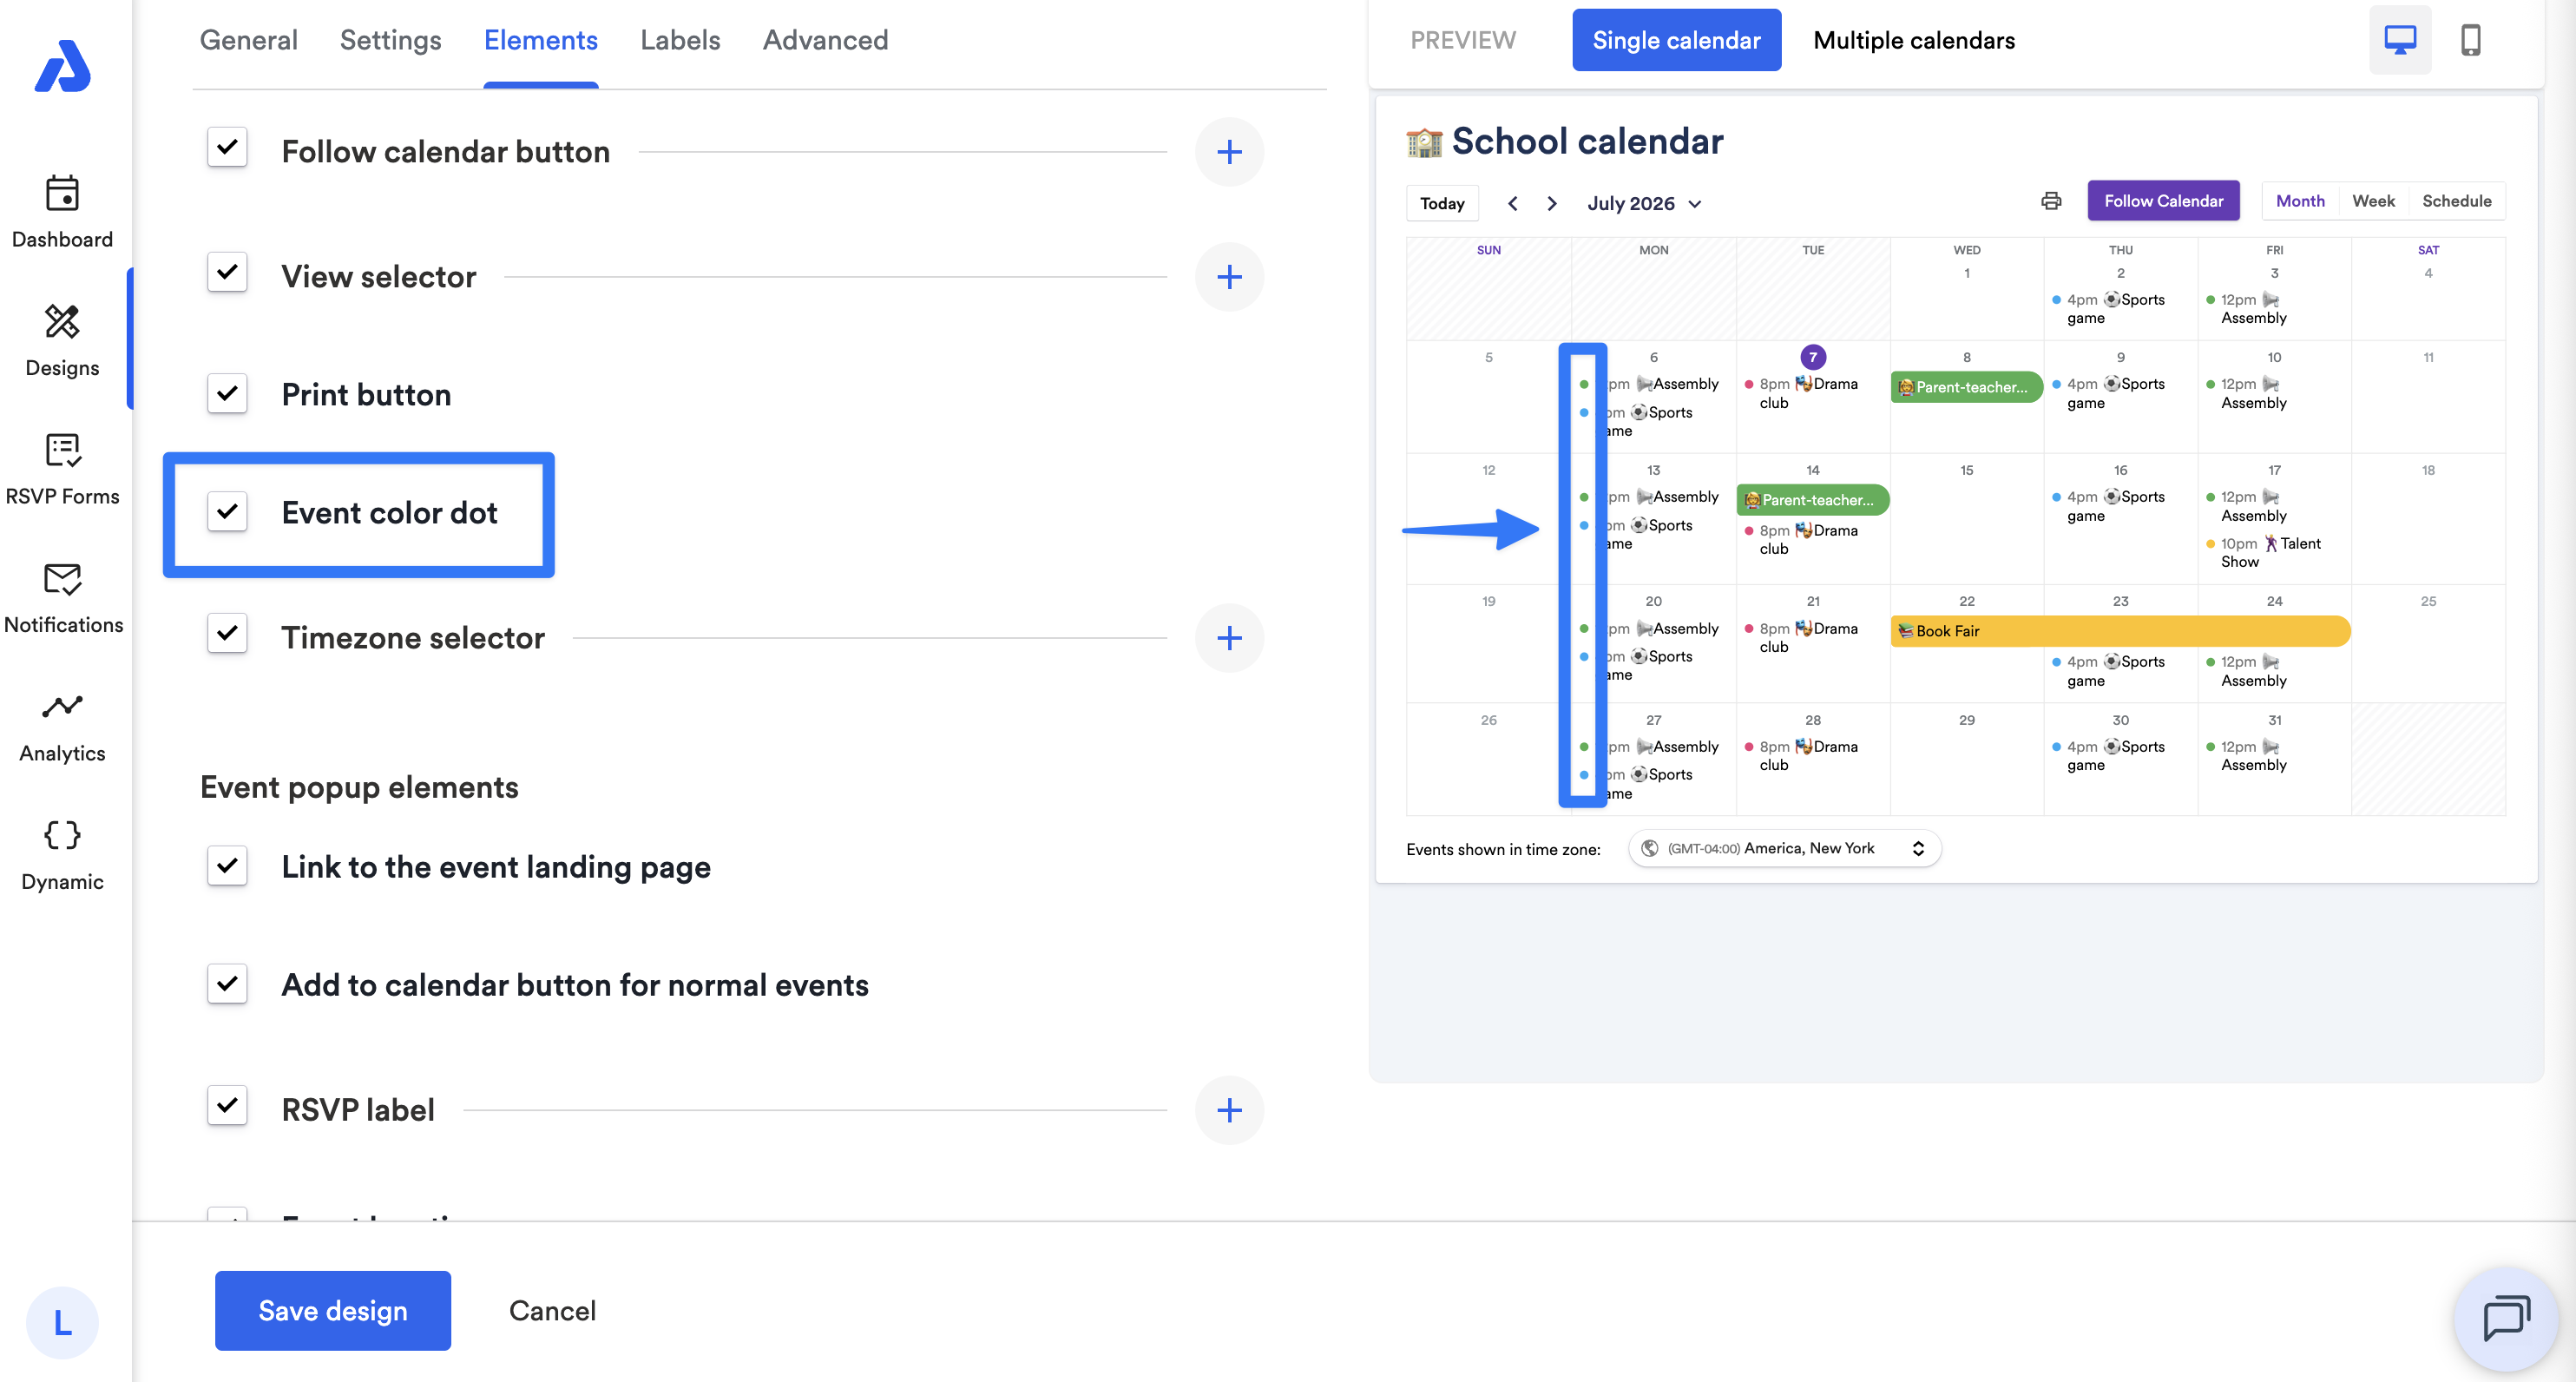
Event Color Dot
You can enable or disable the colored dots next to event titles.
Timezone Selector
You can enable or disable the timezone selector located at the bottom of the embedded calendar.
By clicking the + icon located to the right of the option, you can customize the labels within the timezone selector.
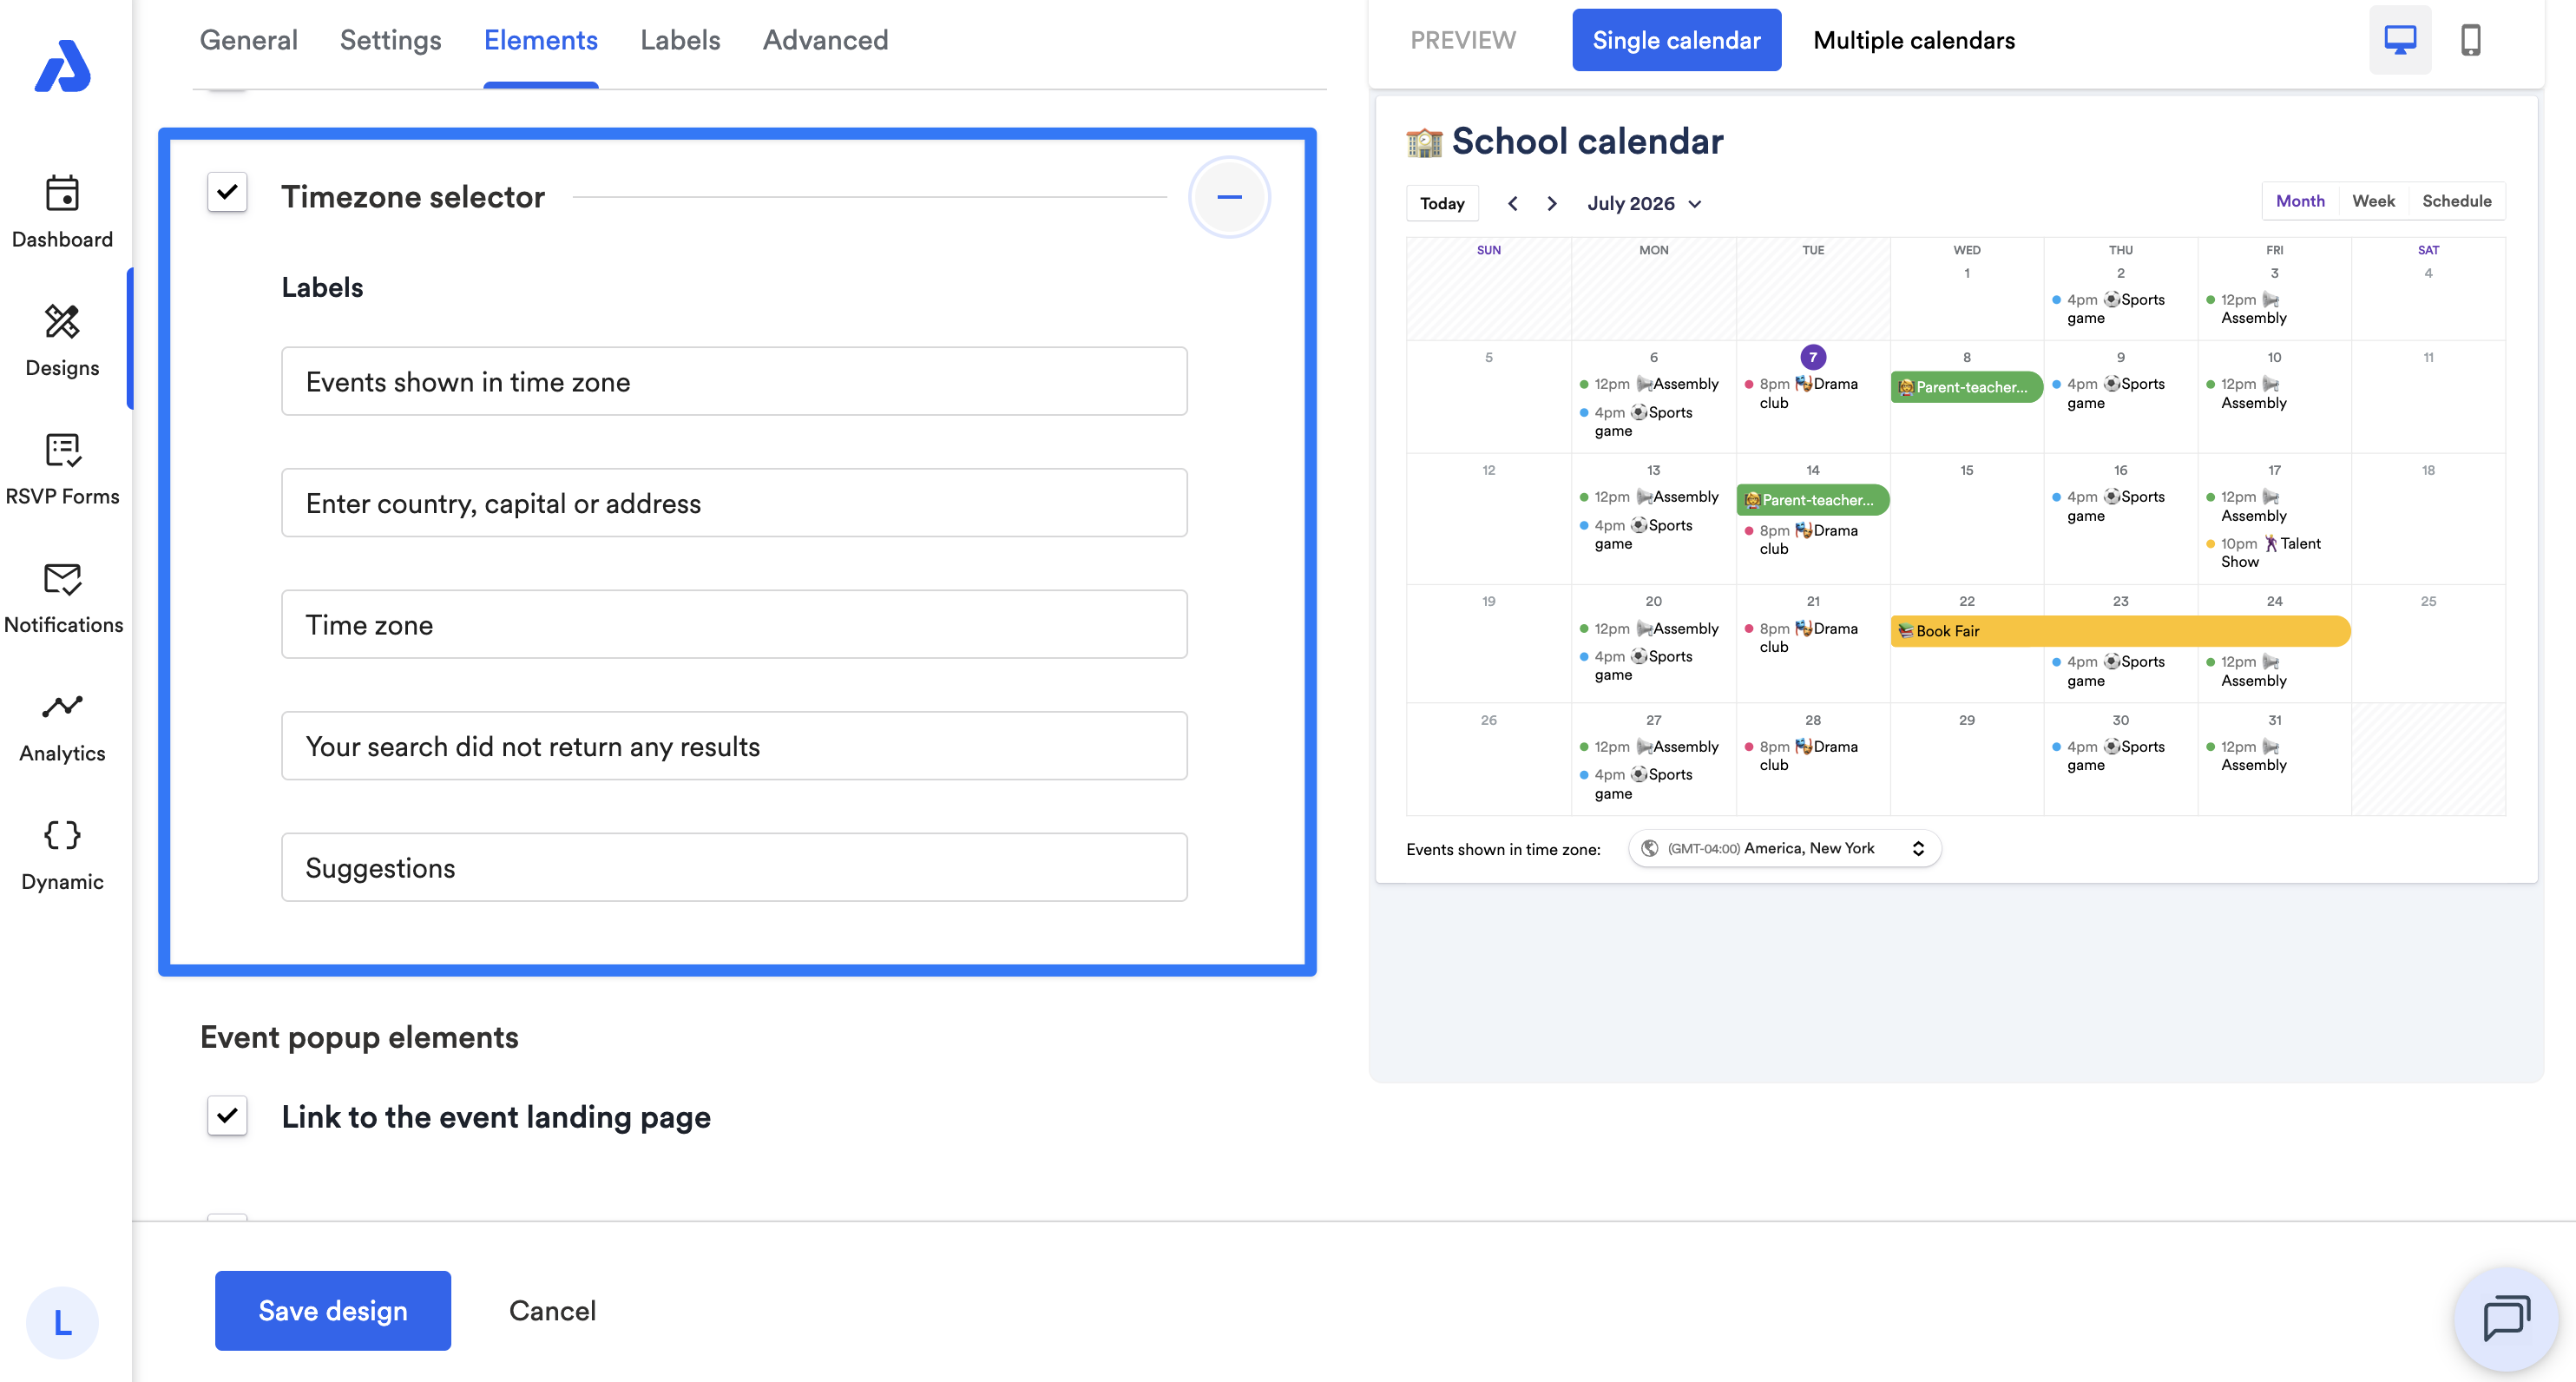
To learn more about the timezone selector, check out our help doc here.
Event Popup Elements
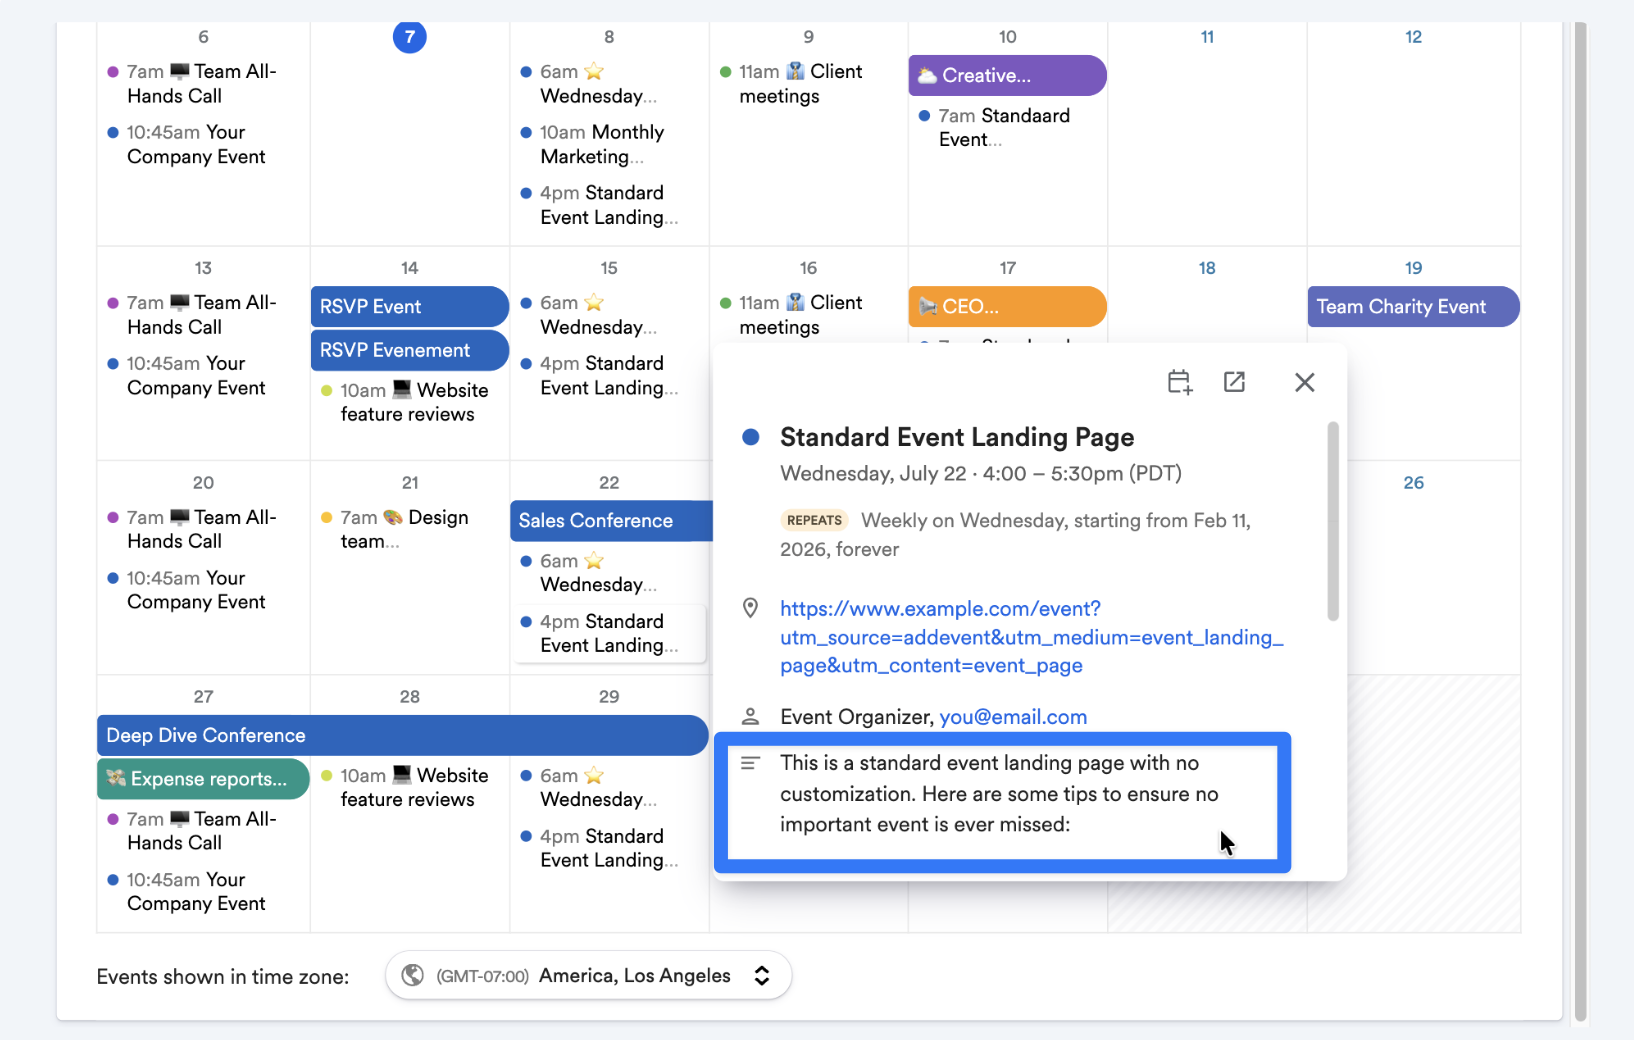
Event pop-up elements appear in the pop-up window when an end-user selects an event on the embedded calendar.
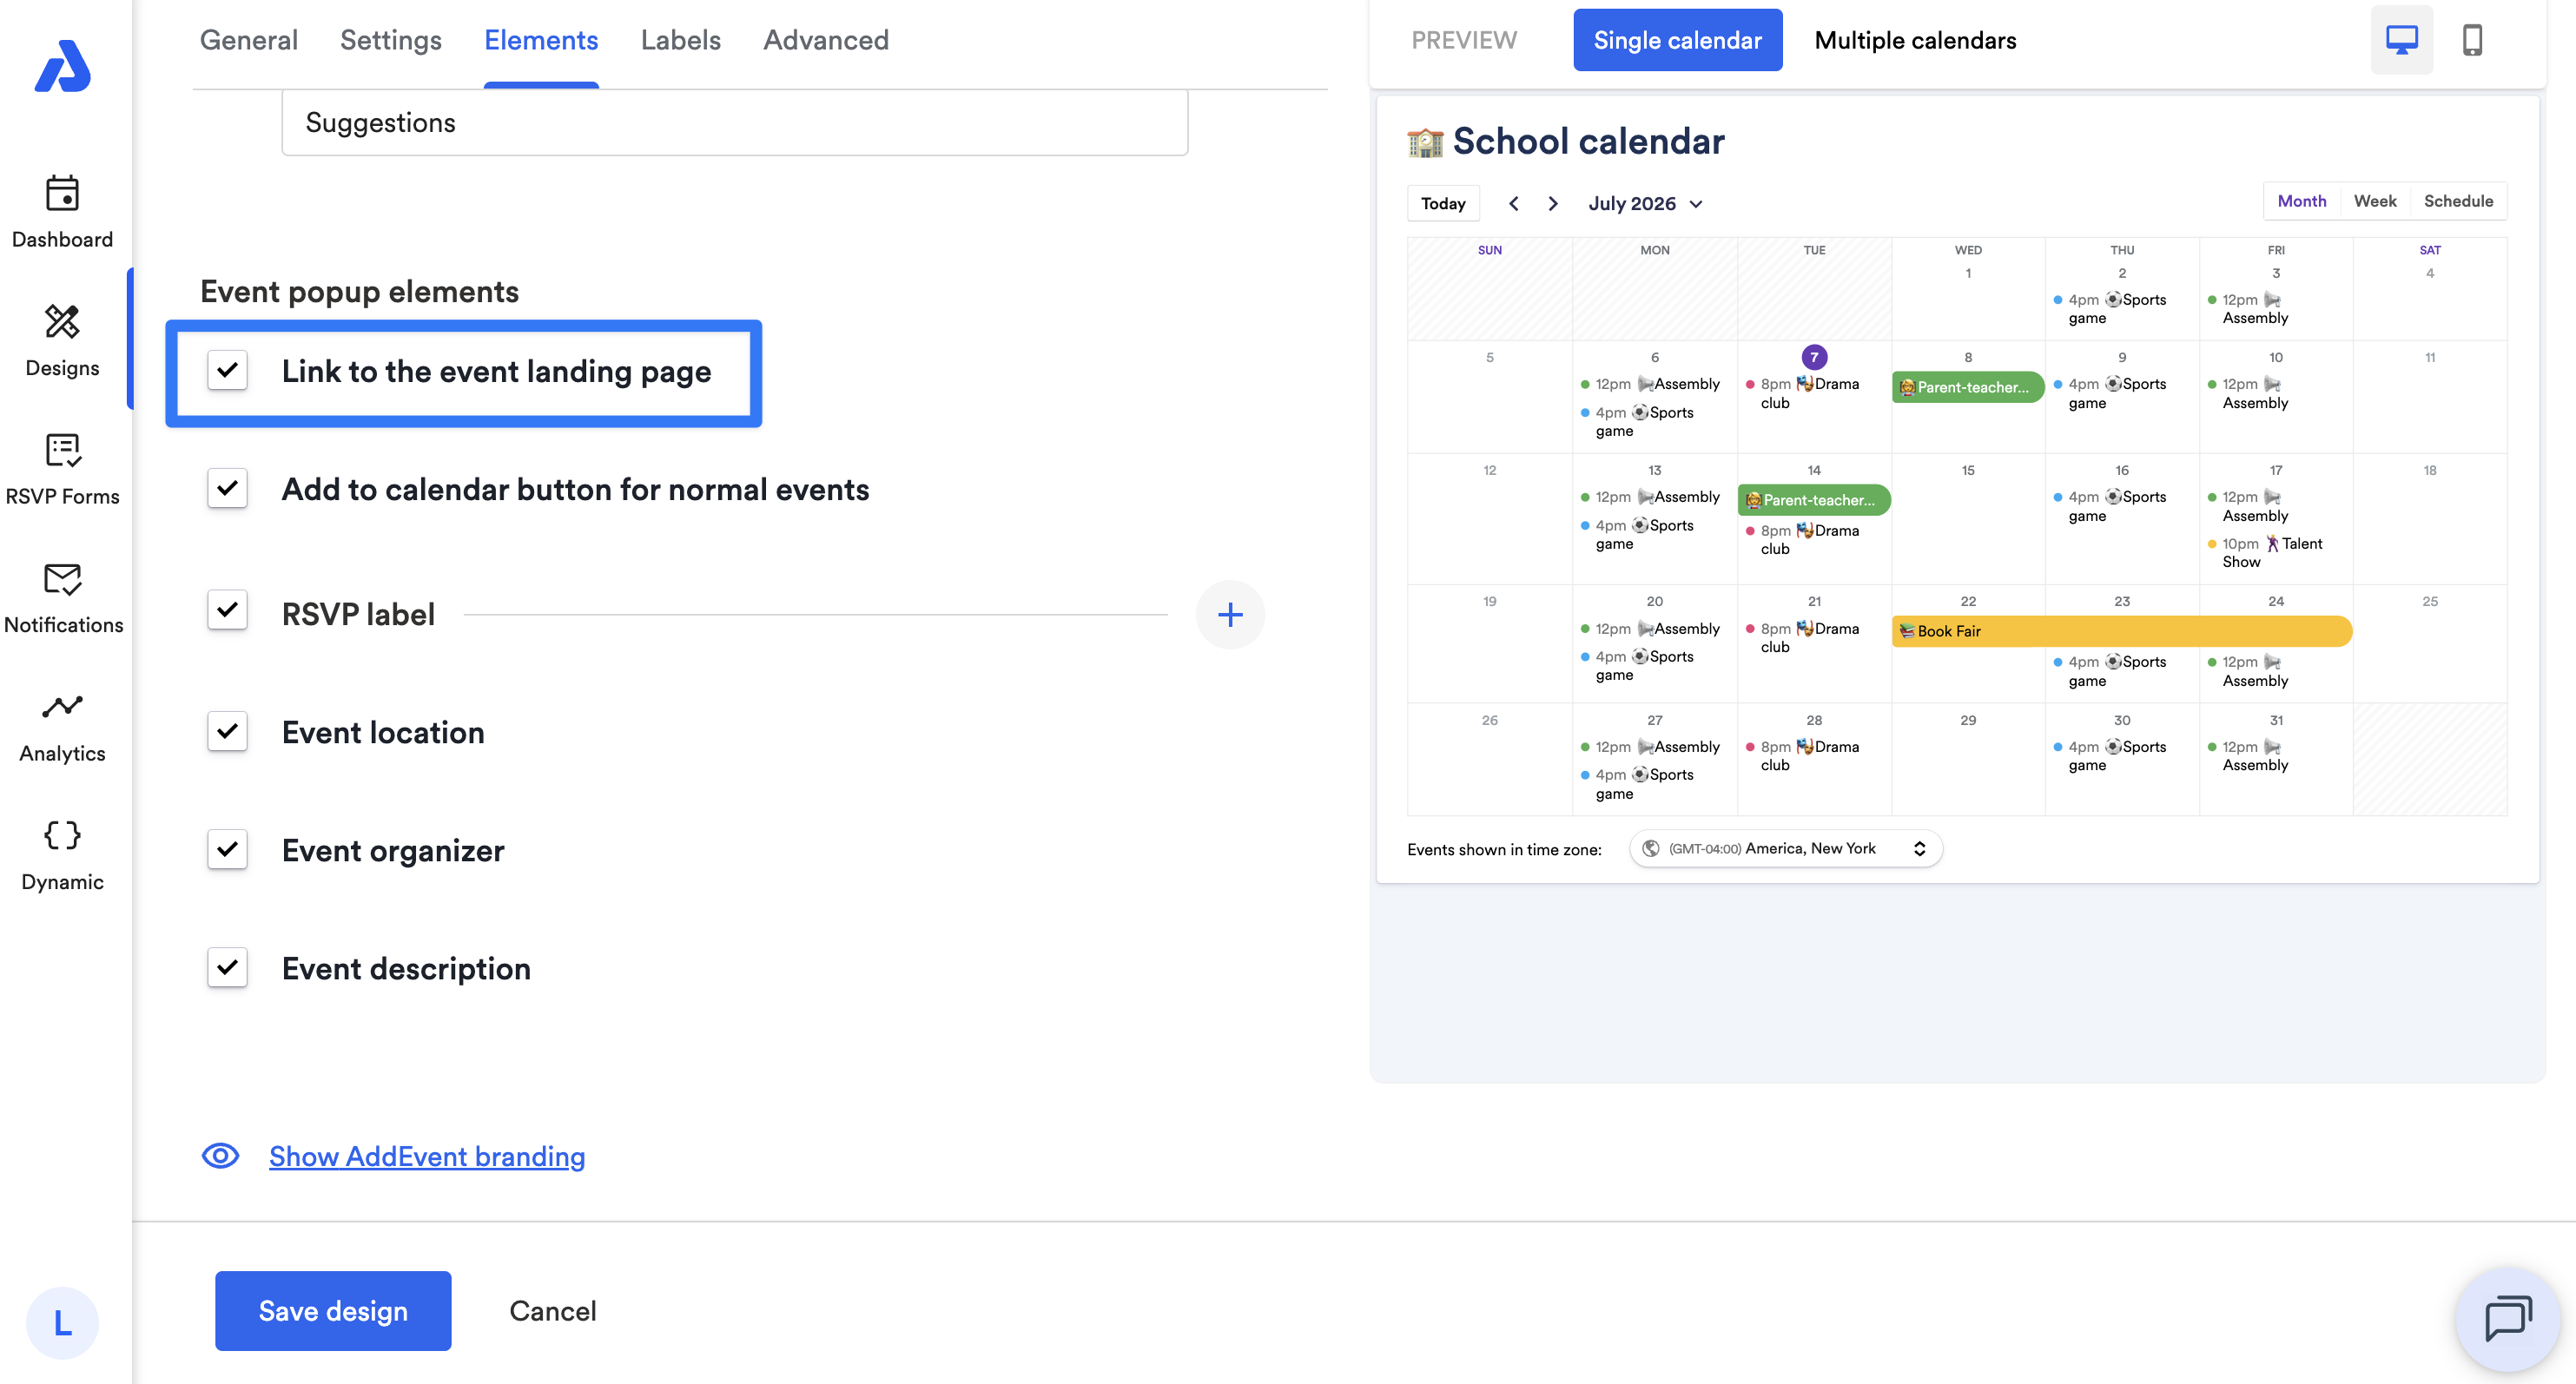
Link to Event Landing Page
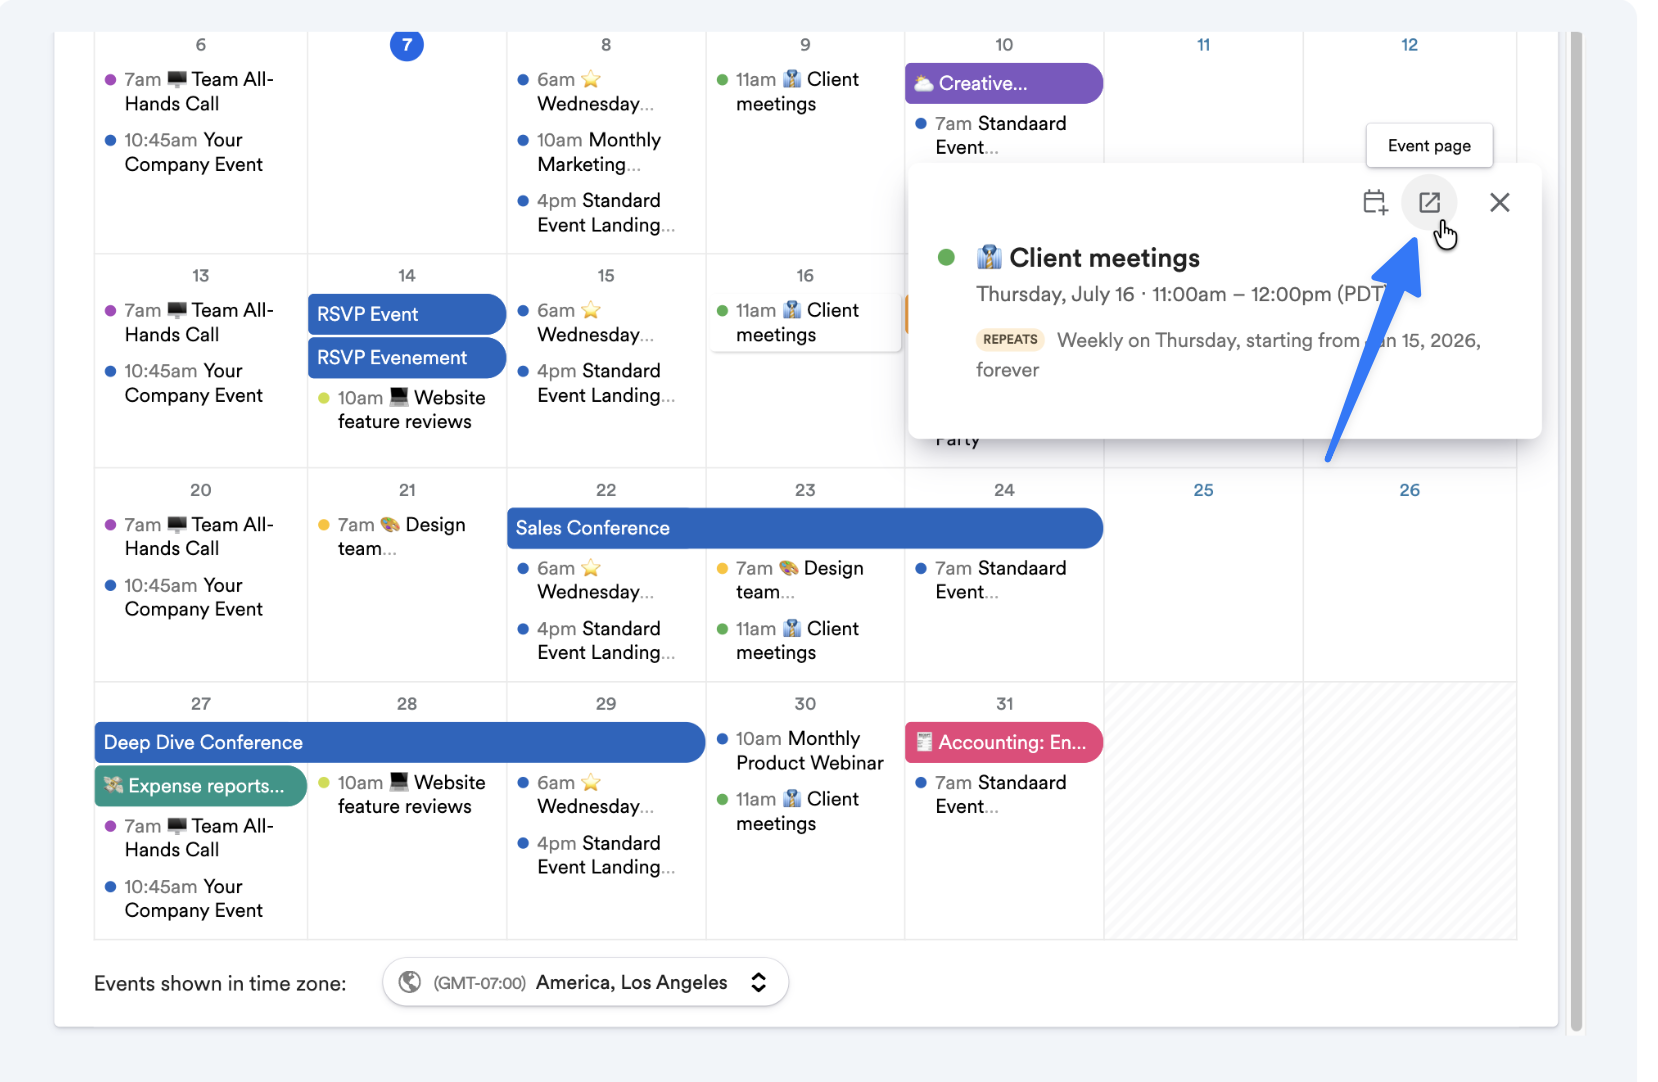
You can enable or disable the button that directs end-users to the event landing page.
Add to Calendar Button (for non-RSVP events)
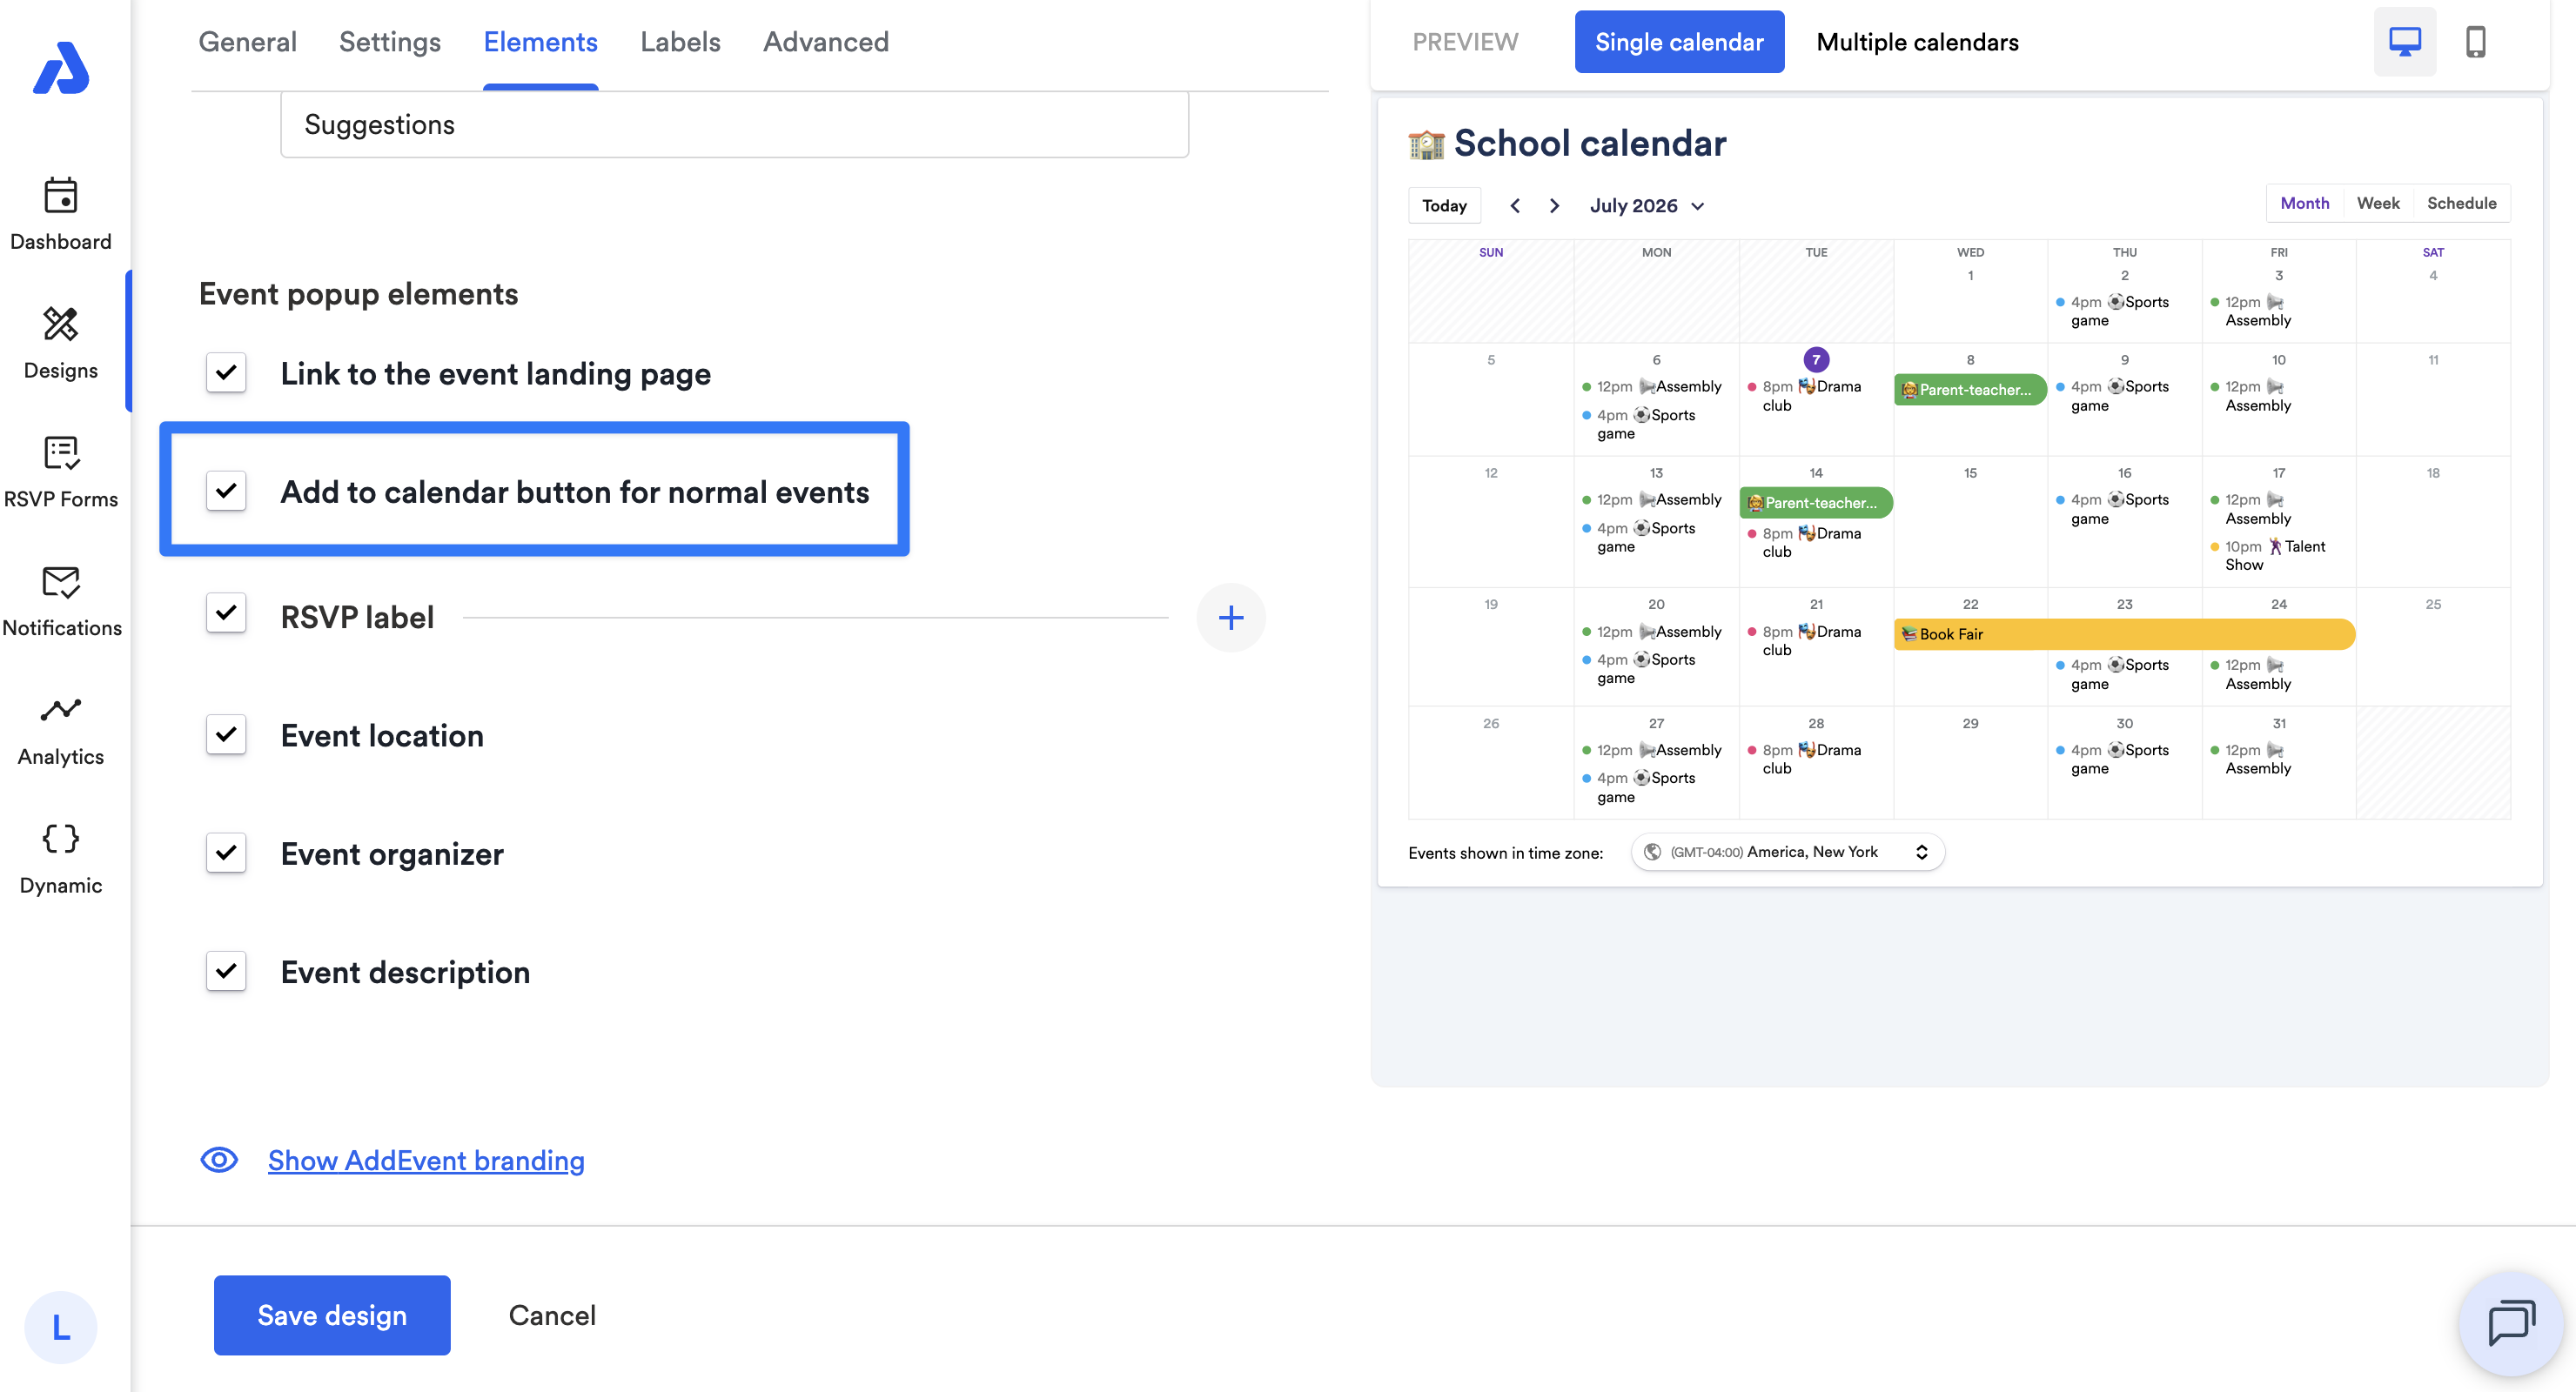
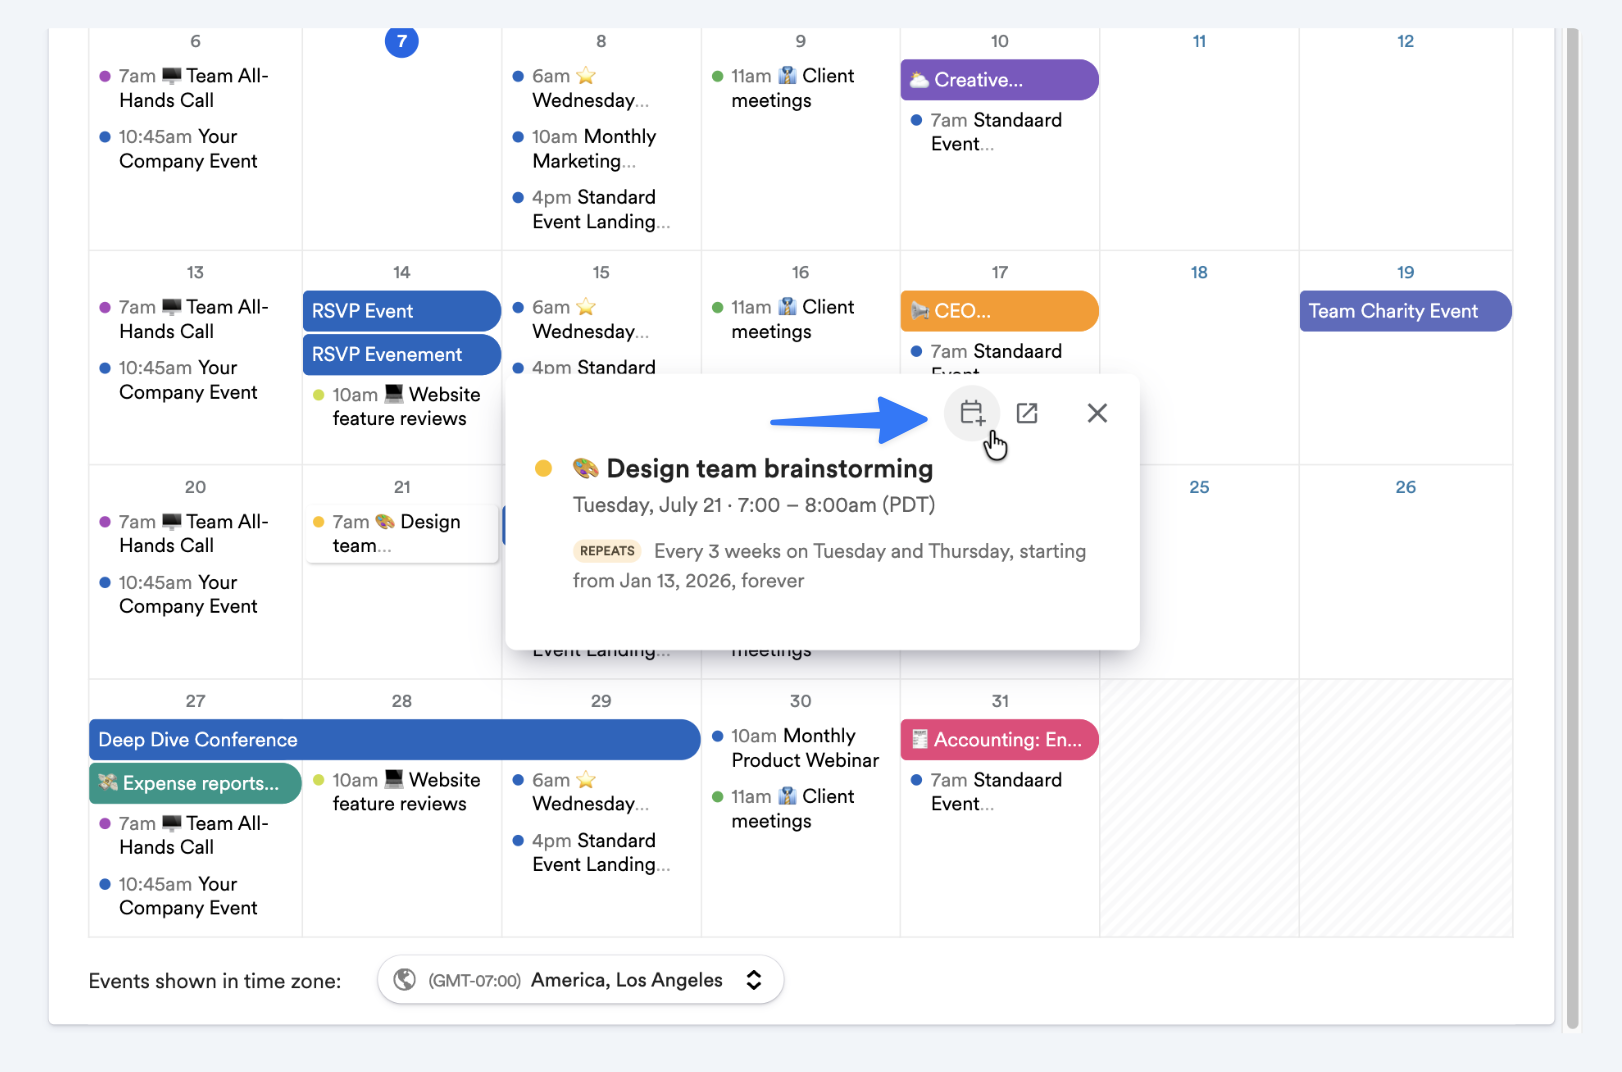
You can enable or disable the Add to Calendar button that directs end-users to select their preferred calendar service and add the event to their calendar.
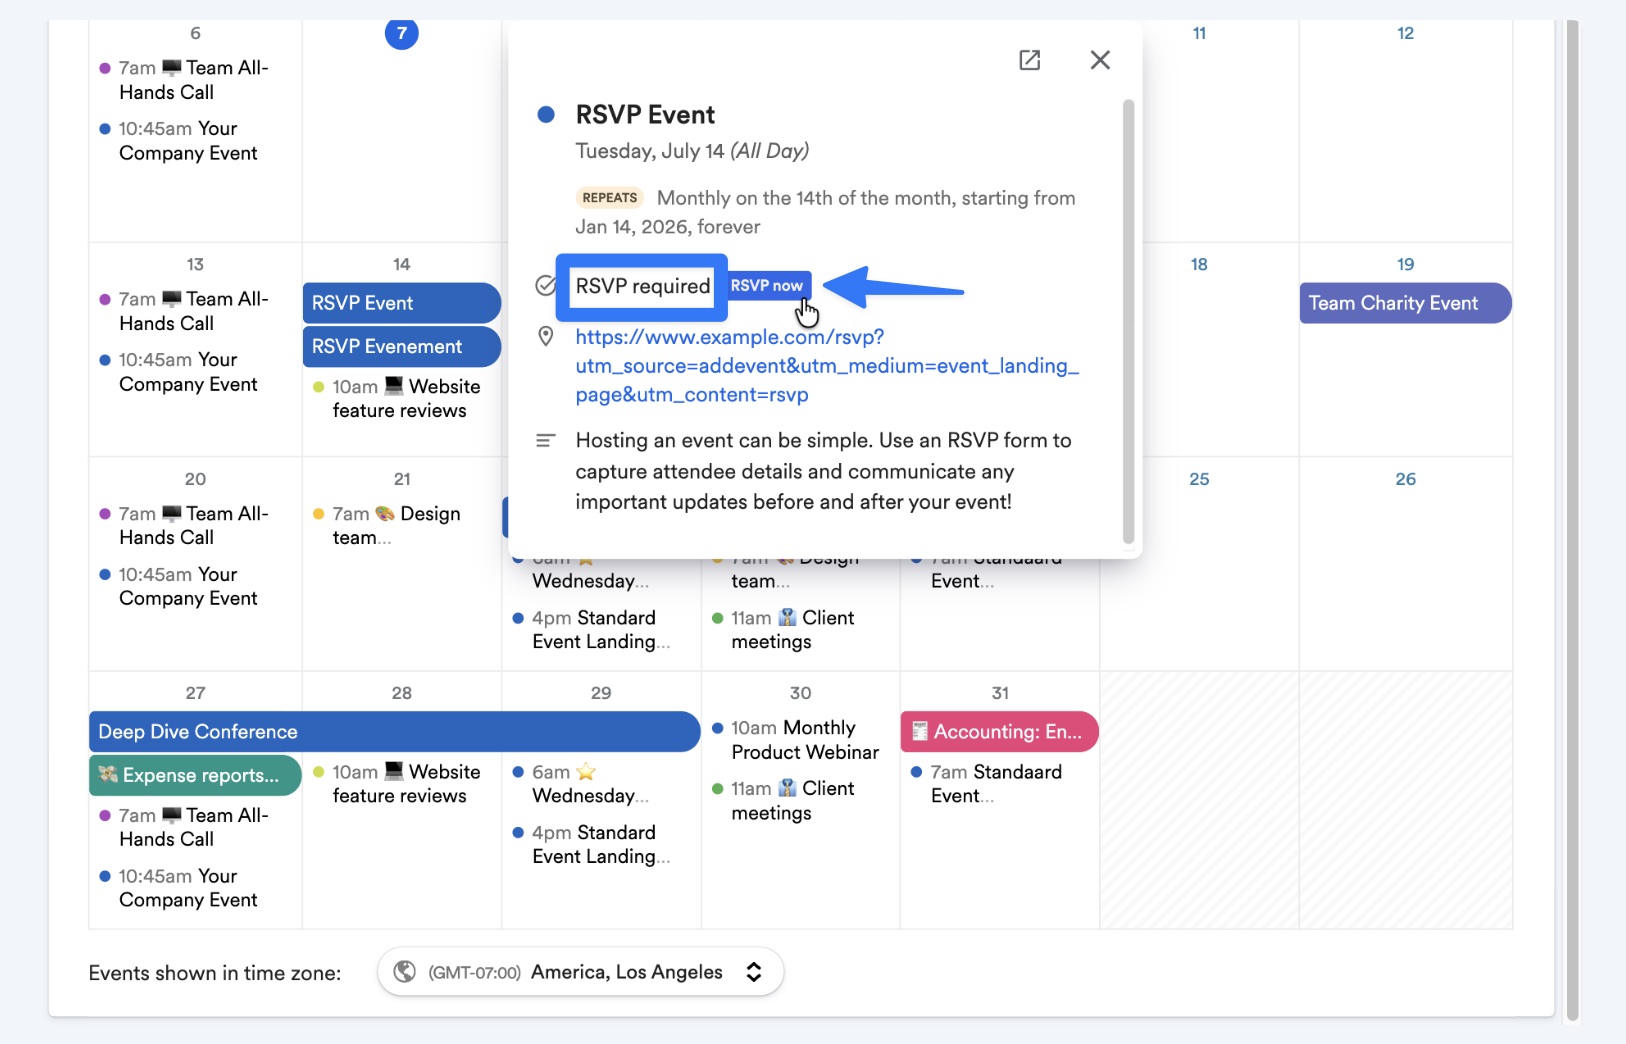
RSVP Button (for RSVP-enabled events)
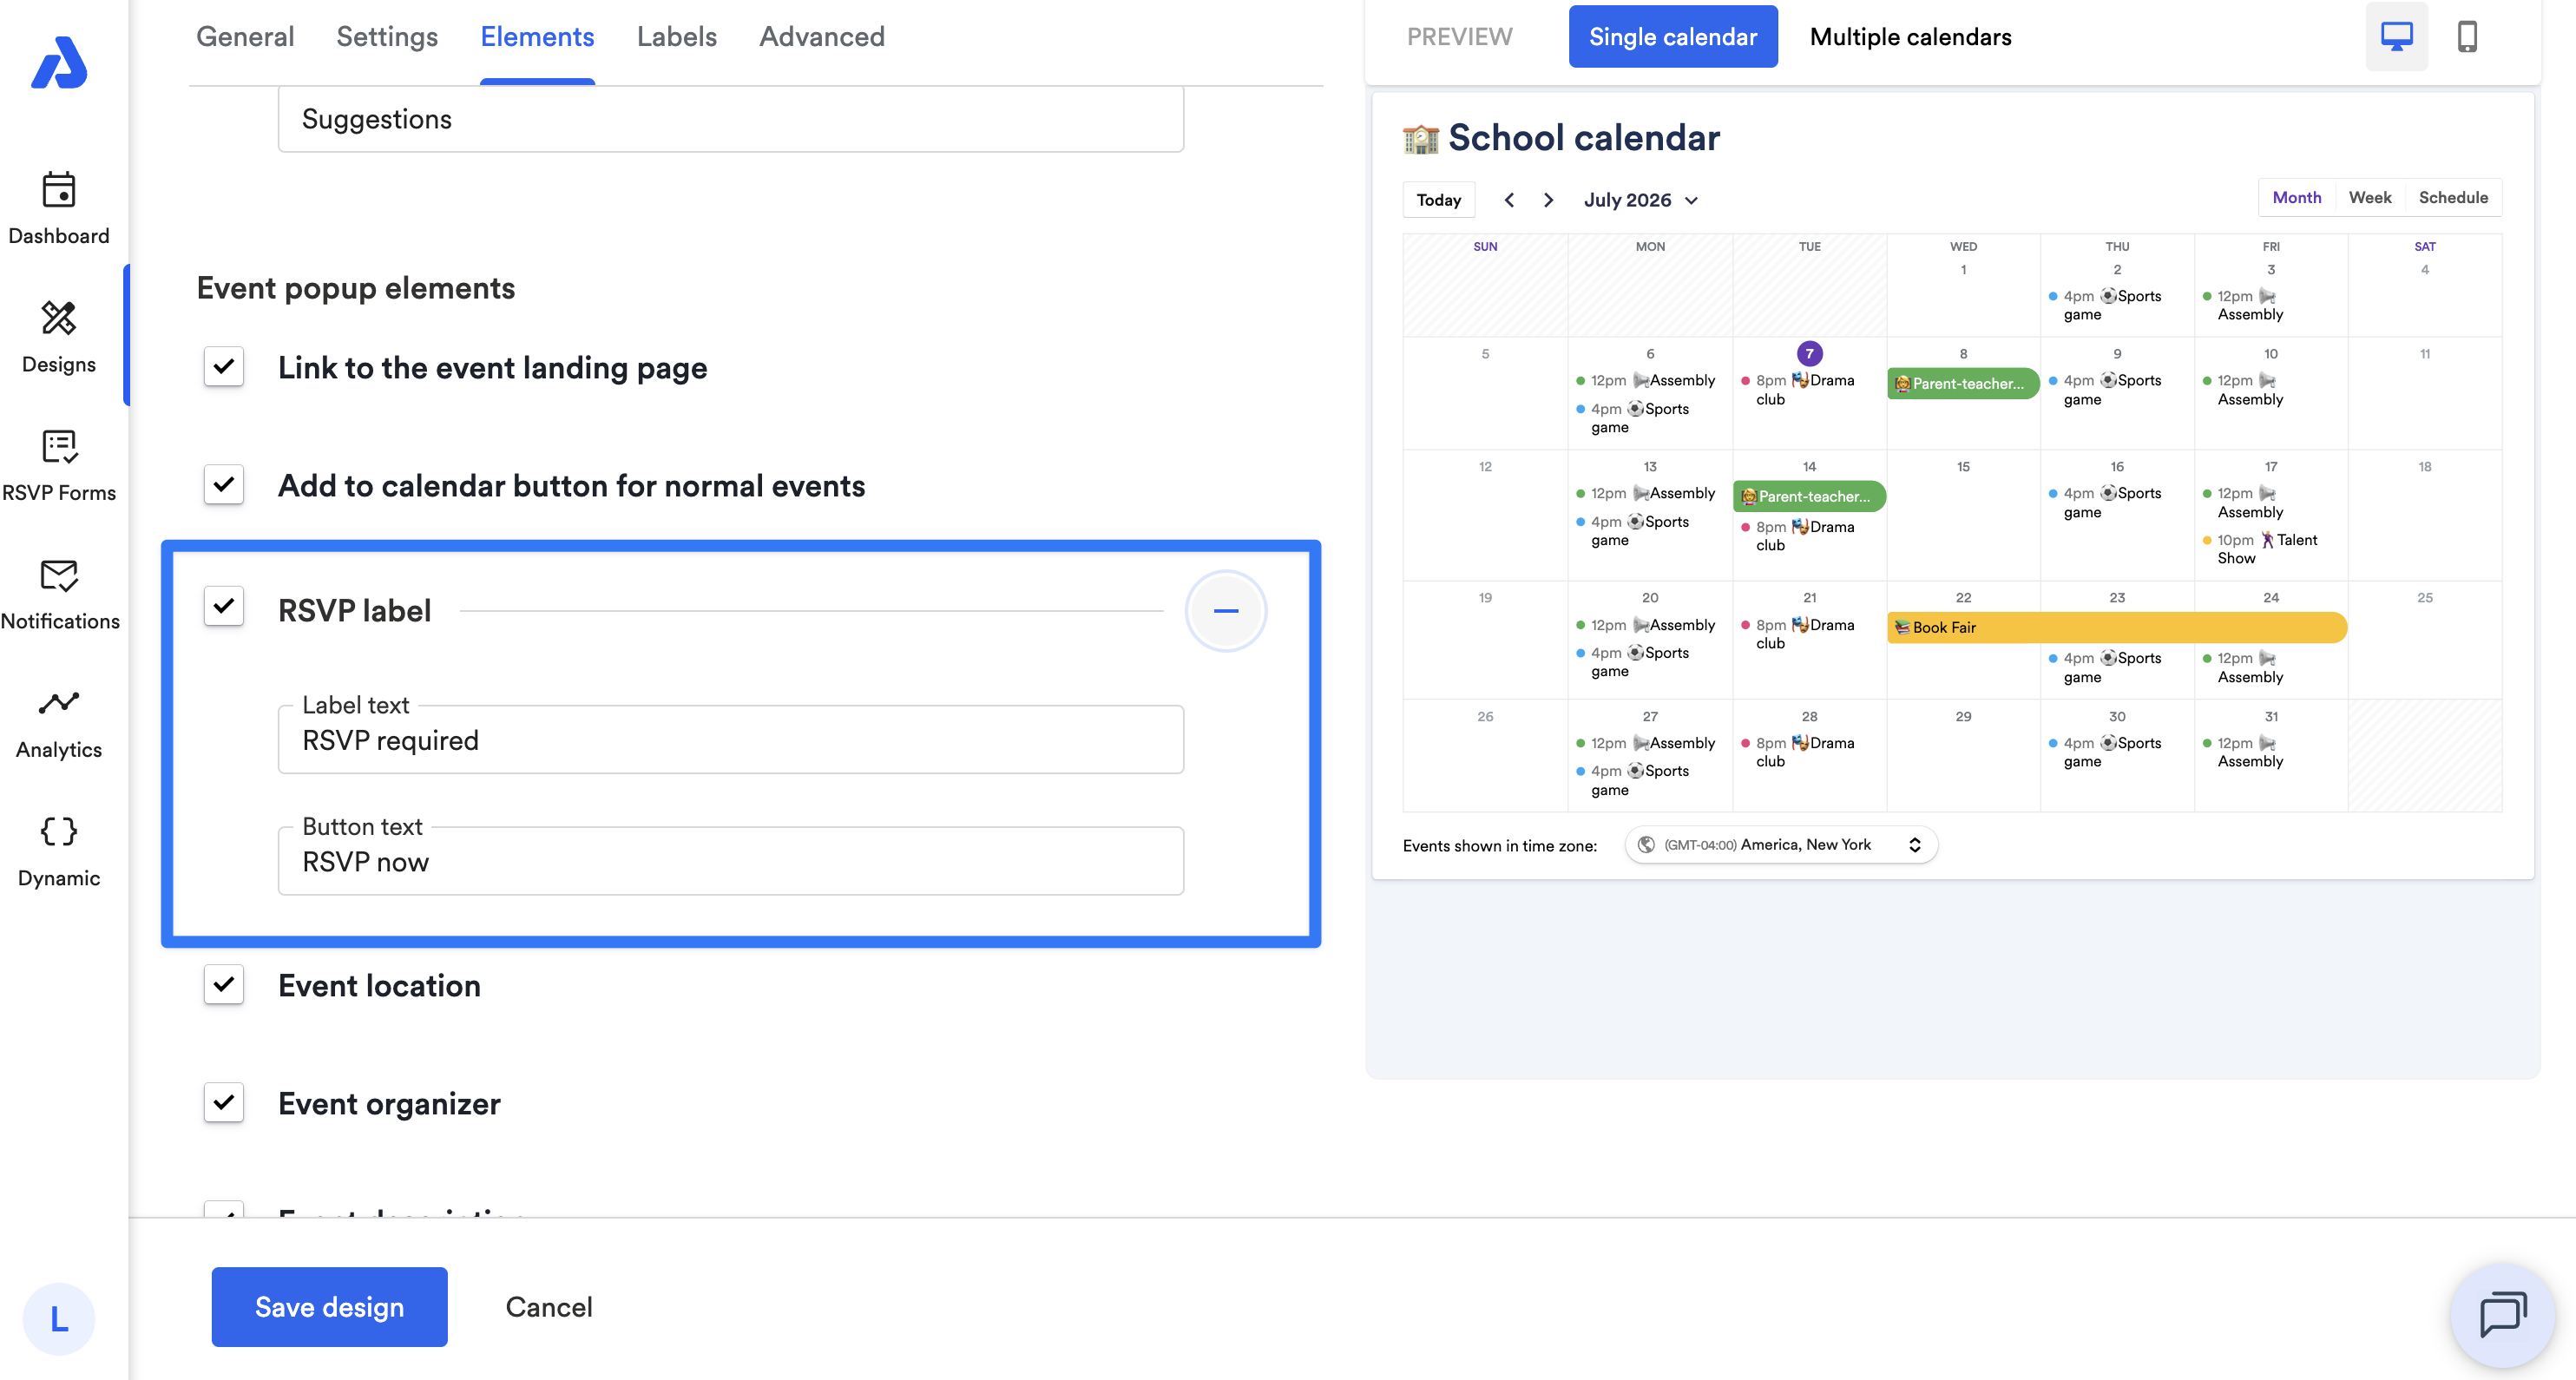
You can enable or disable the RSVP button for RSVP events that directs end-users to the RSVP event's landing page to register for the event.
By clicking the + icon located to the right of the option, you can:
- Customize the "RSVP required" label located to the left of the button.
- Customize the RSVP button's text and "RSVP required" label located to the left of the button.
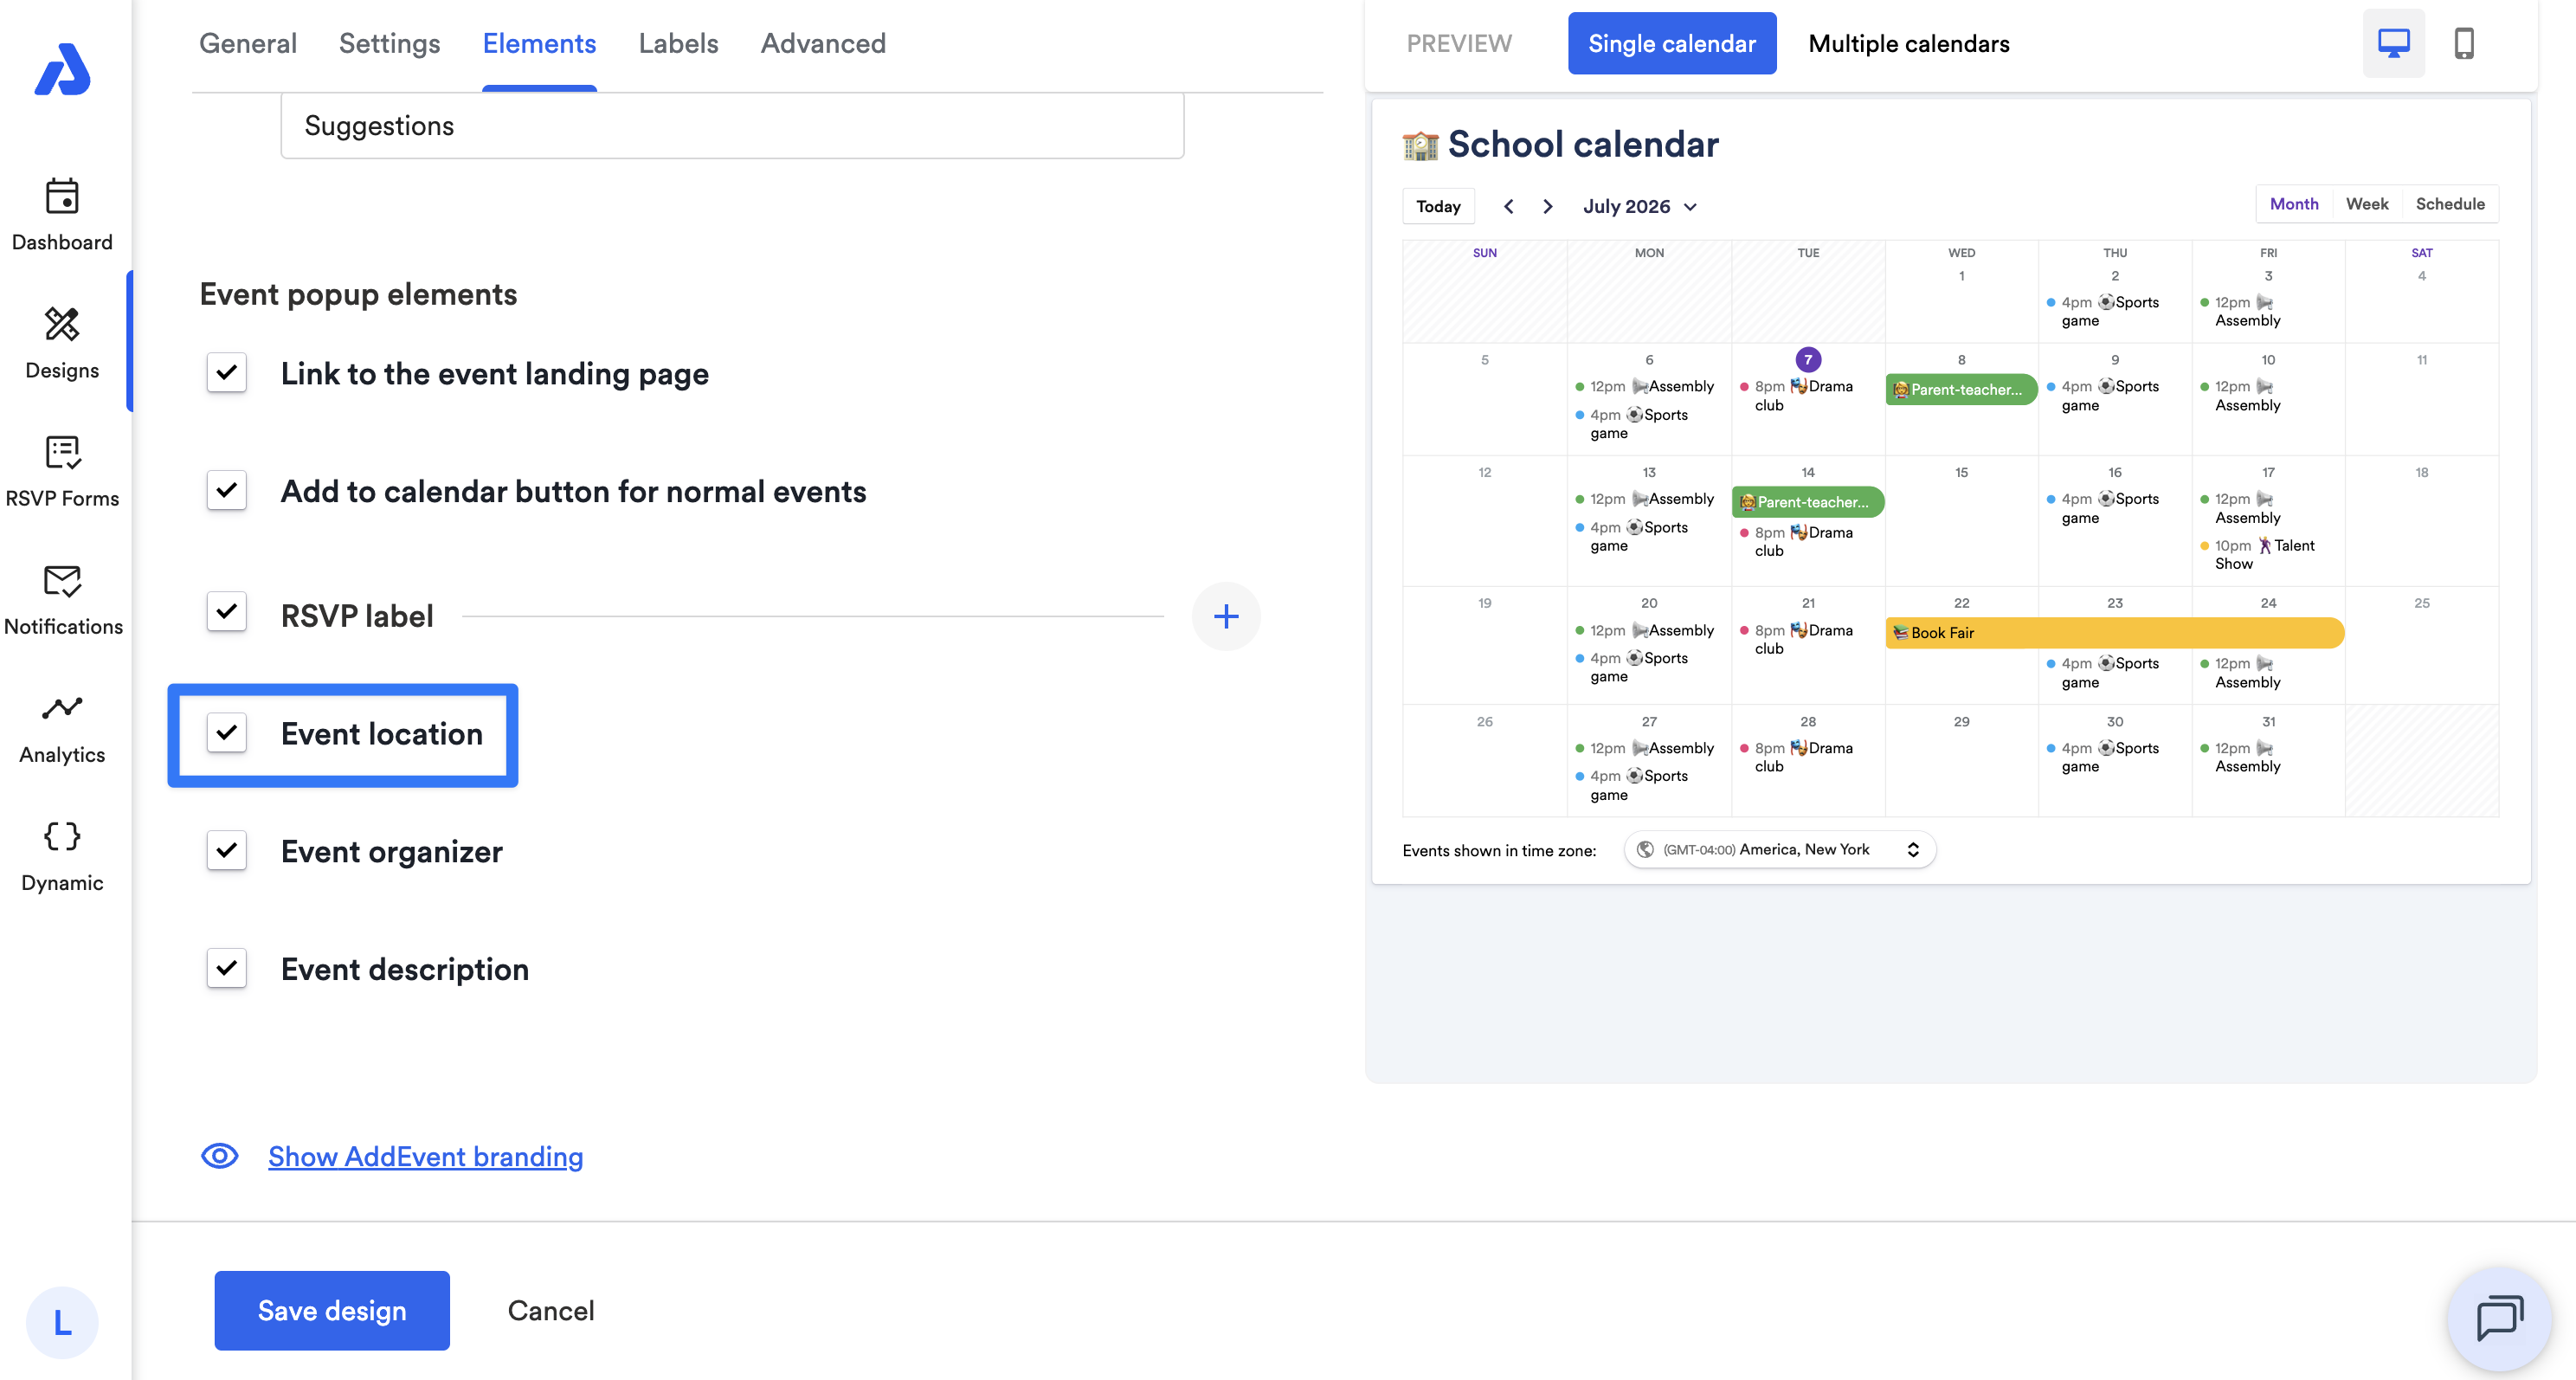
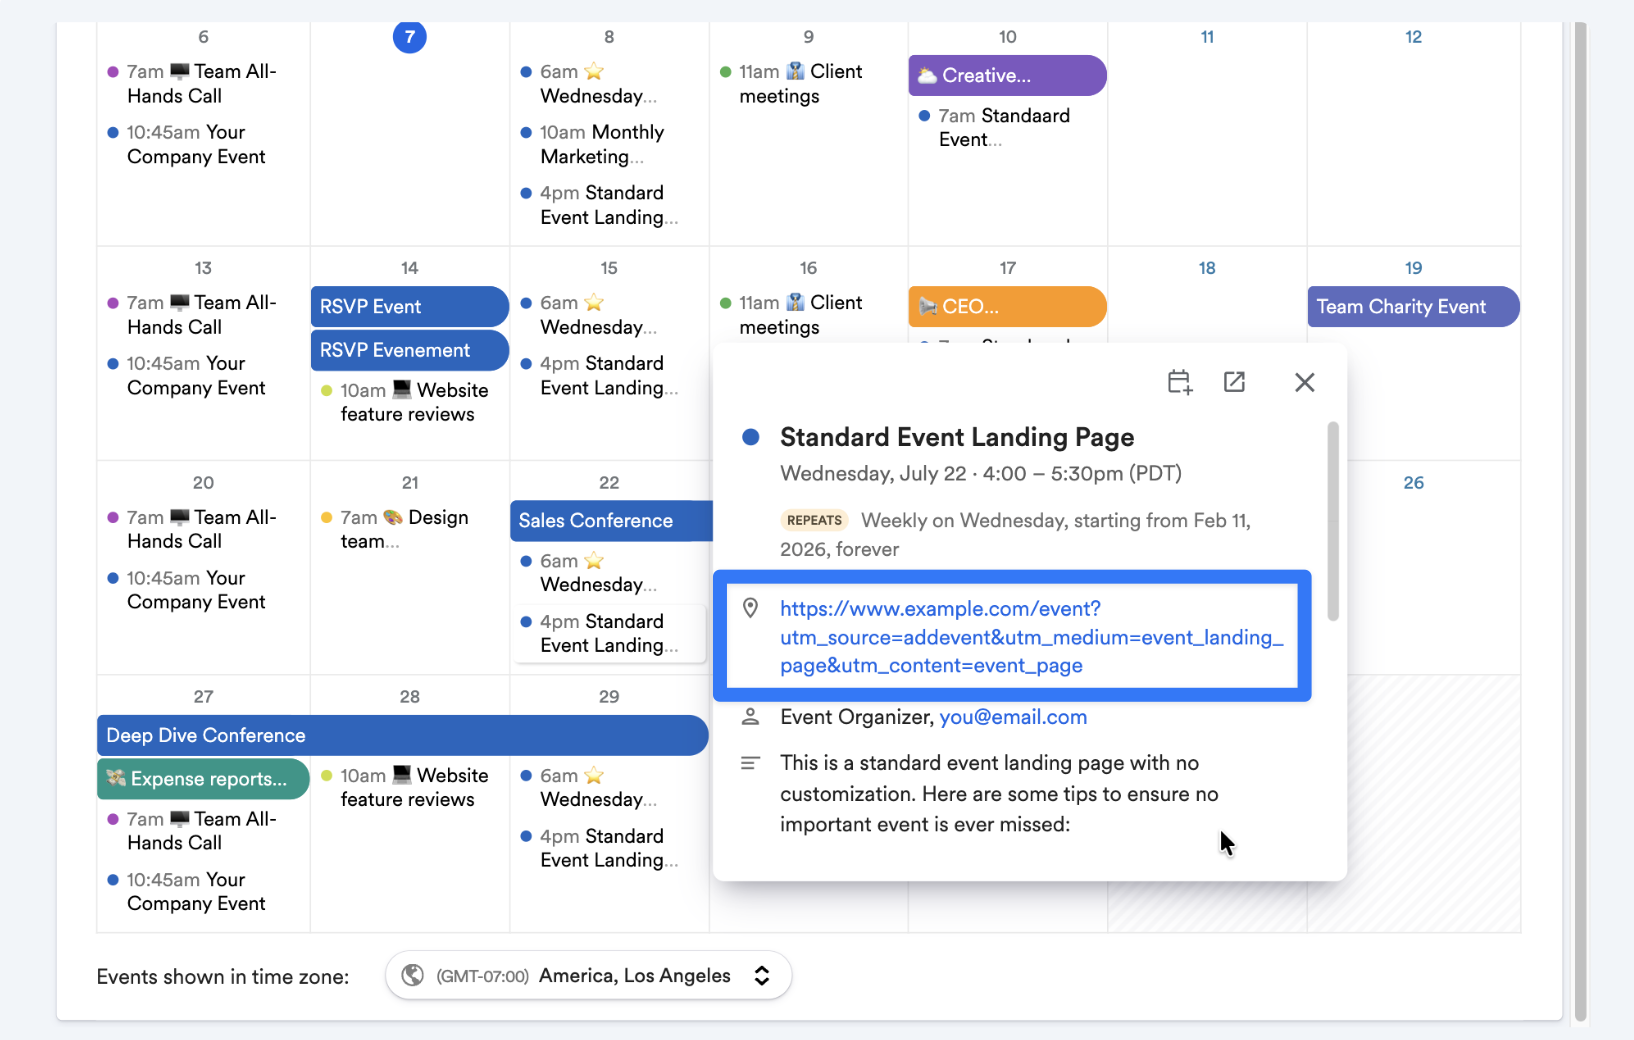
Event Location
You can enable or disable the event location details.
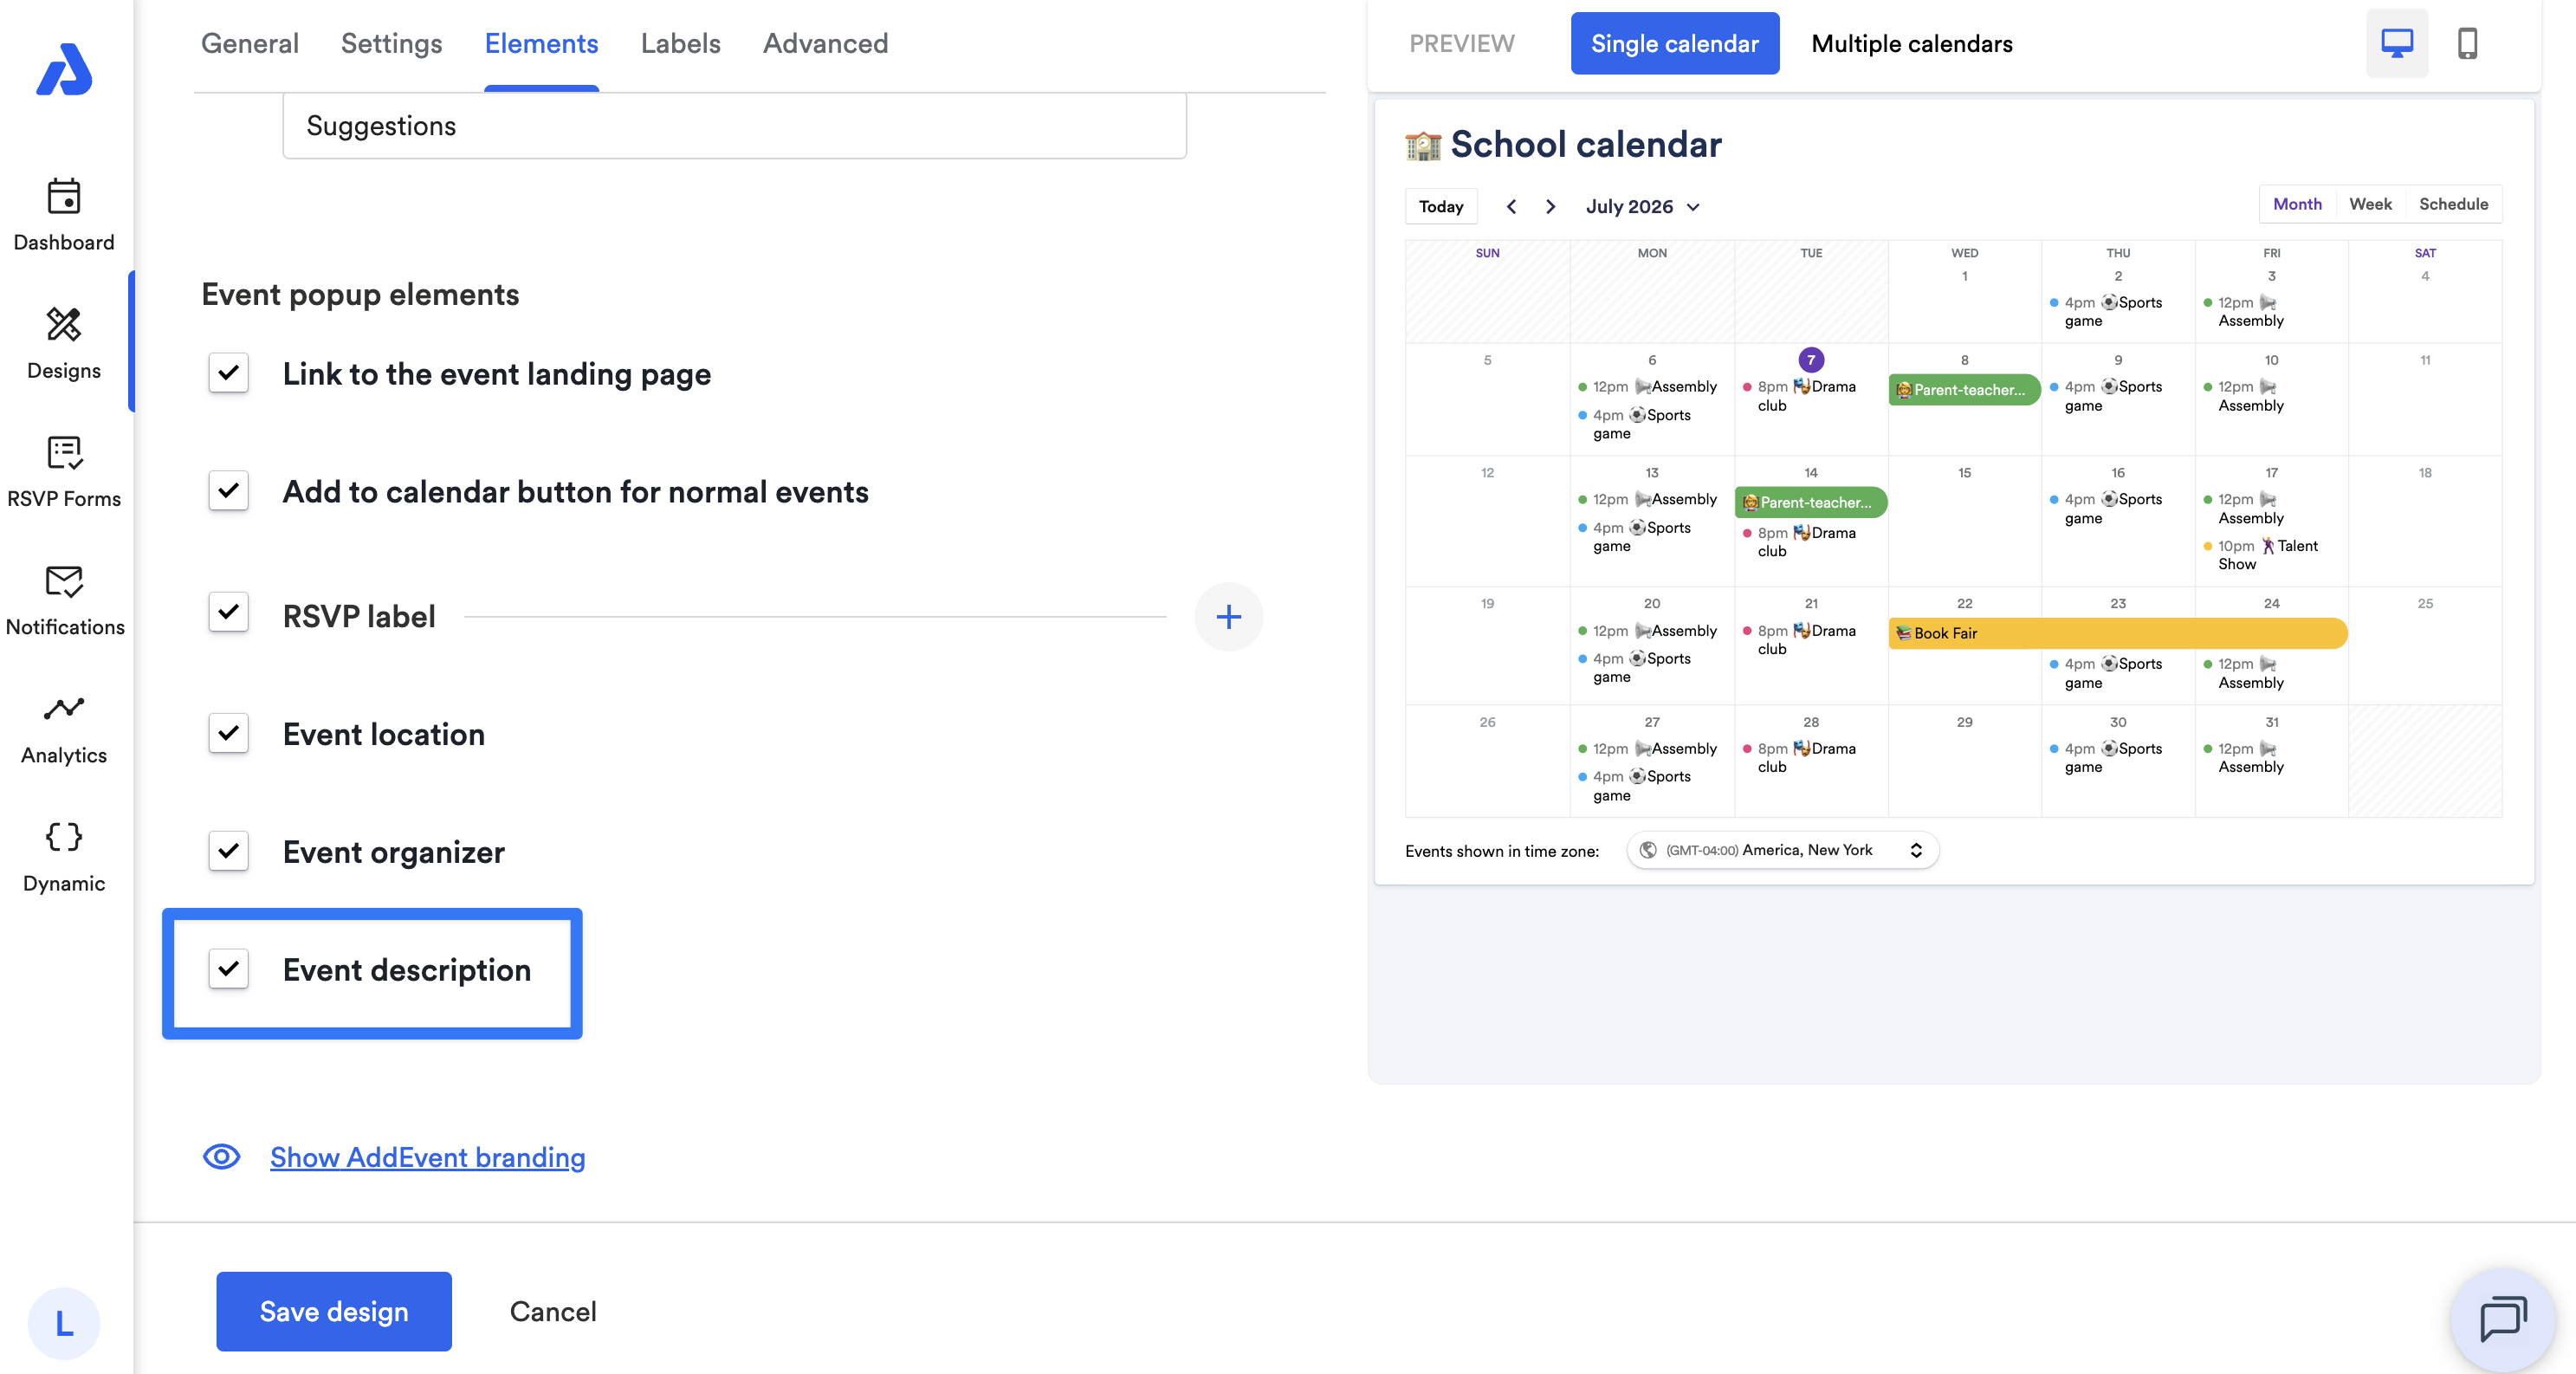
Event Description
You can enable or disable a preview of the event description.
Updated 3 months ago