How to Edit the RSVP Confirmation Message
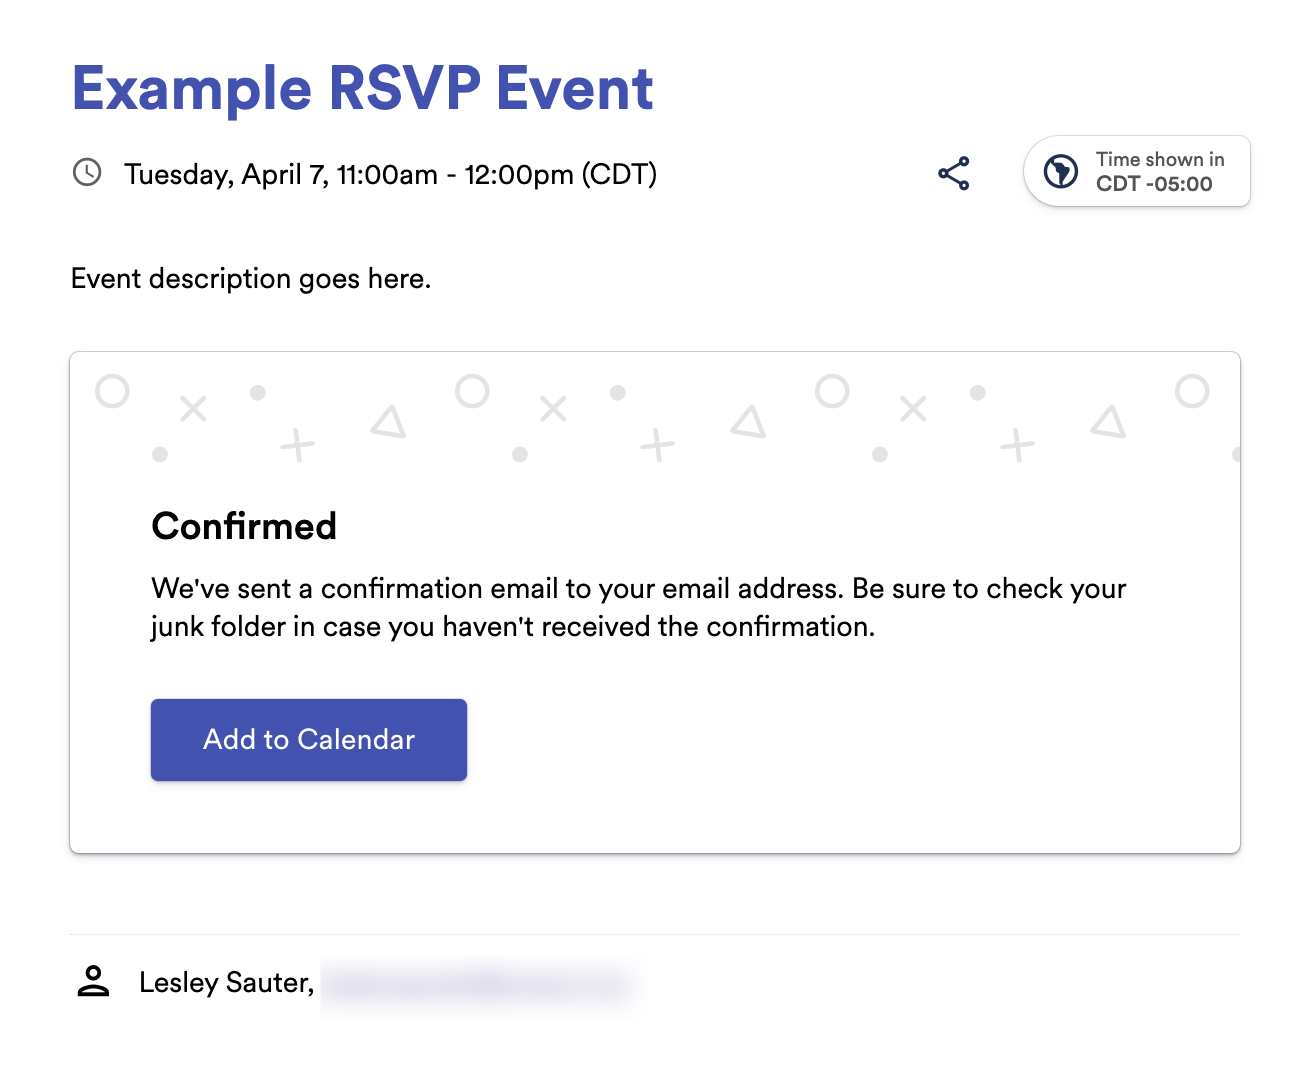
This help doc explains how to edit the confirmation message that displays after an attendee registers for an RSVP event.
You can customize the confirmation title and message that displays after your RSVP attendees submit your RSVP form for each response option available. To do this, all you need to do is create a design template to apply to your RSVP event, or edit your existing design.
How to Edit the RSVP Confirmation Text with an Event Landing Page Design Template
-
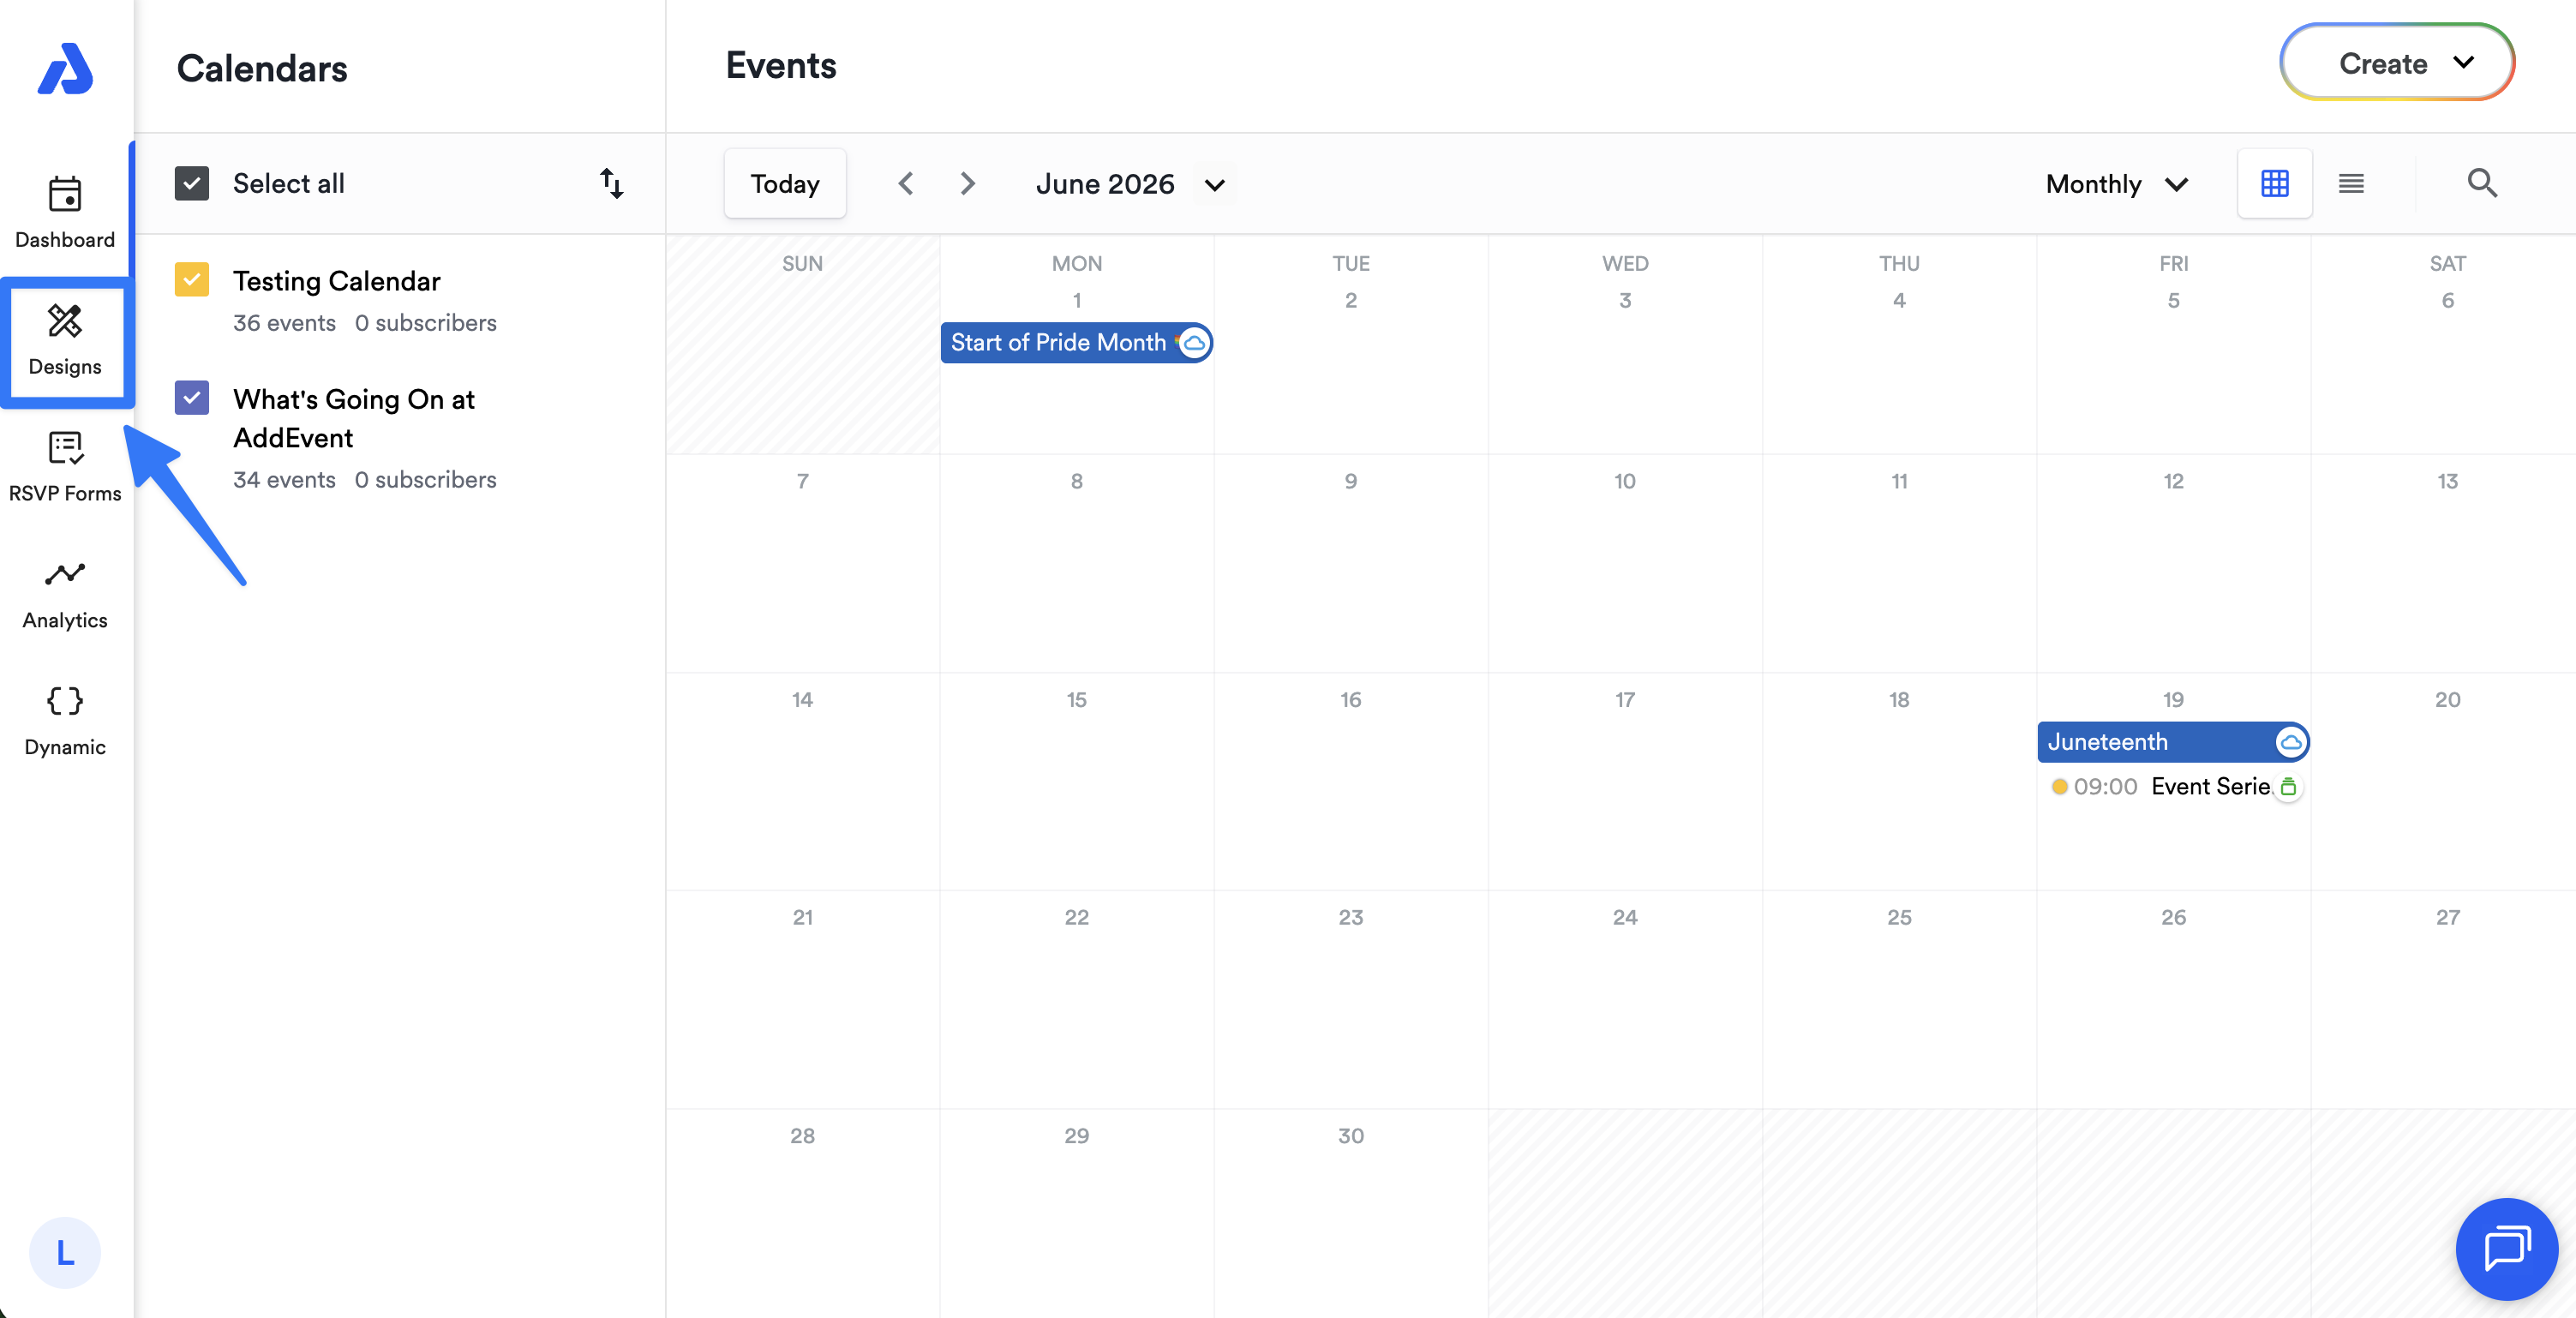
Click the Designs option on the left-side navigation menu.
-
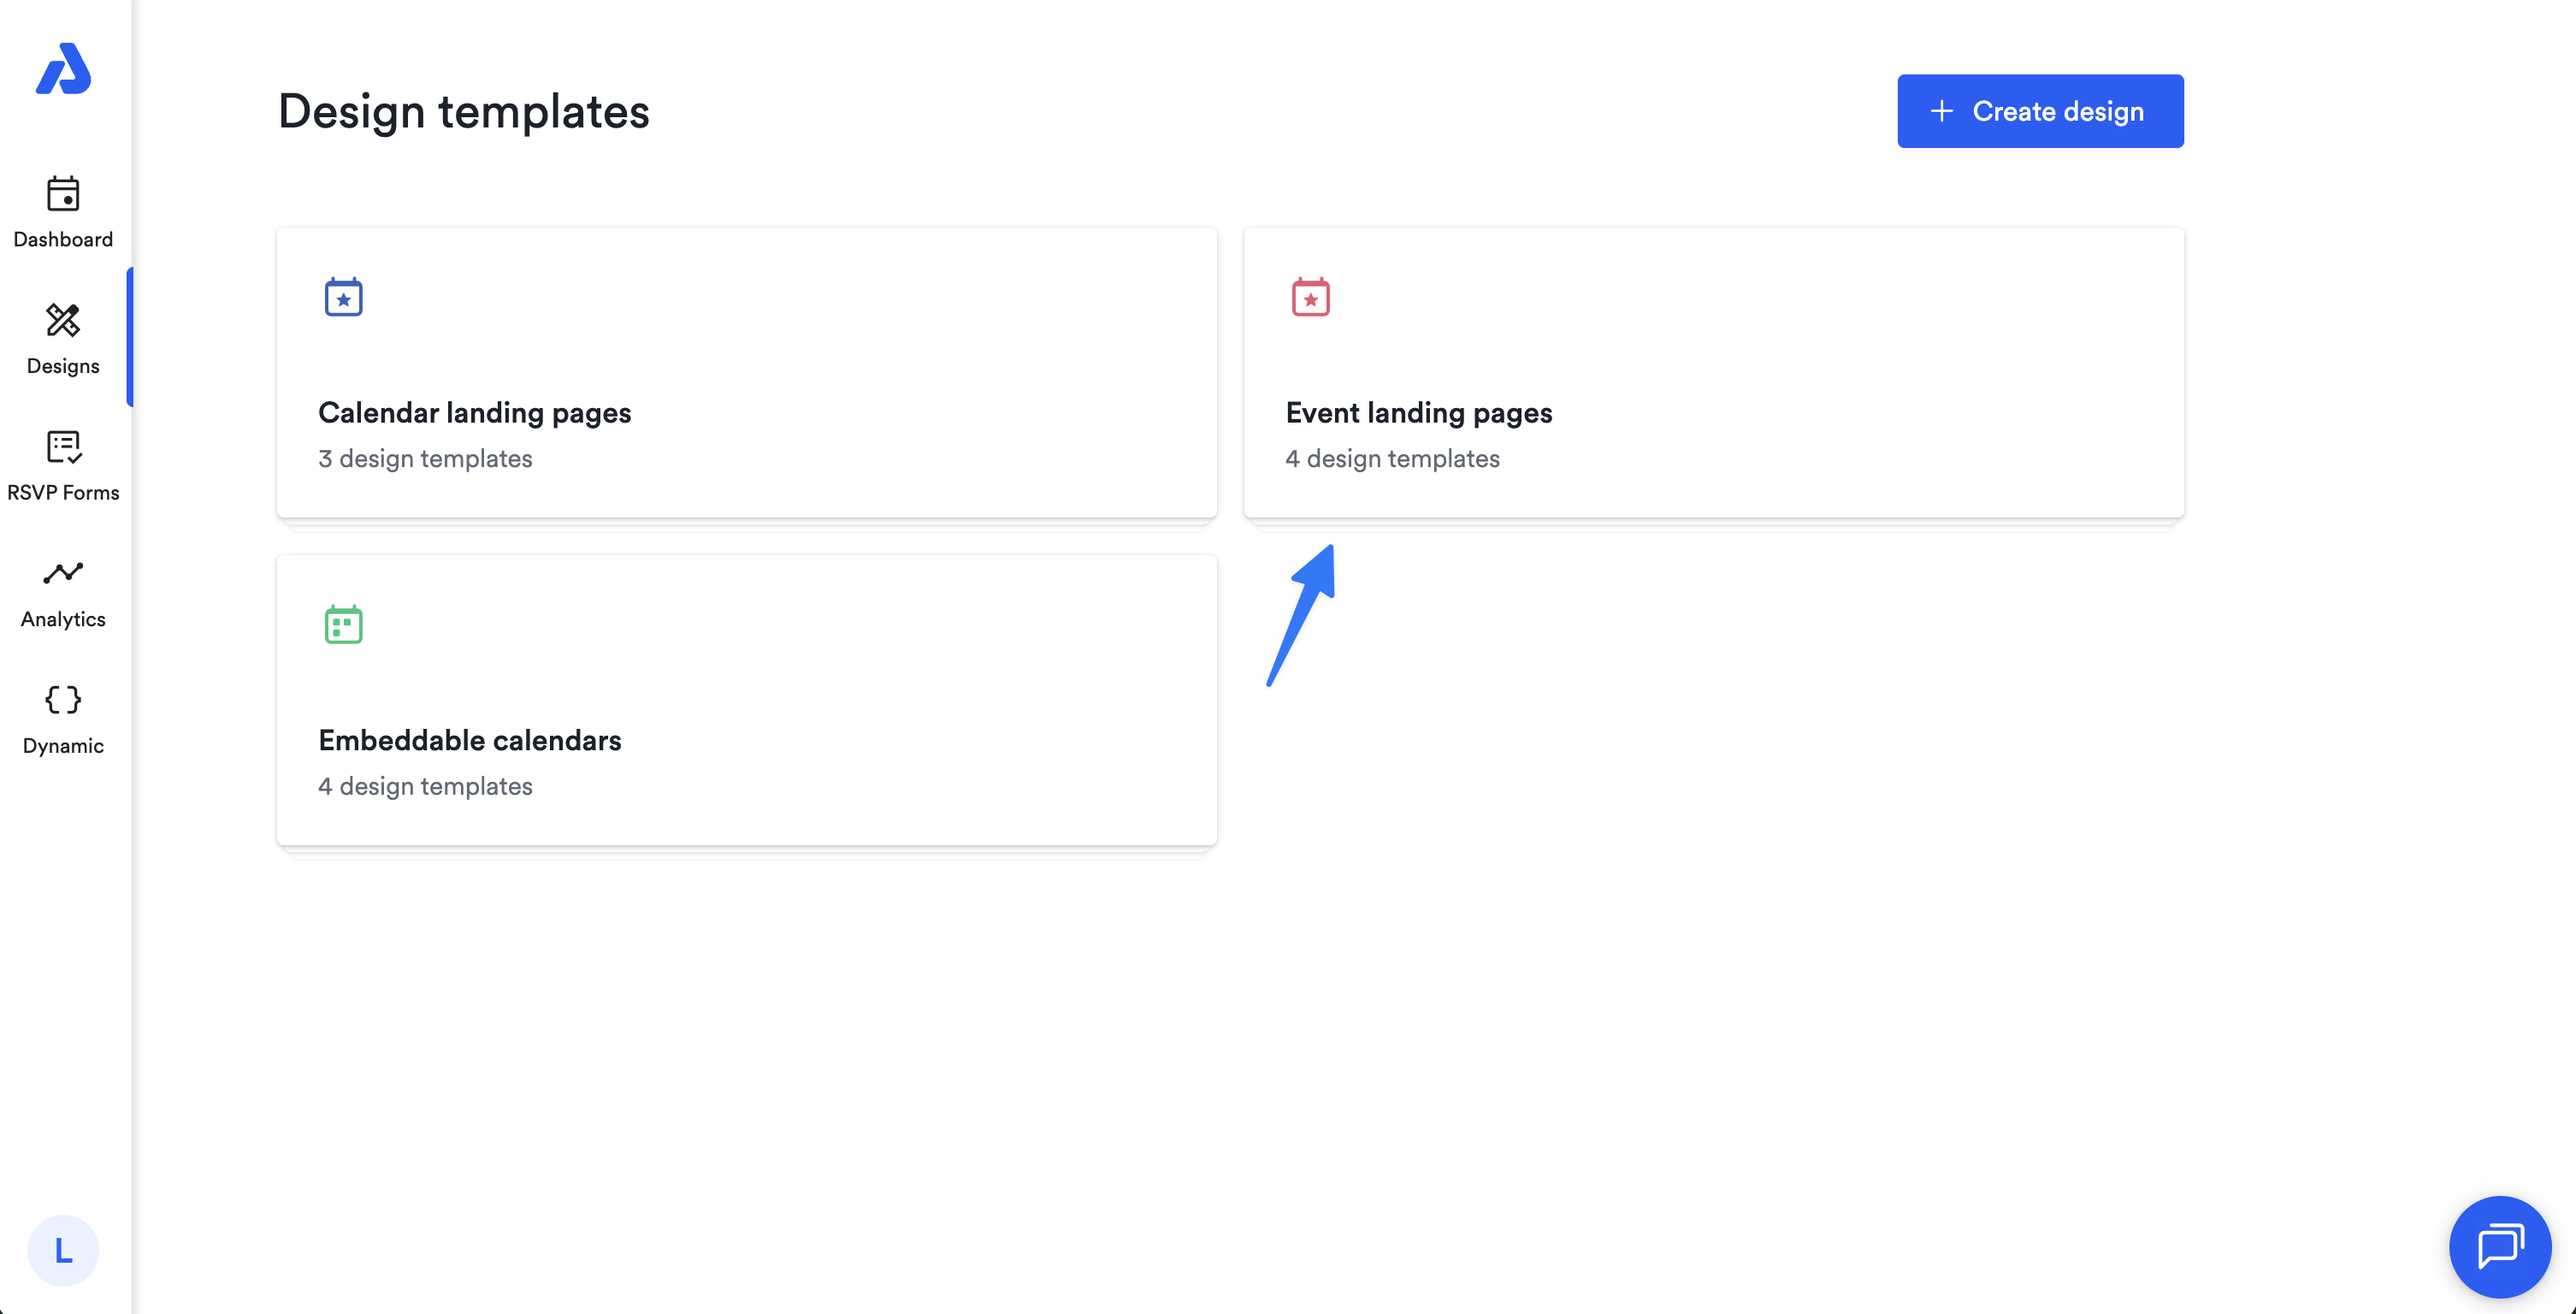
Select the Event landing pages option.
-
Click on an existing design template to edit or click the + Create design button to create a new design template.
- If creating a new design, input a title for your design at the top of the page.
-
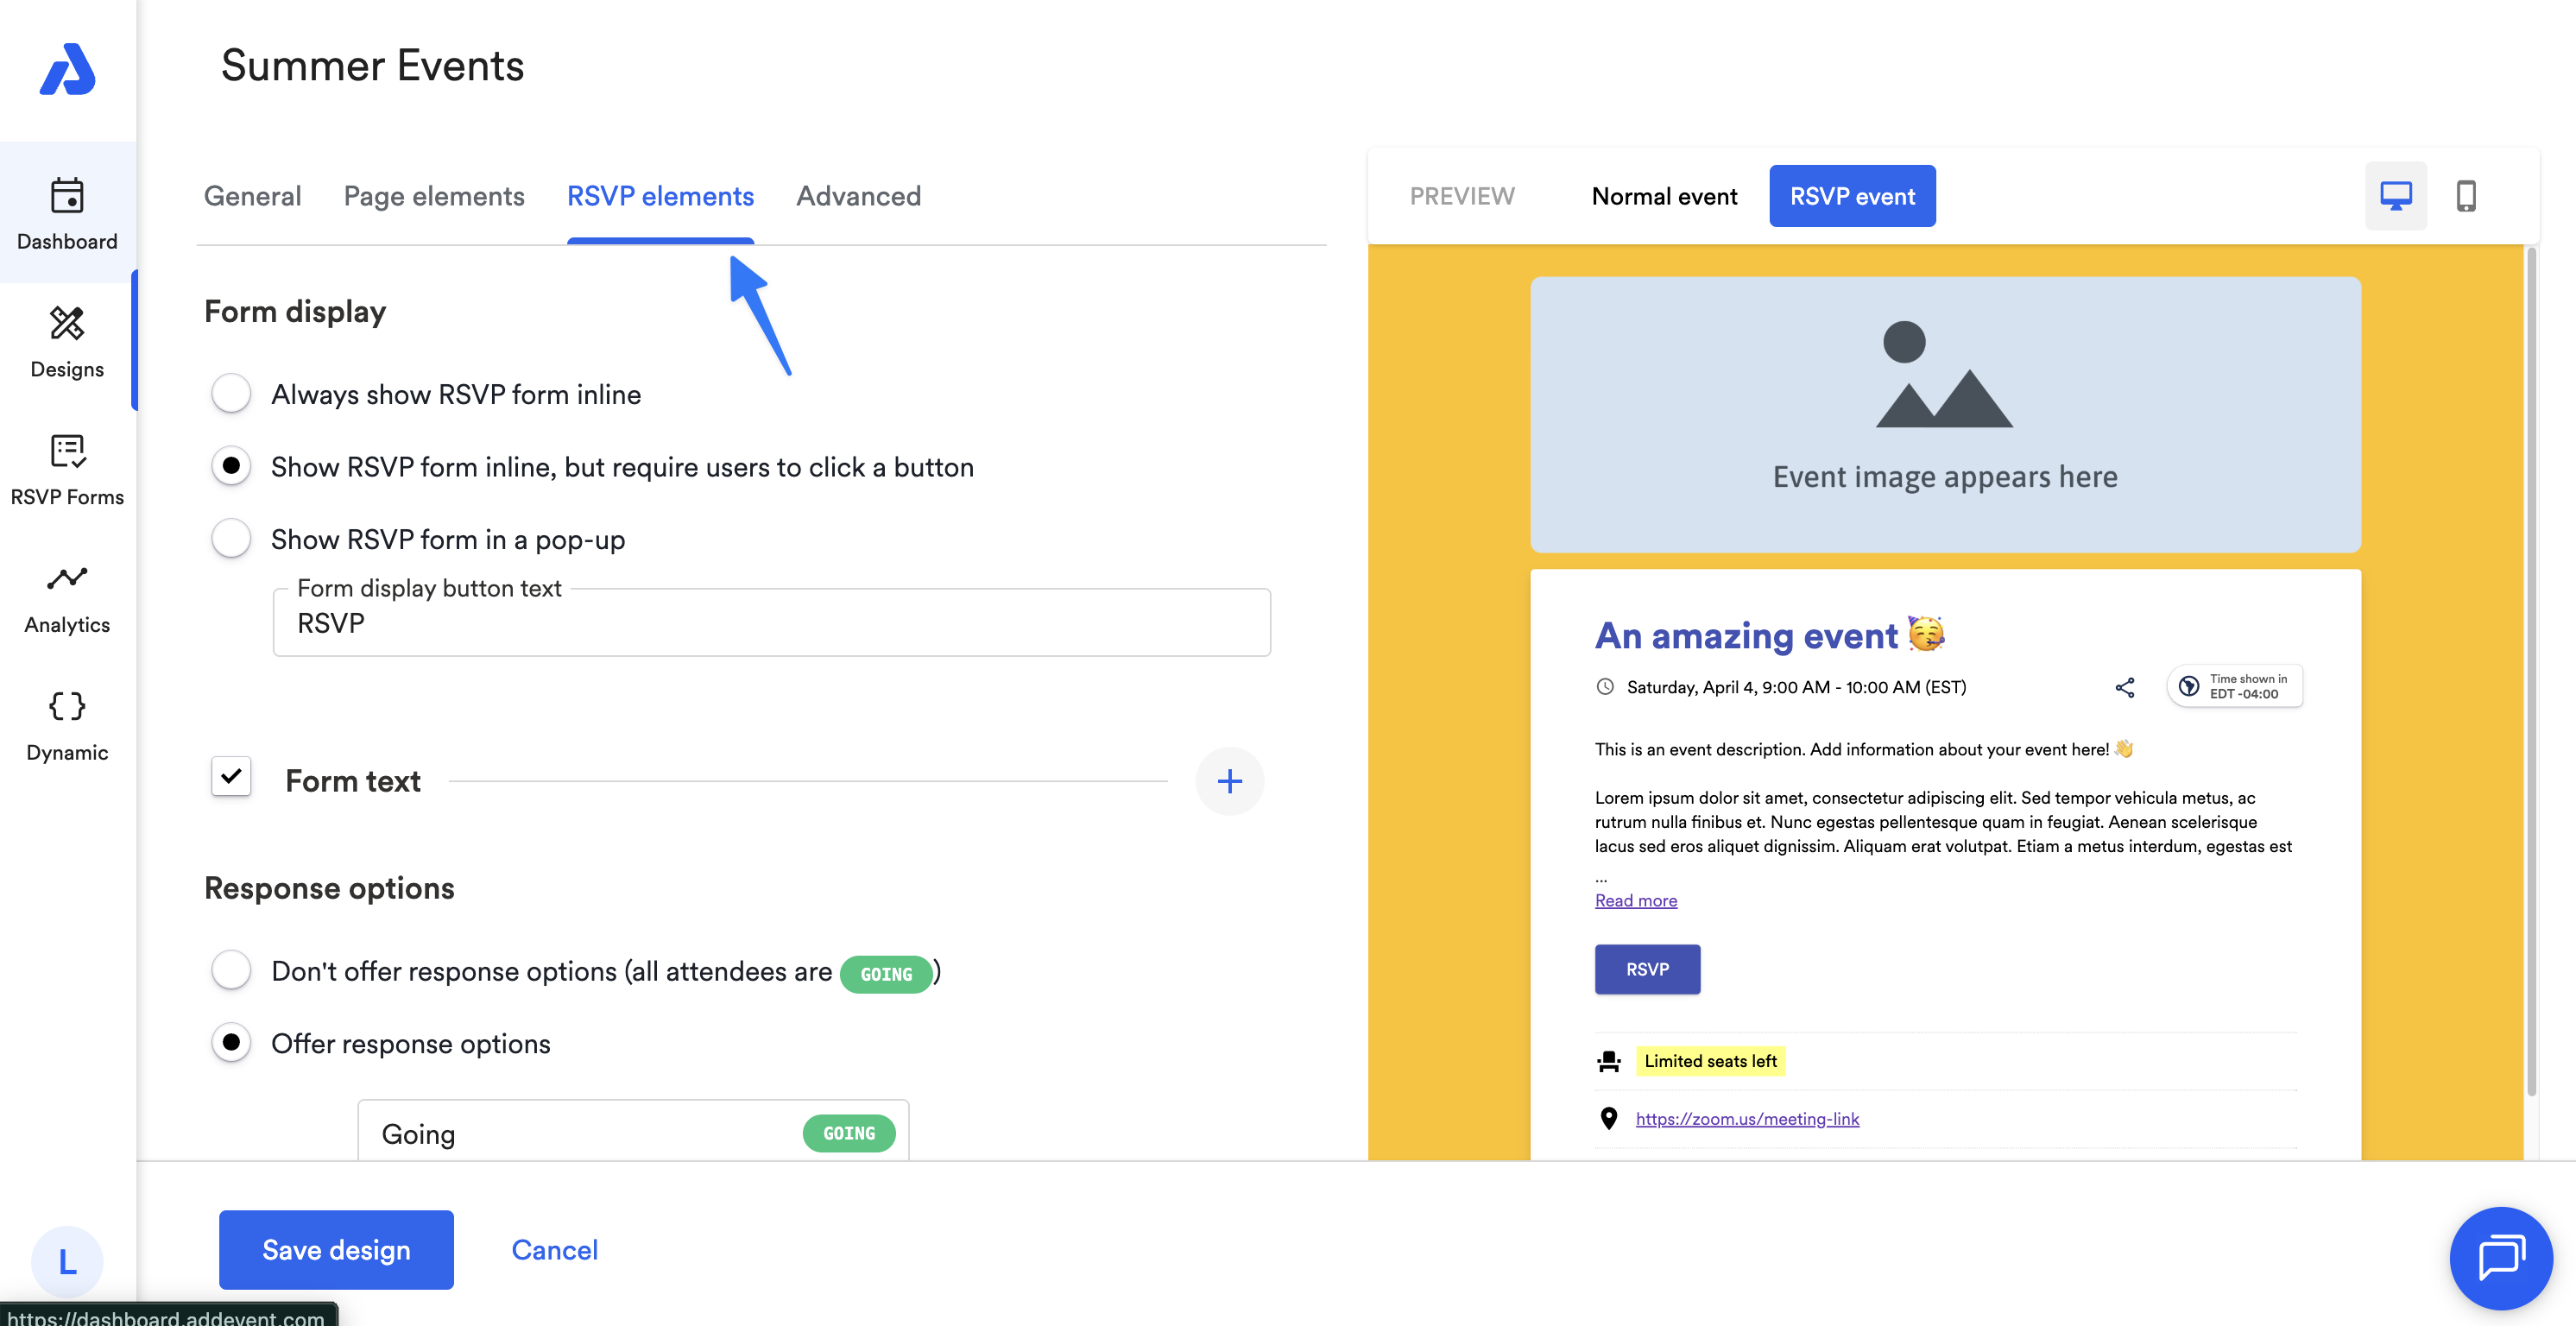
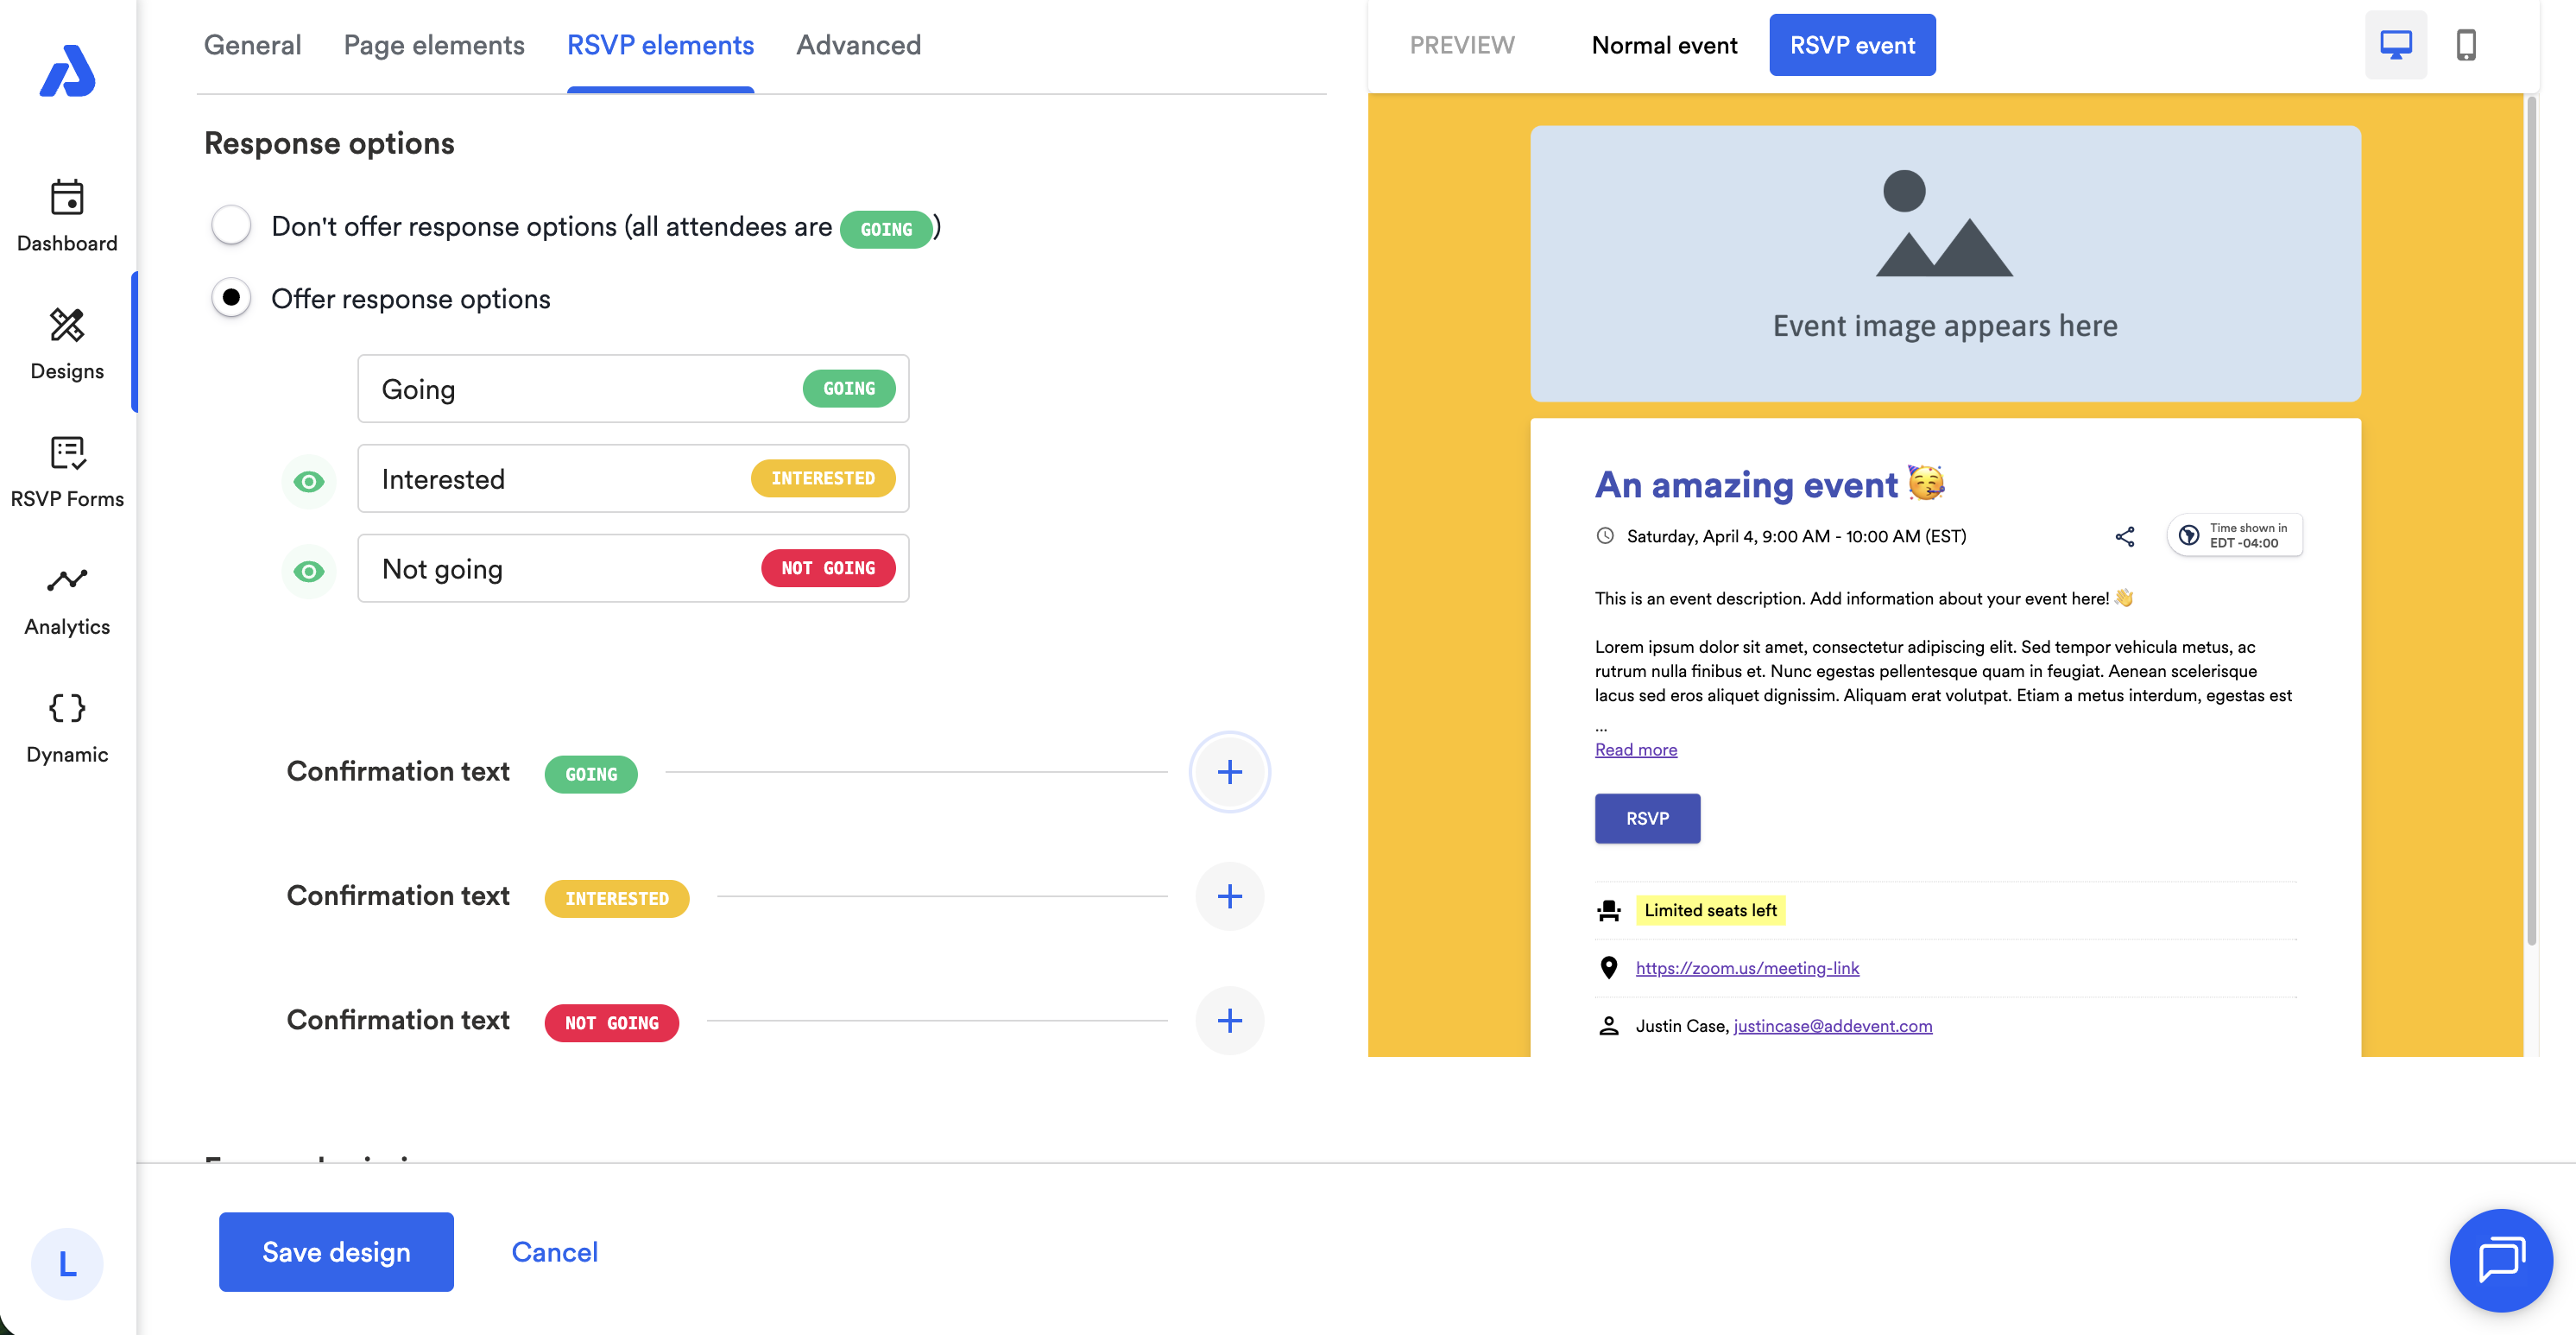
Select the RSVP elements tab.
-
Scroll down to the Response options section.
-
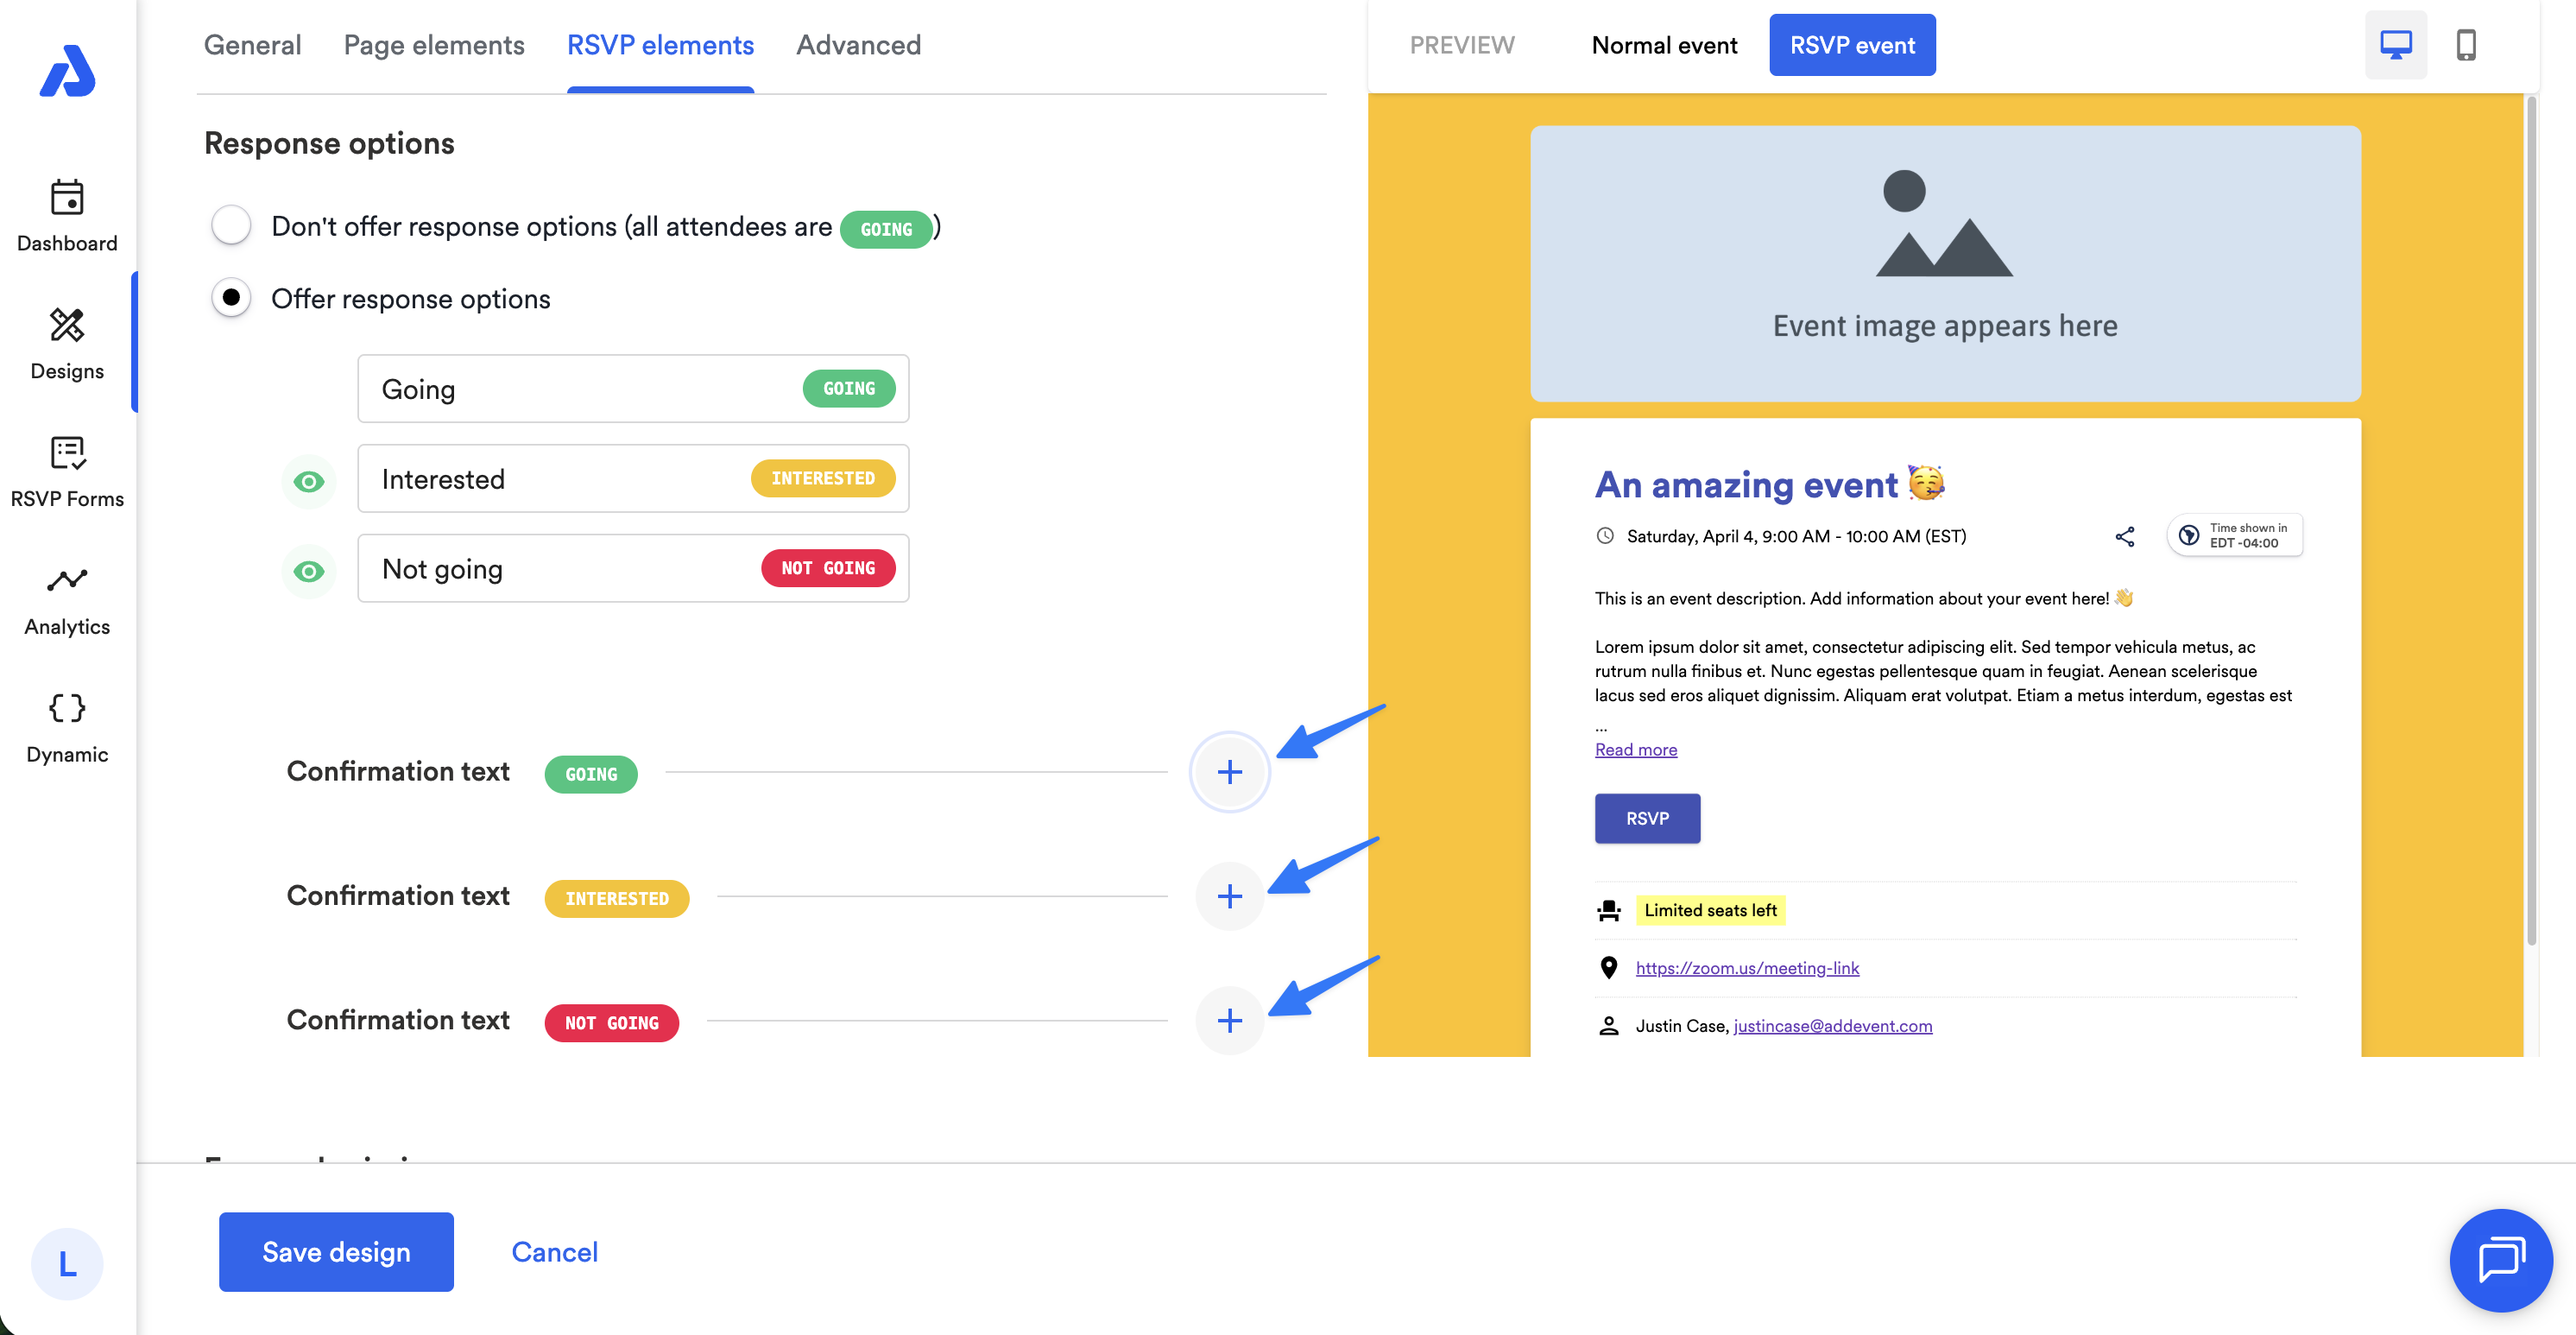
Click the + icon next to each response option to edit the confirmation message.
-
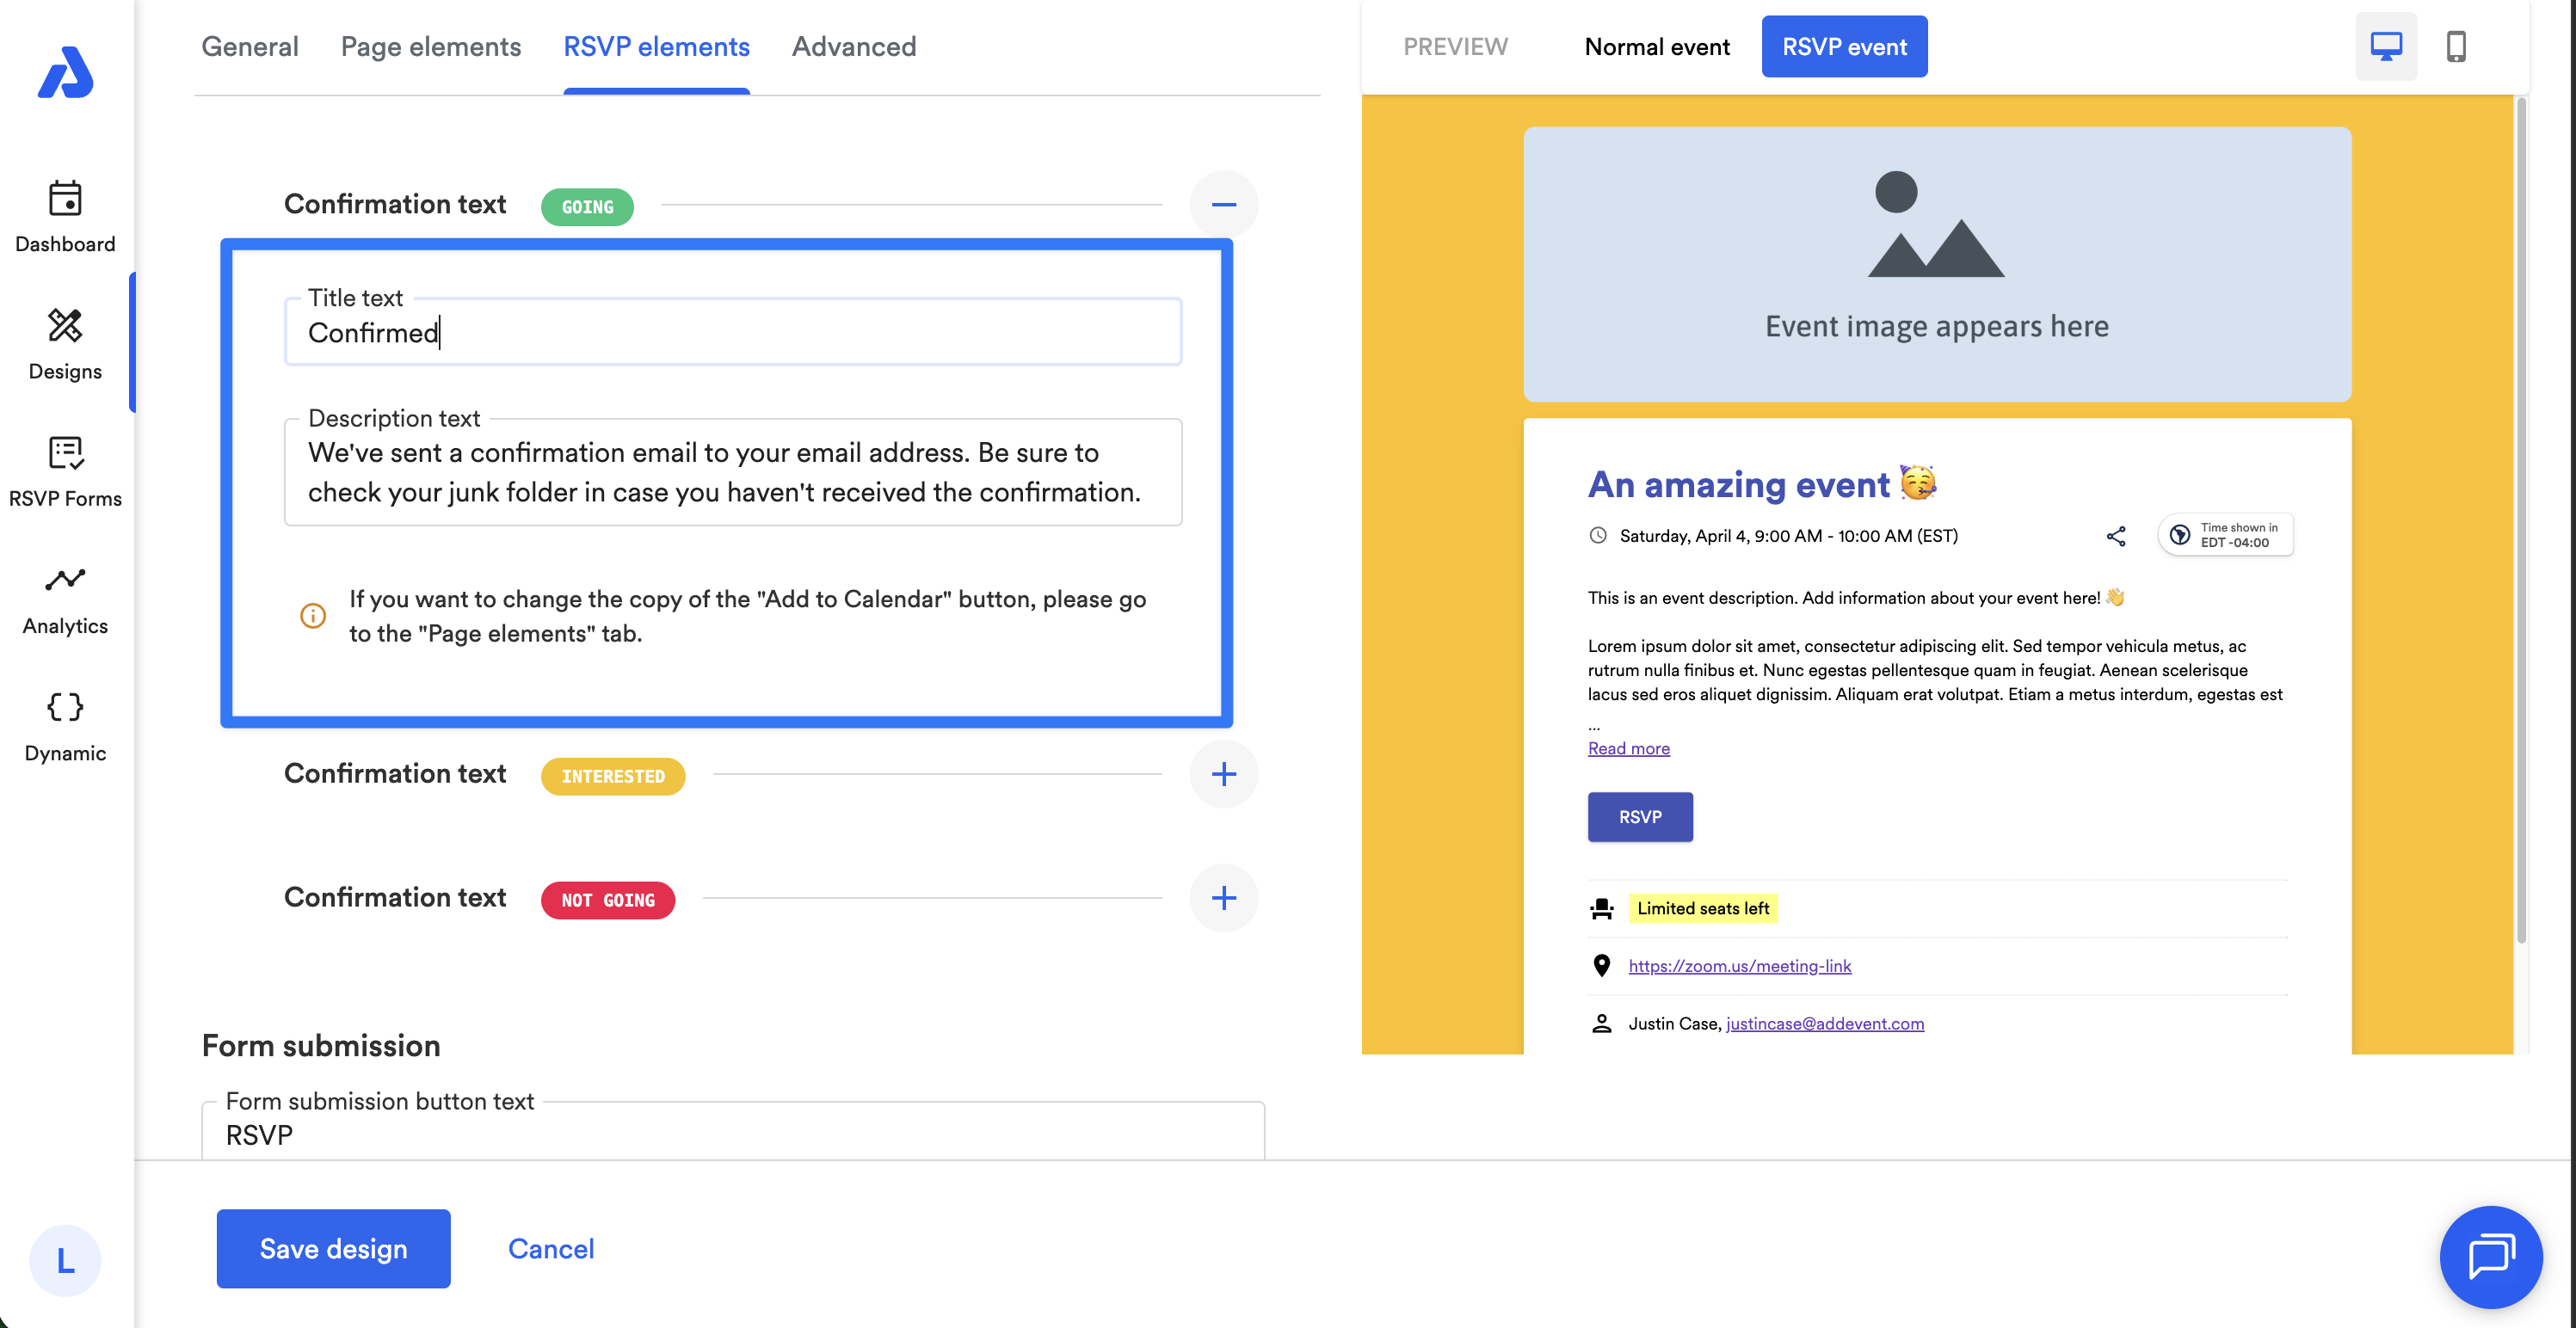
Edit the title and/or the description text.
-
Customize any other design settings you would like and click the Create/Save Design button.
-
Lastly, you can follow the steps shared here to apply the design template to your event: Apply an Event Landing Page Design Template to an Event
Updated 3 months ago