

How to Include Your Own Favicon for Event or Calendar Landing Pages
This help doc shares instructions on how you can include your own favicon for your event or calendar landing pages by using an event/calendar landing page design template.
You can include your own brand's favicon for your event or calendar landing pages by using an event/calendar landing page design template.
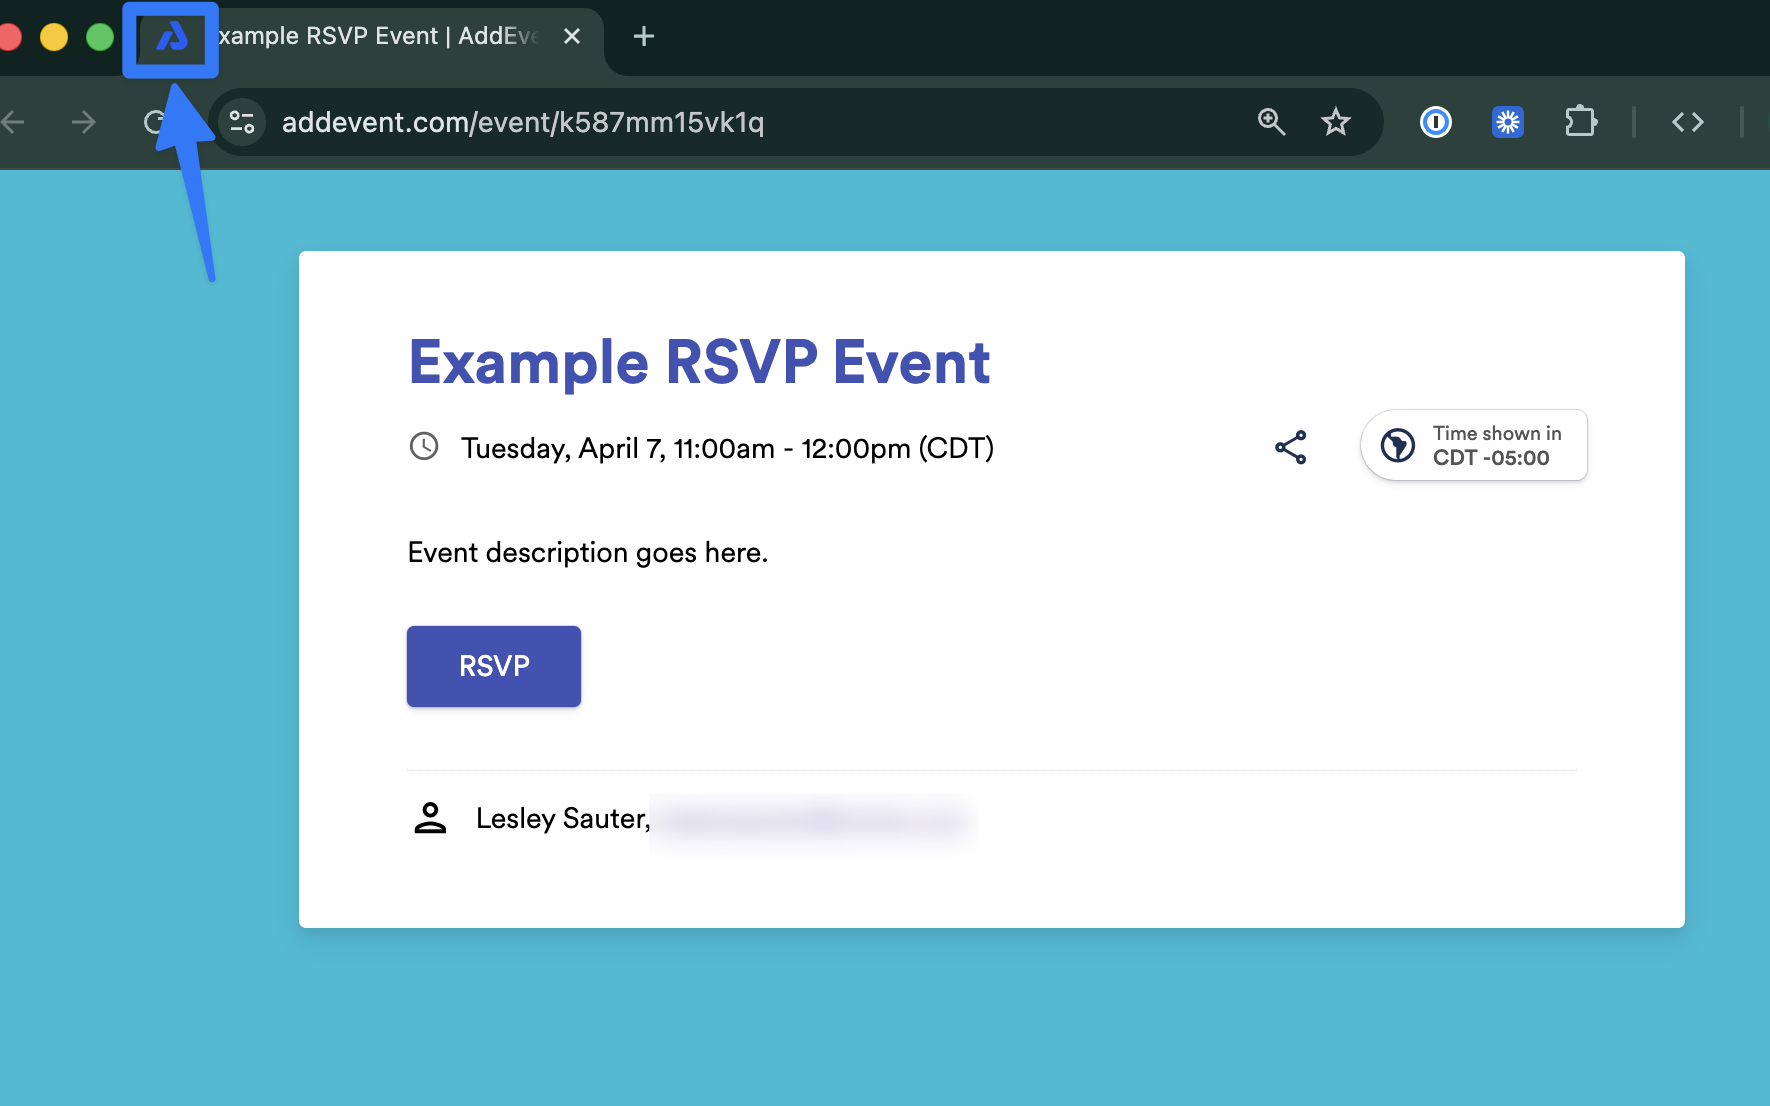
How to Include Your Own Favicon
-
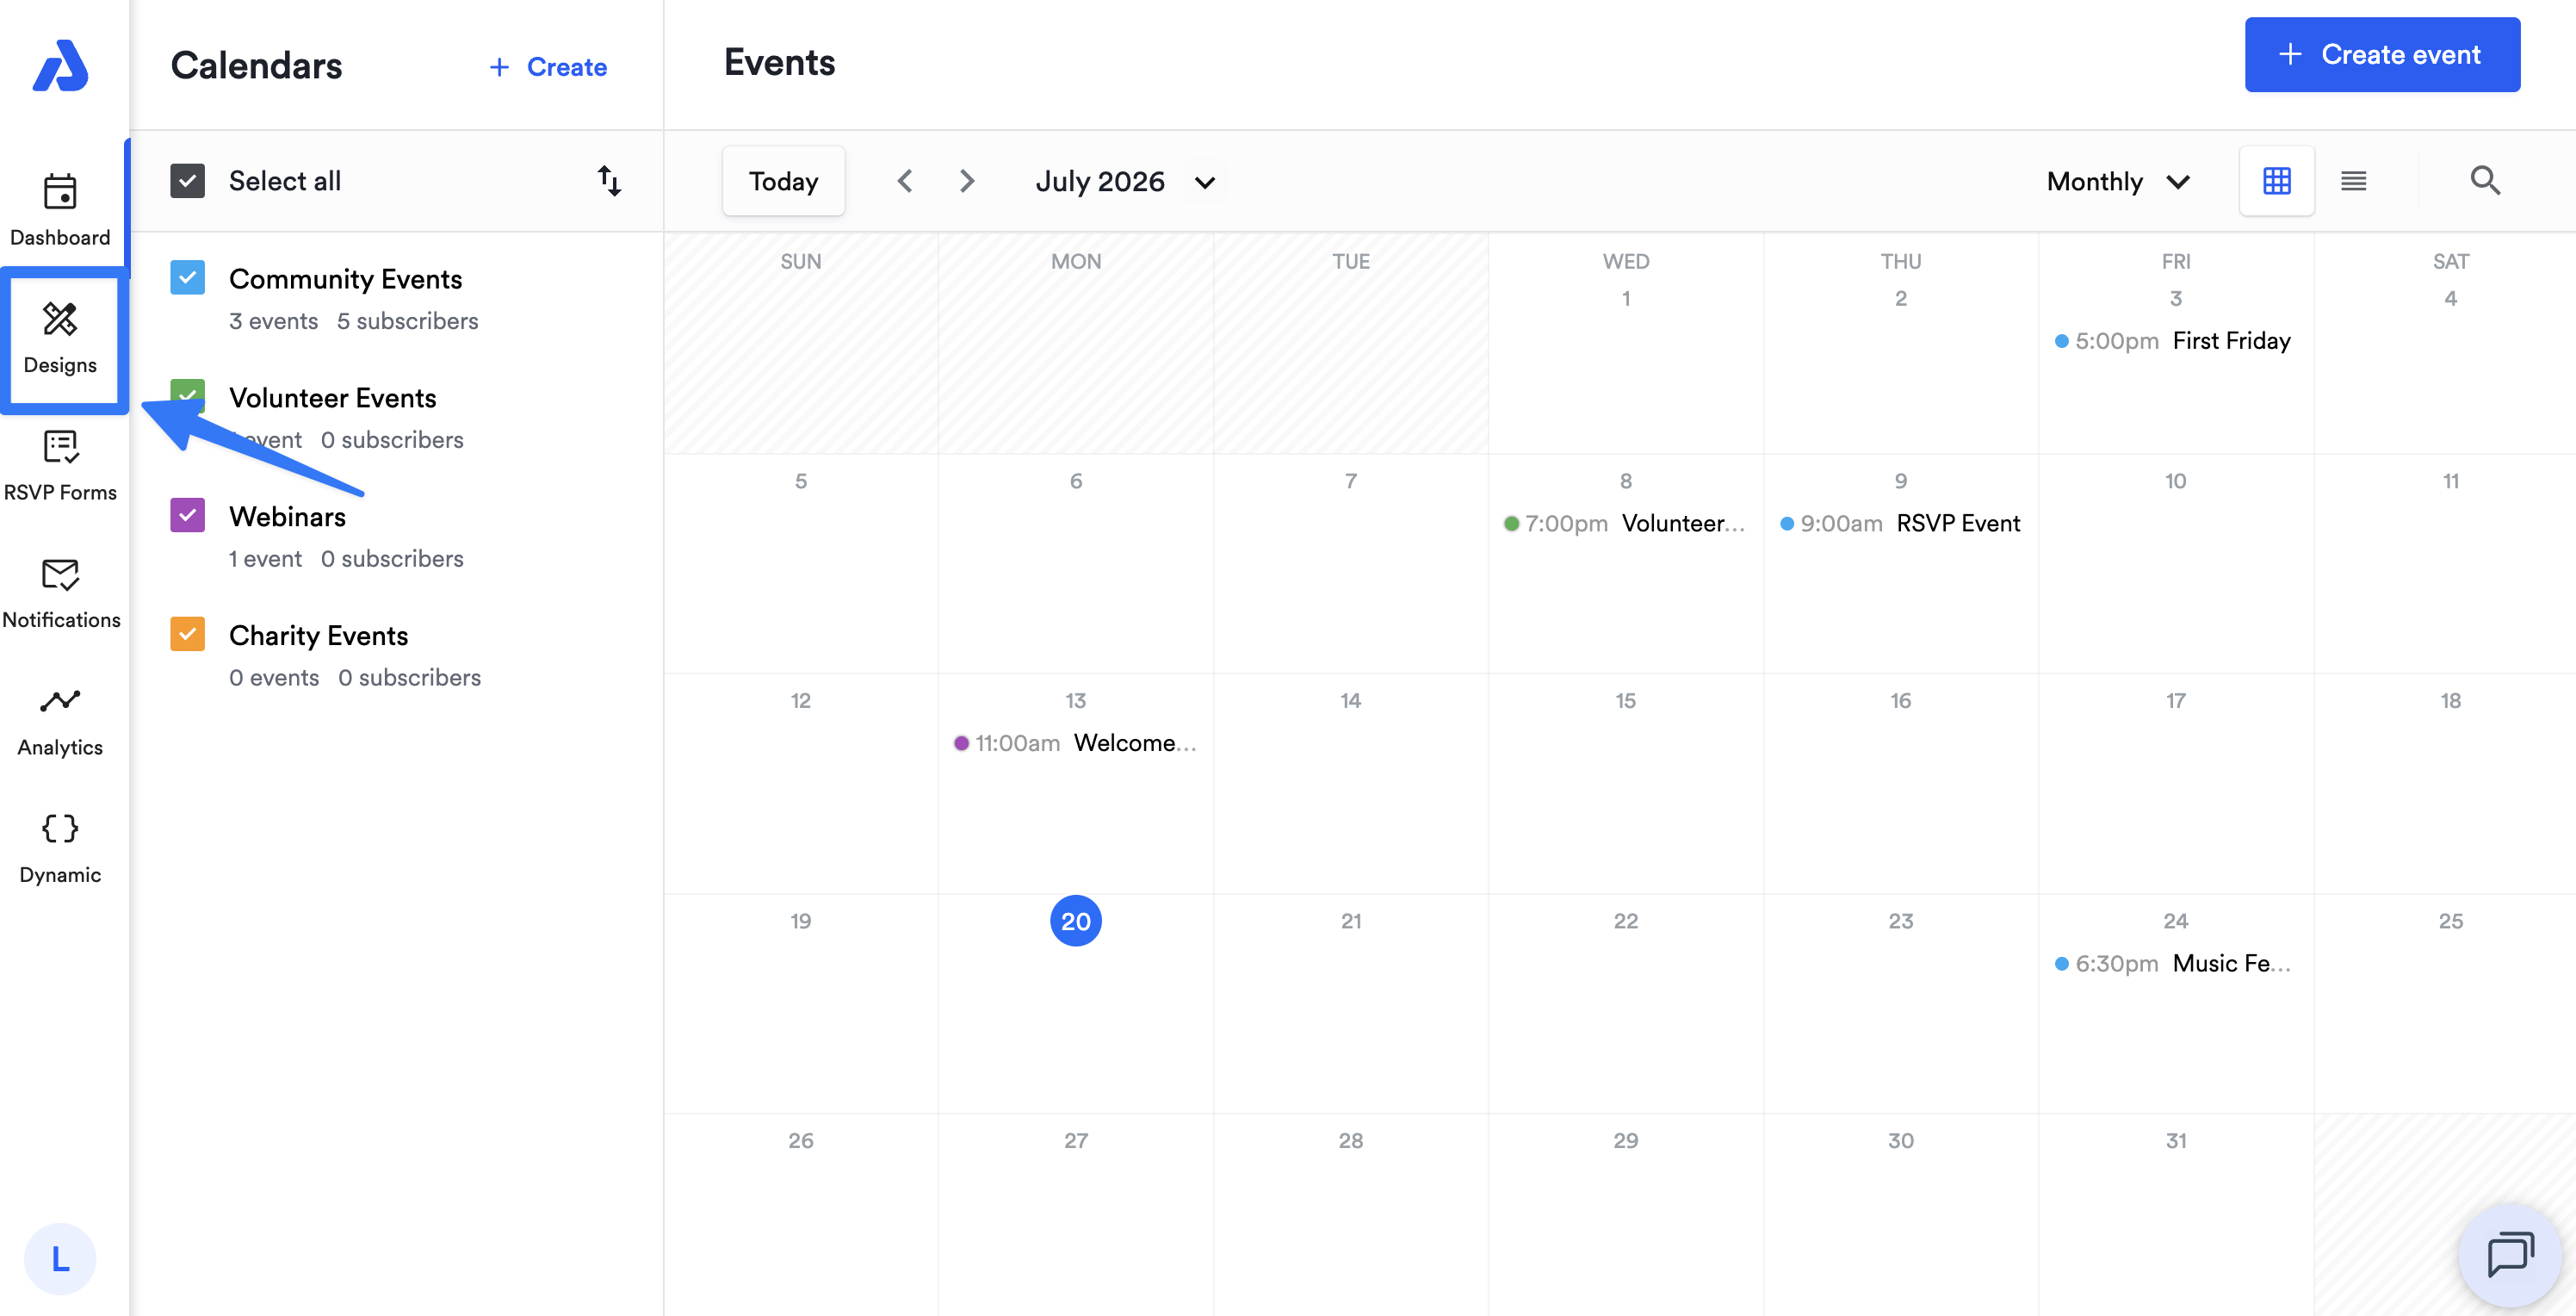
From the Dashboard, select the Designs tab located on the left-side navigation menu.
-
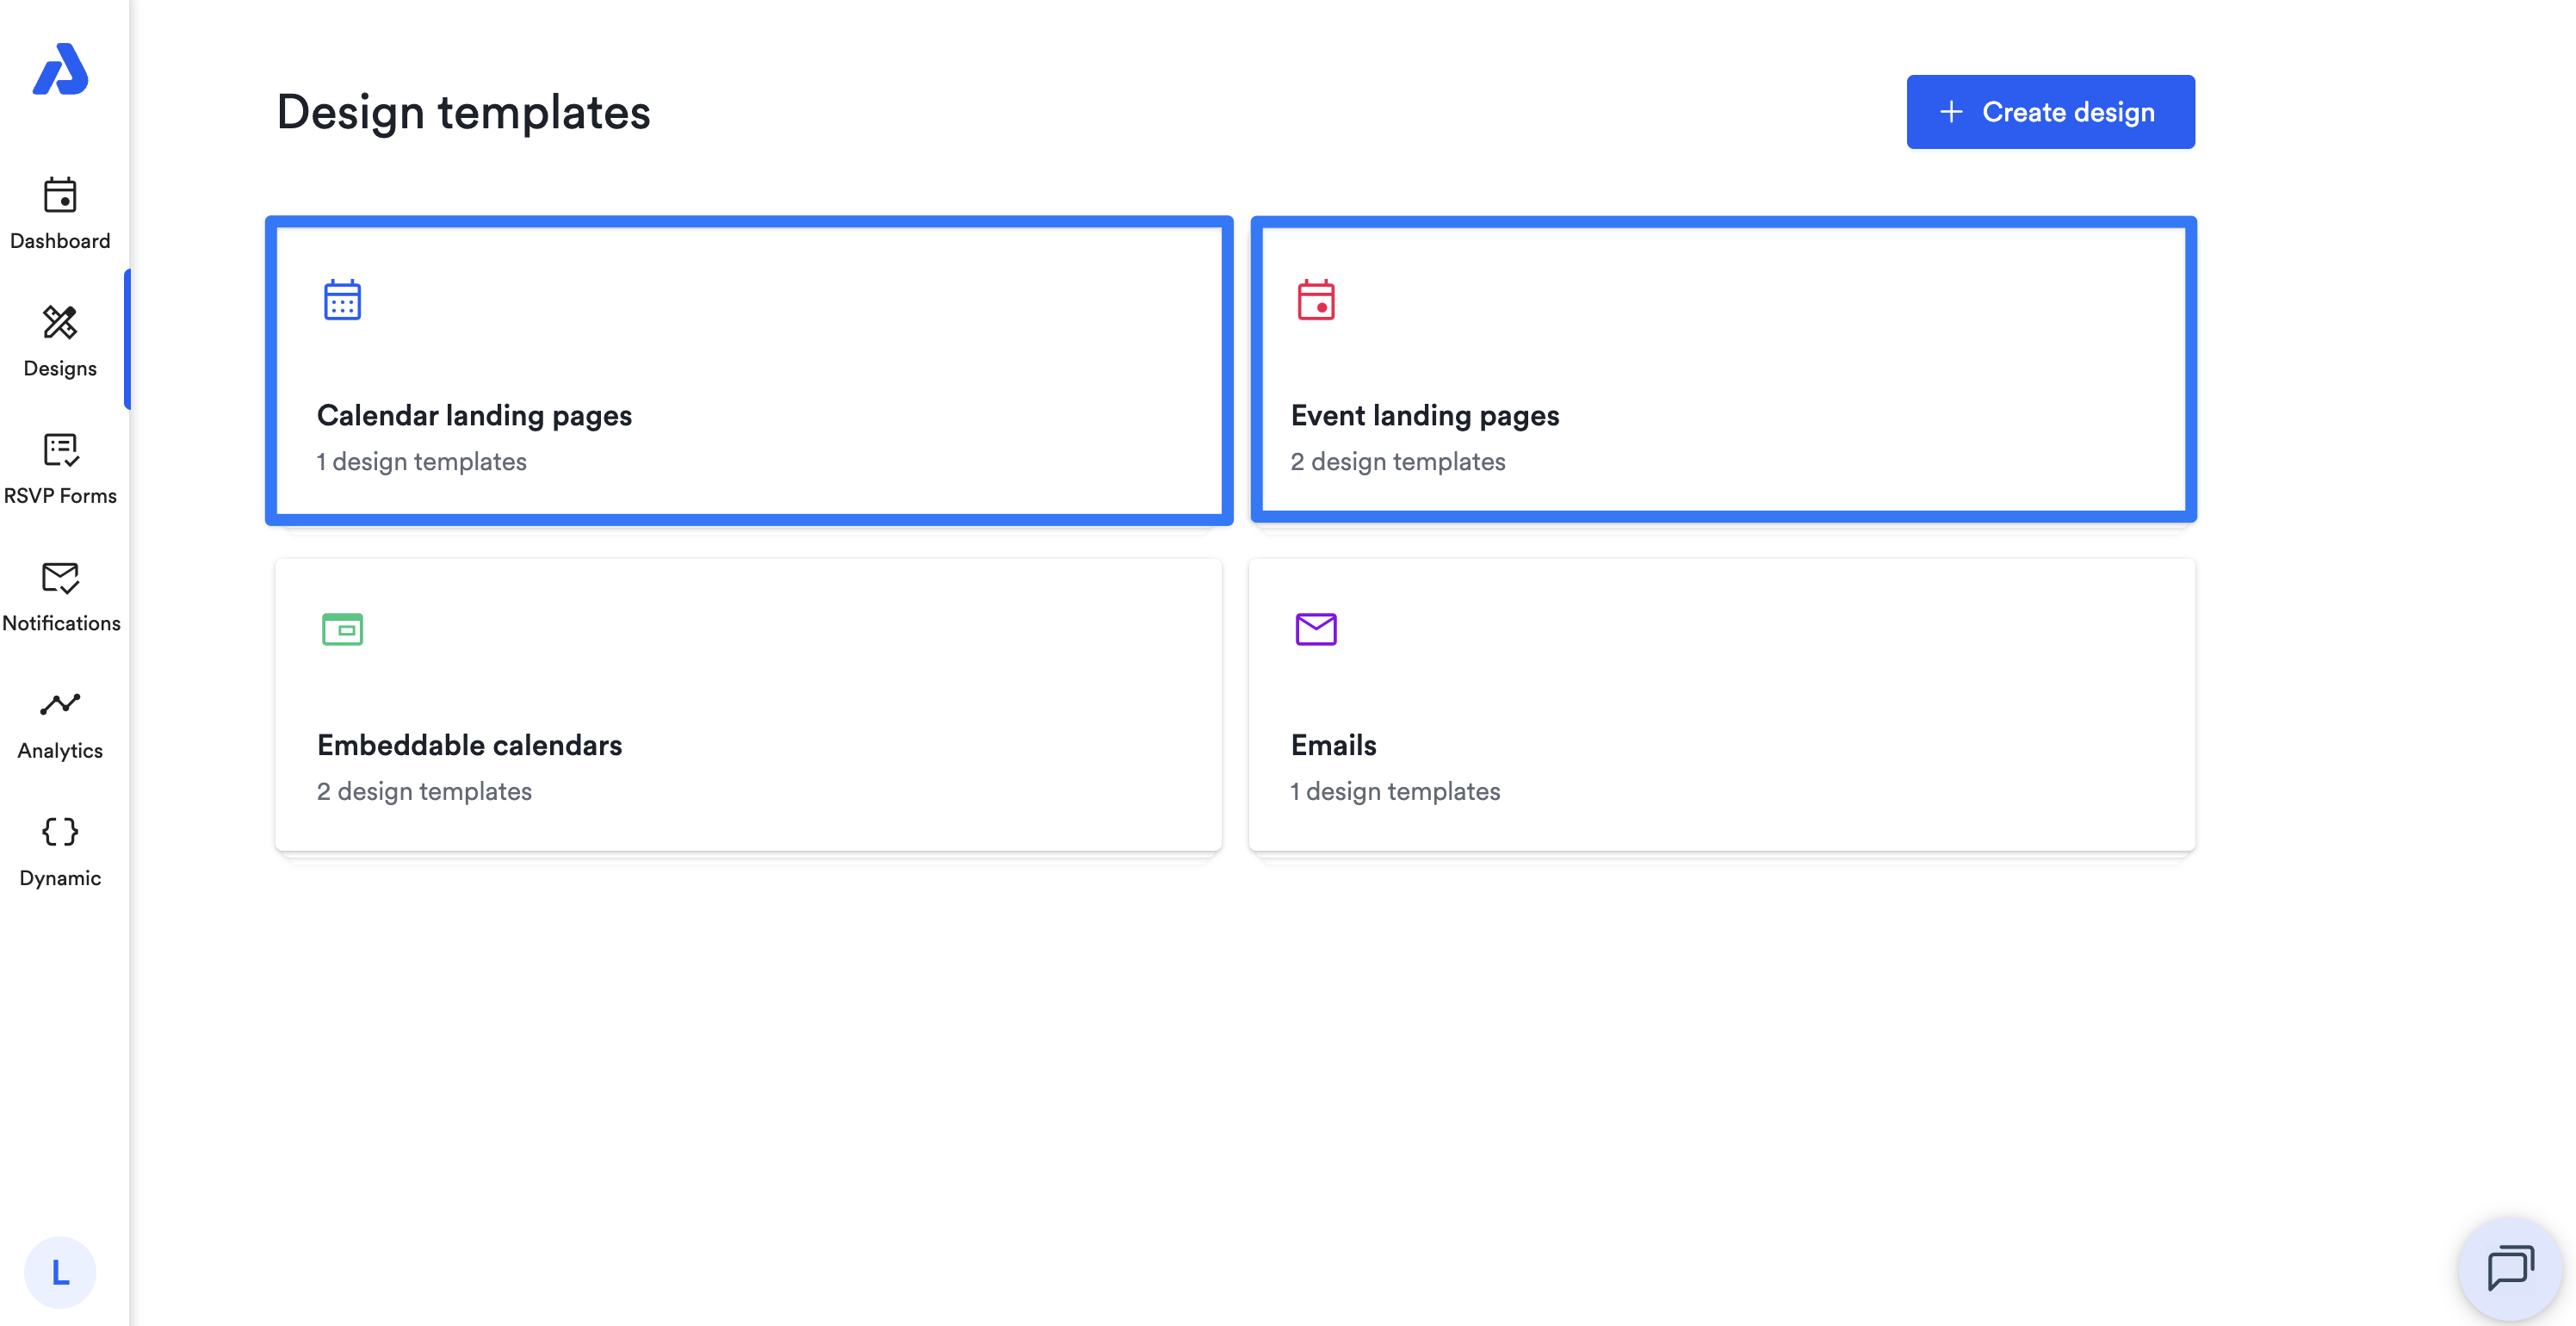
Depending on whether you are sharing an event or a calendar, select either the Calendar landing pages or Event landing pages option:
-
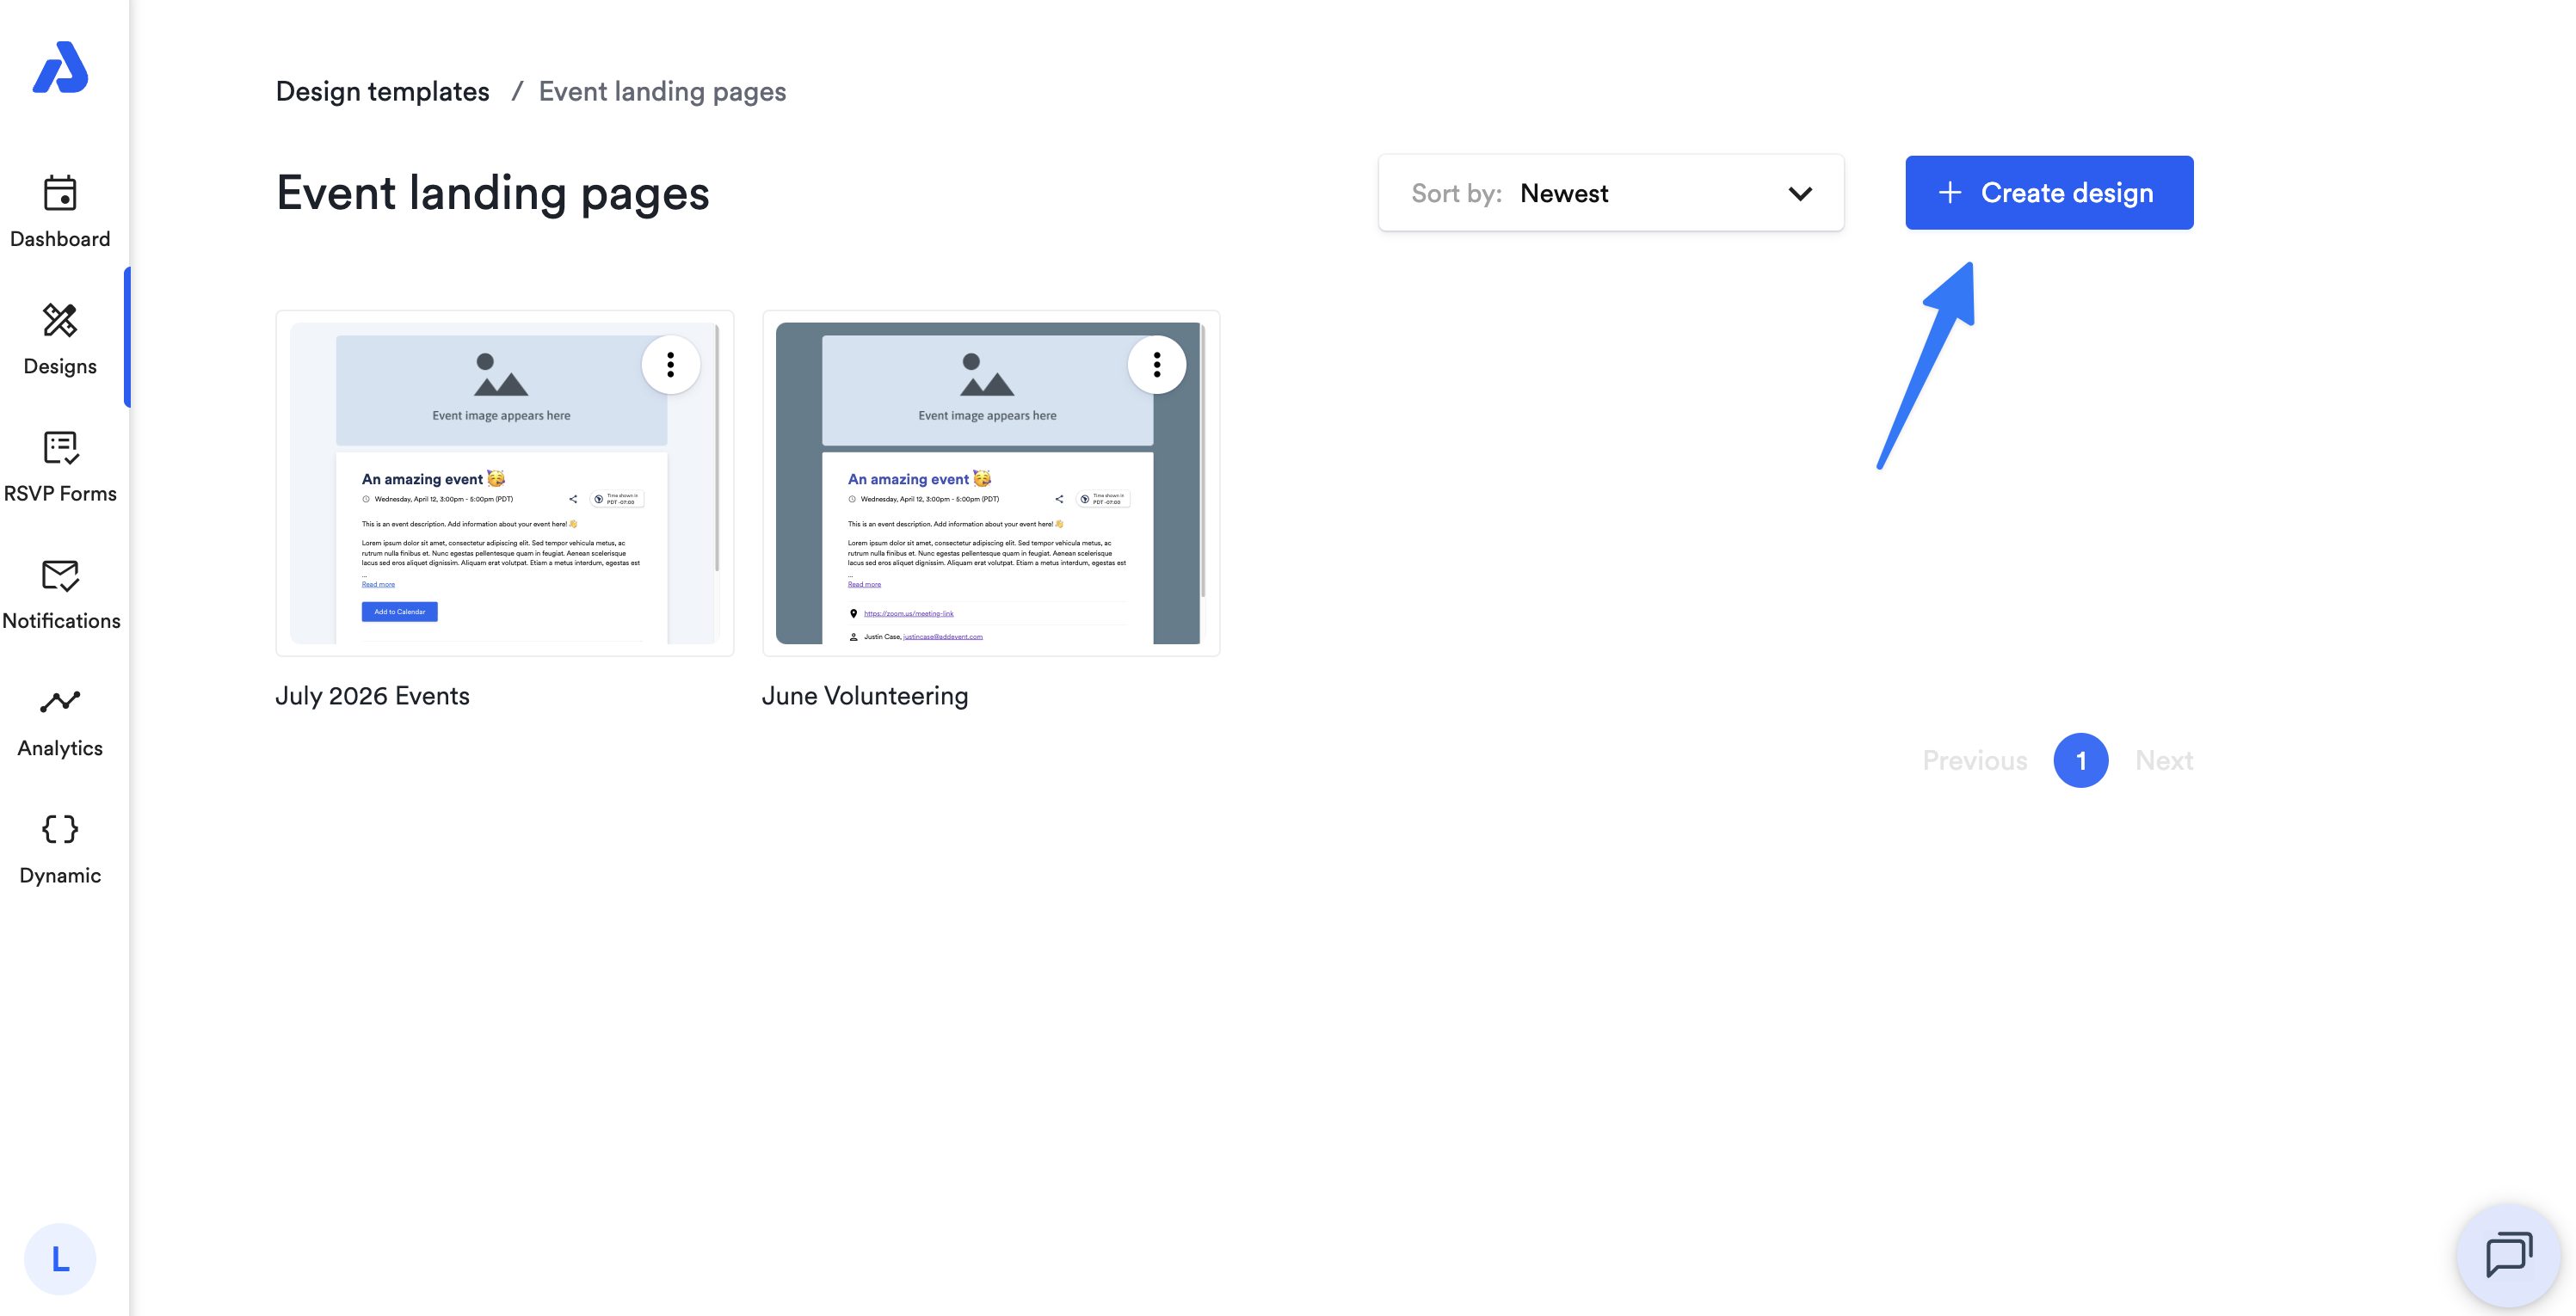
Select an existing design template or click the + Create design button to create a new design.
-
If creating a new design, input a title for your design at the top of the page.
-
-
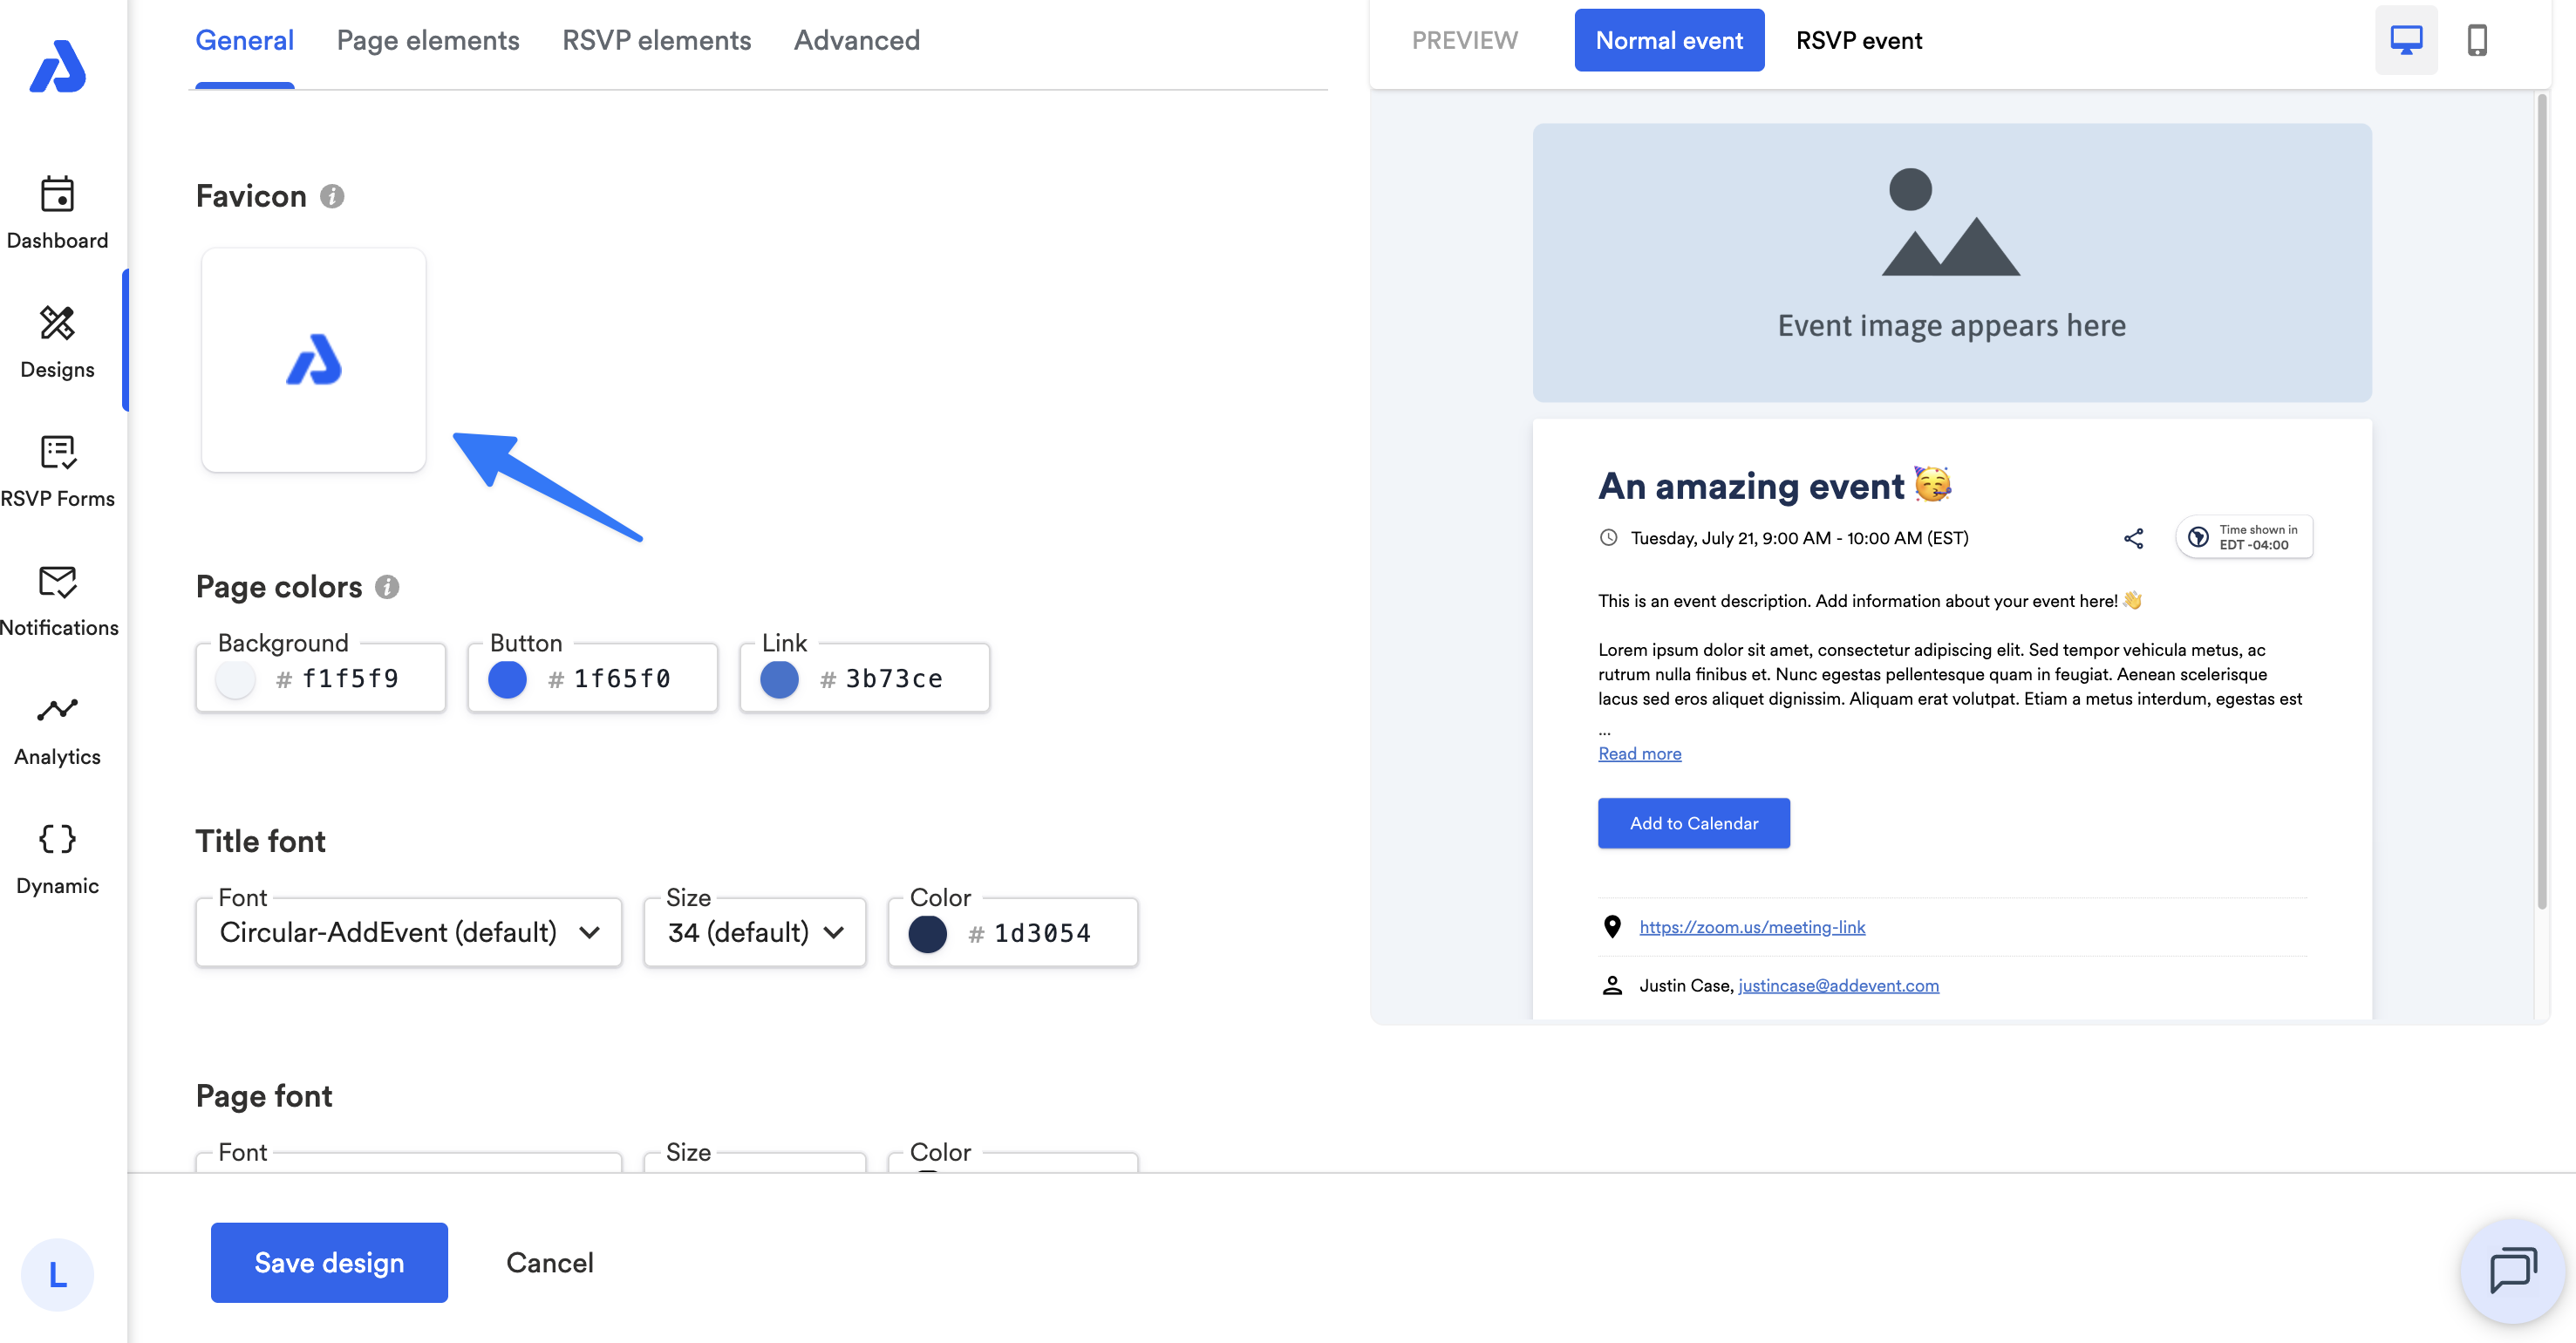
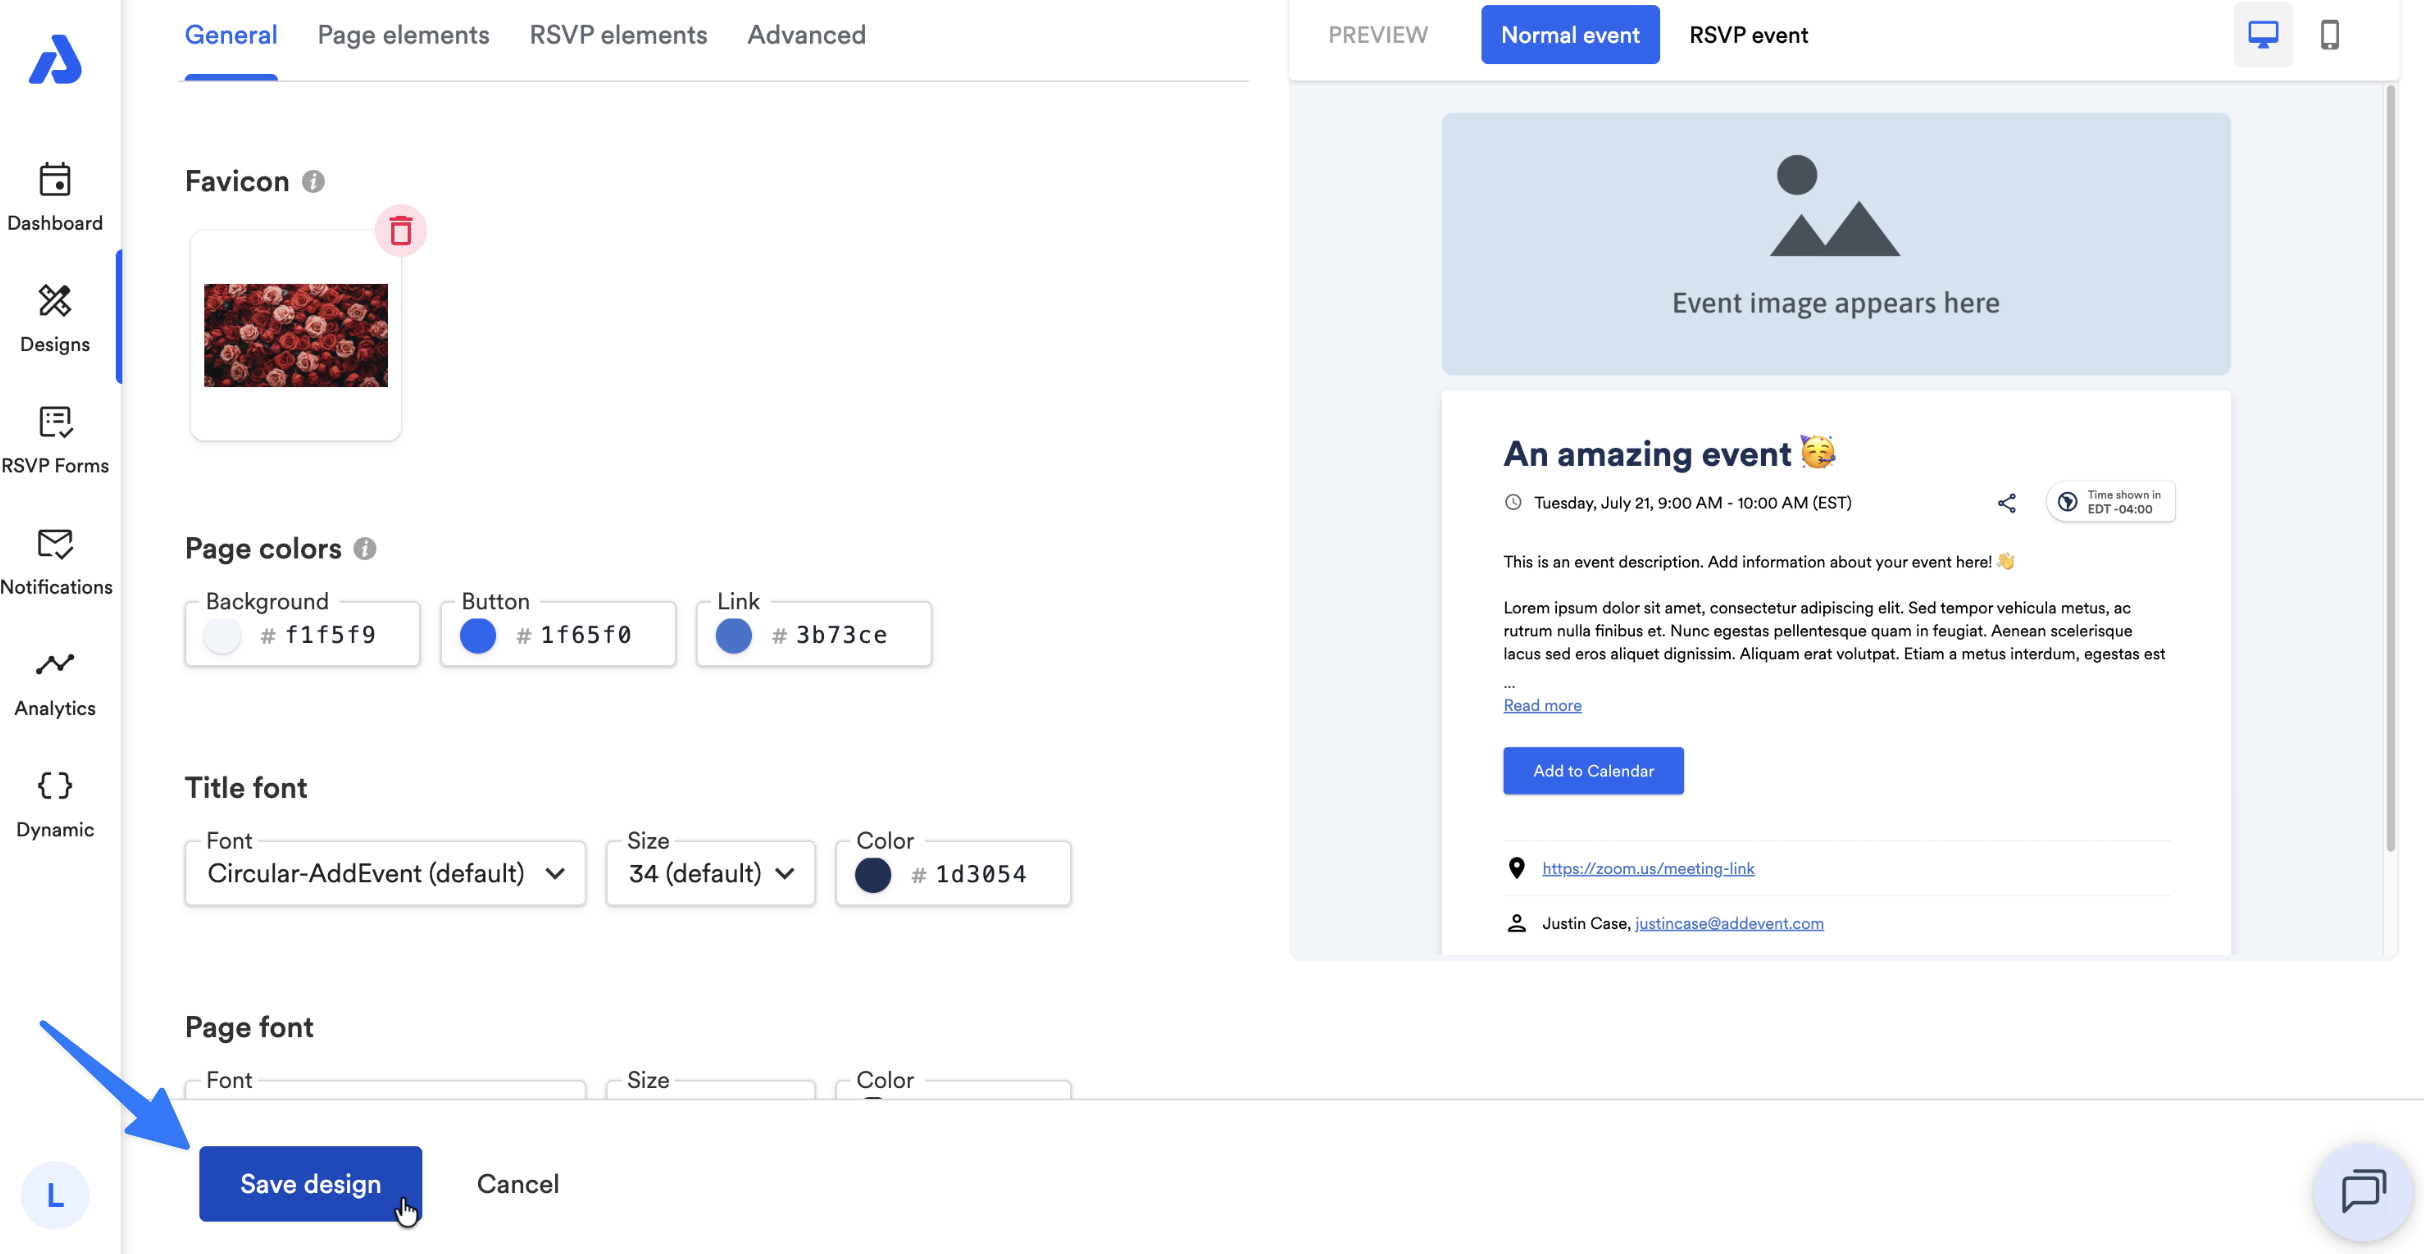
Within the General tab, scroll down to the Favicon section.
-
Click the default AddEvent logo image.
-
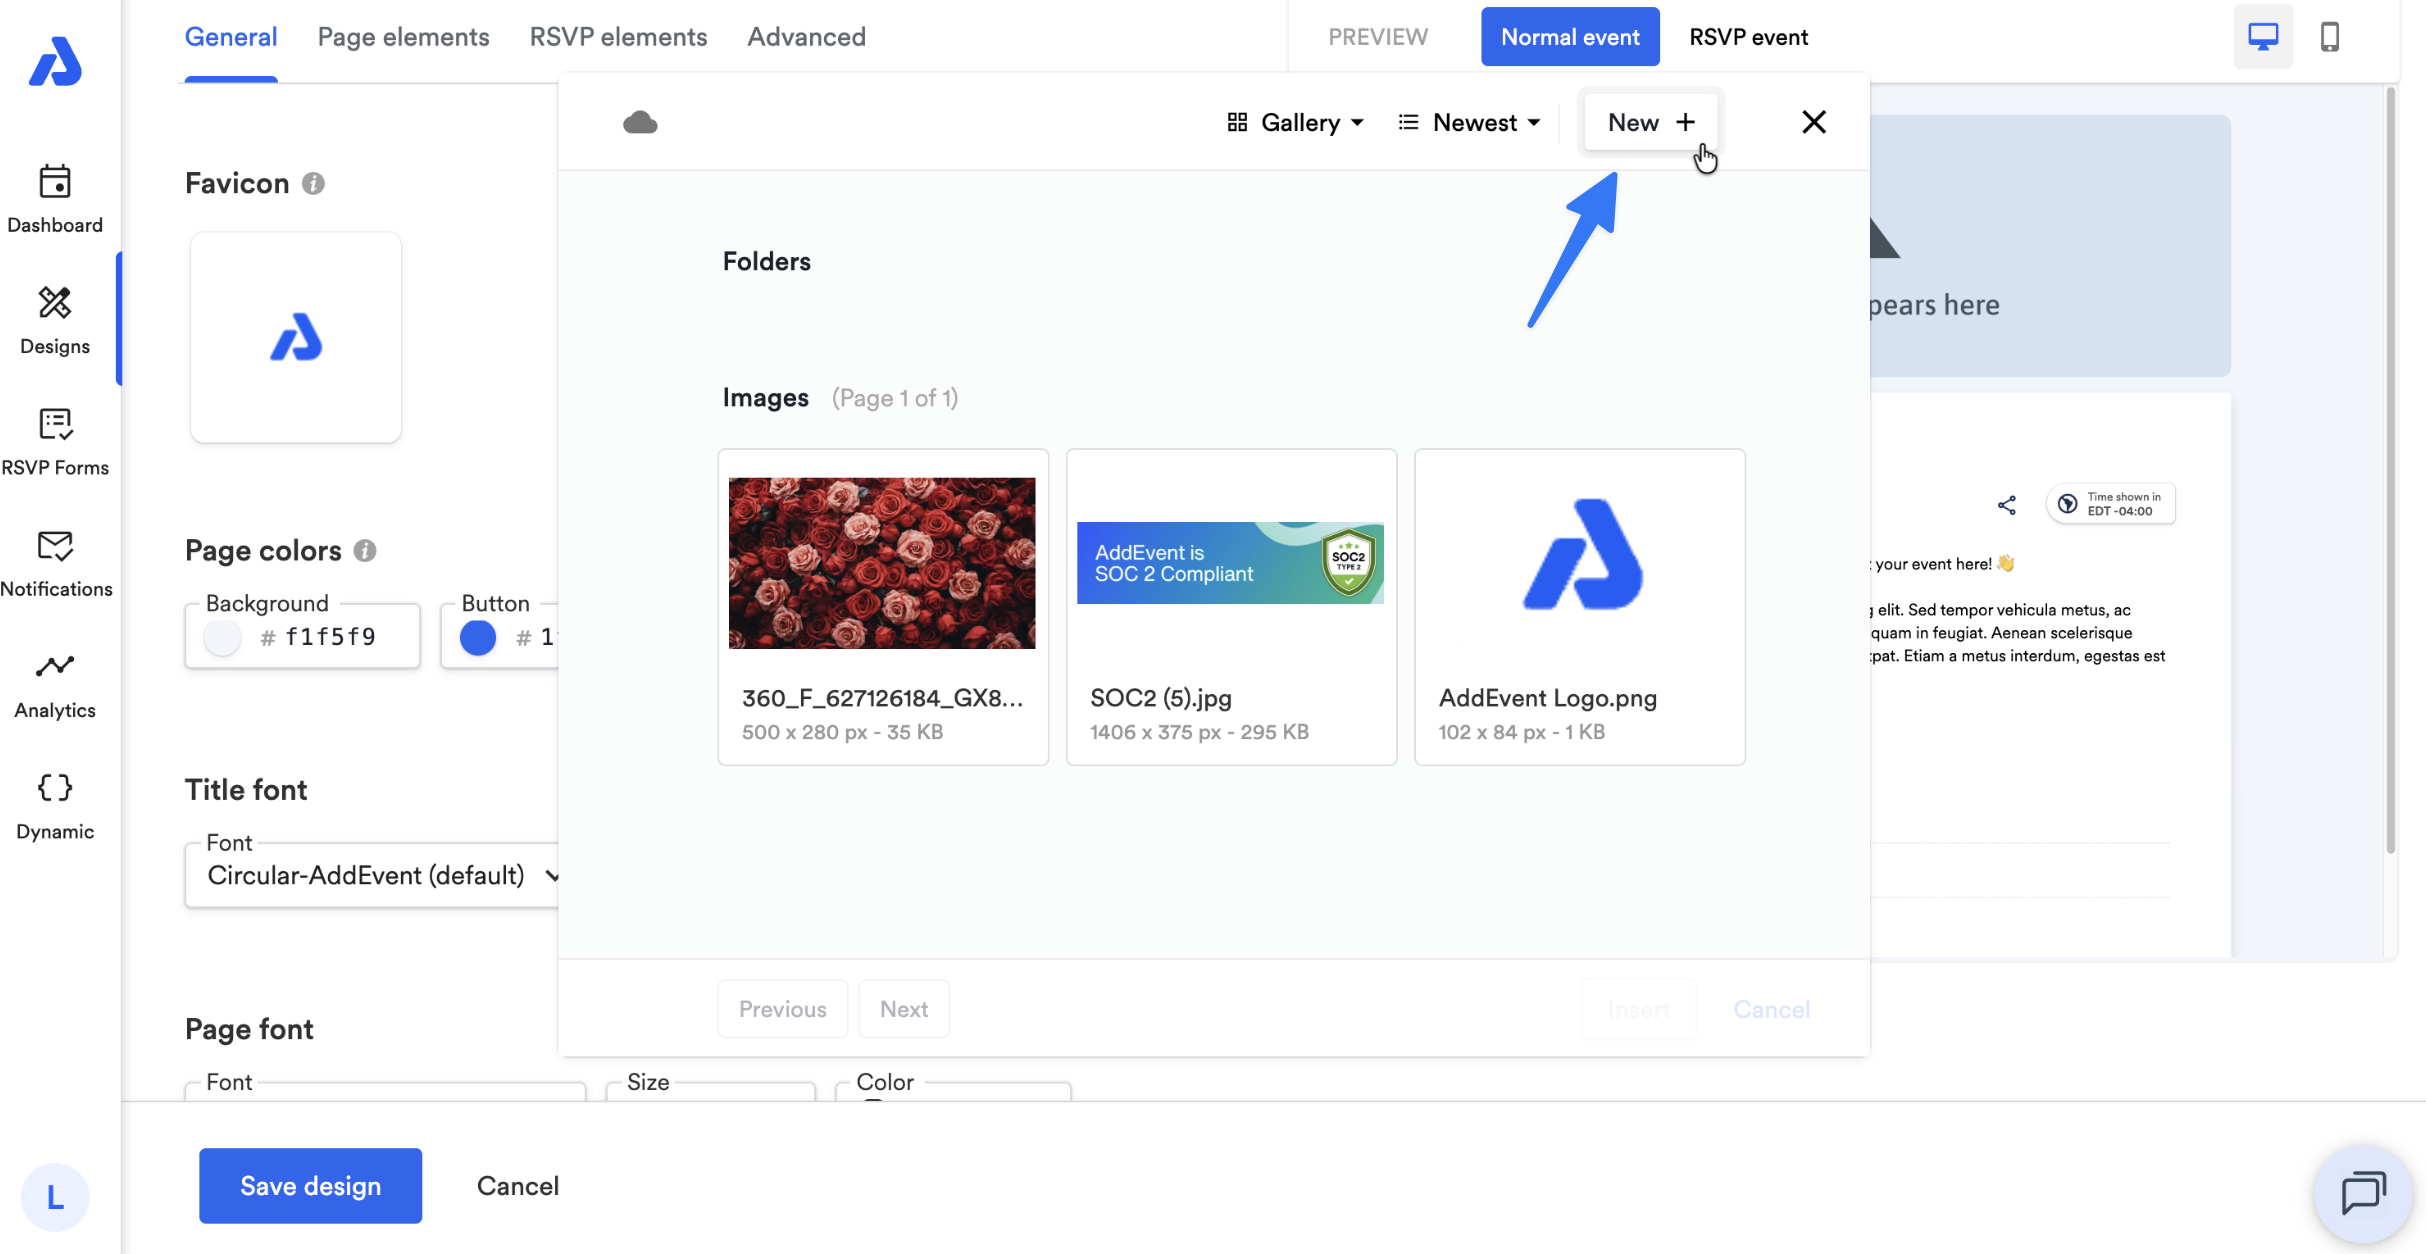
In the following window, select the New + button on the top-right corner to upload your image.
-
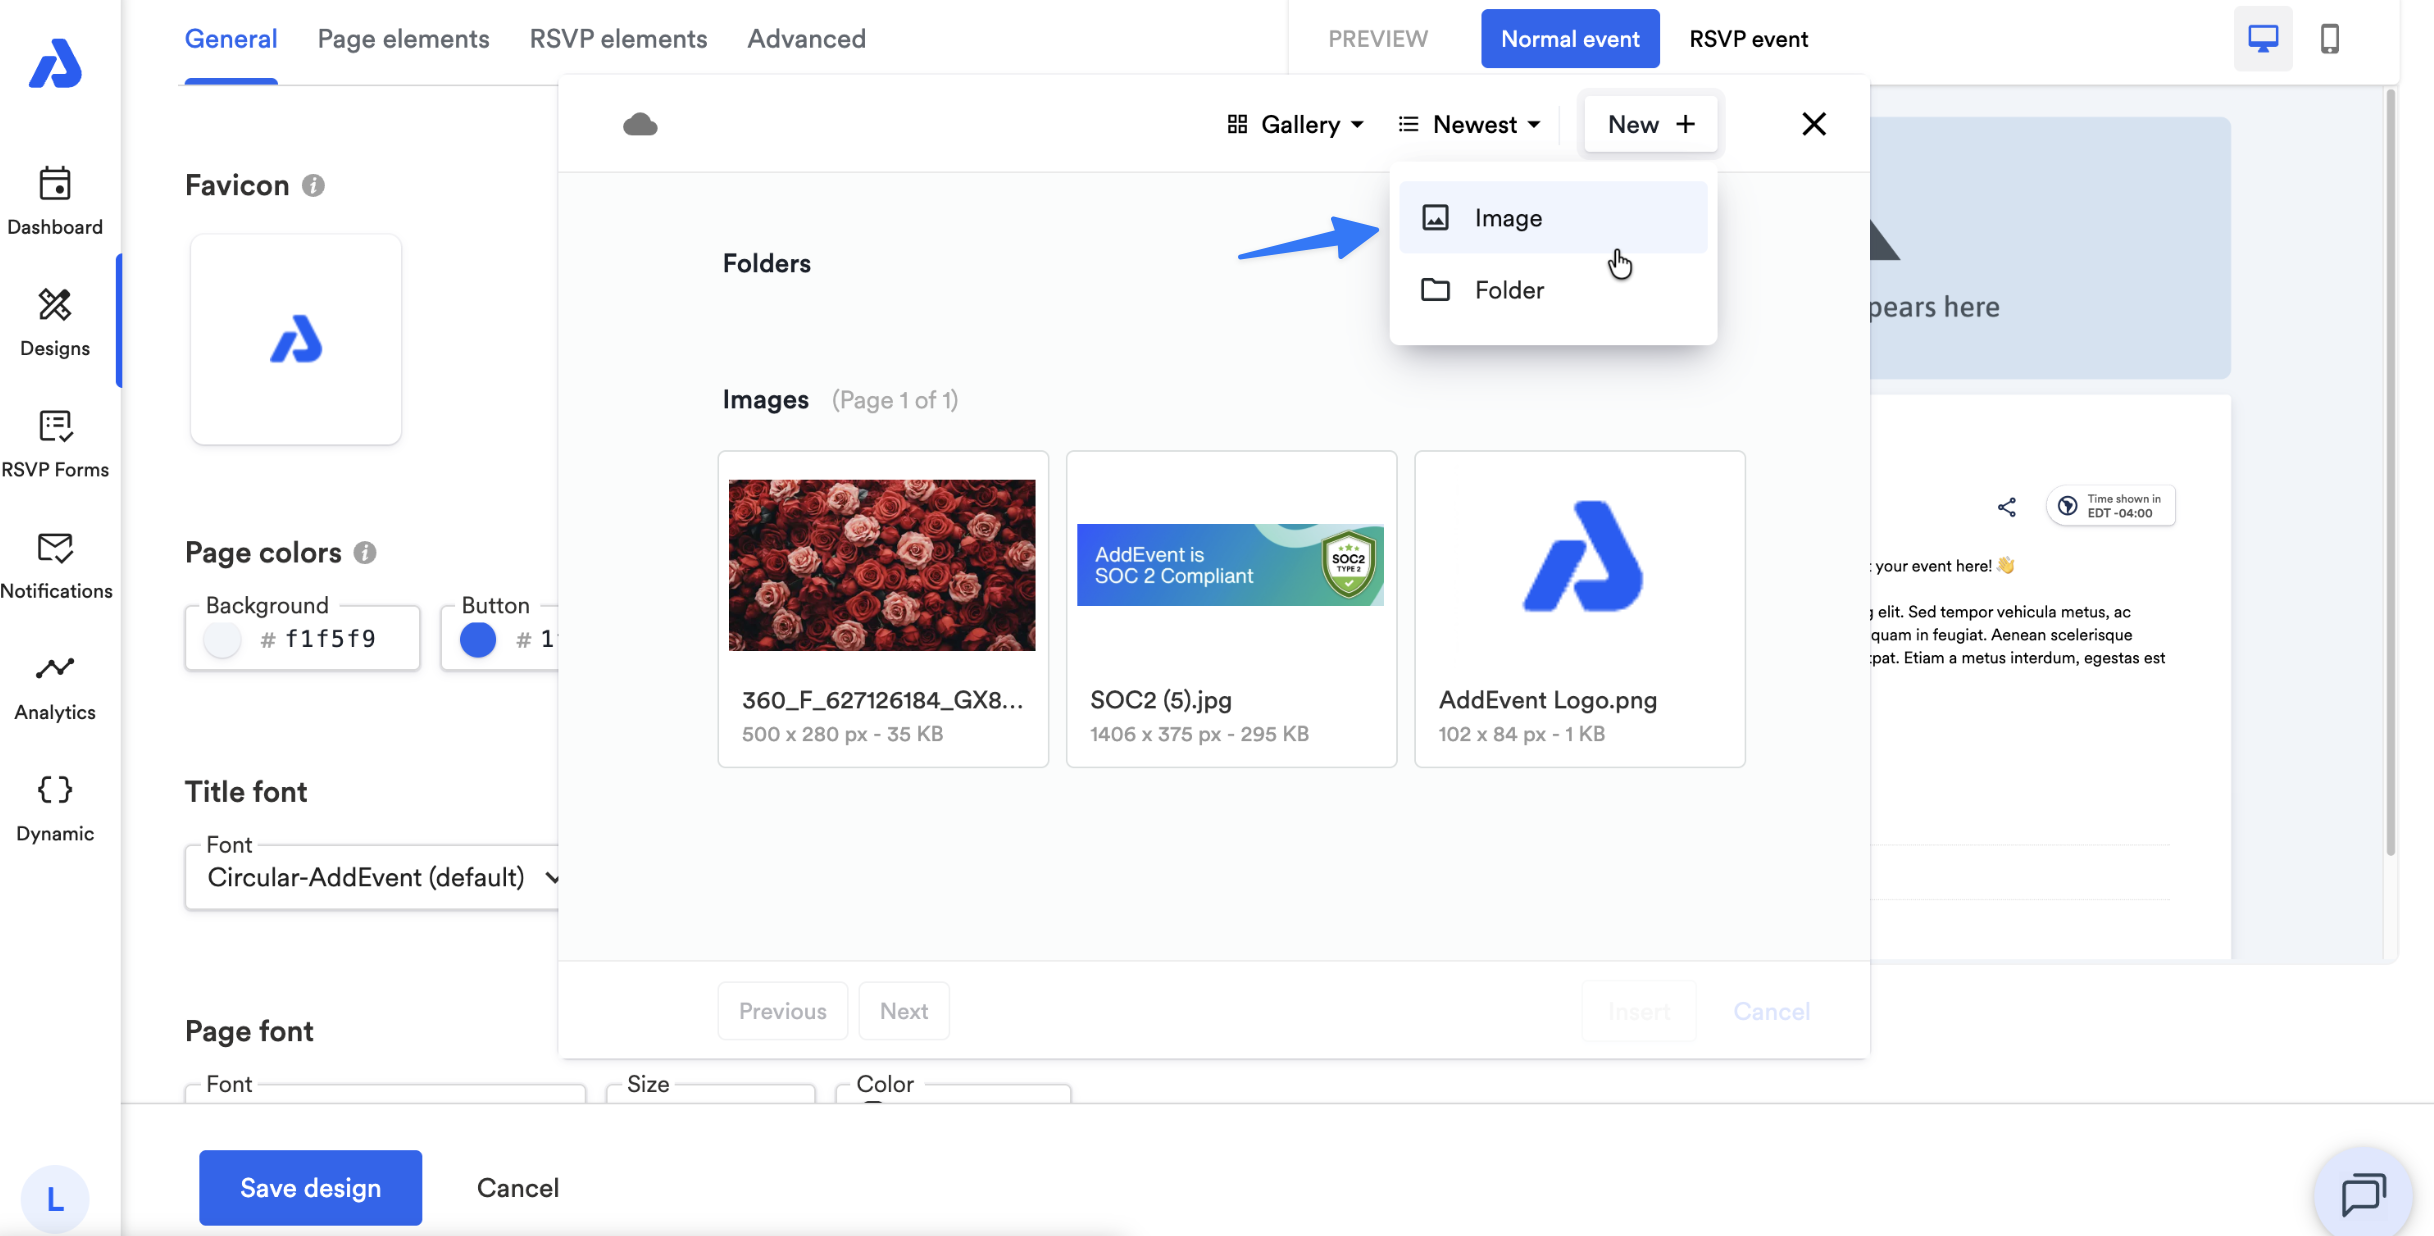
Click the Image option to go ahead and upload your image from your computer, or you can click the Folder option to create a new folder for your images.
-
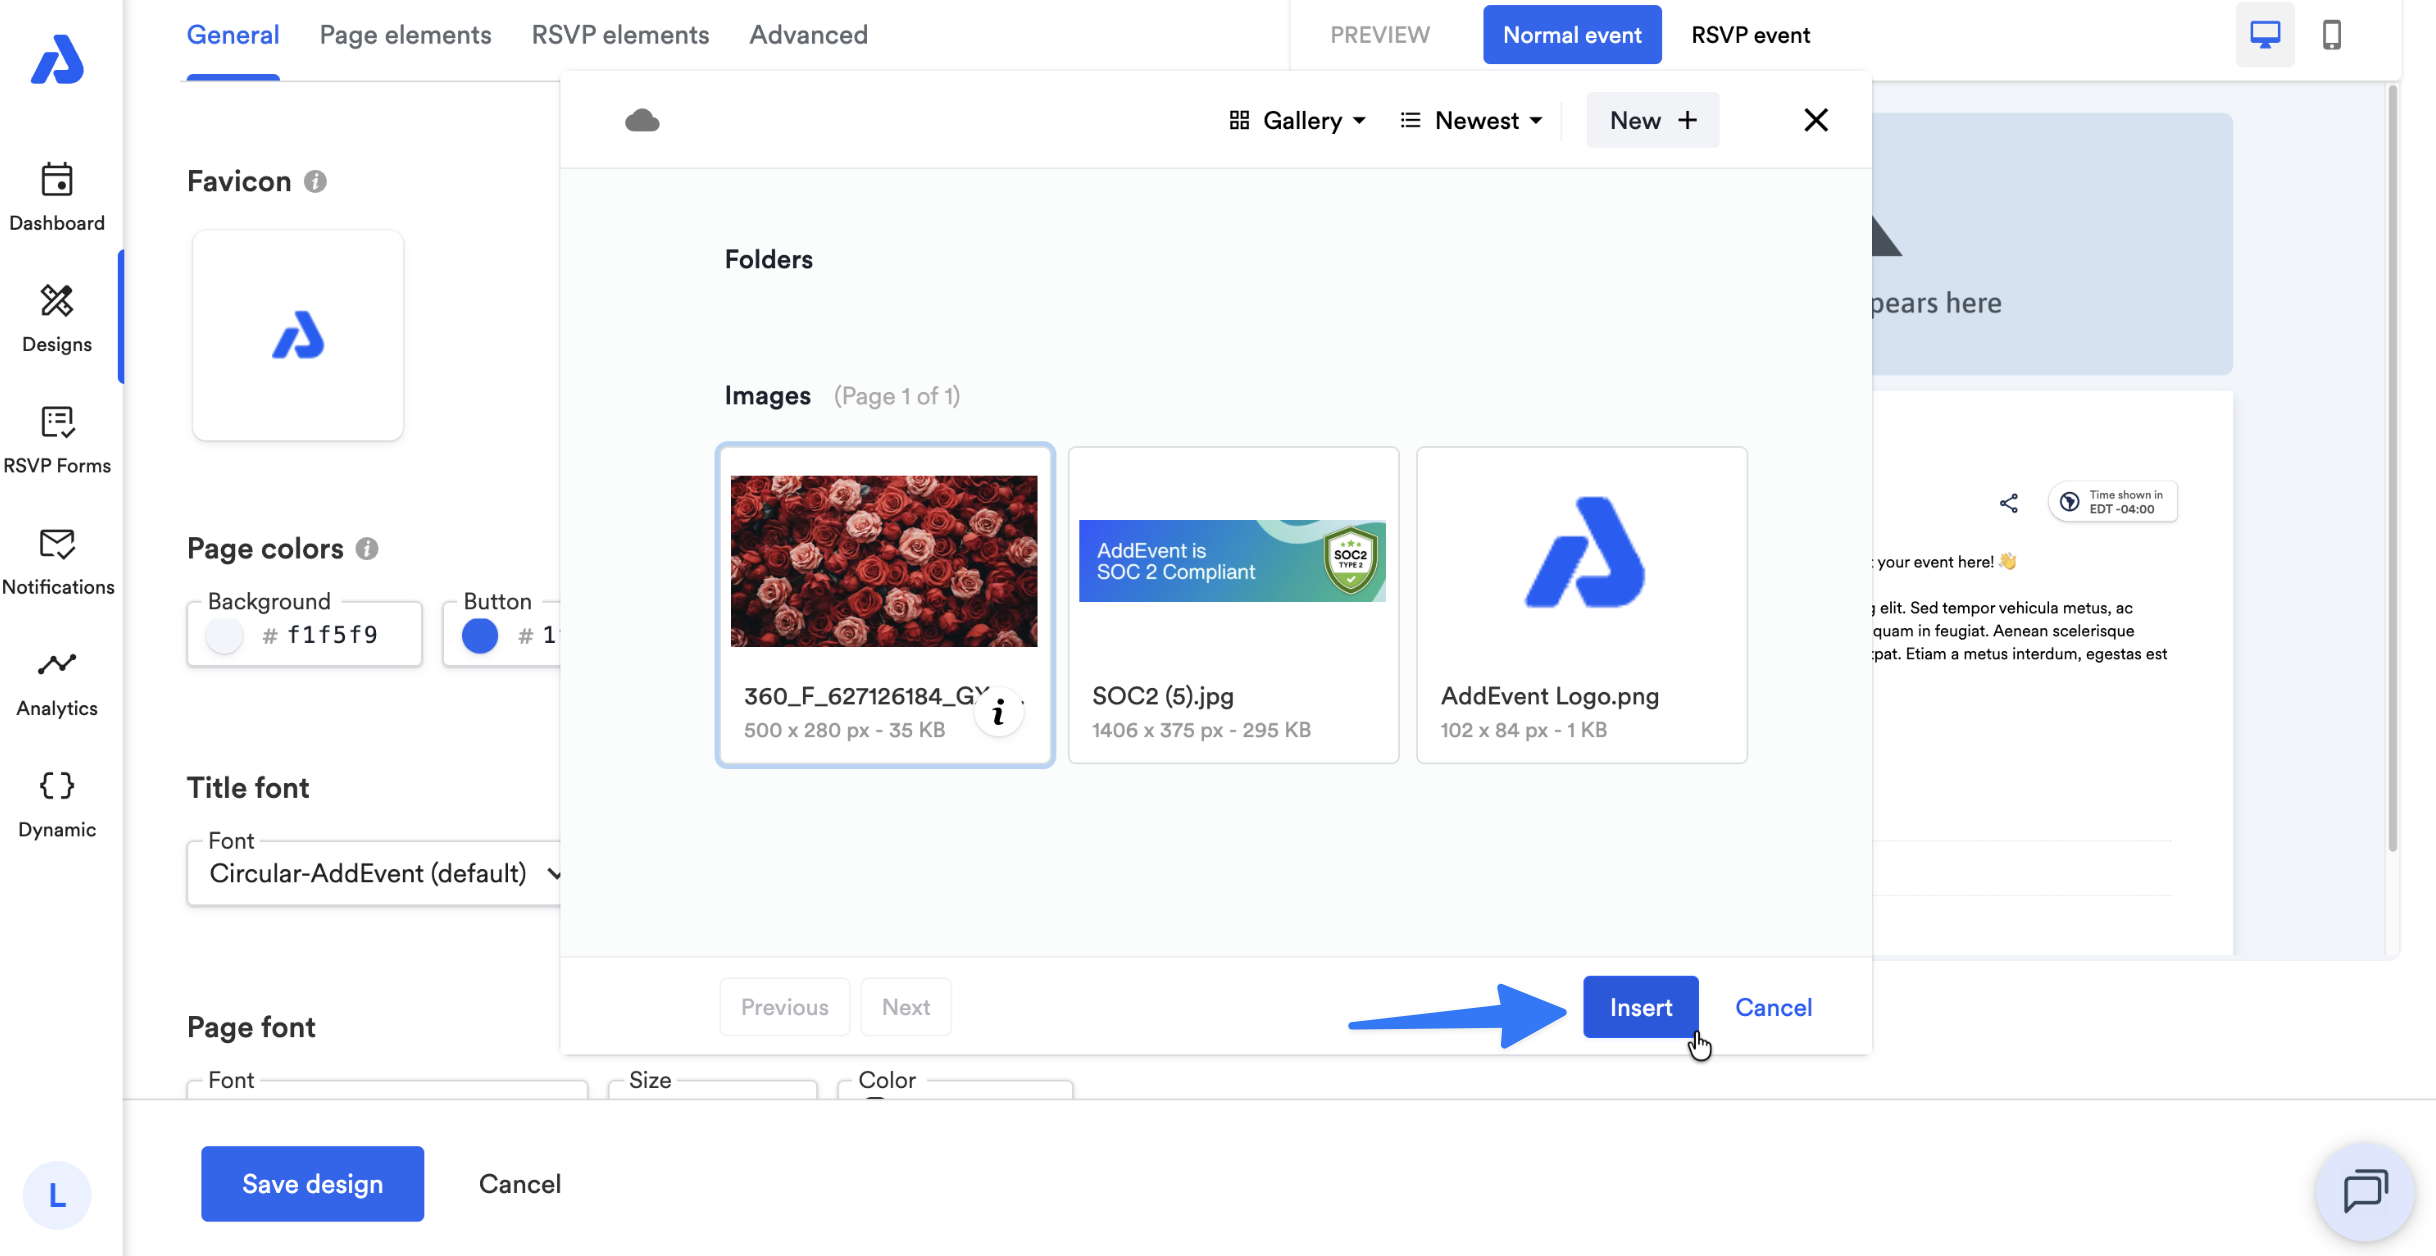
After following the prompts to upload your favicon image, select the image and click the Insert button.
-
Customize any other design settings you would like and click the Create / Save Design button at the bottom of the page.
-
Lastly, apply the design template to your calendar/event. To learn how to apply a design template, see our help docs below:
a. Apply an Event Landing Page Design Template to an Event
b. Apply a Calendar Landing Page Design Template to a Calendar
Updated 3 months ago