Apply a Calendar Image
This help doc explains how to add an image to your calendar landing pages. Adding a calendar image helps brand your calendar and makes your landing pages more visually engaging. Calendar images display as banners across calendar landing pages.
How to Add a Calendar Image
-
From the Dashboard, click the calendar's title from the Calendars list. You will be directed to the Calendar details page.
-
From the details page, click the ellipsis icon located to the right of the calendar's title.
-
From the following dropdown list, select the Edit option.
-
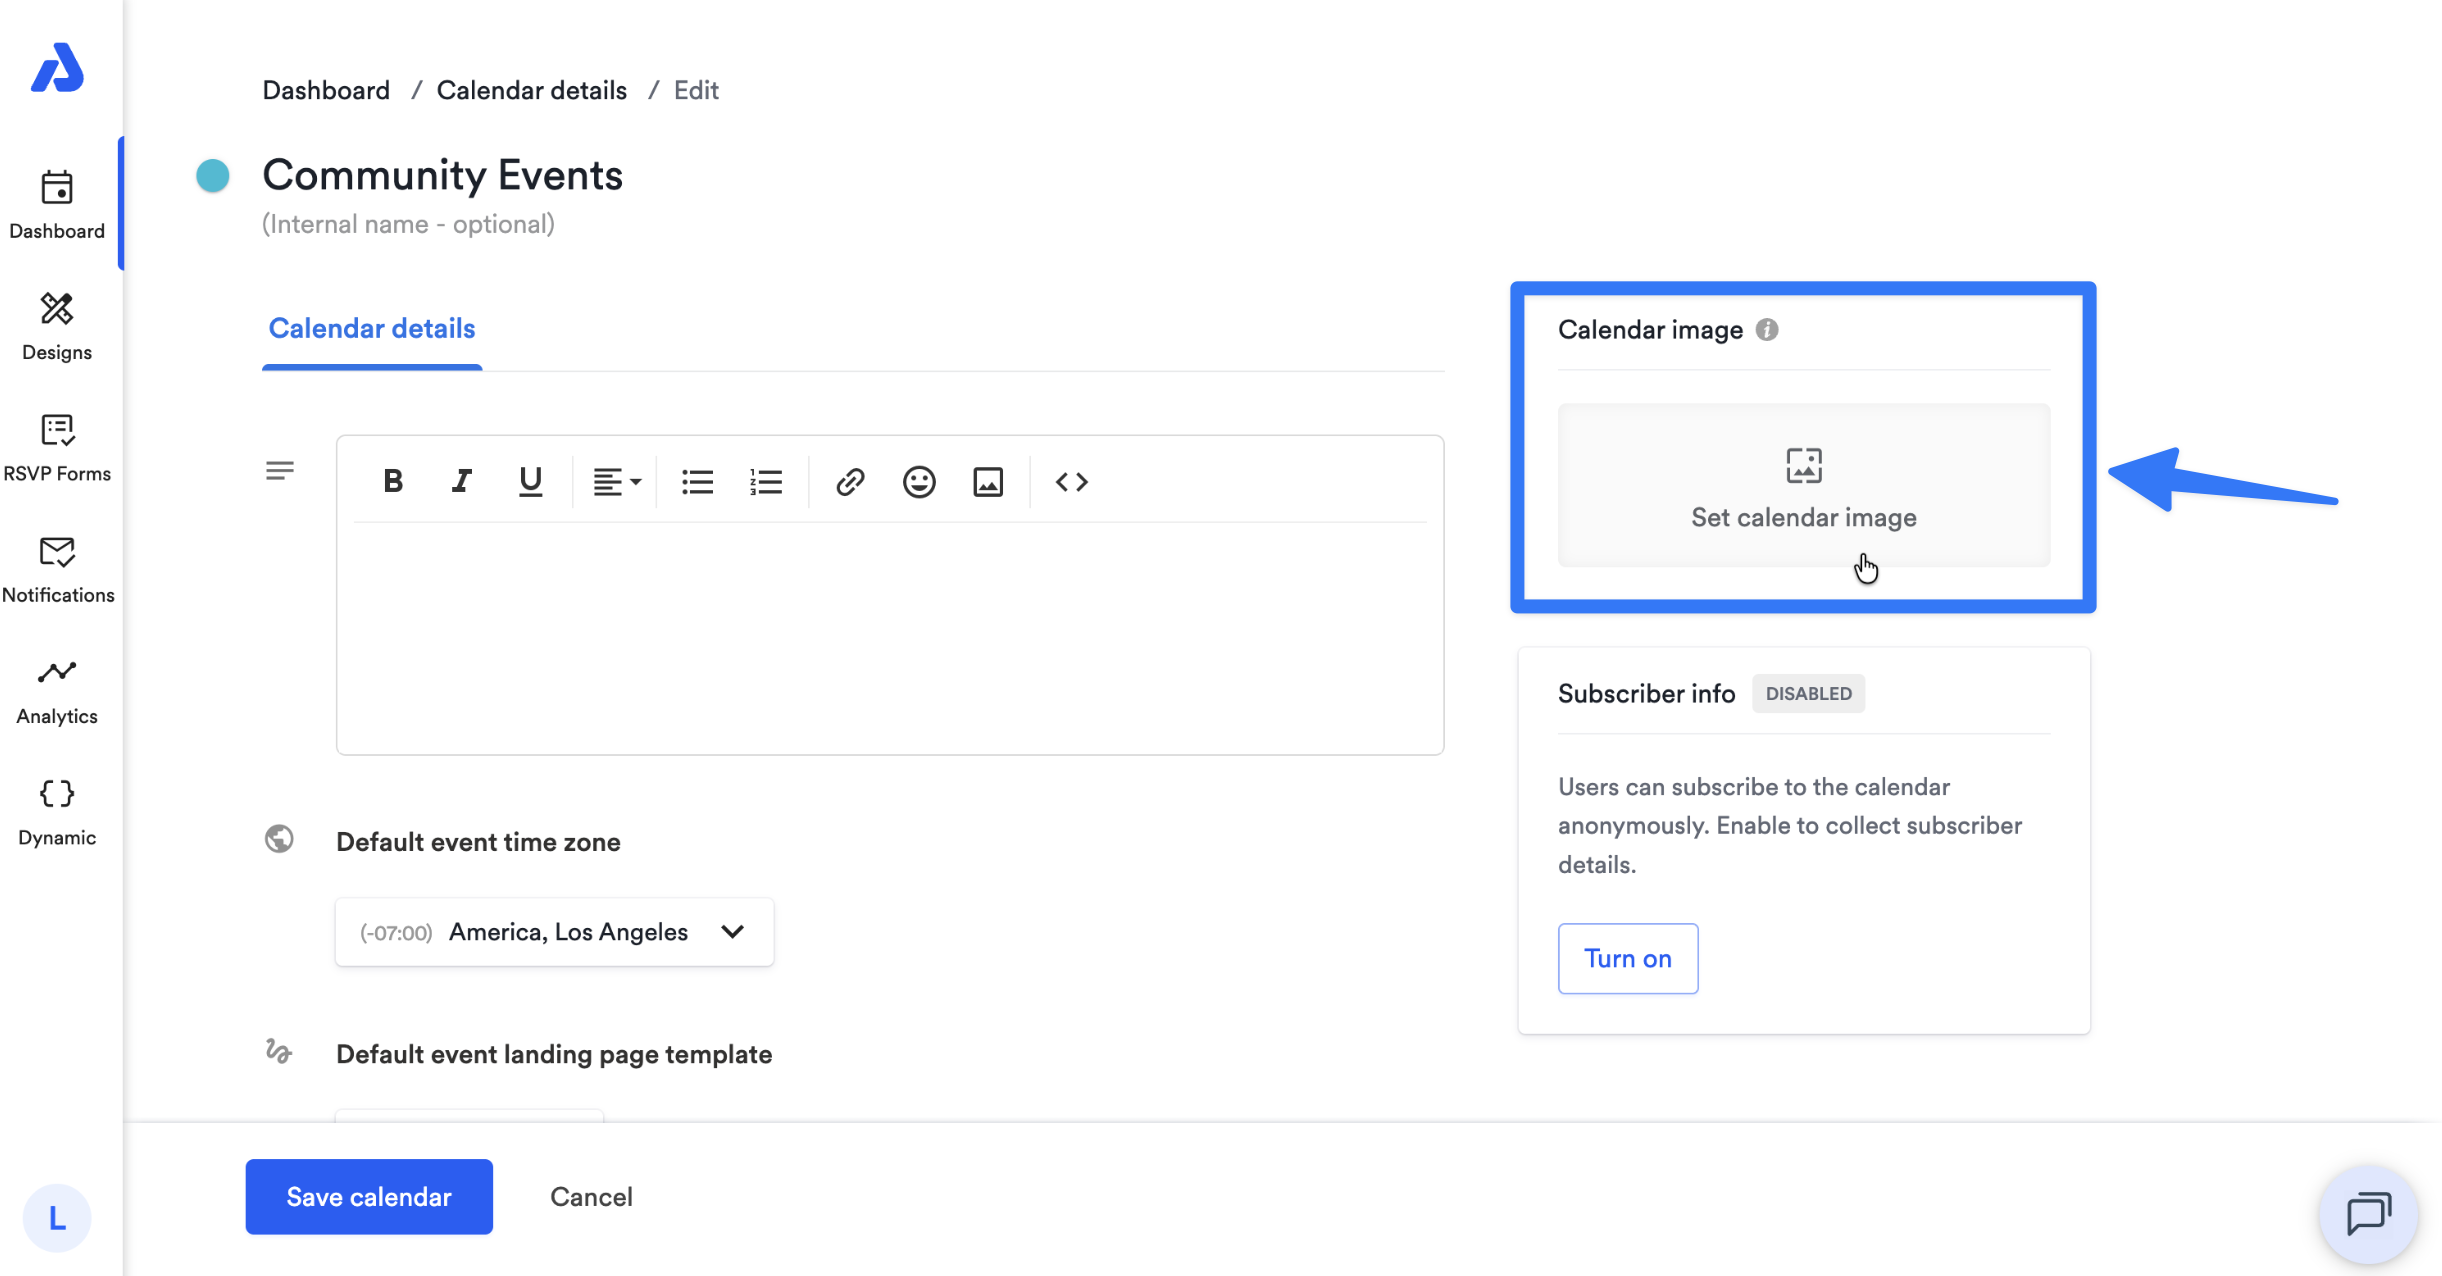
On the following Edit page, click Set calendar image located on the right side of the page.
-
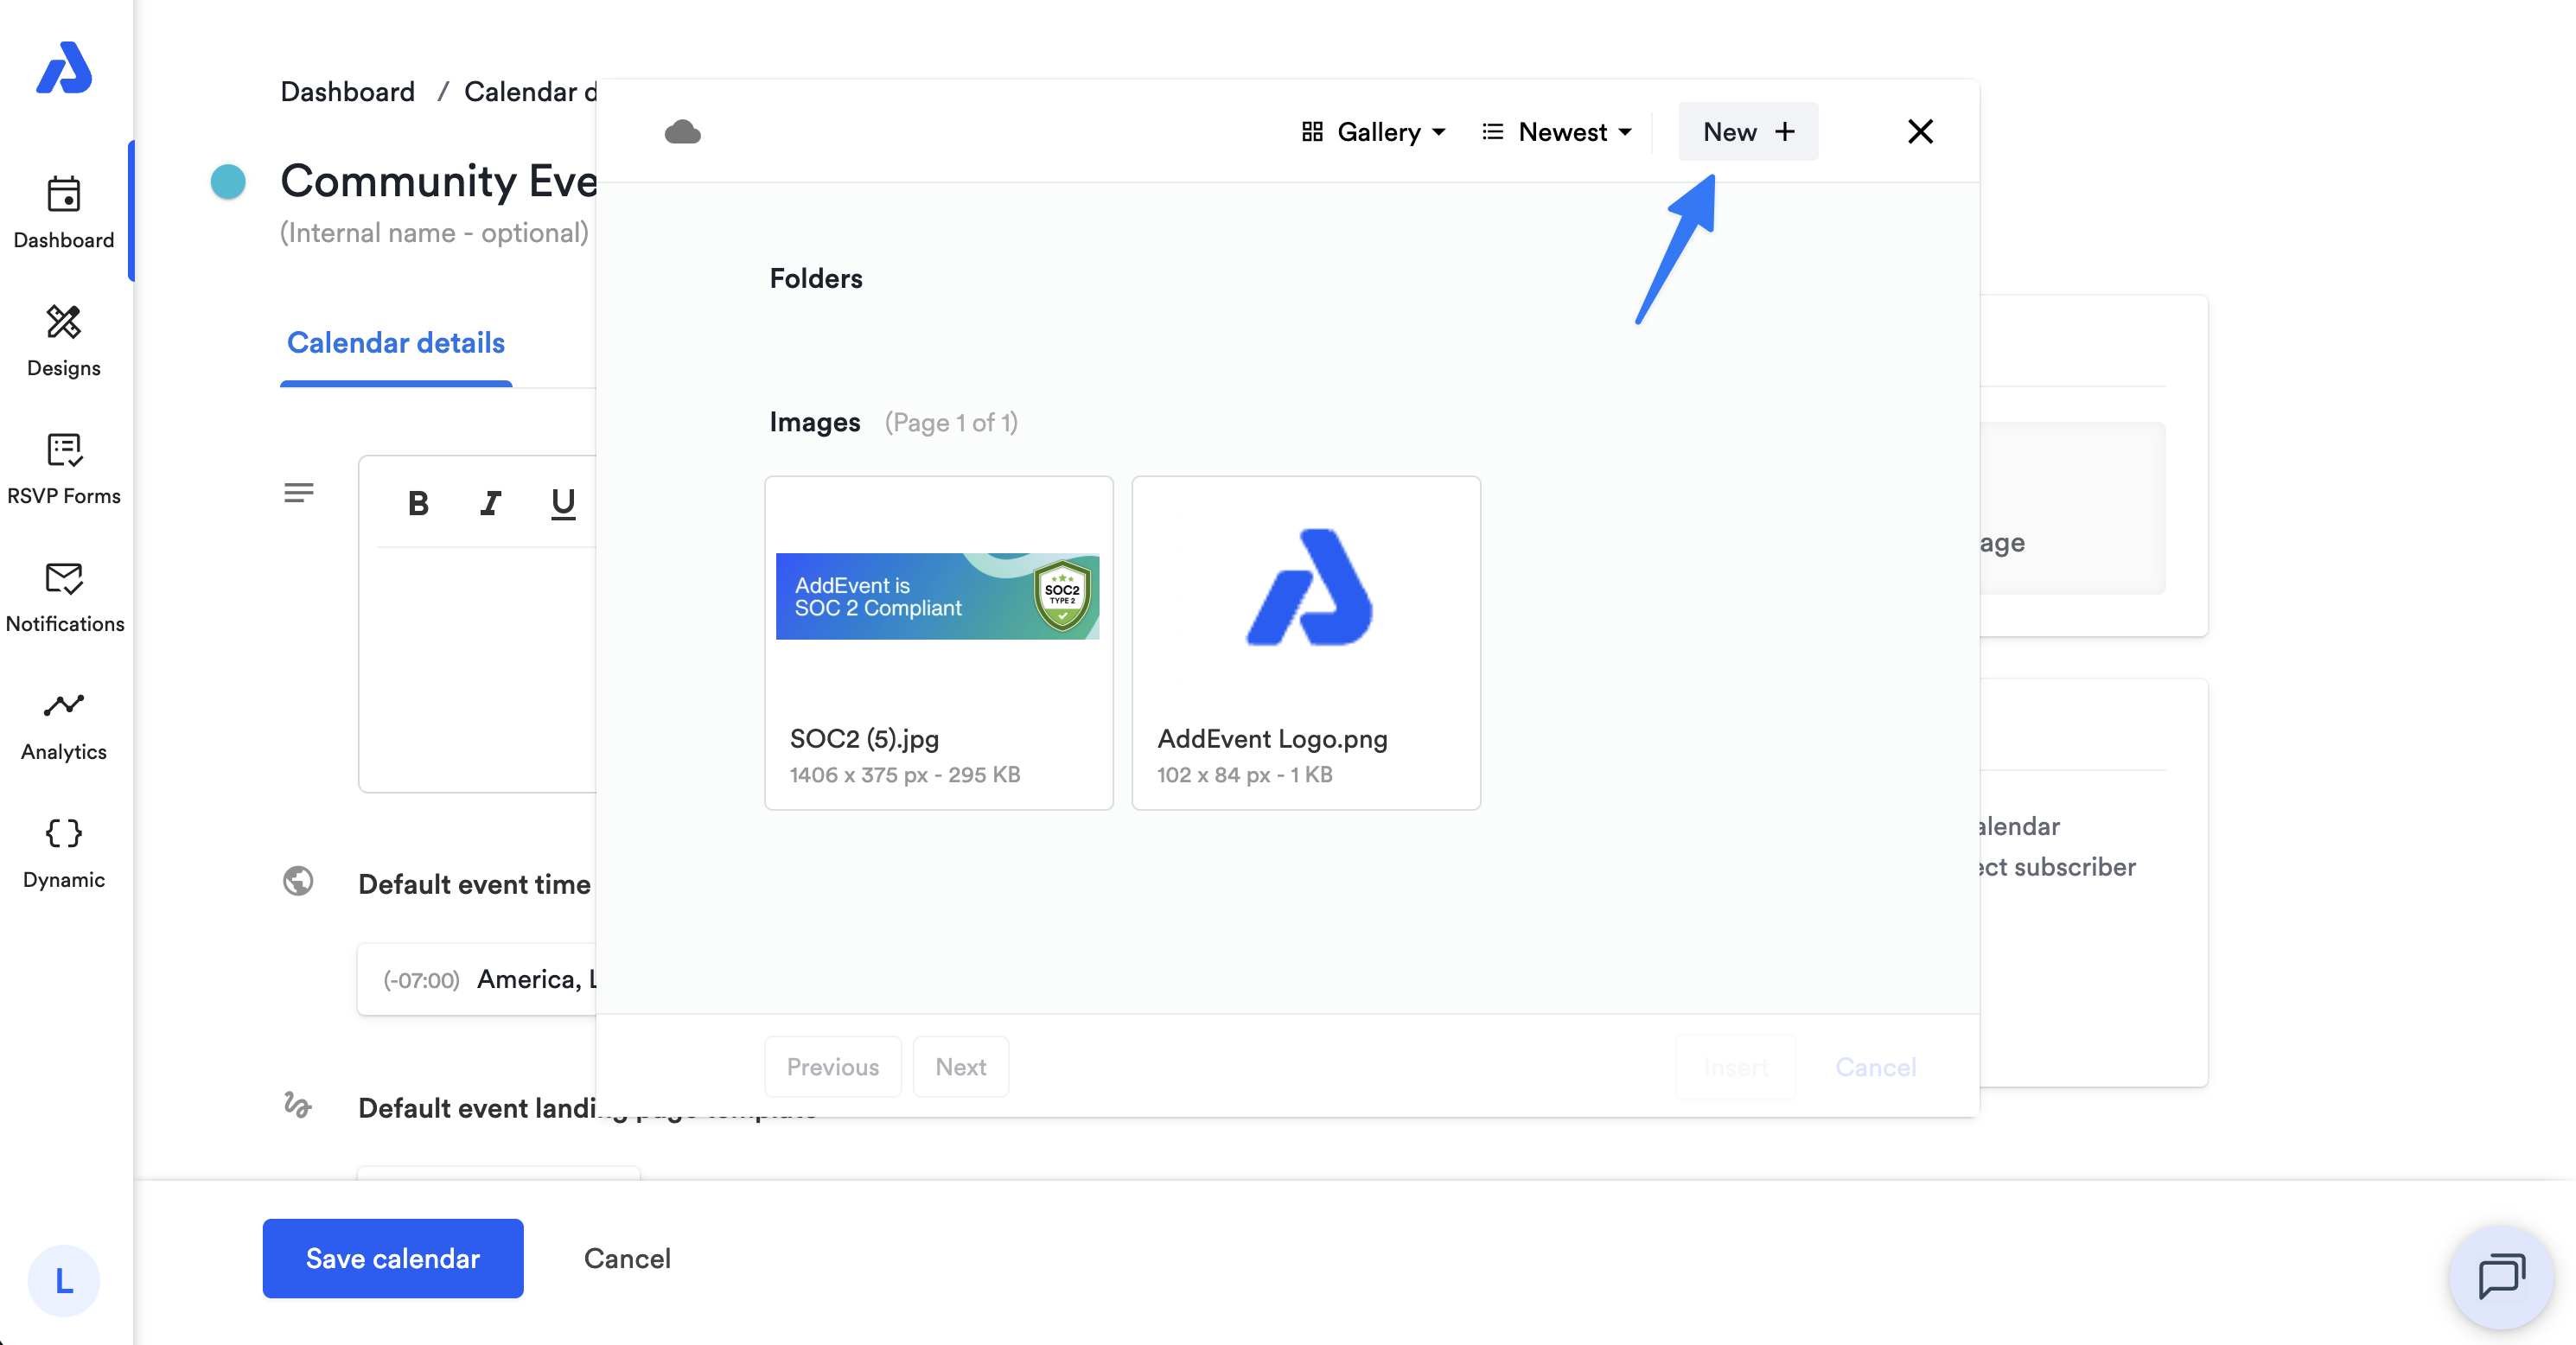
From the following popup window, either click the New + button to upload a new image, or select an existing image previously uploaded.
-
Once the image is uploaded or you have selected an existing image, select the image and click the Insert button.

-
Click the Save calendar button. The uploaded image will display as a banner across the top of your calendar landing page.
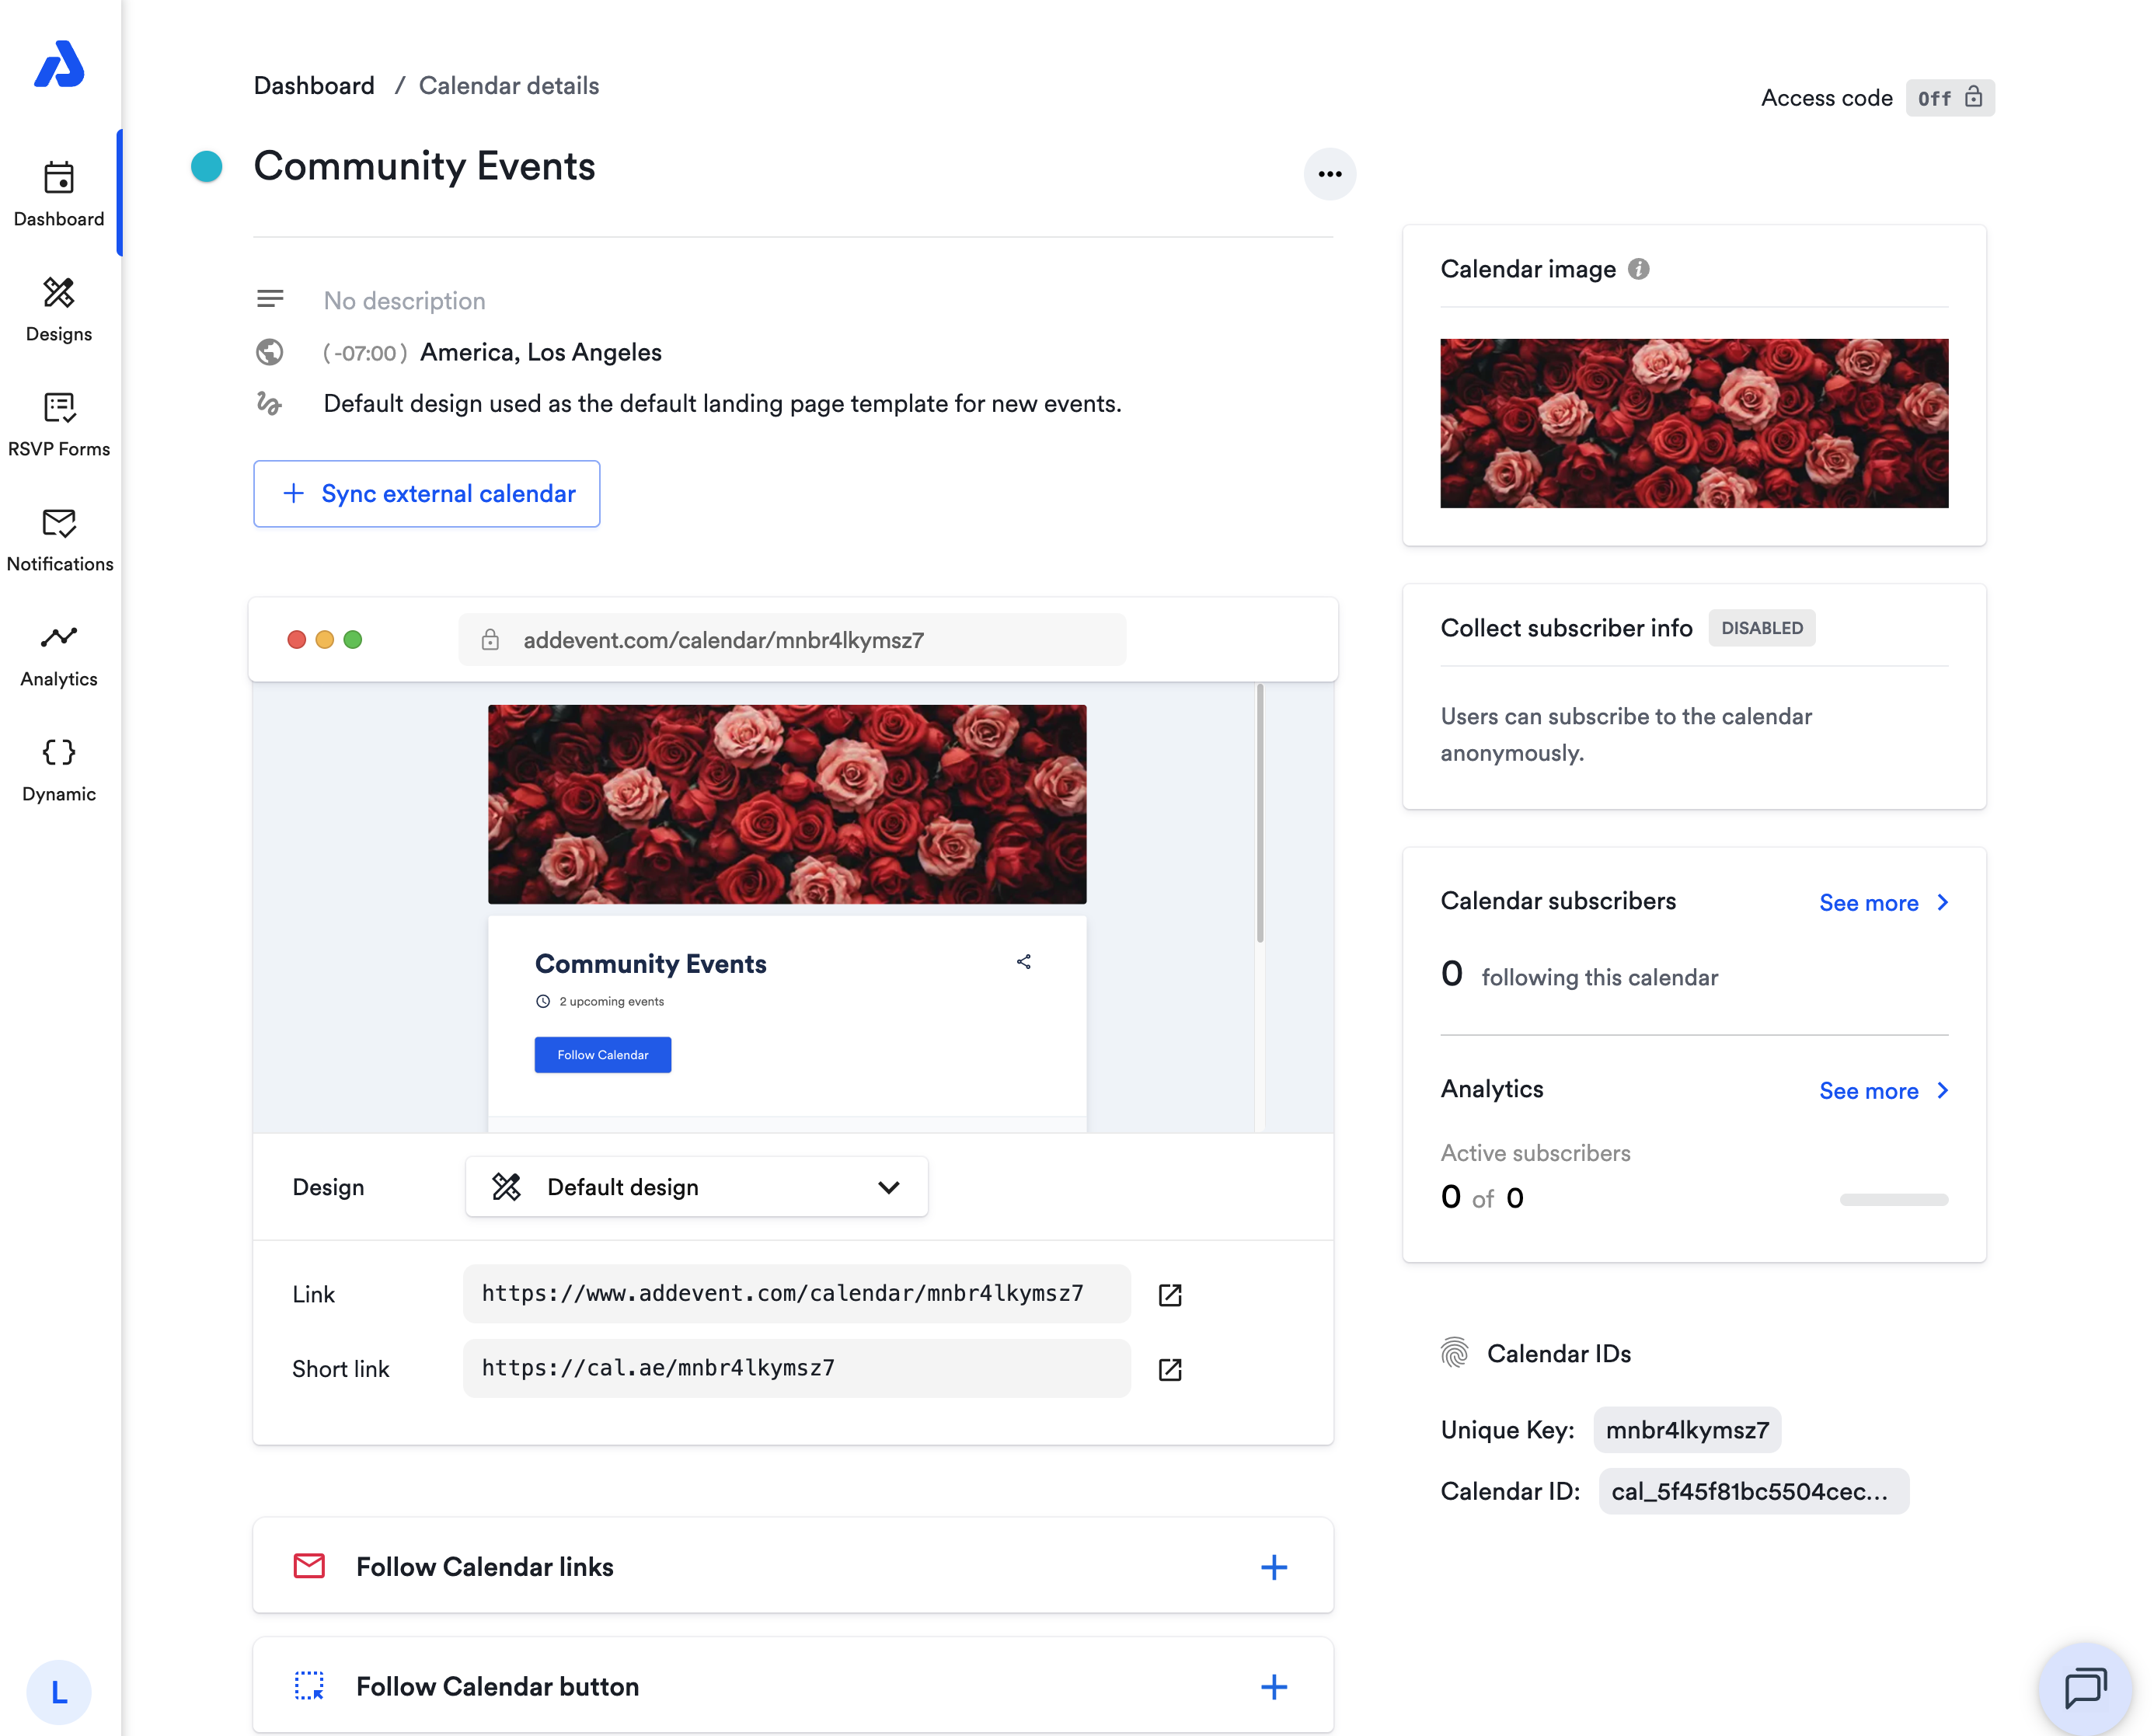
The recommended calendar image size is 1600 x 533 pixels
Where Calendar Images Appear
Calendar Landing Pages – as a banner at the top of the calendar landing page.
If you’d like to learn more about customizing your calendar landing pages, check out our Design Templates guides.
Updated 28 days ago