Settings
Account Info
Account Name
The account name is assigned using the name entered when signing up for an AddEvent account. This name can be edited on the settings page.
Client ID and API Token
Client ID and API token are two IDs we use to identify your AddEvent account. The Support team may ask for the Client ID to help us identify your account when troubleshooting questions.
The API token can be refreshed if needed.
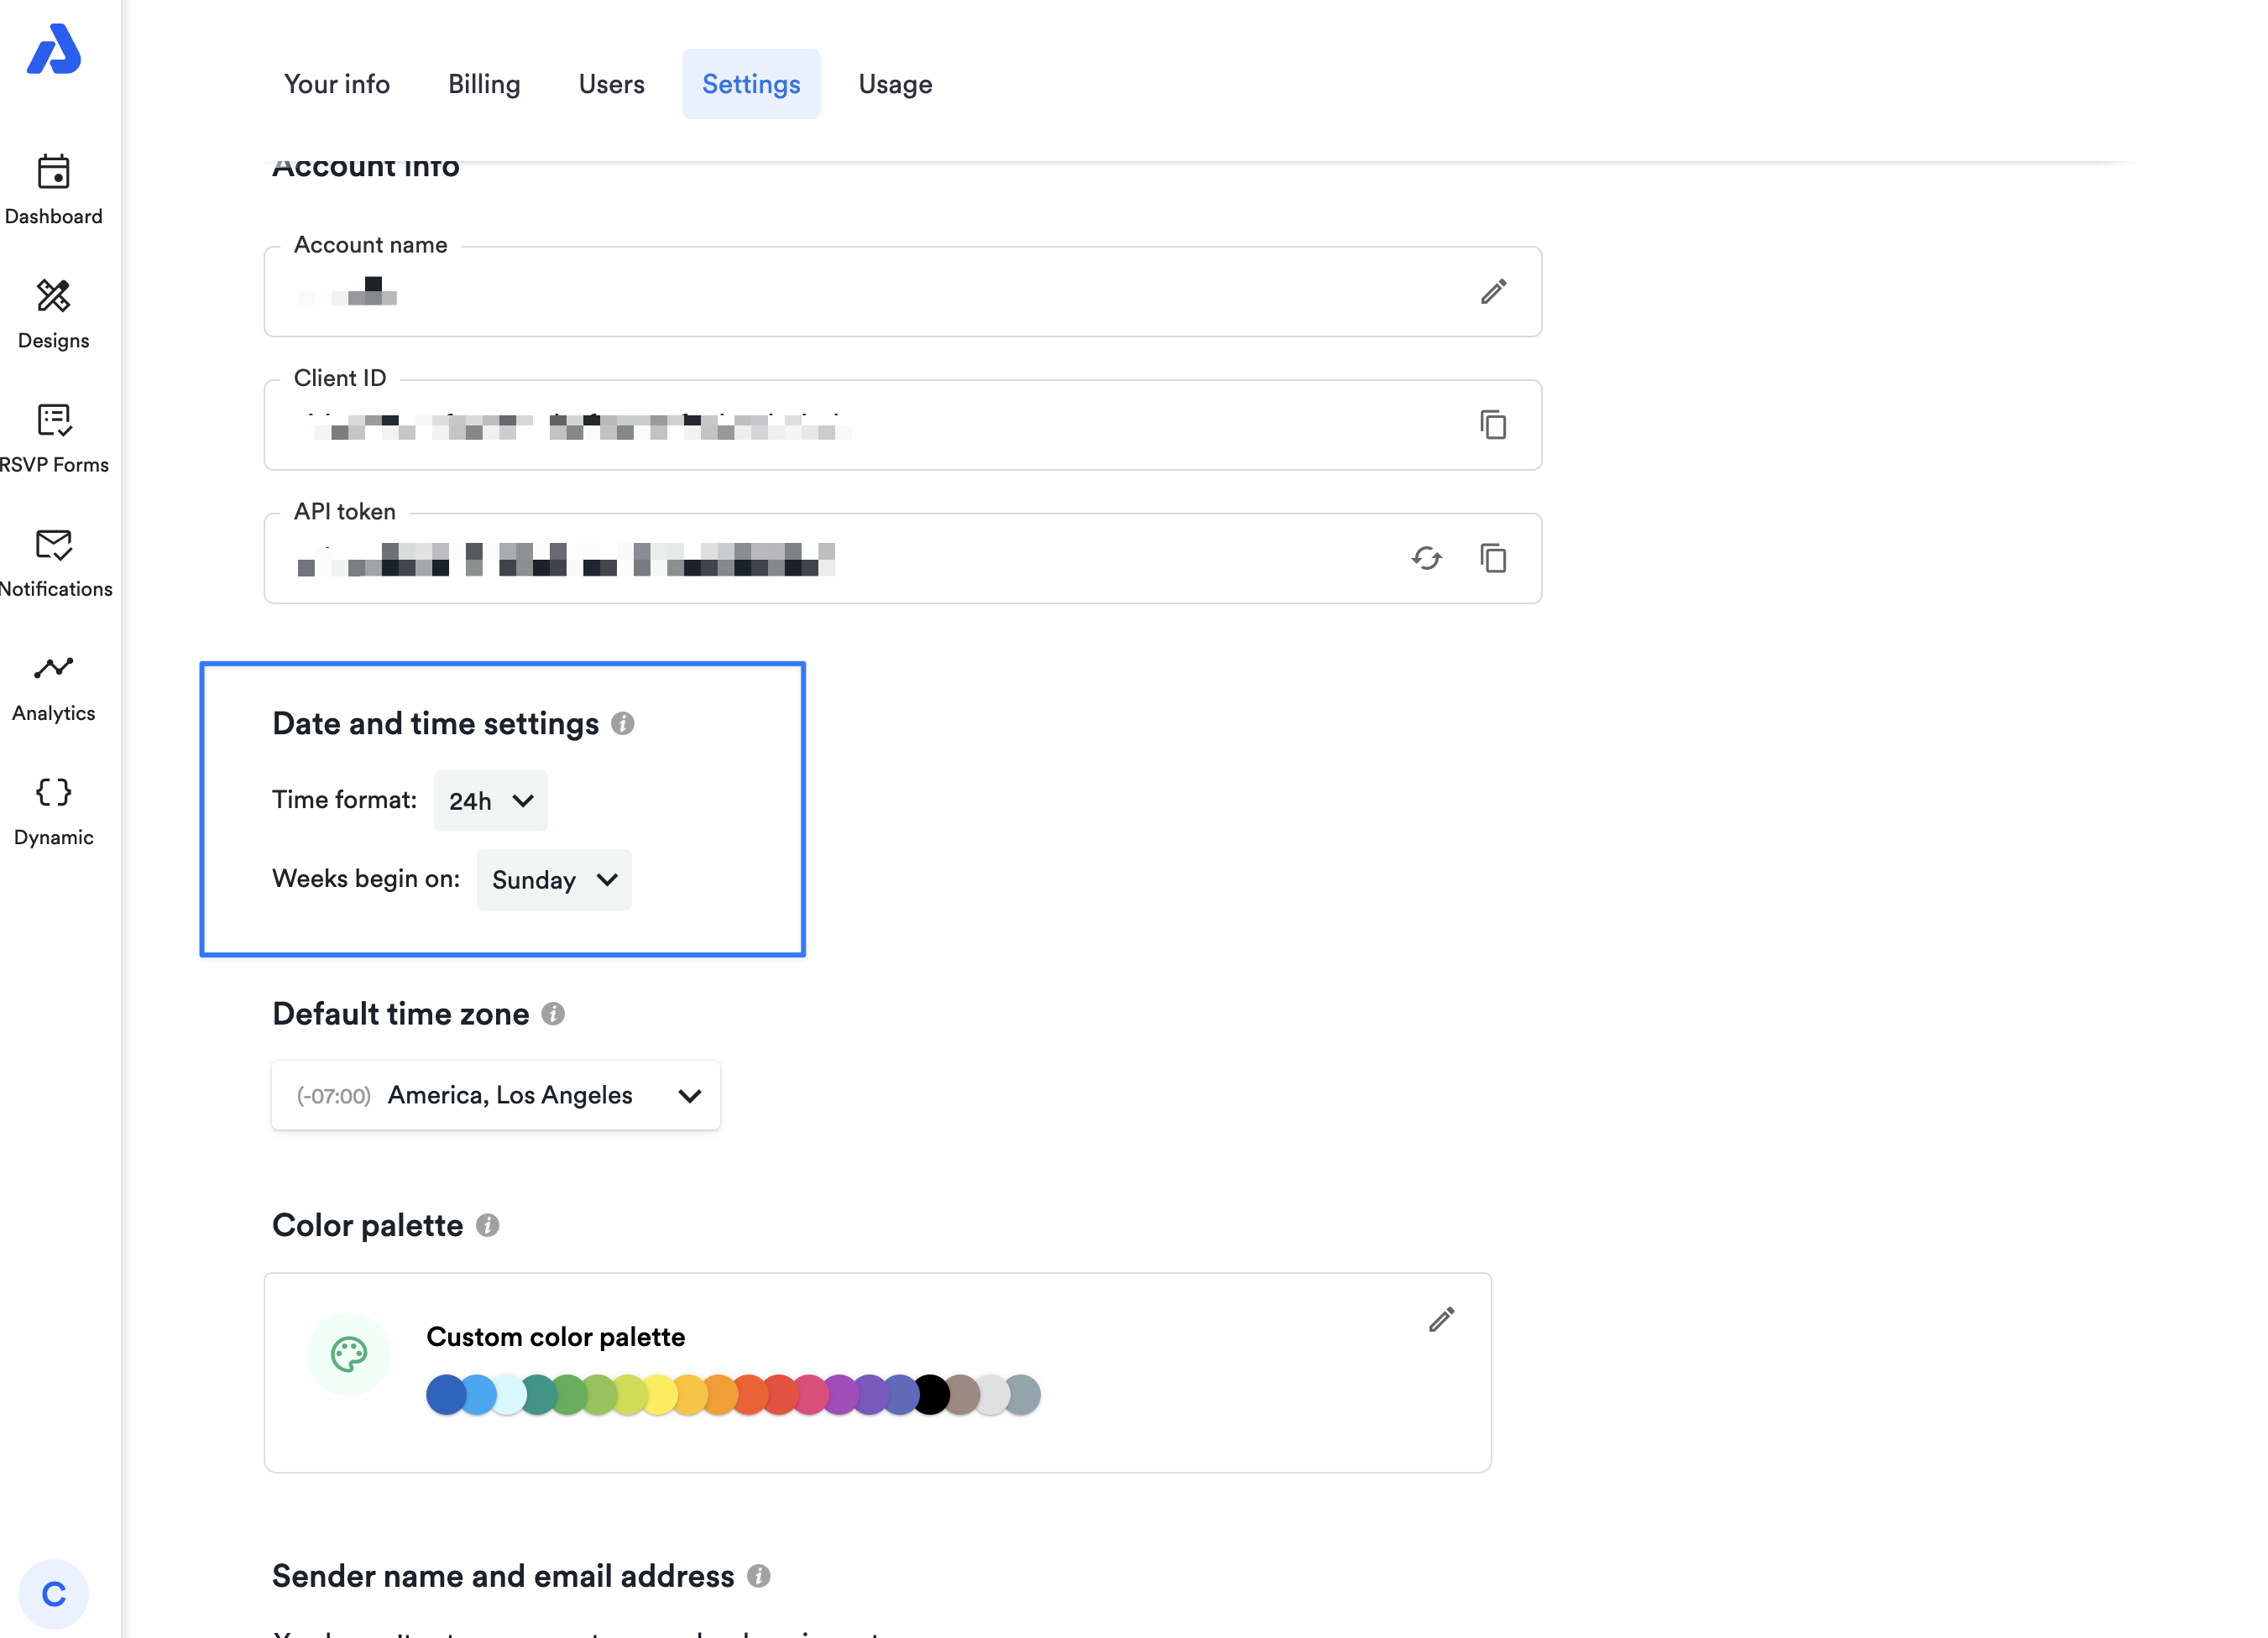
Date and Time Settings
- Events can be displayed in either a 12-hour AM/PM or 24-hour format.
- Show calendars with weeks beginning on a Monday or Sunday .
Note: The date and time settings only apply to events and calendars when viewing the Dashboard.
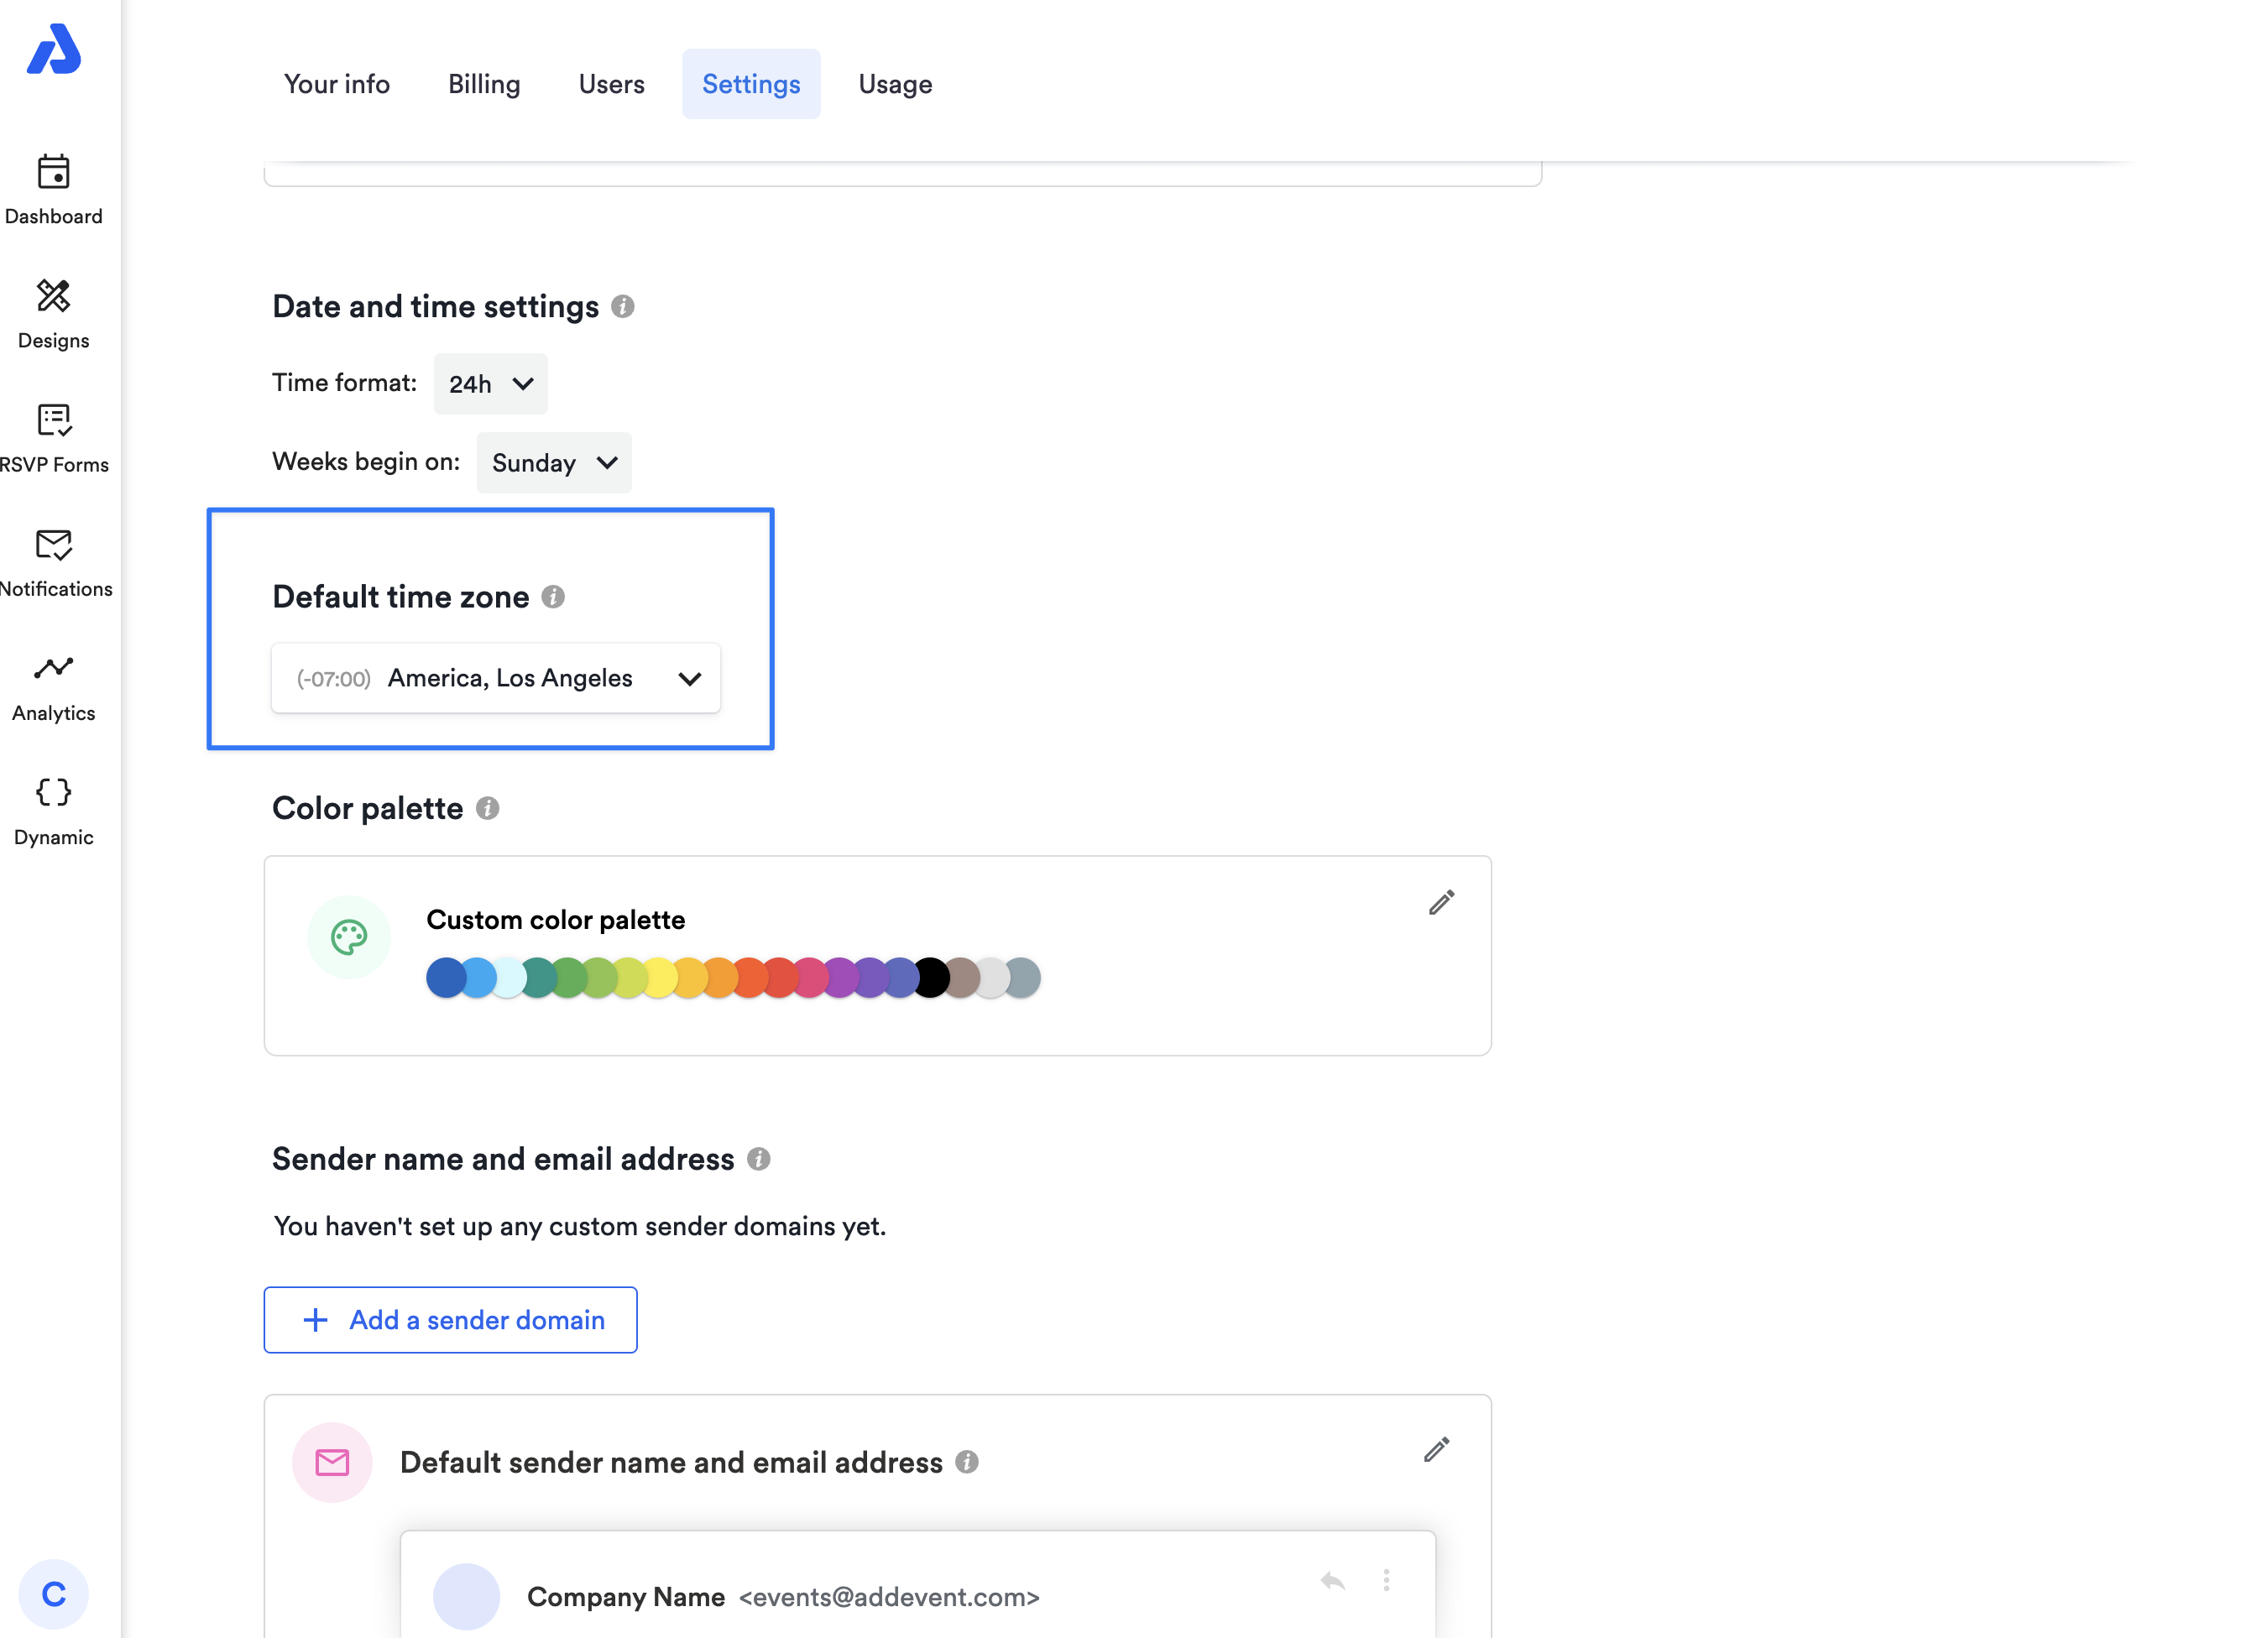
Default Time Zone
The default time zone is applied to all newly created calendars in the account.
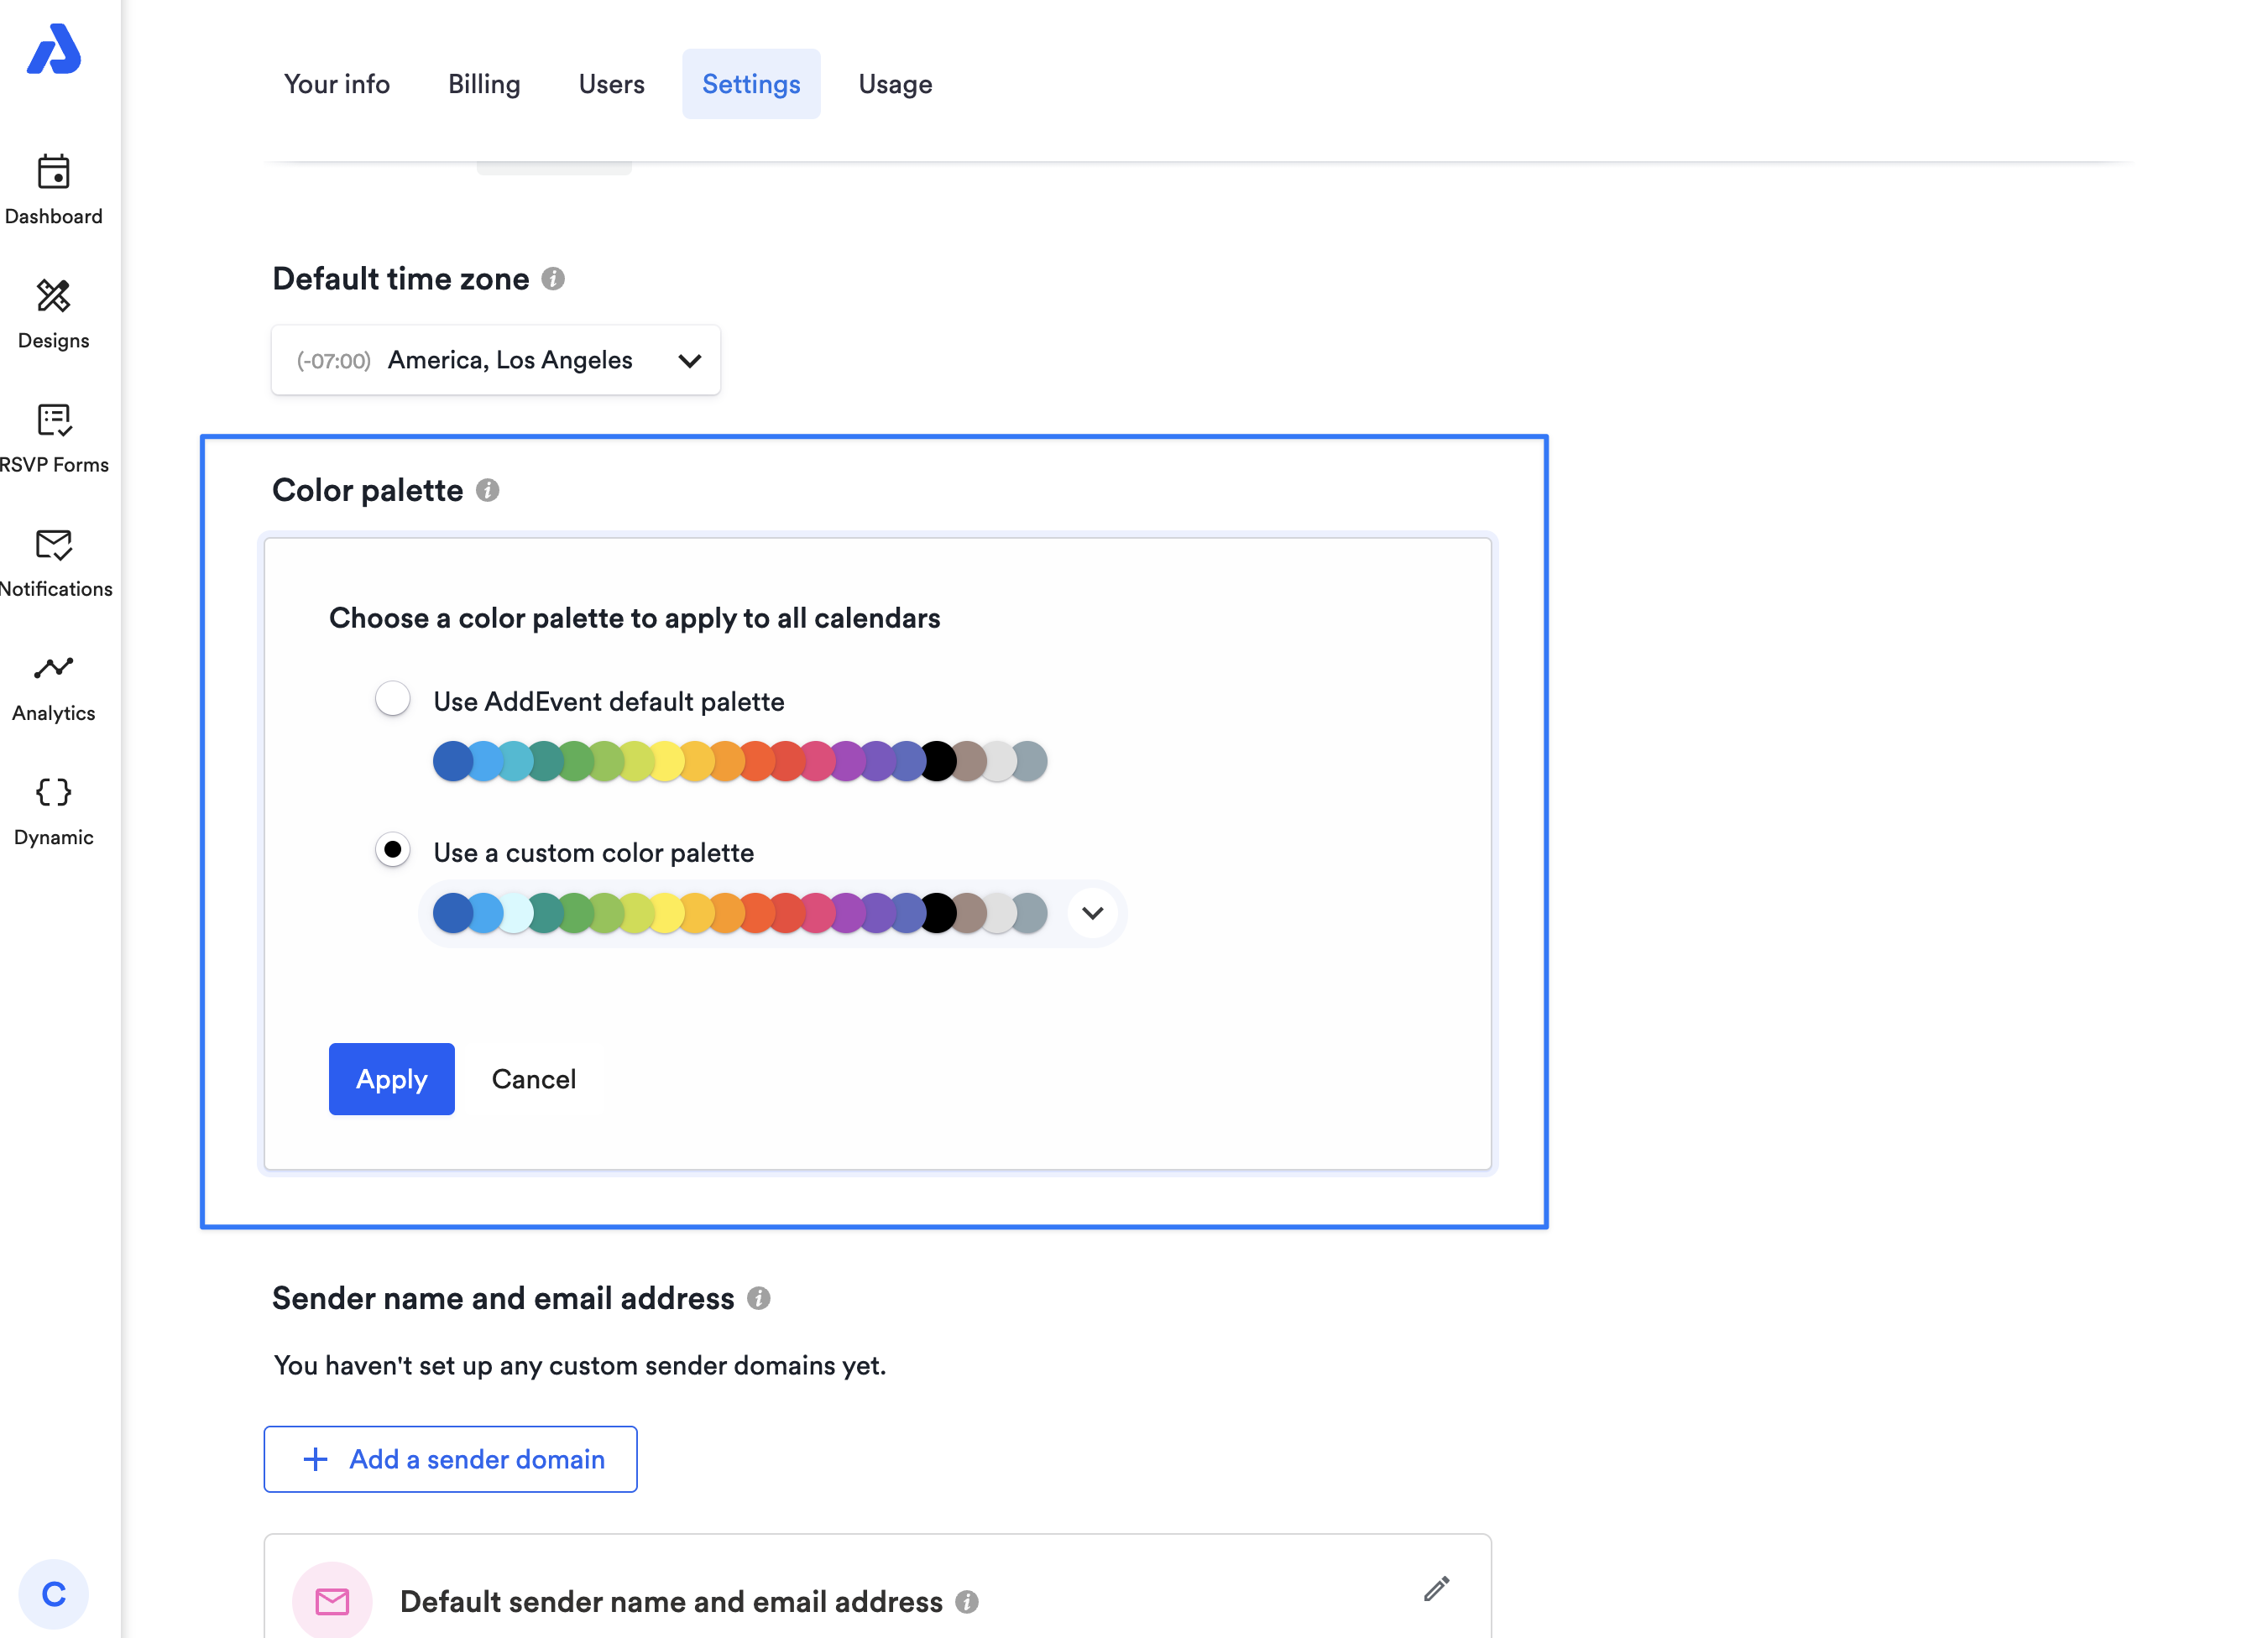
Color Palette
Color palettes determine the set of colors that can be applied to events and calendars.
Sender Name and Email Address
Confirmation, reminder, follow-up, update, and other attendee emails can be sent from your account. Sender name, email address, and reply-to email address can also be customized individually within each email design template.
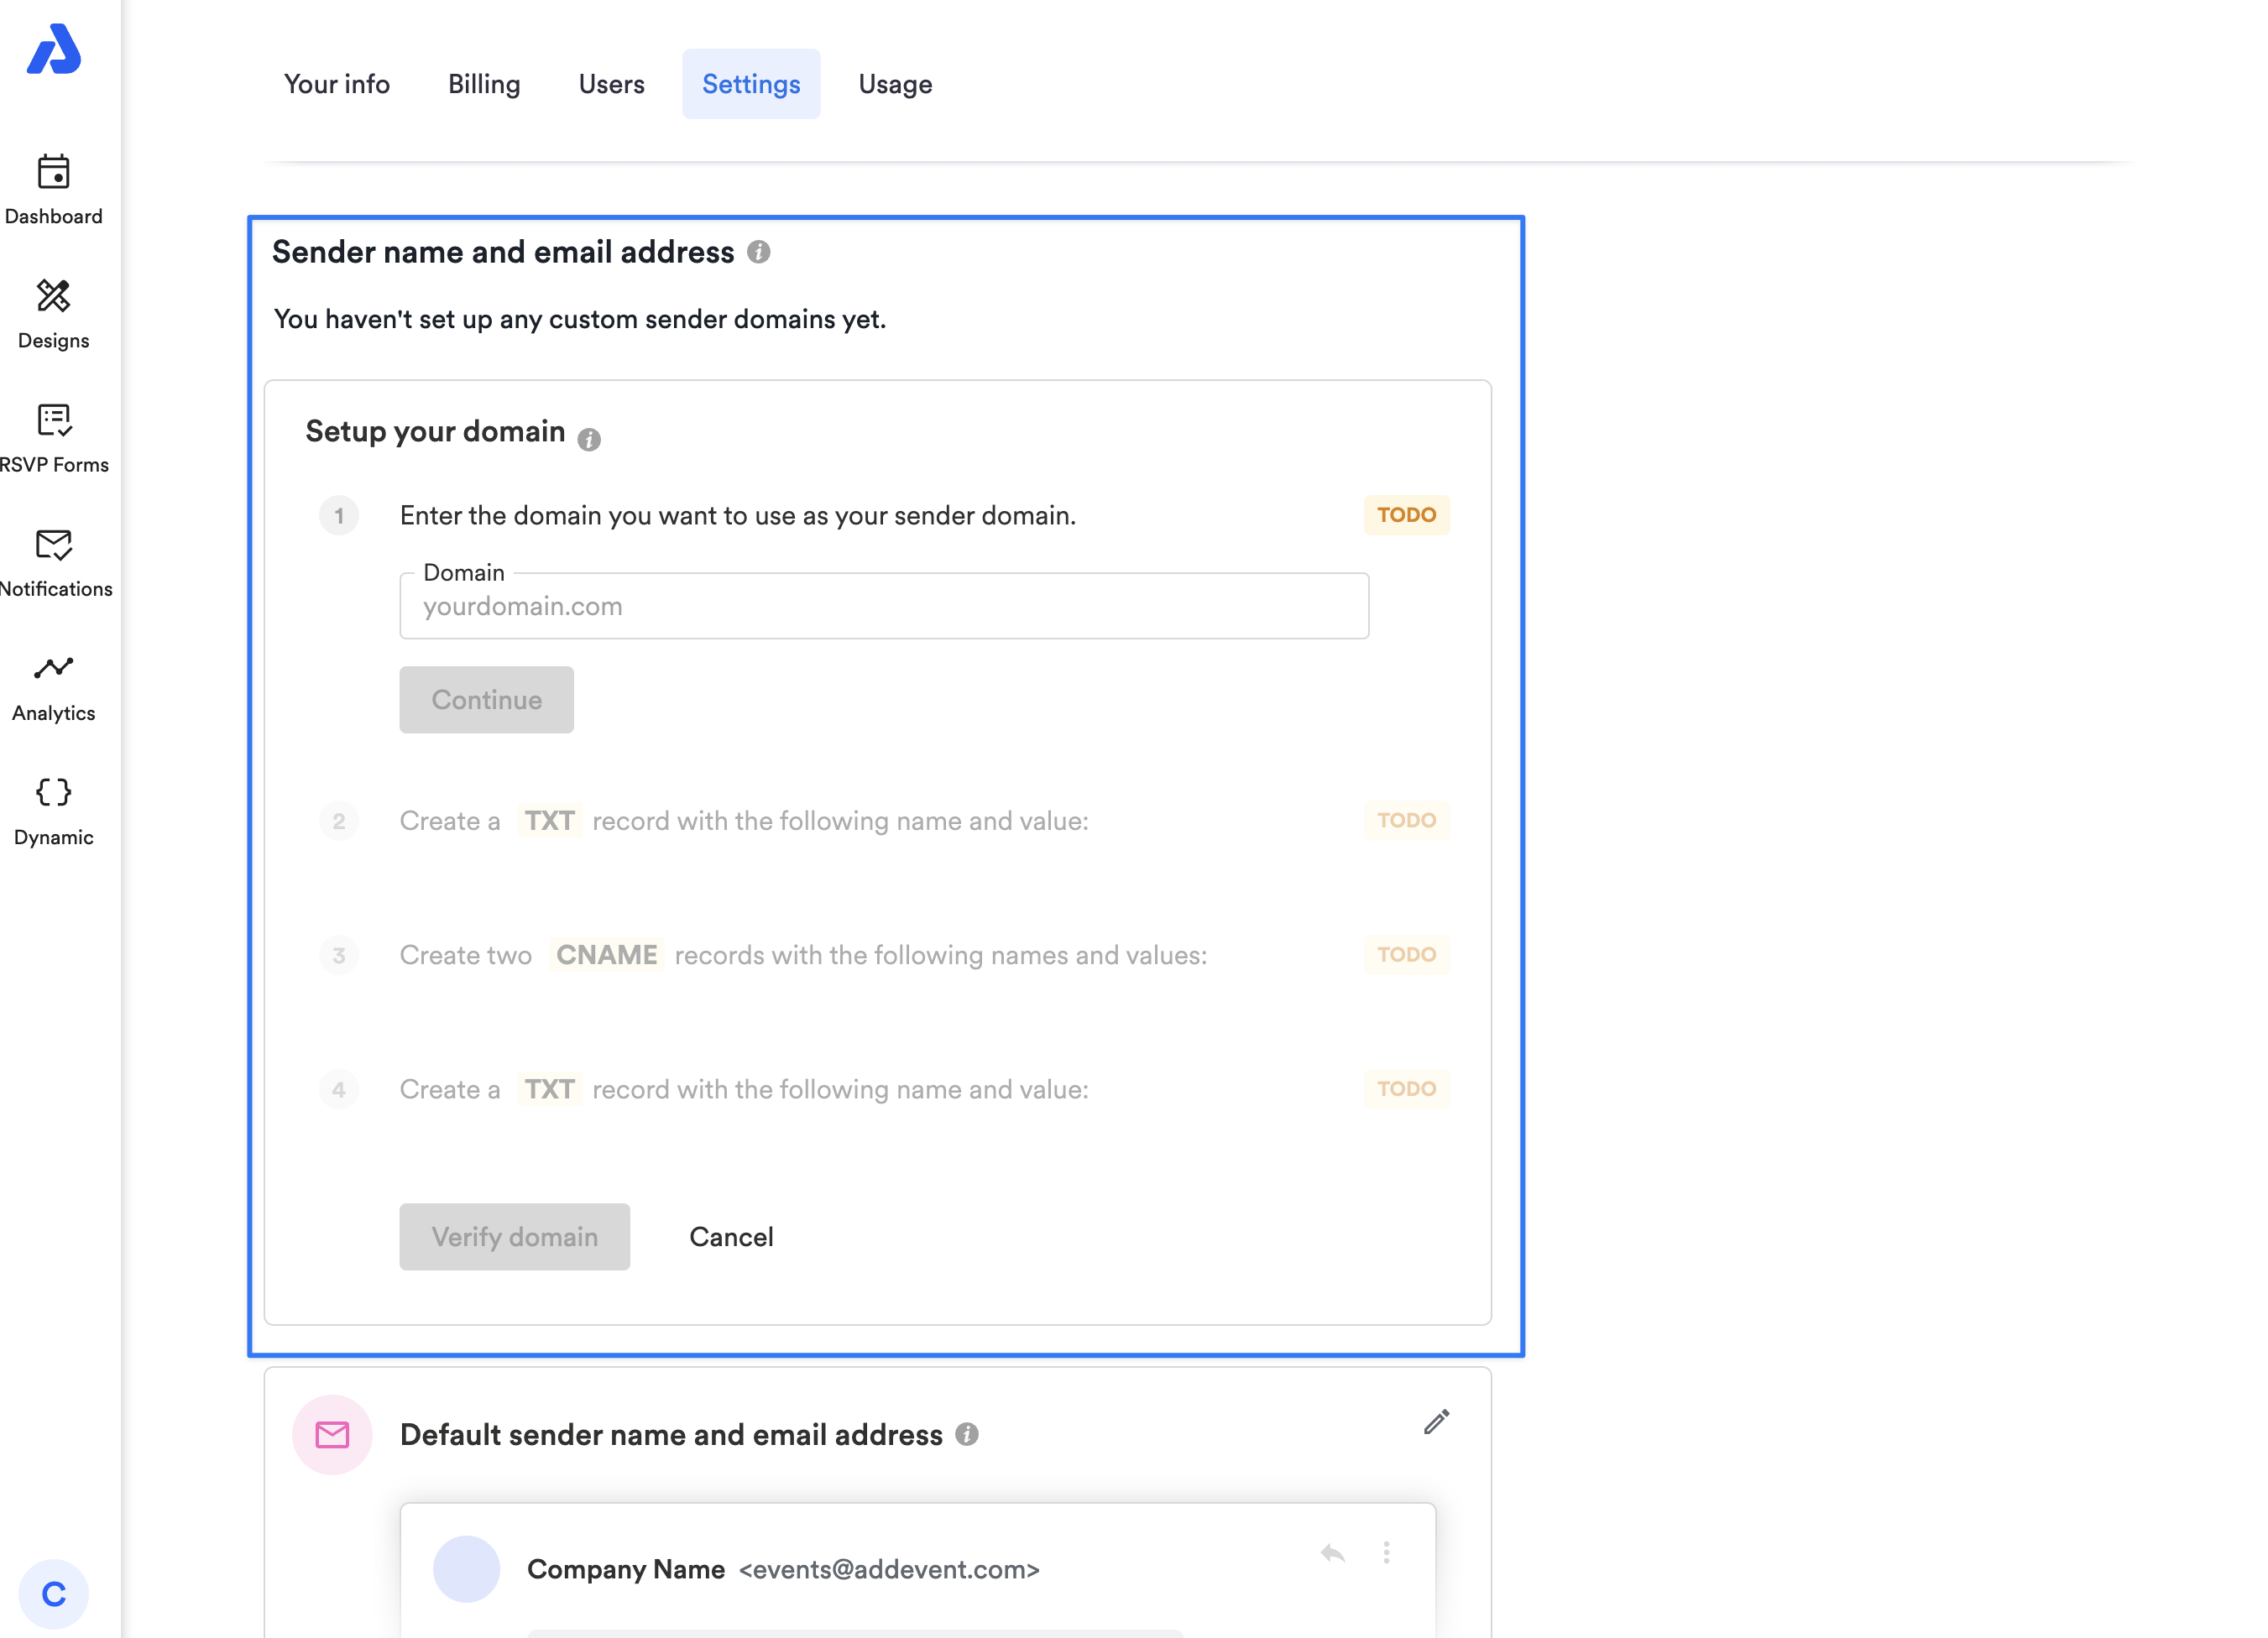
Setup Your Domain
Adding a sending domain allows you to send emails from your domain e.g. [email protected].
Before you can use the sending domain, you need to verify you own it by adding several records to your domain's DNS records.
This setup is typically managed by your Engineering or Dev Ops team. See here for Domain Email Set up Glossary.
Please note: You can't use free email providers like Gmail, Yahoo, or AOL. You need to own the domain.
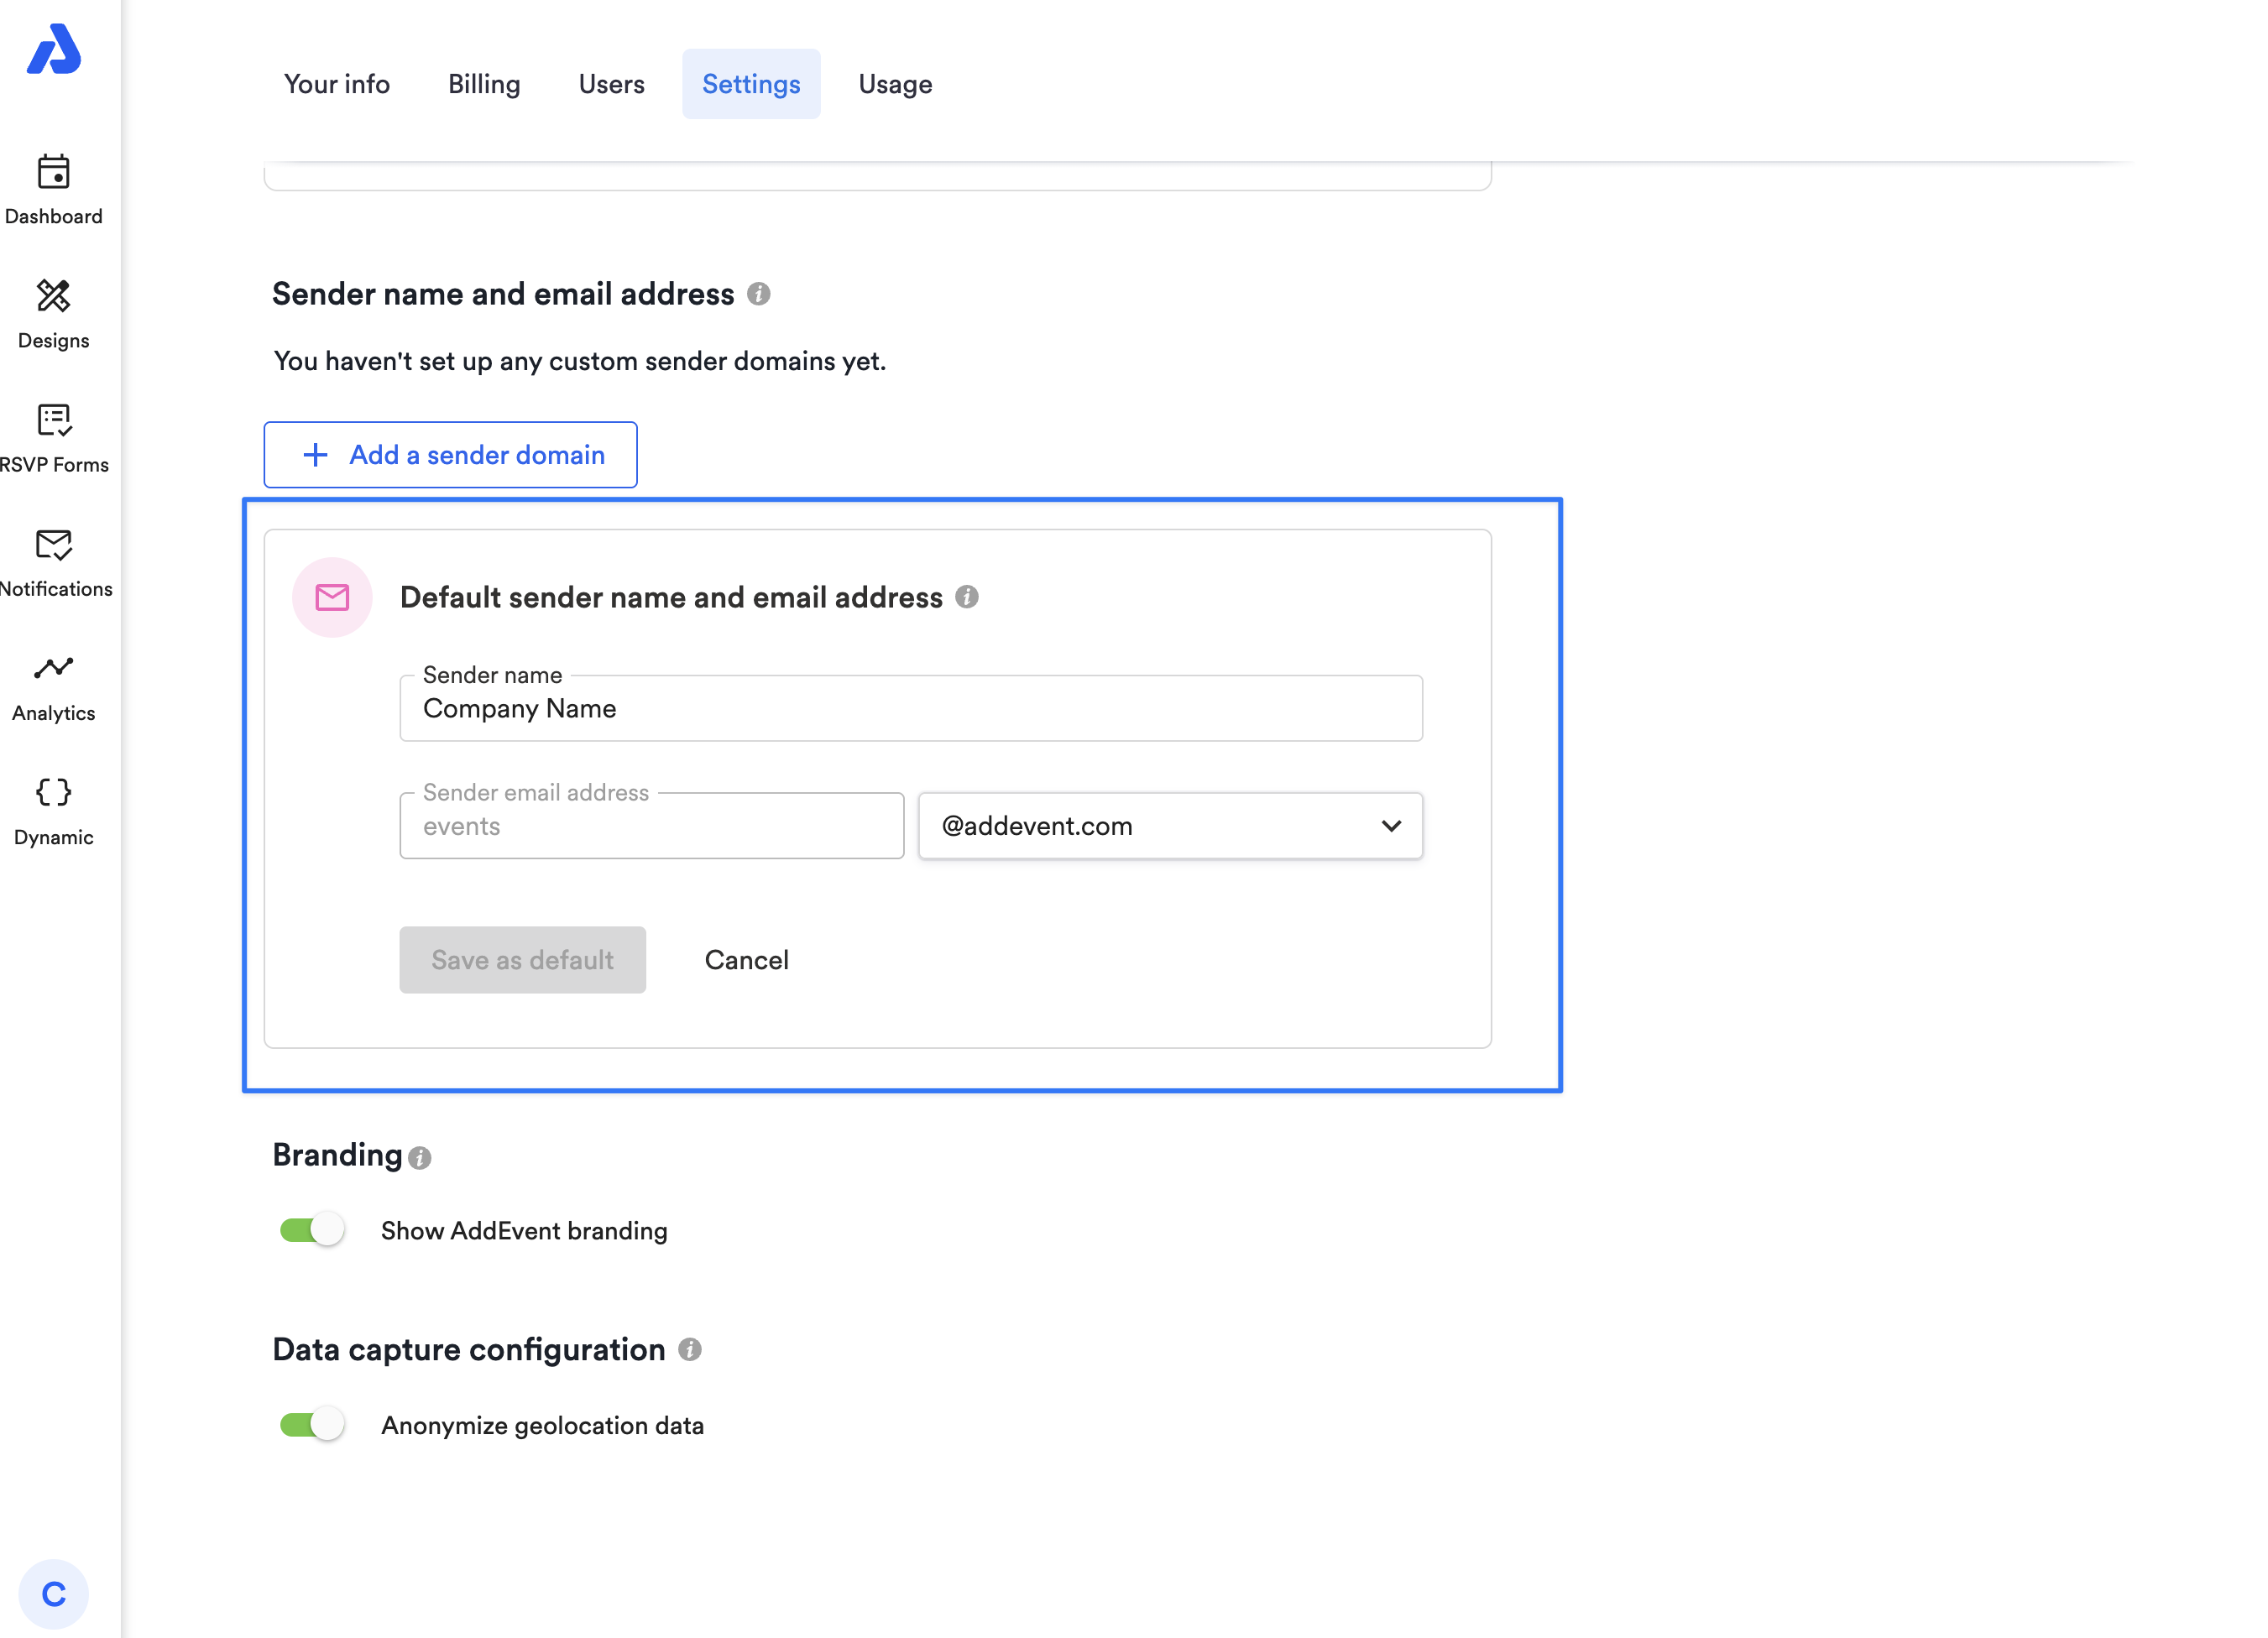
Default Sender Name and Email Address
Your default sender details are used for the default notification flow or when using the default email design. Sender name, sender email address, and reply-to email address can also be customized individually within each email design template.
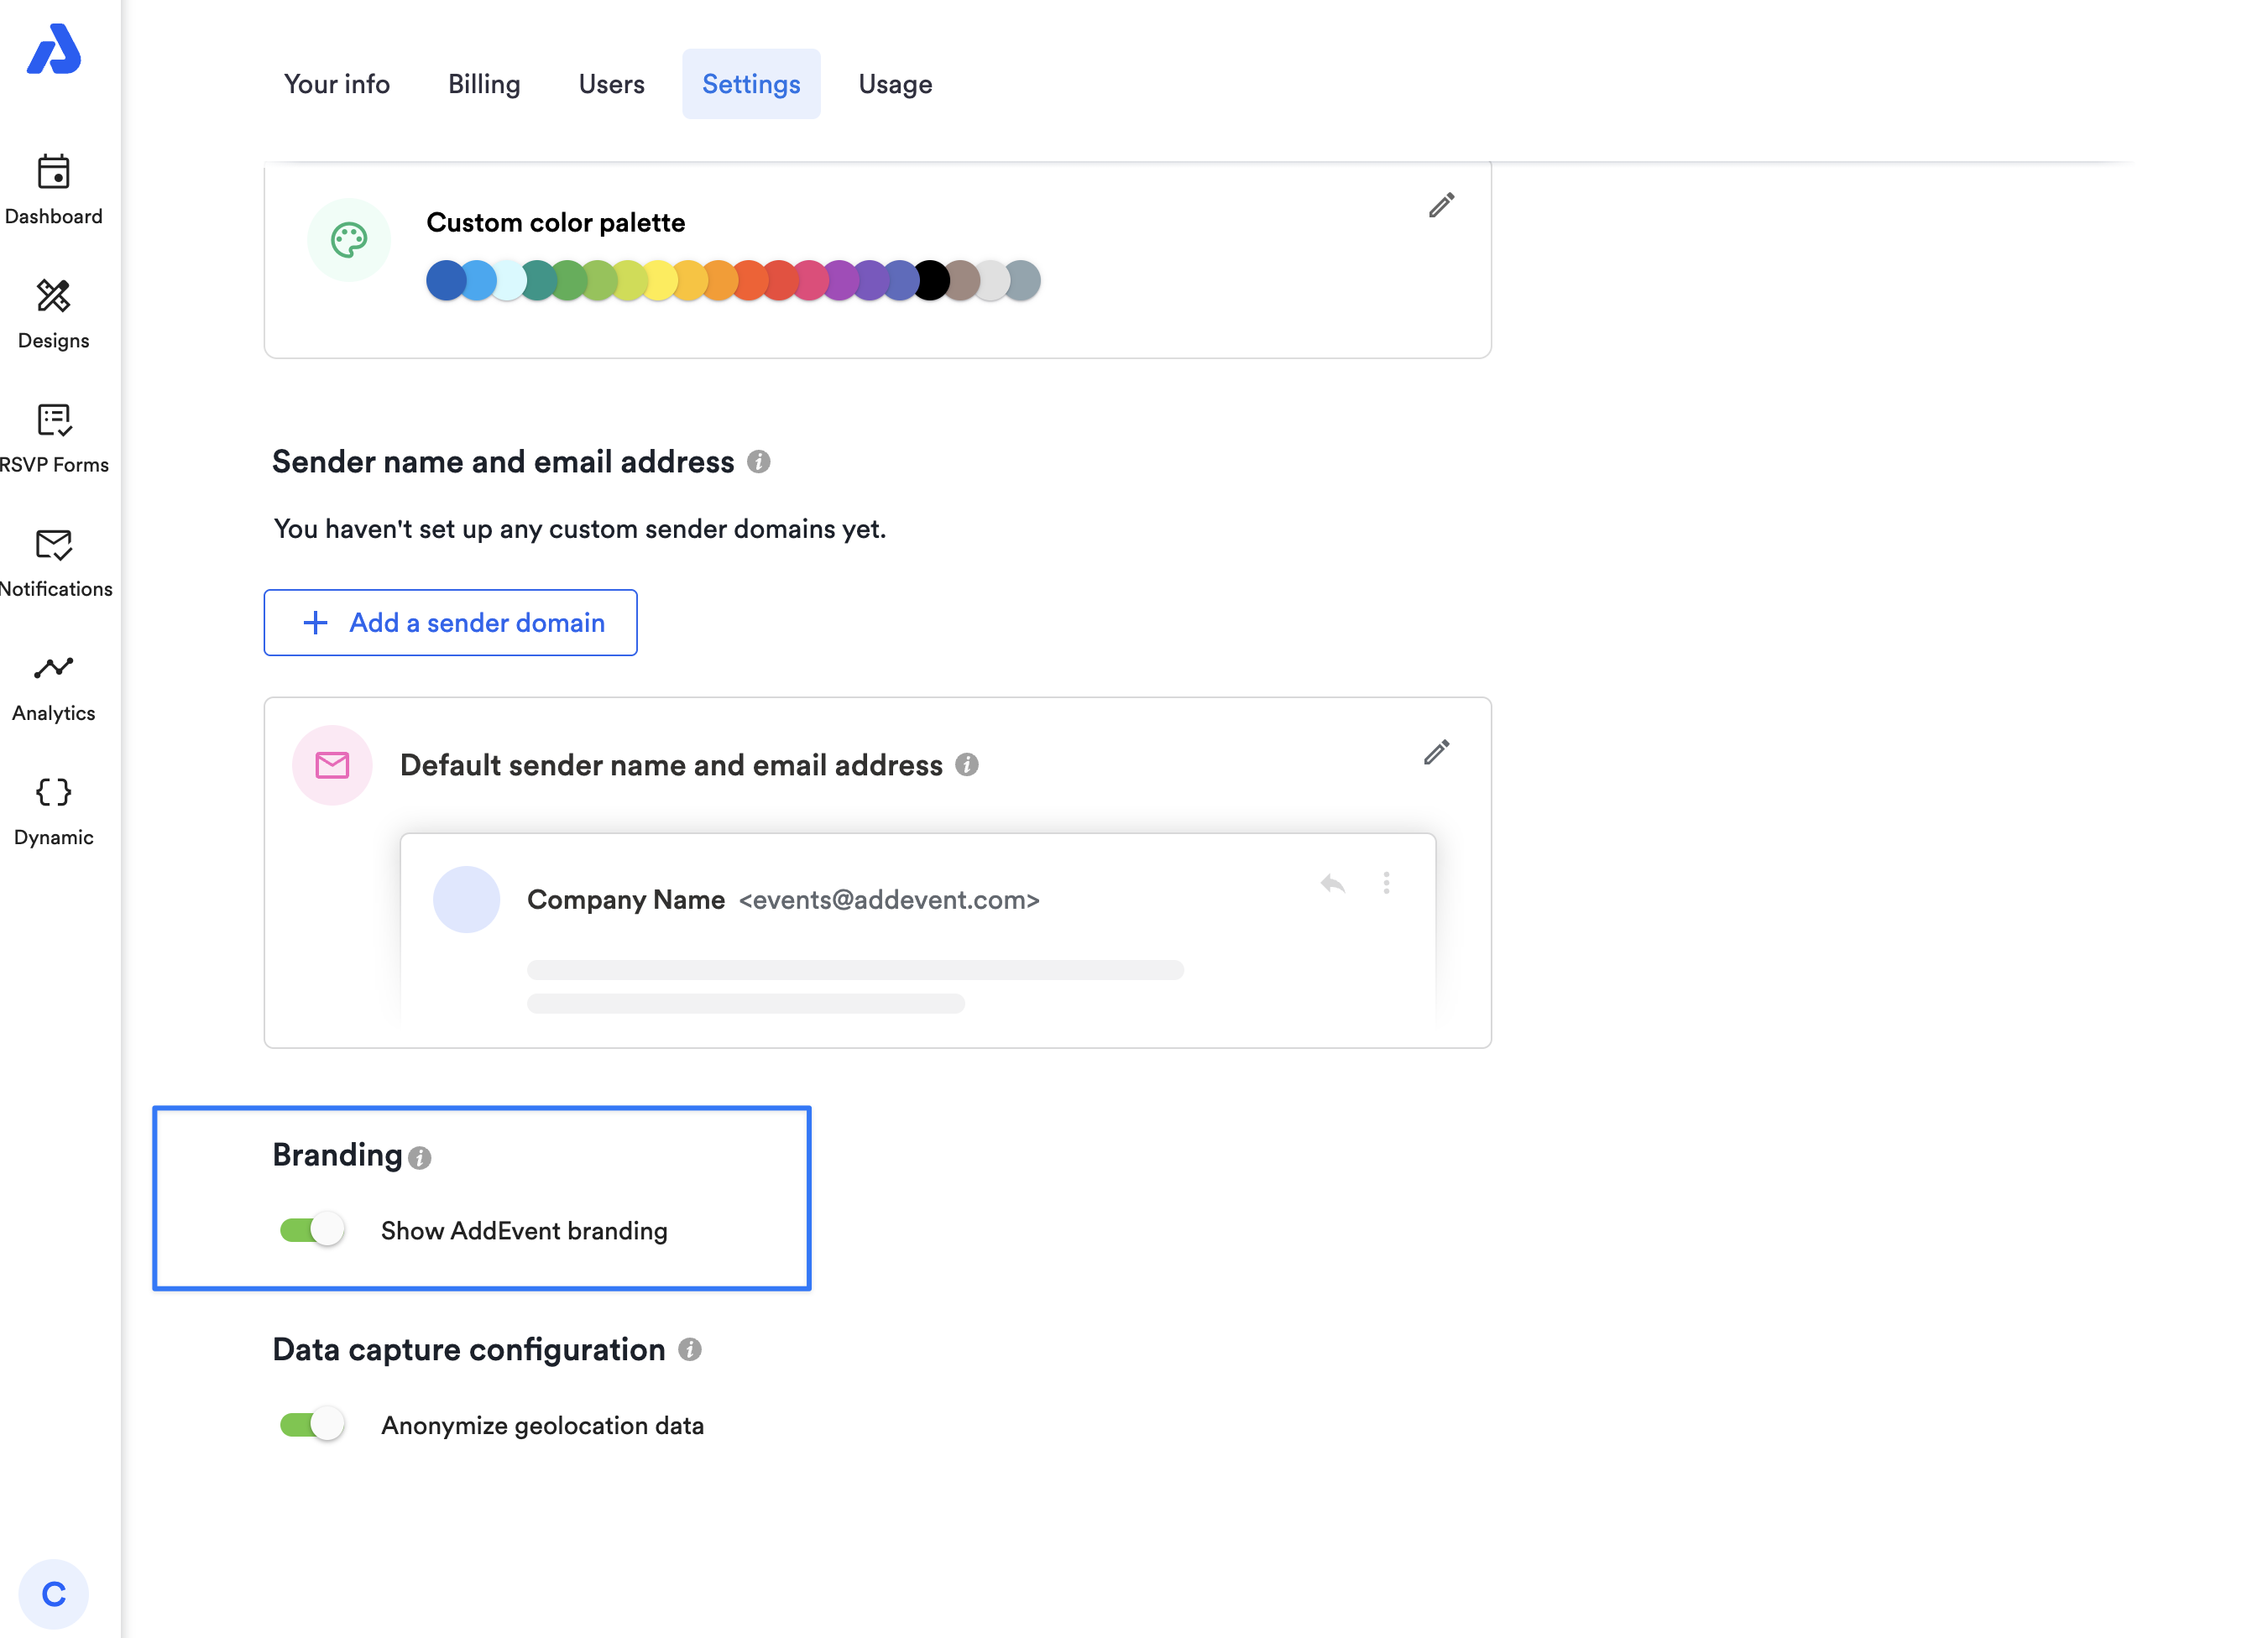
How to Remove AddEvent Branding From Your Account
Removing AddEvent branding is only available on paid plans. Upgrade your account to enable this functionality.
AddEvent branding is shown by default when you share an event or calendar. This branding usually takes the form of a small "Powered by AddEvent" link located in a non-prominent location. The following sharing options have branding applied by default:
- The event, RSVP, and Calendar Landing pages
- Embeddable Calendars, Events Lists, Events, and RSVP forms
- Add to Calendar buttons and links
- RSVP buttons and links
Follow the steps below to remove the AddEvent branding from your account. Please note that you must be on a paid plan to remove the branding from your account.
- Sign in to your account at AddEvent.com.
- Click the blue circle in the bottom left corner of the homepage.
- Click the Settings option (settings) to get to the Settings section.
- Switch the toggle to an "off" state.
This is a feature included in our paid plans. Please reach out to [email protected] for a free 7-day trial.
Data Capture Configuration
We collect geolocation data from end-users when they visit your event or calendar landing pages, embeddable widgets, or click Add to Calendar or Follow Calendar buttons or links. Enabling this option anonymizes the geolocation data collected from end-users.
To anonymize the IP addresses, please follow the steps below:
- Sign in to your account at AddEvent.com.
- Click the blue circle in the bottom left corner of the homepage.
- Click the Settings option (https://dashboard.addevent.com/account/your-info) to get to the Settings section.
- Switch the toggle to an "off" or "on" state.
If the user is inside EEA (European Union) the IP address is automatically anonymized.
Updated about 2 months ago