How to Change the Preview Image for Social Media
When you share your event on social media, you'll see the AddEvent preview image by default. This guide shows how to change that image by using a design template.
Edit or Create an Event or Calendar Design Template
To change the shared social media image, you’ll first need to create or edit a design template for your calendar or event.
-
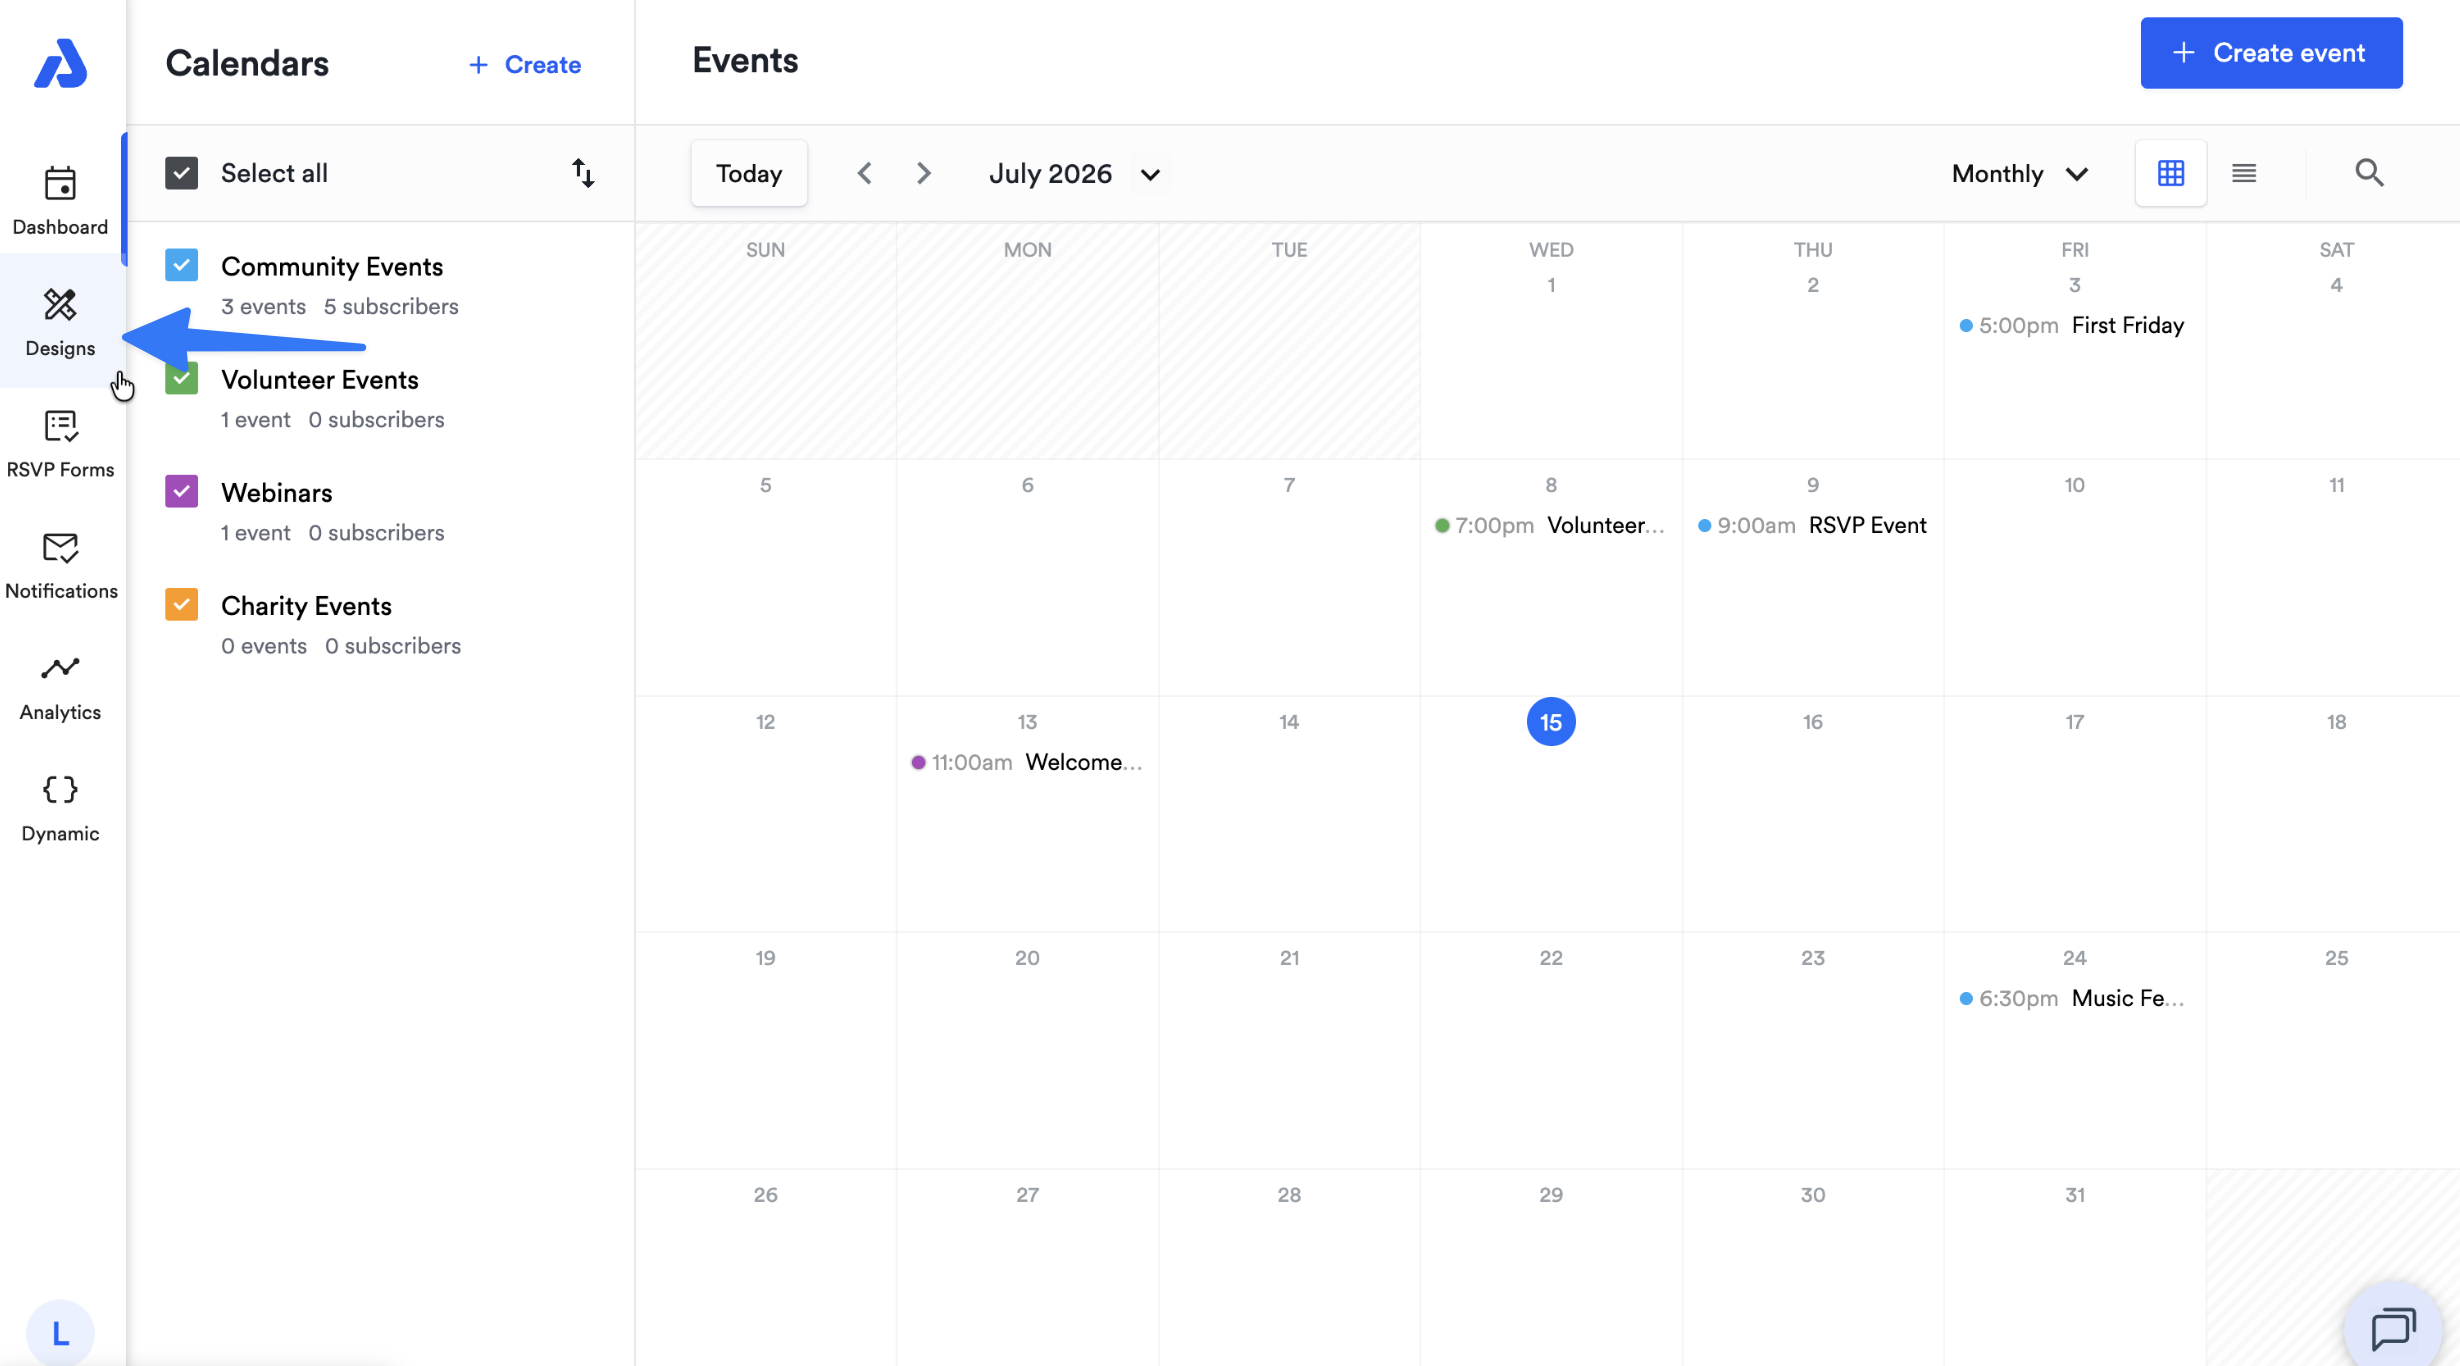
From the Dashboard, select the Designs tab located on the left-hand navigation menu (https://dashboard.addevent.com/designs).
-
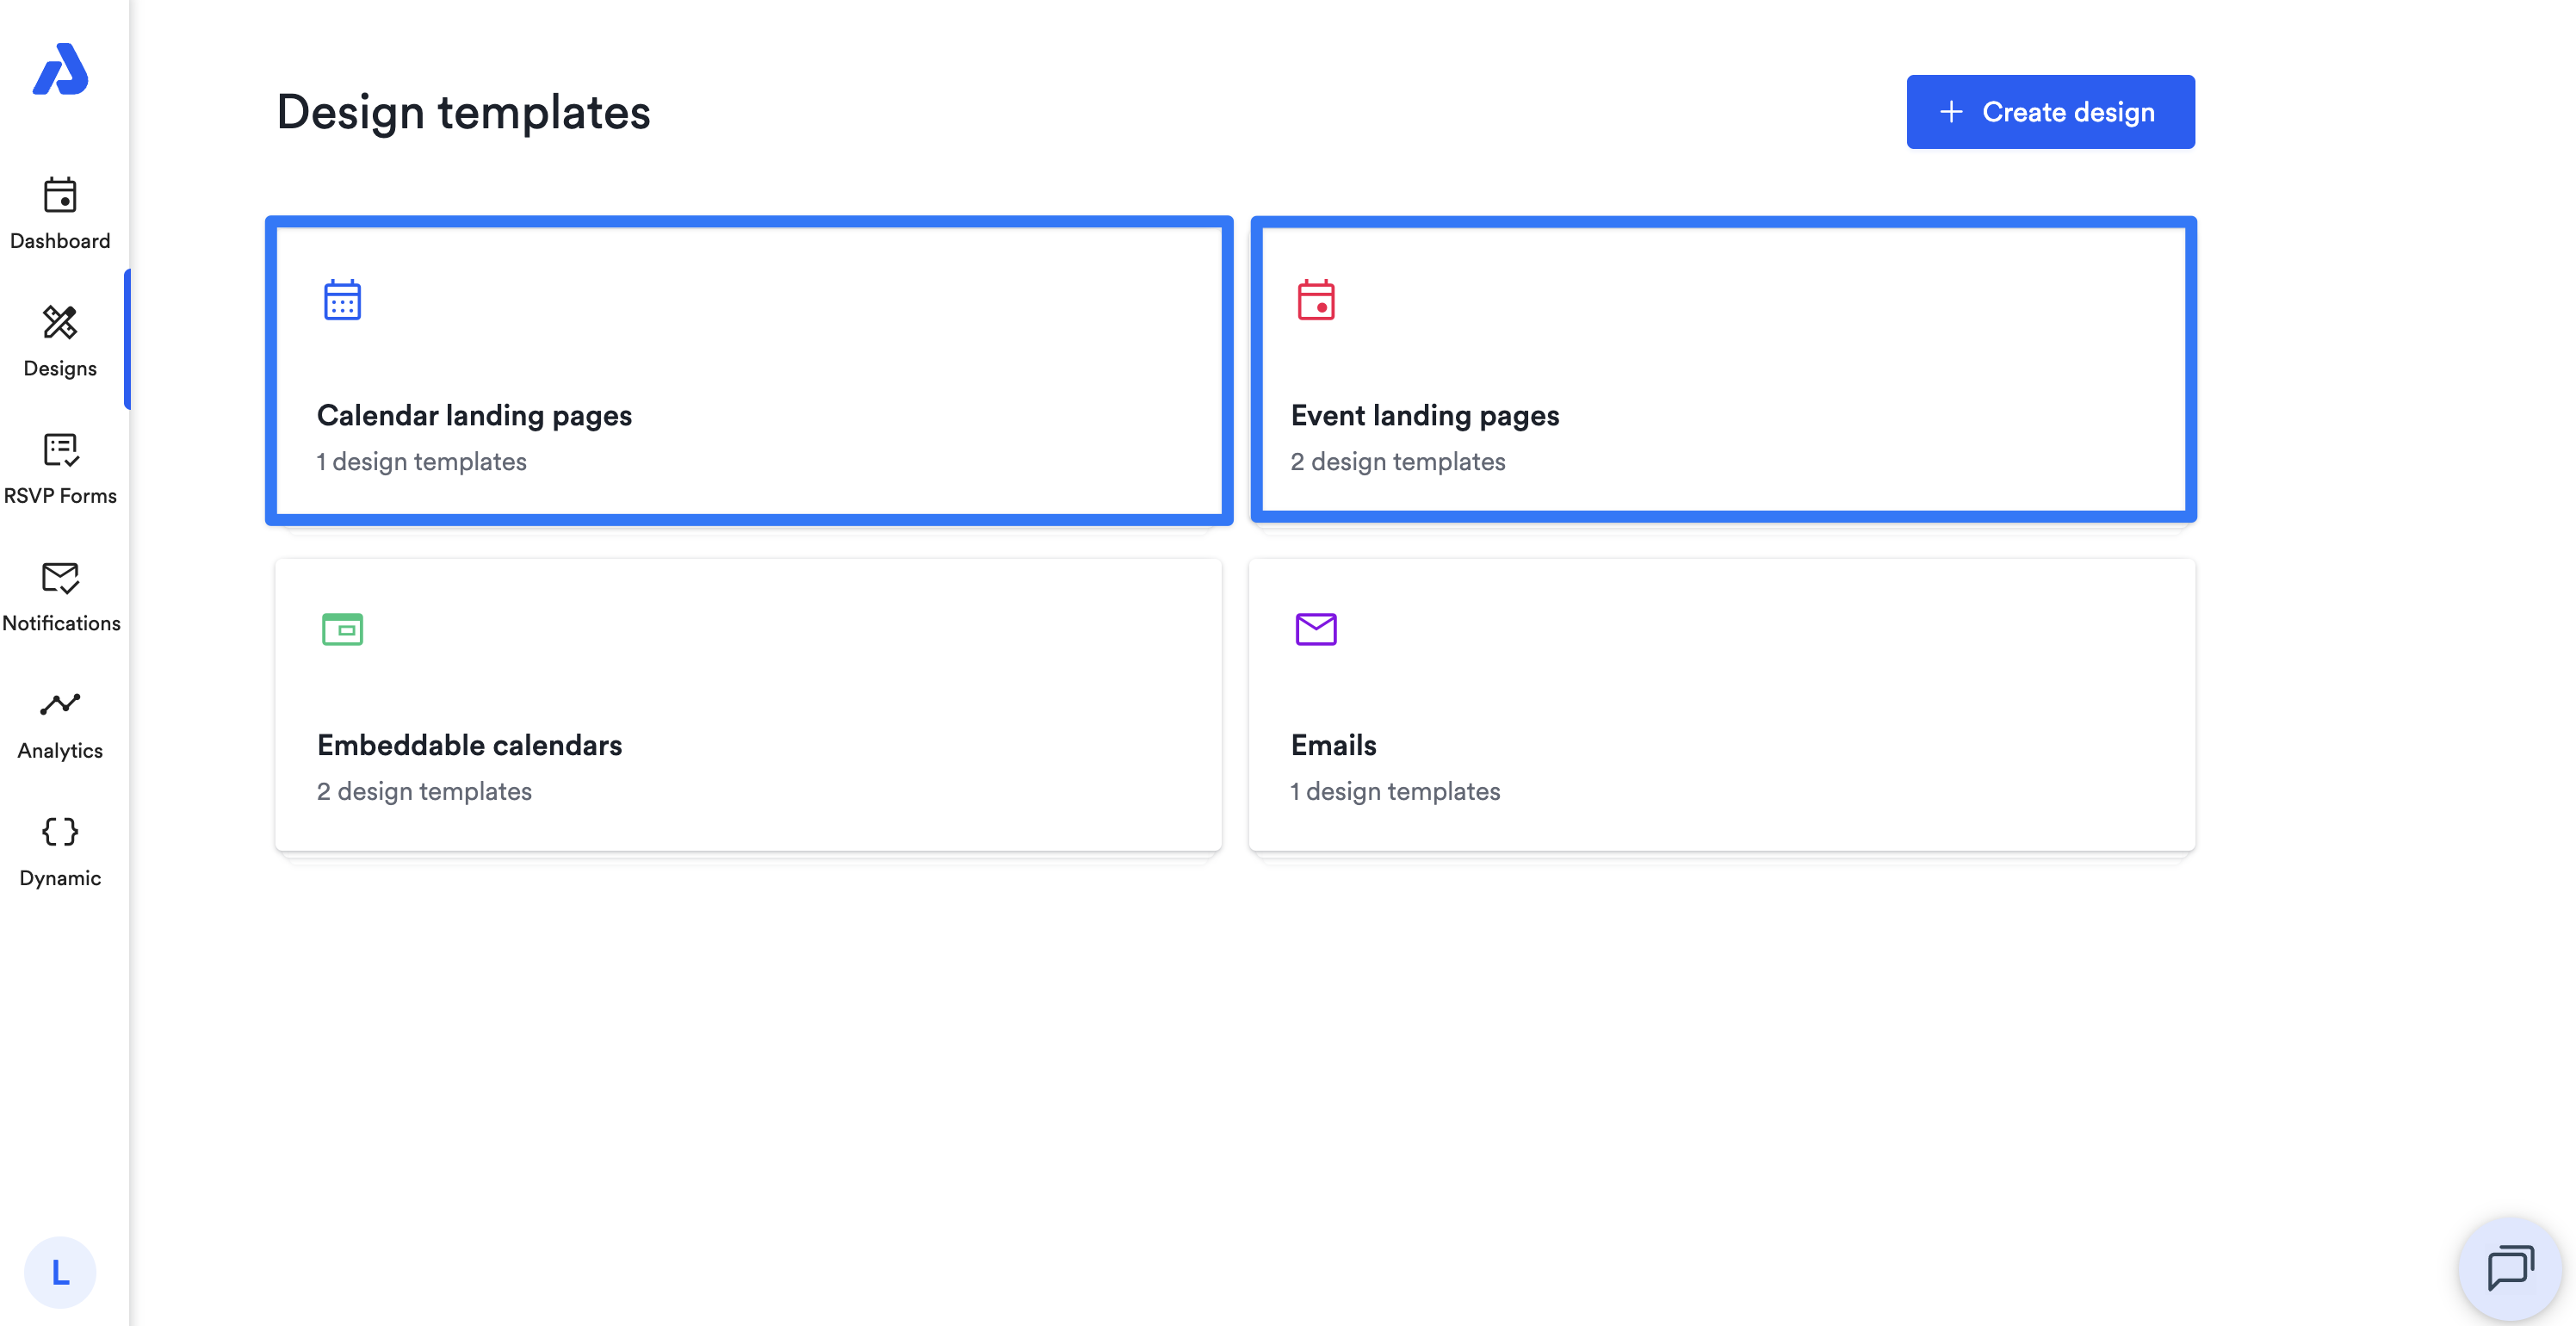
Depending on whether you are sharing an event or a calendar, select either the Calendar landing pages or Event landing pages option:
-
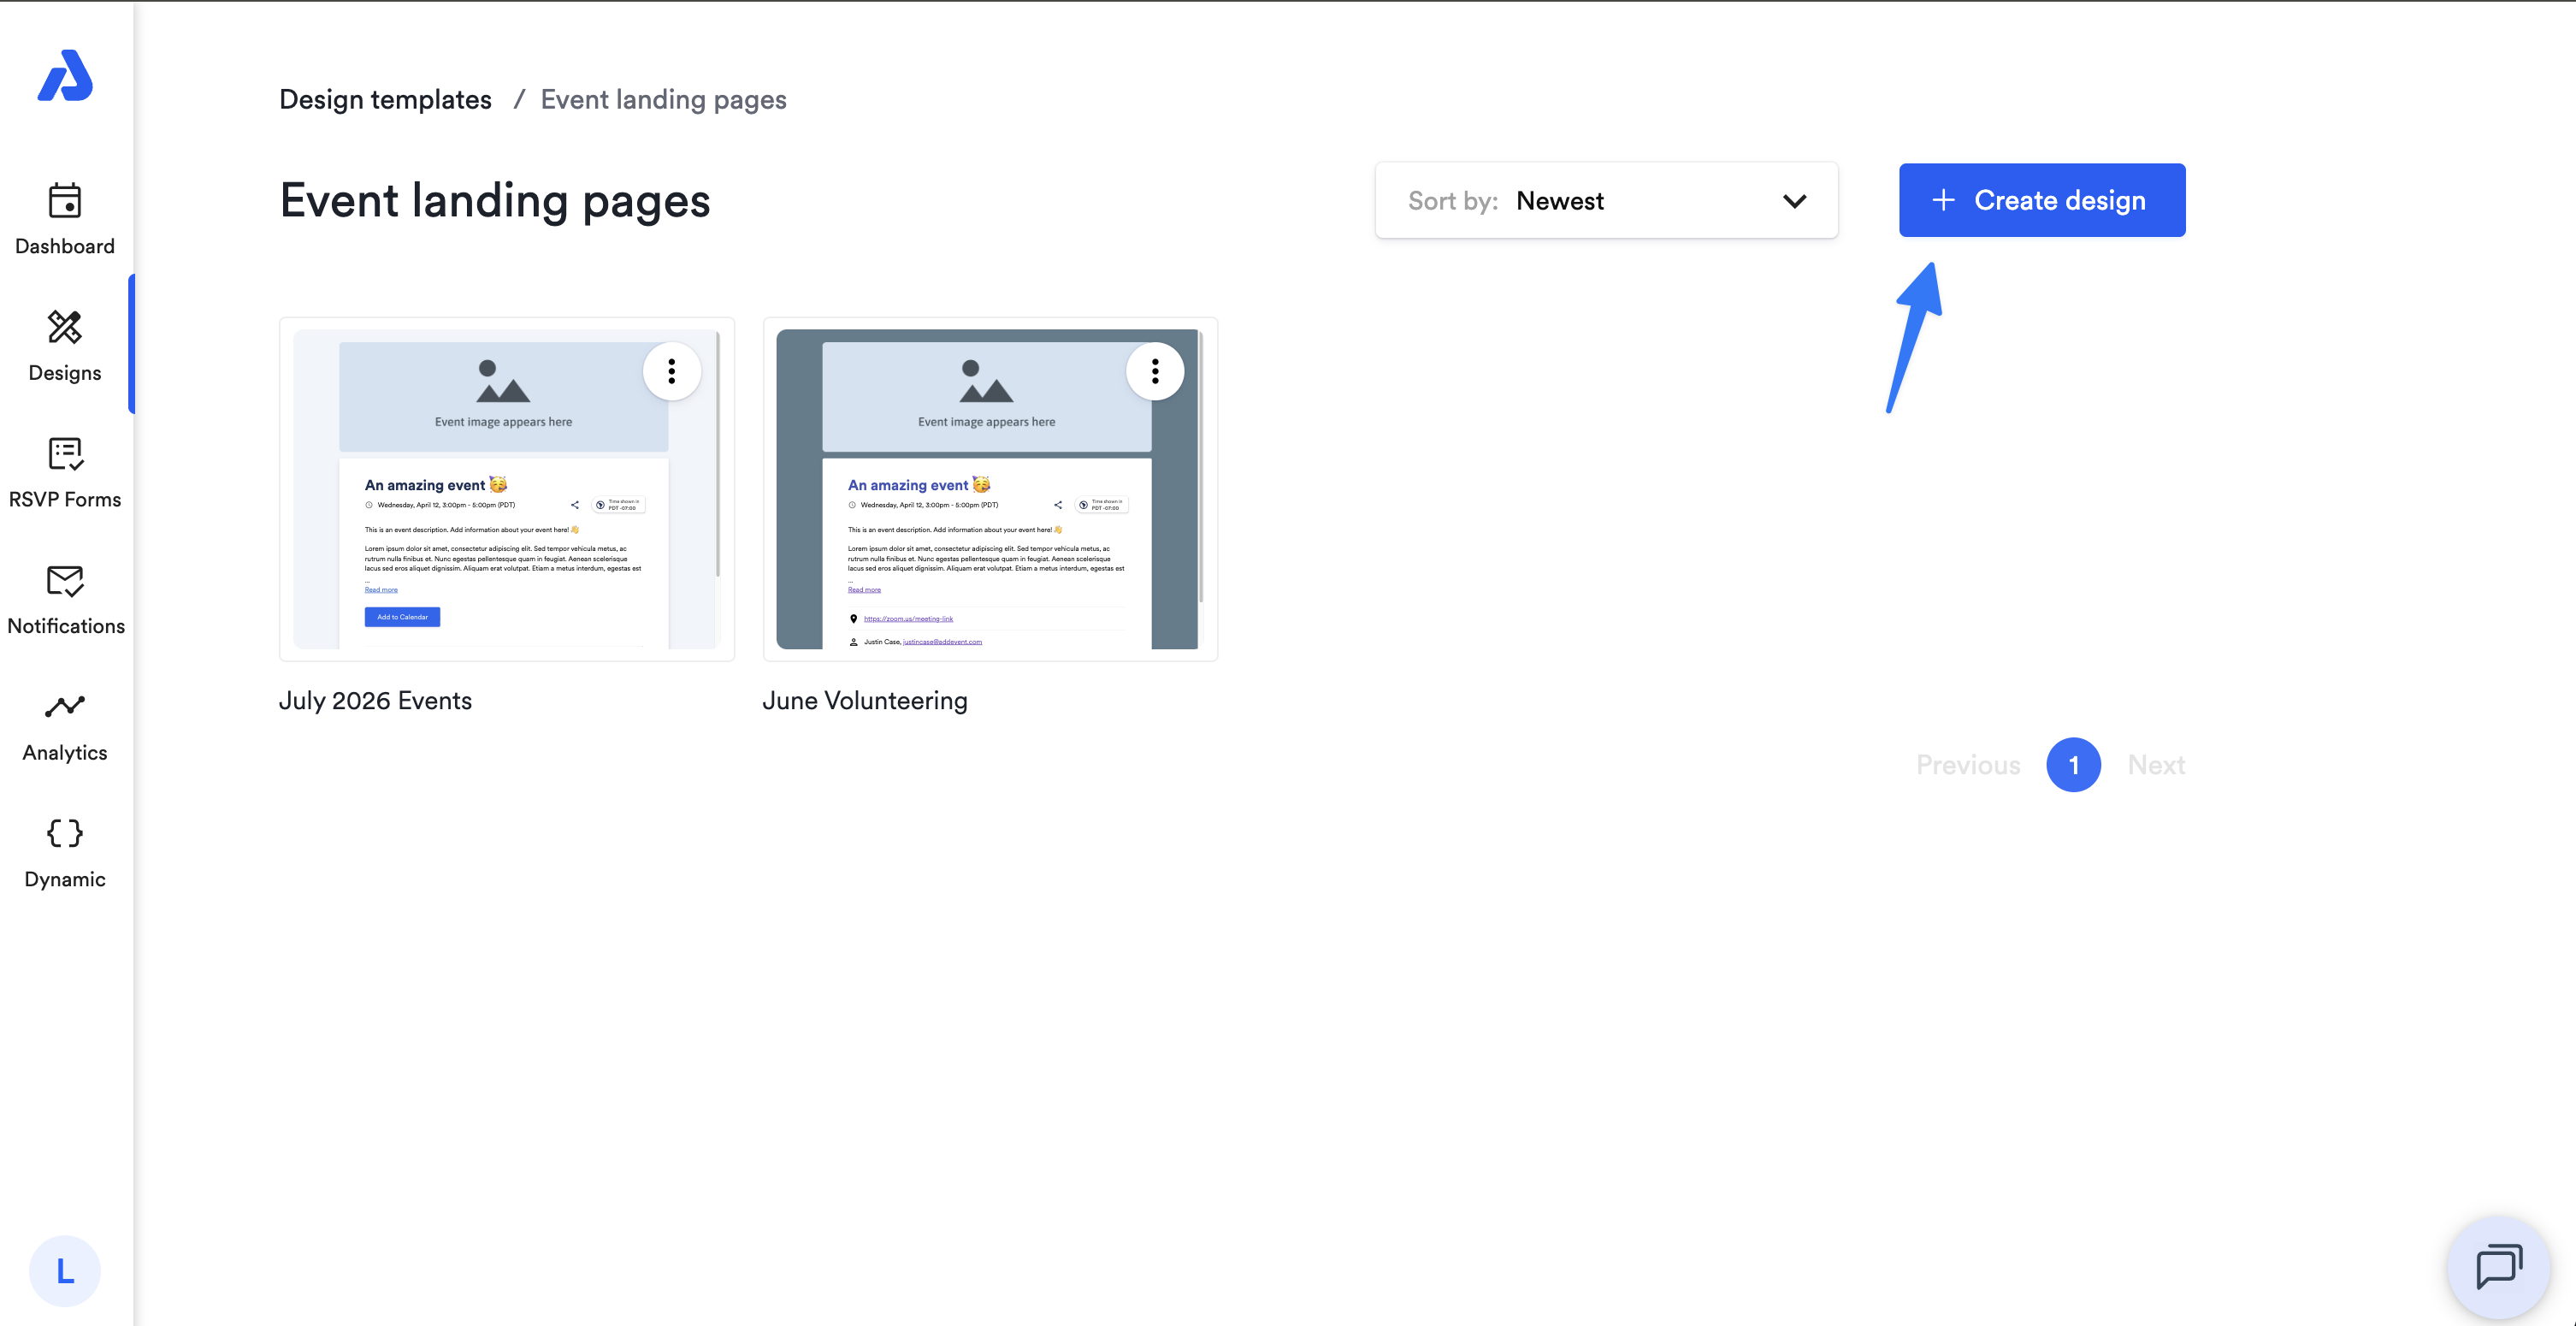
Click the + Create design button located on the top-right of the page to create a new design, or click into an existing design to make edits.
-
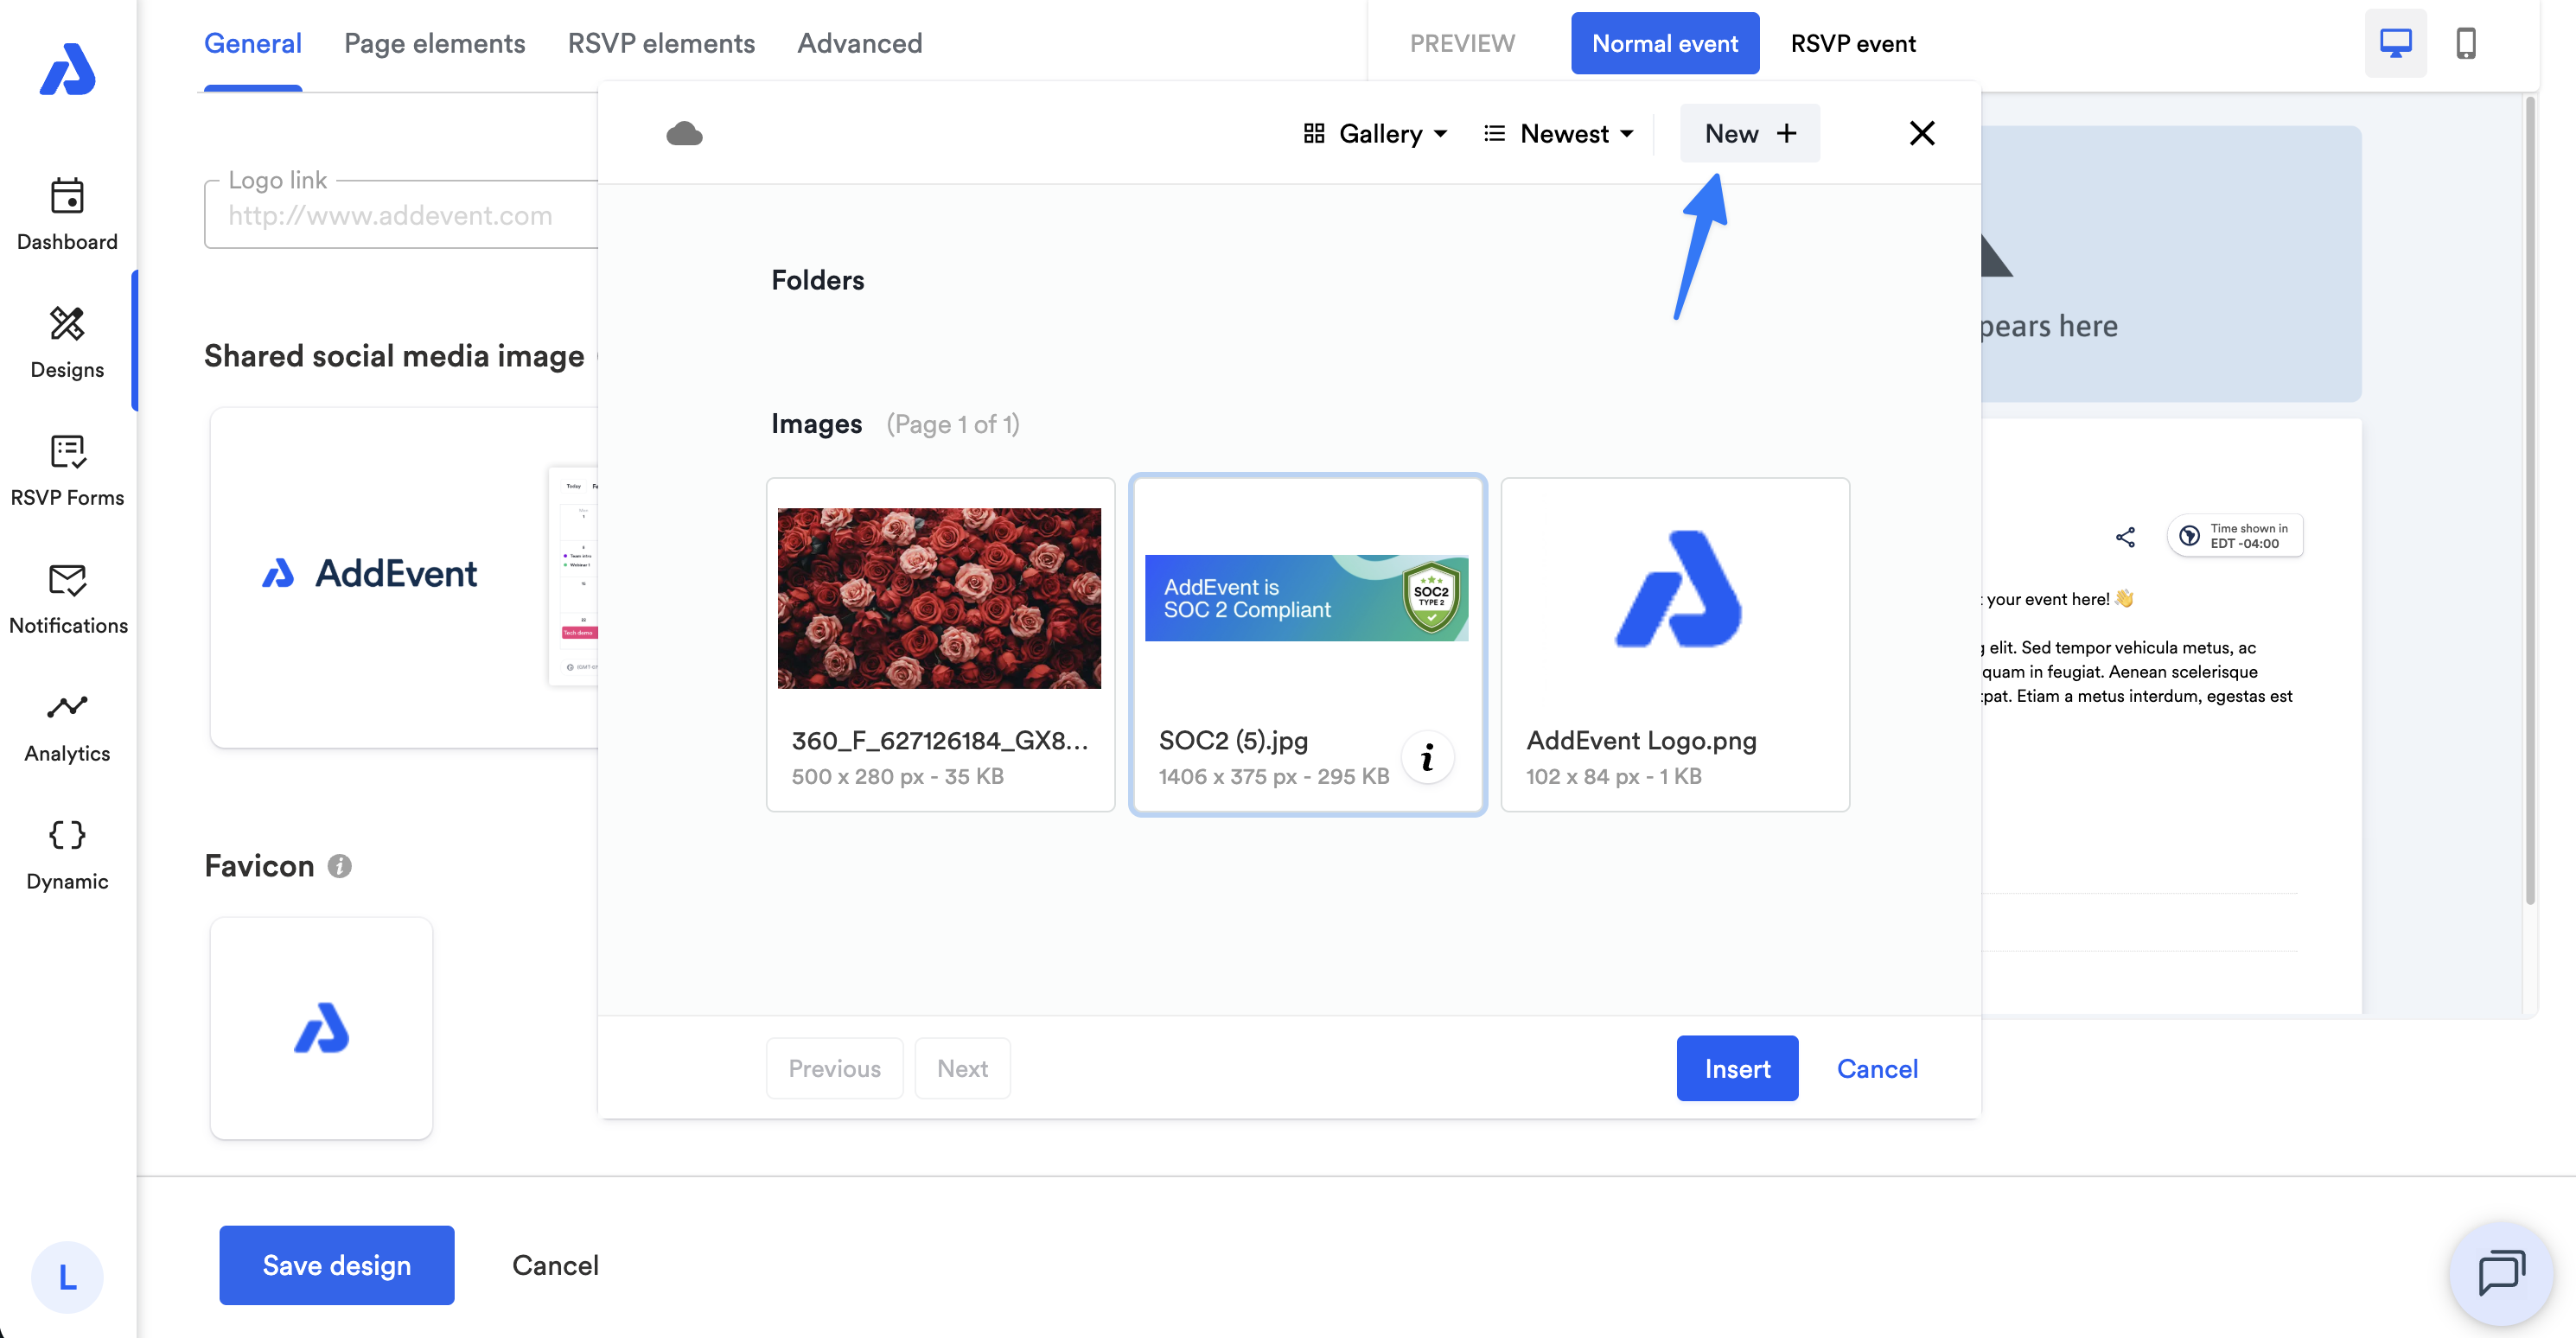
Within the General tab, scroll down to the Shared social media image option and click into the default AddEvent image to upload your preferred image.
-
Click the + New button located on the top-right of the pop-up window to upload a new image, or select an existing image.
-
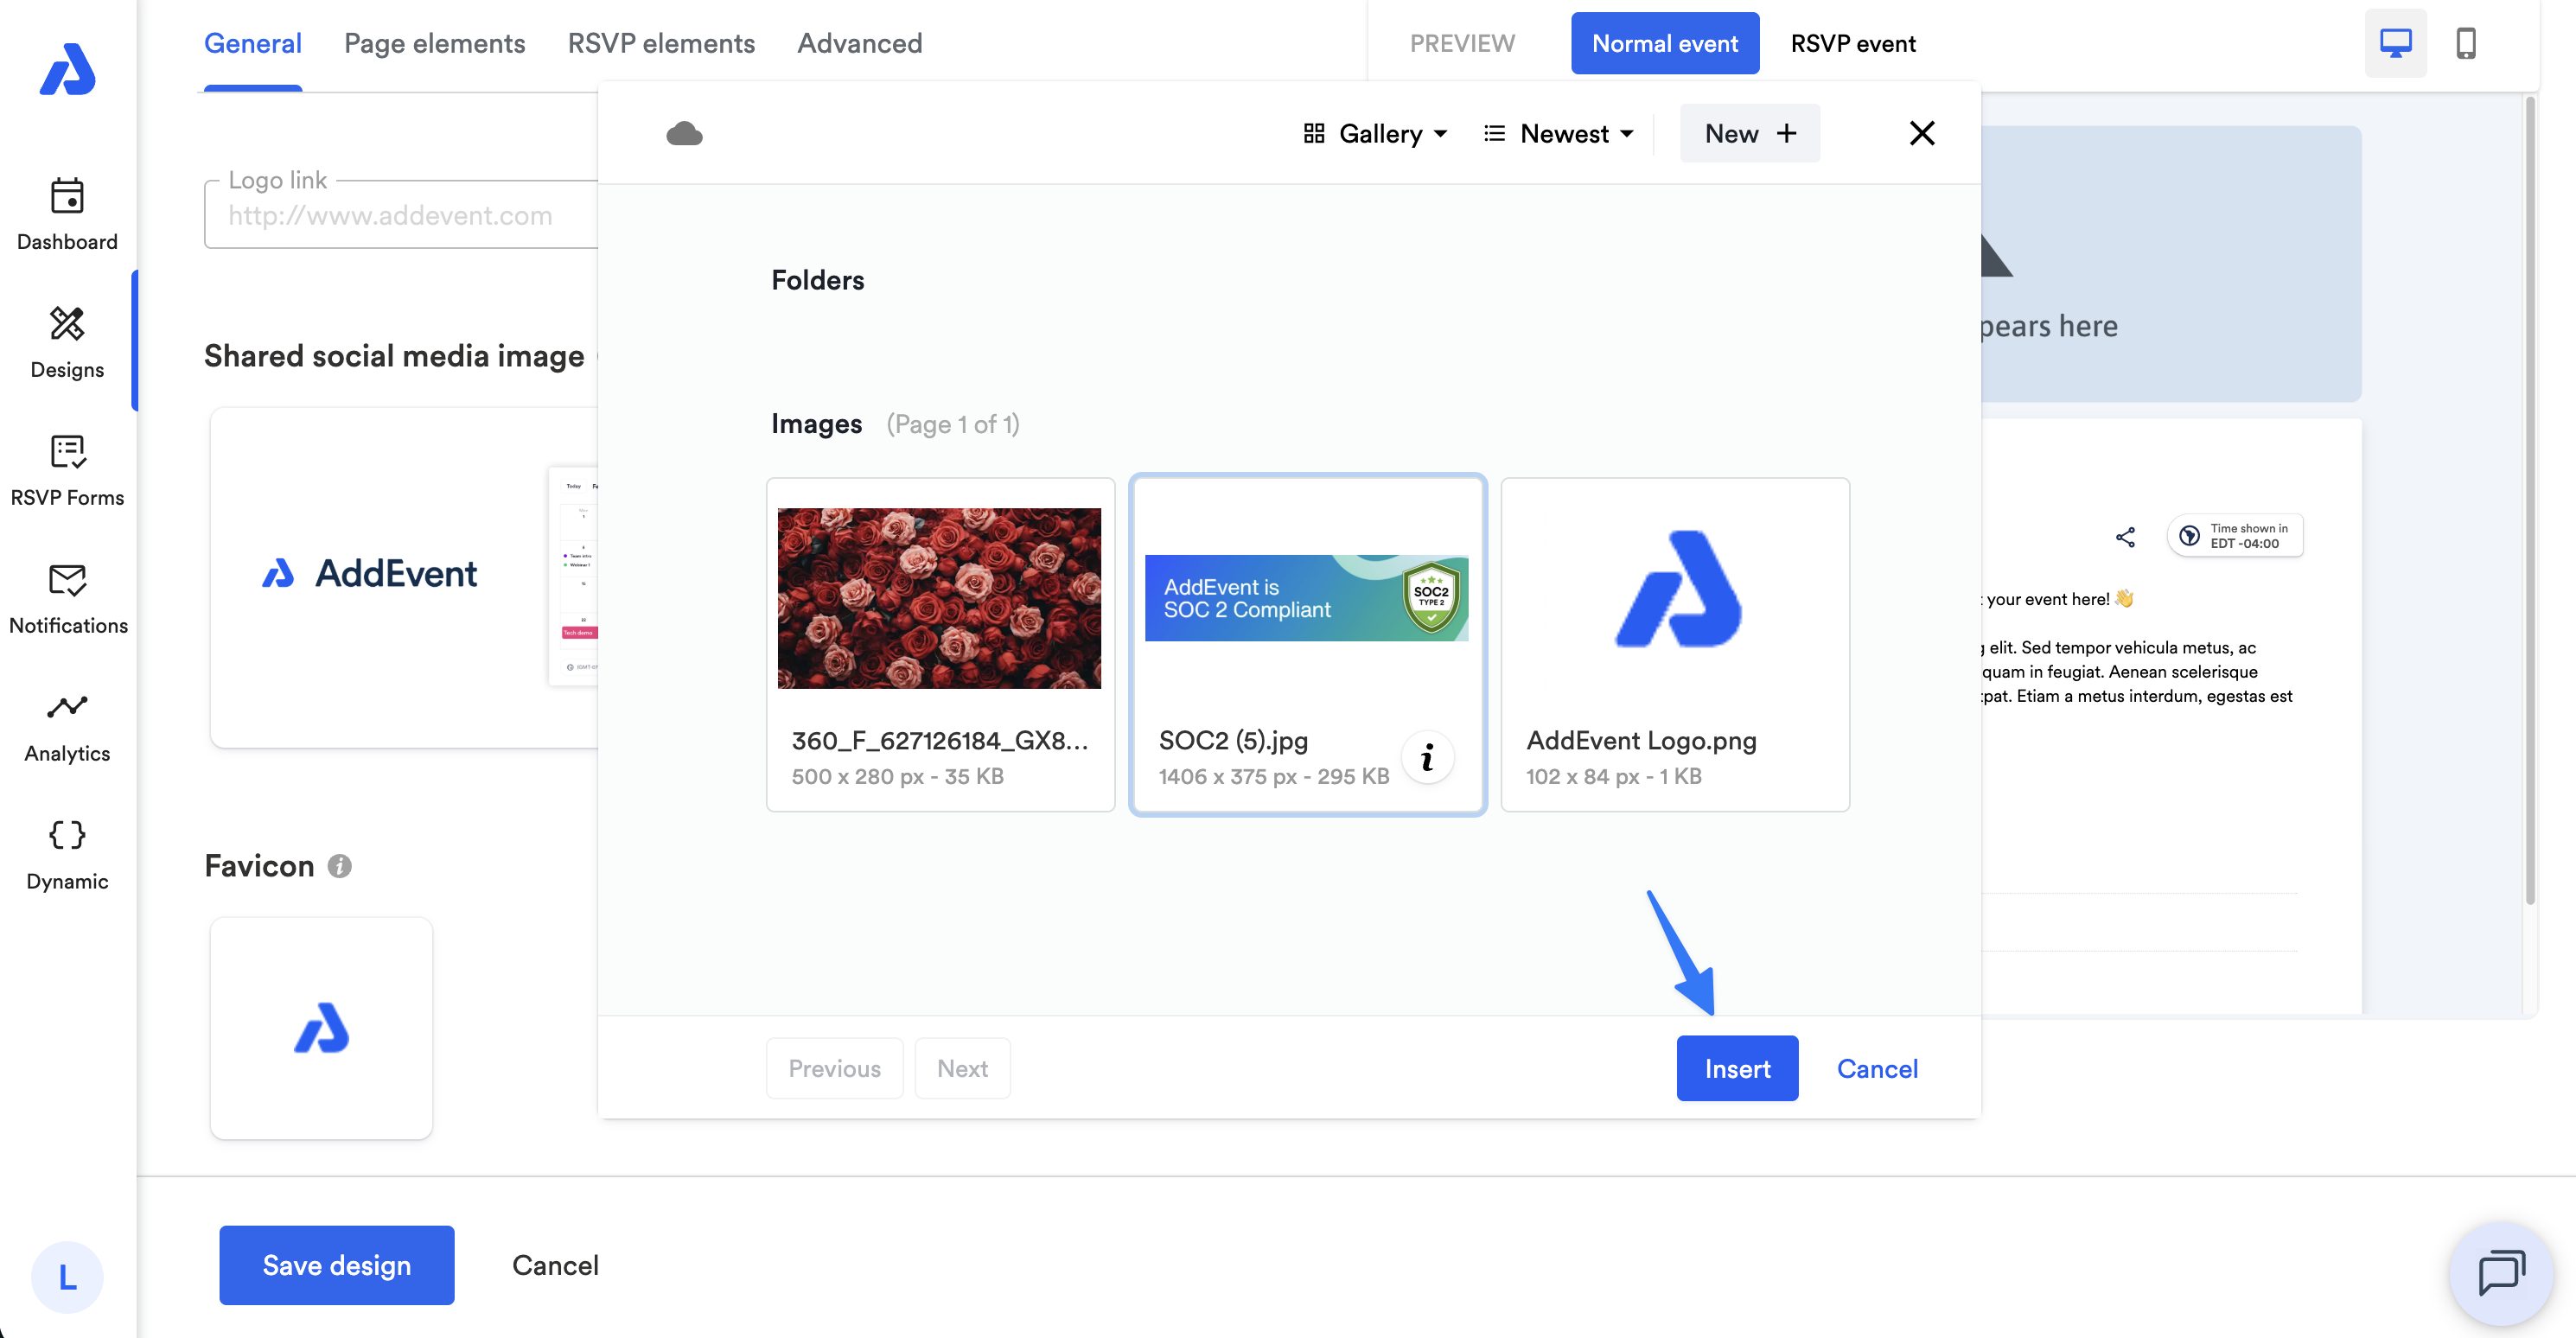
Select your preferred social media image, and click the Insert button:
Save and Apply the Design Template
-
Save the Design: Once you’ve updated or created your design template, click the Create design / Save design button located at the bottom of the page.
-
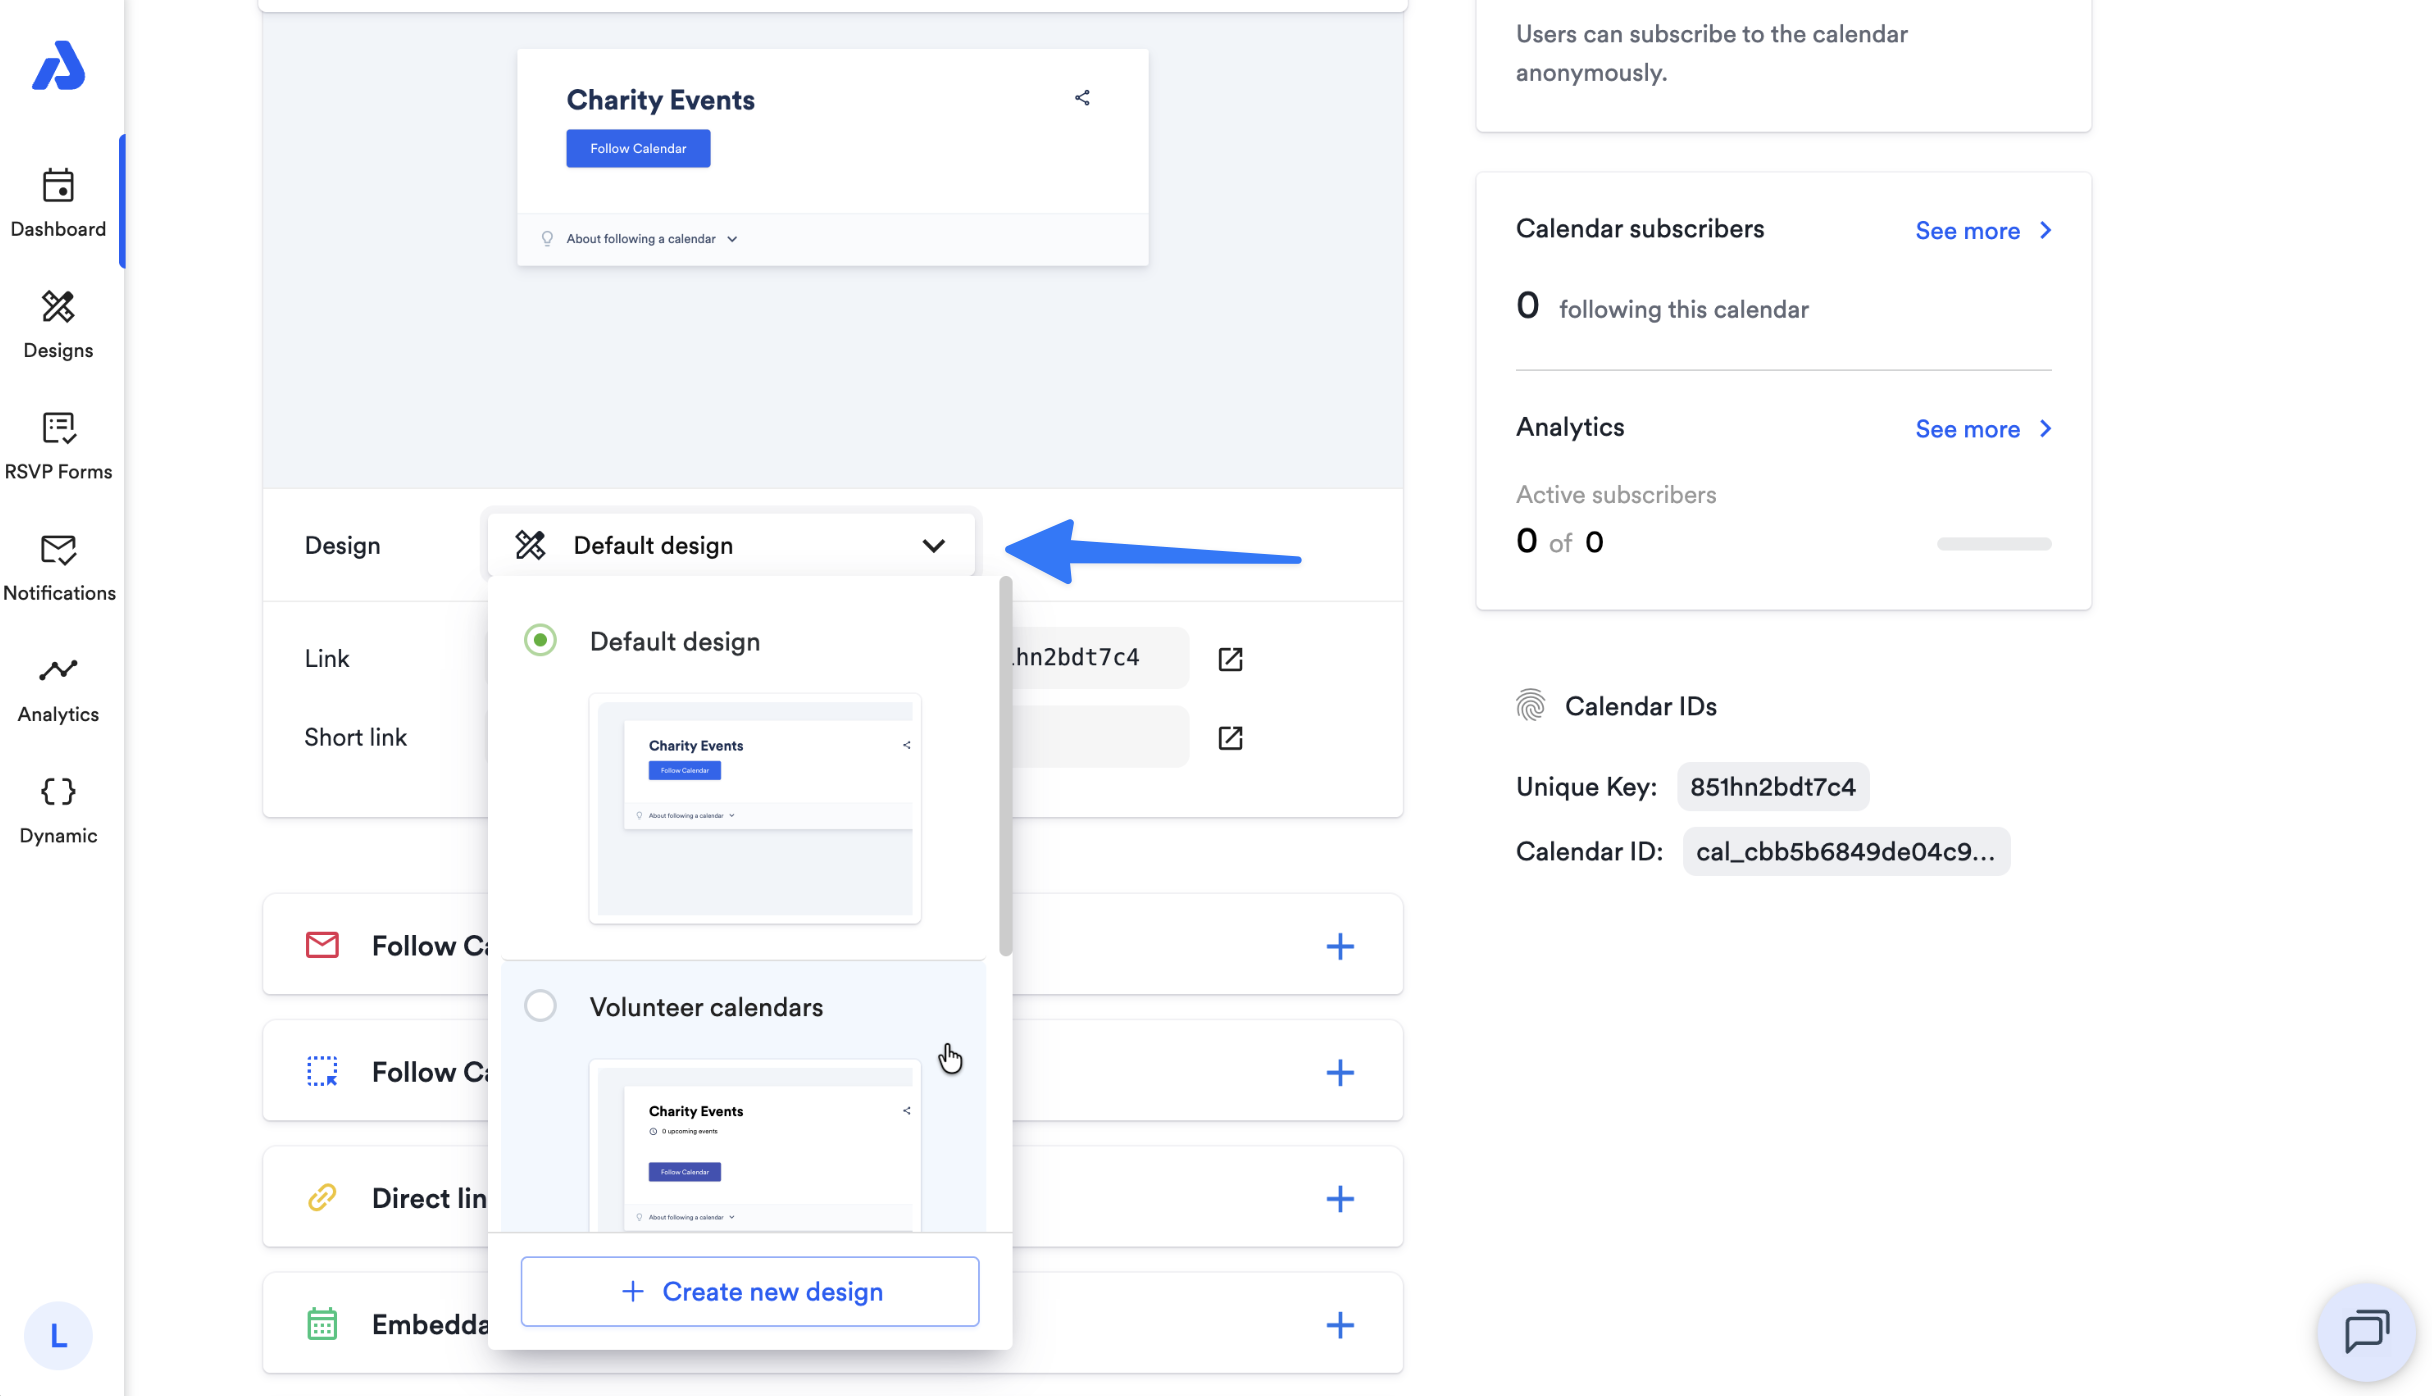
Apply the Design: Navigate to your Event / Calendar details page by clicking the event's / calendar's title from the Dashboard, and select the design from the Design dropdown.
Tips & Tricks for Creating Social Media Images
To make your images display optimally across different social media platforms, follow these image size guidelines:
Facebook
- Horizontal images: 1,200 x 630 pixels
- Vertical images: 1,080 x 1,350 pixels
- Links with an image: 1,200 x 630 pixels
- Stories: 1,080 x 1,920 pixels
LinkedIn
- Horizontal images for company or profile pages: 1,104 x 736 pixels
- Links with an image: 1,200 x 628 pixels
For further insights:
- Buffer’s social media image guide: Ideal Image Sizes for Social Media Posts
- Facebook’s Debugging Tool: Facebook Debugger
Following these steps and tips will help ensure your event or calendar previews look professional and engaging across all platforms.
Watch this tutorial!
Updated 6 days ago