RSVP Forms
RSVP forms allow you to add your own questions (form fields) to your RSVP forms, so you can get the information you need from your registrants. They can be found in their own tab on the dashboard.
To access your RSVP Forms, click the RSVP Forms tab on the left-hand side of the dashboard.
Within the RSVP forms, you will be able to customize the information you're requesting from your attendees.
Create an RSVP Form
- To create a new RSVP form, click the + Create form button on the upper right-hand side of the RSVP Forms page.
- Add a title to the form.
- Customize the form with the specific information you want to collect from attendees.
- Click the Create Form button in the bottom left-hand corner of the page.
Edit an RSVP Form
In a RSVP form, you can edit the:
- Questions you ask RSVP attendees in the event registration form
- The content of the RSVP attendee emails (confirmation, 2 reminders, and a follow-up)
To edit an existing RSVP form:
- Click the "RSVP" tab located on the left-side navigation menu.
- From there, click the "three dots" icon located on the top-right of the RSVP form you would like to edit.
- From the dropdown, select "Edit".
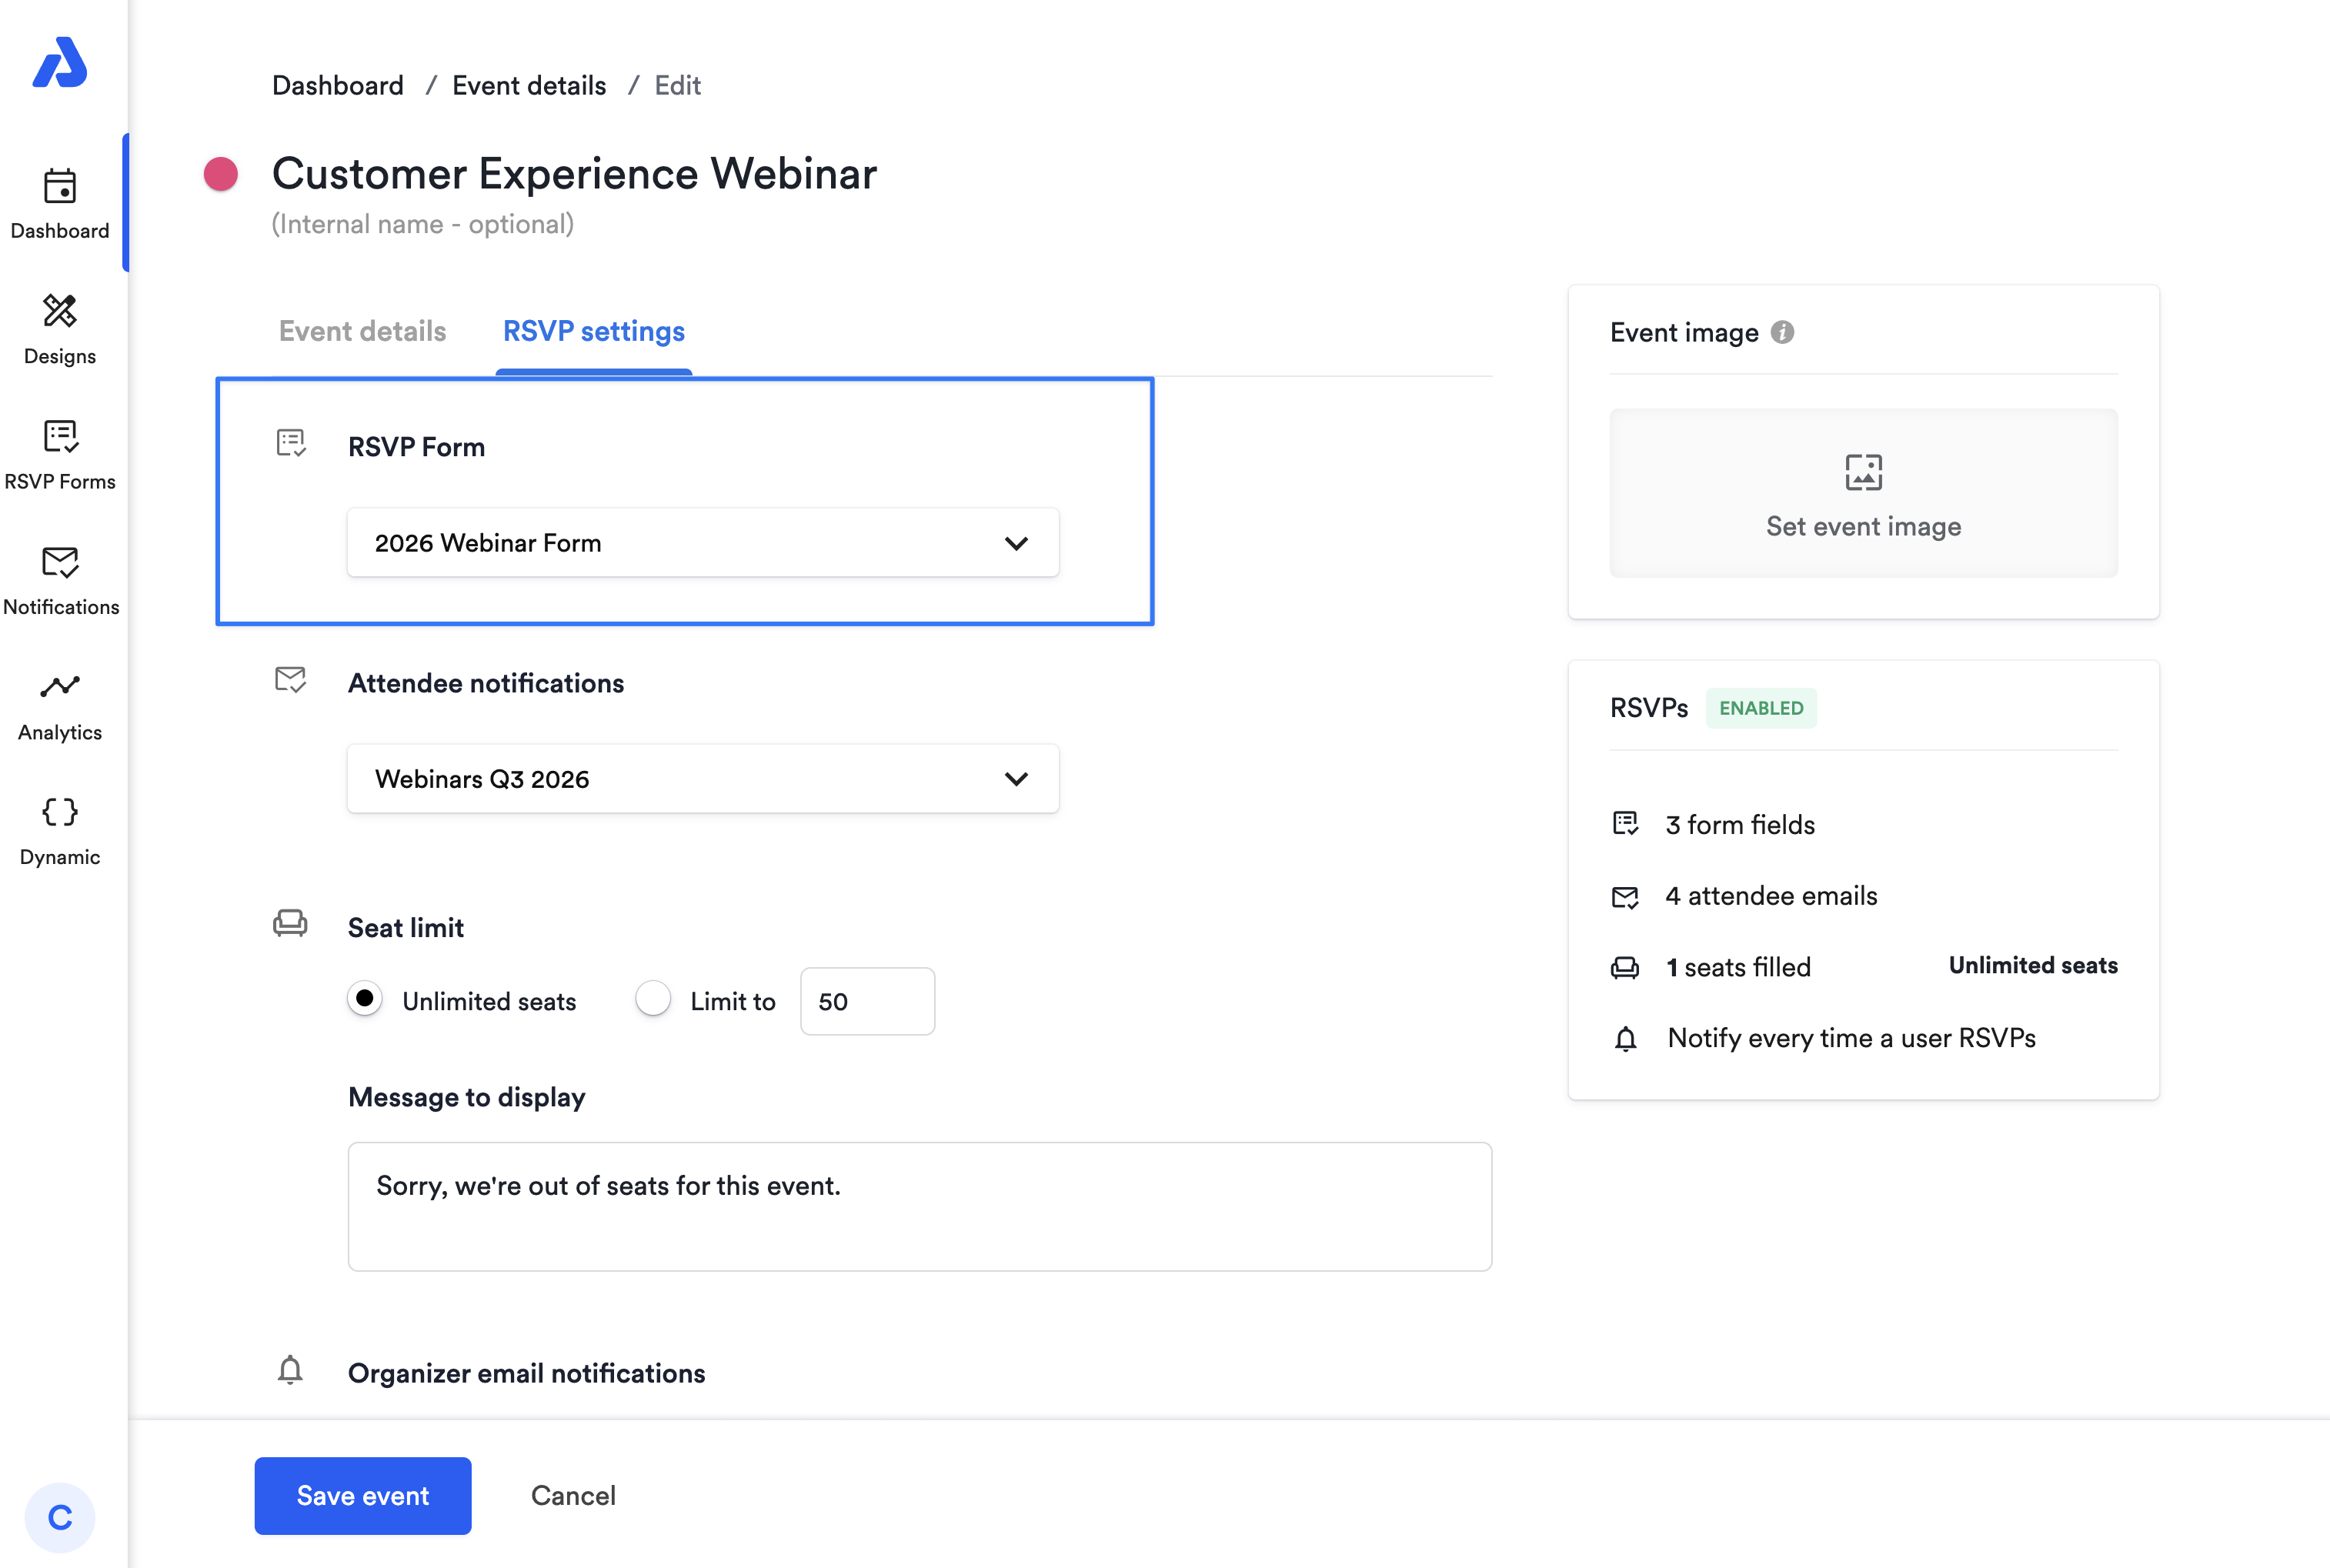
Apply a RSVP Form to an Event
Once you’ve created a custom RSVP form, assign it to your event by following these steps:
- Go to your event page and click More actions, and then Edit.
- Click the RSVP settings tab.
- Click the dropdown menu in the RSVP Form section.
- Click Save Event.
General RSVP Form Information
-
Default fields include Name and Email.
-
Email field is always required and cannot be removed.
-
To collect more information, click the + icon. You can choose field types (e.g., text, dropdown) from a drop-down menu and add custom fields as needed.
-
To make a field required, click the the edit icon then the red
*asterisk icon next to the left of the question that you're editing.Note: The Custom HTML field is intended for visual tweaks to the RSVP form (e.g. divider lines, custom spacing, etc.), and is not tied into the data stream that gets saved to the registrant list (unlike all of the other fields). This means that while it is possible to create an input field in the Custom RSVP form using the Custom HTML field, any answers put into that input field will not be recorded or saved.
Delete RSVP Form Fields
To delete a form field, select the trash can icon located to the right of the field.
Deleting a field will remove all associated data in your events with this form applied. Please note that this deletion cannot be undone.
Delete an RSVP Form
To delete a custom RSVP form for an event:
- Open the RSVP Forms page.
- Find the form you want to delete and click the three dots.
- Click the Delete button.
- Type the word "Delete" into the box to confirm you want to delete the form, then click the Delete button to finish the process.
Deleting a field will remove all associated data in your events with this form applied. Please note that this deletion cannot be undone
- Click the "RSVP" tab located on the left-side navigation menu.
- From there, click the "three dots" icon located on the top-right of the RSVP form you would like to edit.
- From the dropdown, select "Edit".
Apply a Custom RSVP Form
Once you've created a custom RSVP form, follow the steps below to apply the custom RSVP form to your event:
- Click on the event's title from the Dashboard. You will be directed to the Event details page.
- From the Event details page, click on the ellipsis icon (...) located to the right of the event's title.
- Click the Edit option.
- Select the RSVP settings tab.
- Select your preferred custom RSVP form from the dropdown and click theSave event button.

Updated about 2 months ago