How to change the default behavior of the calendar on iOS devices
When you click the Add to Calendar button on an iOS device, it usually detects that you're on iOS and automatically defaults to the "Apple" option. To display the full list of calendar options instead of this default behavior, you can customize the button using a custom template, and your device will be treated like any other, showing all options. Follow the steps below to create and apply this customization.
Step 1: Create a Custom Template
To modify the behavior, you need to create a custom template.
-
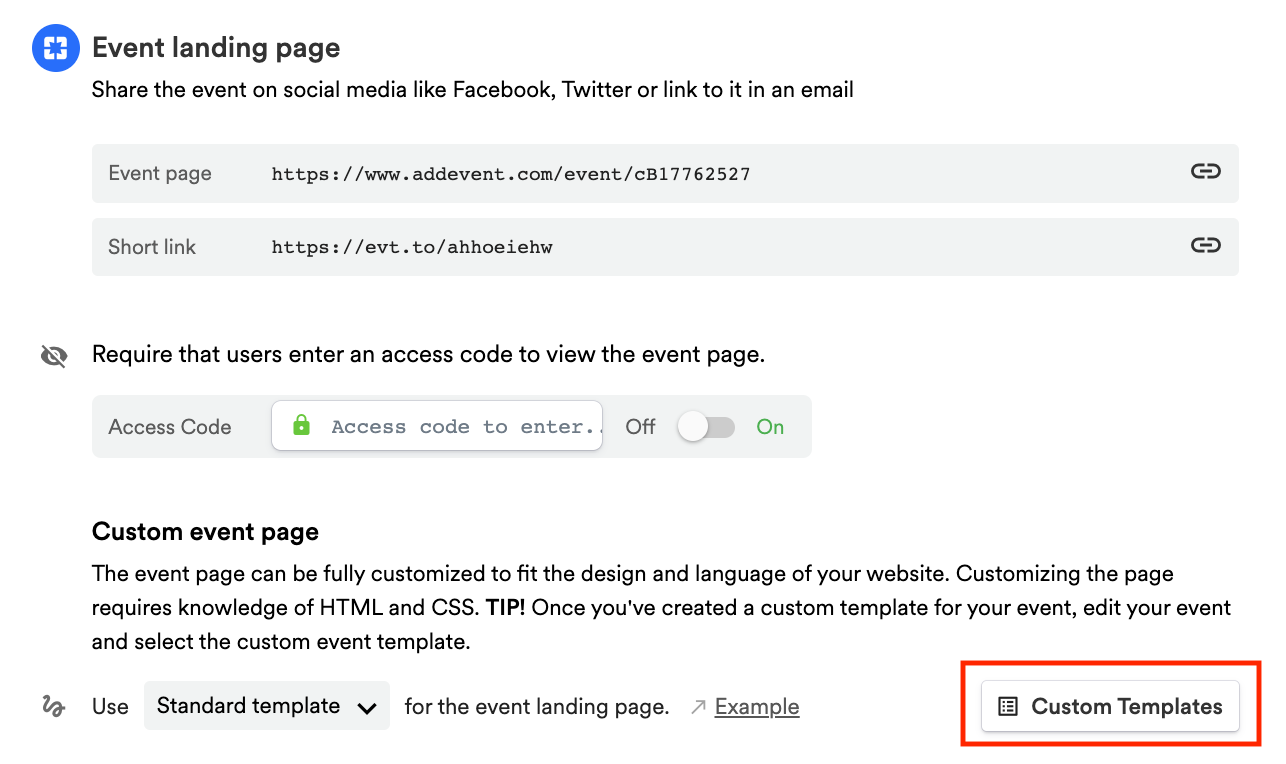
To create a custom template, navigate to the event page from the dashboard.
-
Click Custom Templates then click + New Template.
-
Enter a name for the template if you haven't already.
-
Scroll down to the bottom of the editor and click Create or Save to finalize the template.
Step 2: Update the Code in Your Template
To ensure iOS devices display the full list of calendar options, you need to replace the default code.
- Copy the following code snippet:
<!-- Dynamic "Add to Calendar" button (recommended) -->
<div class="row button atc-btn-t1">
    <div class="inn">
      <div title="Add to Calendar" class="addeventatc" data-intel="false">
        Add to Calendar
        <span class="start">{{date-start-original}}</span>
        <span class="end">{{date-end-original}}</span>
        <span class="timezone">{{timezone}}</span>
        <span class="title">{{title}}</span>
        <span class="description">{{description-for-button}}</span>
        <span class="location">{{location}}</span>
        <span class="organizer">{{organizer}}</span>
        <span class="organizer_email">{{organizer-email}}</span>
        <span class="all_day_event">{{all-day-event}}</span>
        <span class="alarm_reminder">{{alarm}}</span>
        <span class="recurring">{{recurring}}</span>
      </div>
    </div>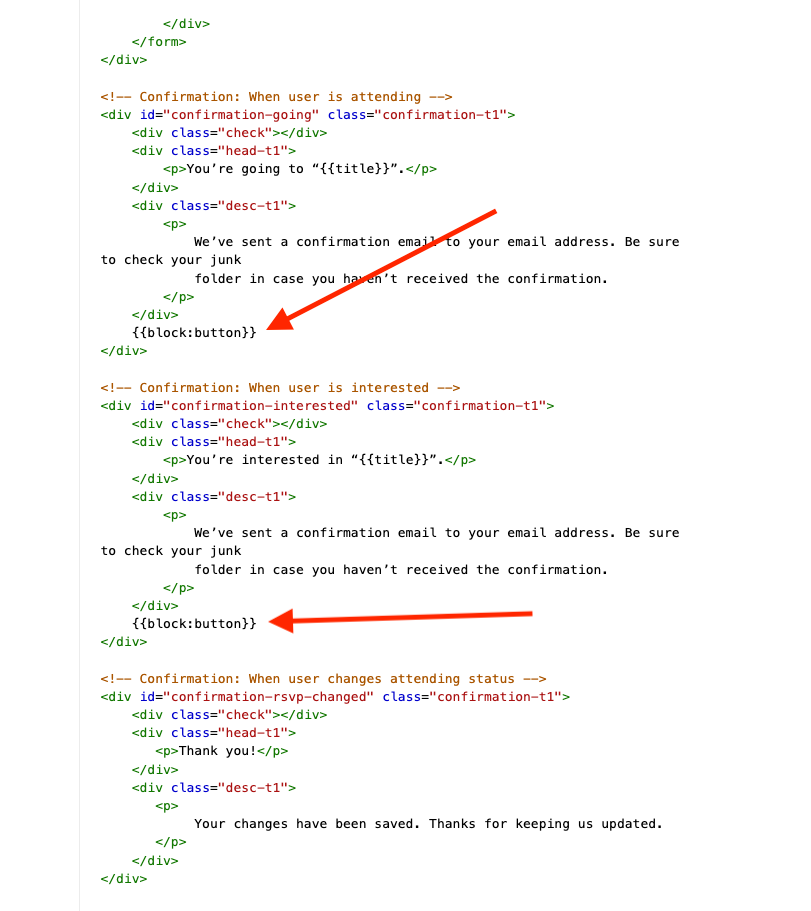
</div>- In the template editor, locate the
{{block:button}}data tag and replace it with the code snippet above.
If you are updating an RSVP event landing page:
- First, replace the {{block:rsvpform}} with the corresponding code provided below the template editor.
- Then, within the {{block:rsvpform}} code block, replace the {{block:button}} data tag with the snippet above.
- Click Save to update your template.
Step 3: Assign the Template to Your Calendar
After creating and saving your template, assign it to your calendar to activate the changes.
- Navigate back to your calendar page.
- Go to the Event landing page section.
- Use the template dropdown menu to select the template.
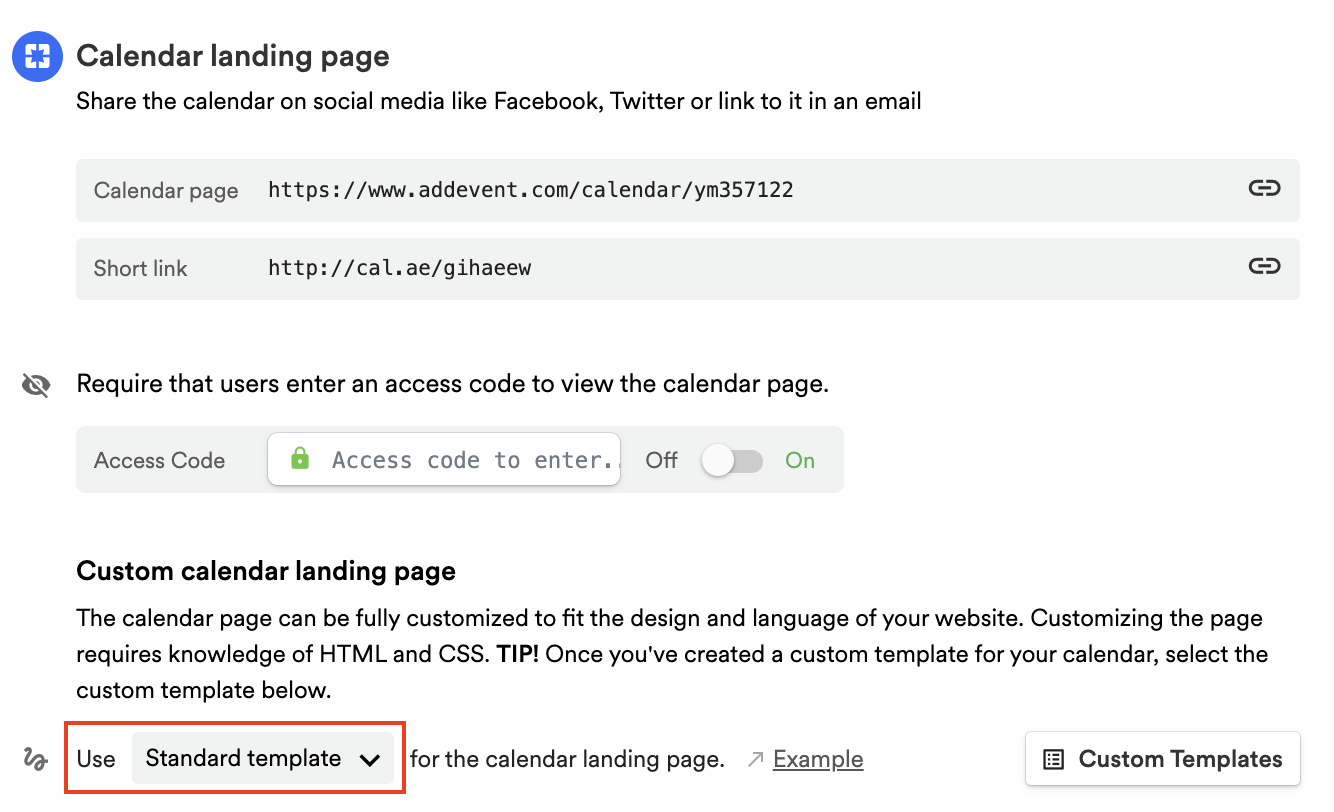
- Click Set next to the dropdown menu to apply the changes.
You're All Set!
Once the custom template is assigned to your calendar, iOS devices will no longer default to the "Apple" option. Instead, users will see the full list of calendar options.
Updated 6 months ago