UTM Tracking for your Custom Template
Being able to track where your users are finding your events is an invaluable insight for marketing, no matter your business size. Urchin Tracking Modules, commonly referred to as UTMs is the standard way to track this information and pass it to your preferred data tracking tool of choice. This guide will show you ho to add this capability to any of your custom templates!
This guide assumes you already know what UTMs are and are actively using them. If you are new to the world of web tracking, here is a helpful guide from our friends at HubSpot on what UTMs are and how to create them for yourself: https://blog.hubspot.com/marketing/what-are-utm-tracking-codes-ht
Creating a Template
-
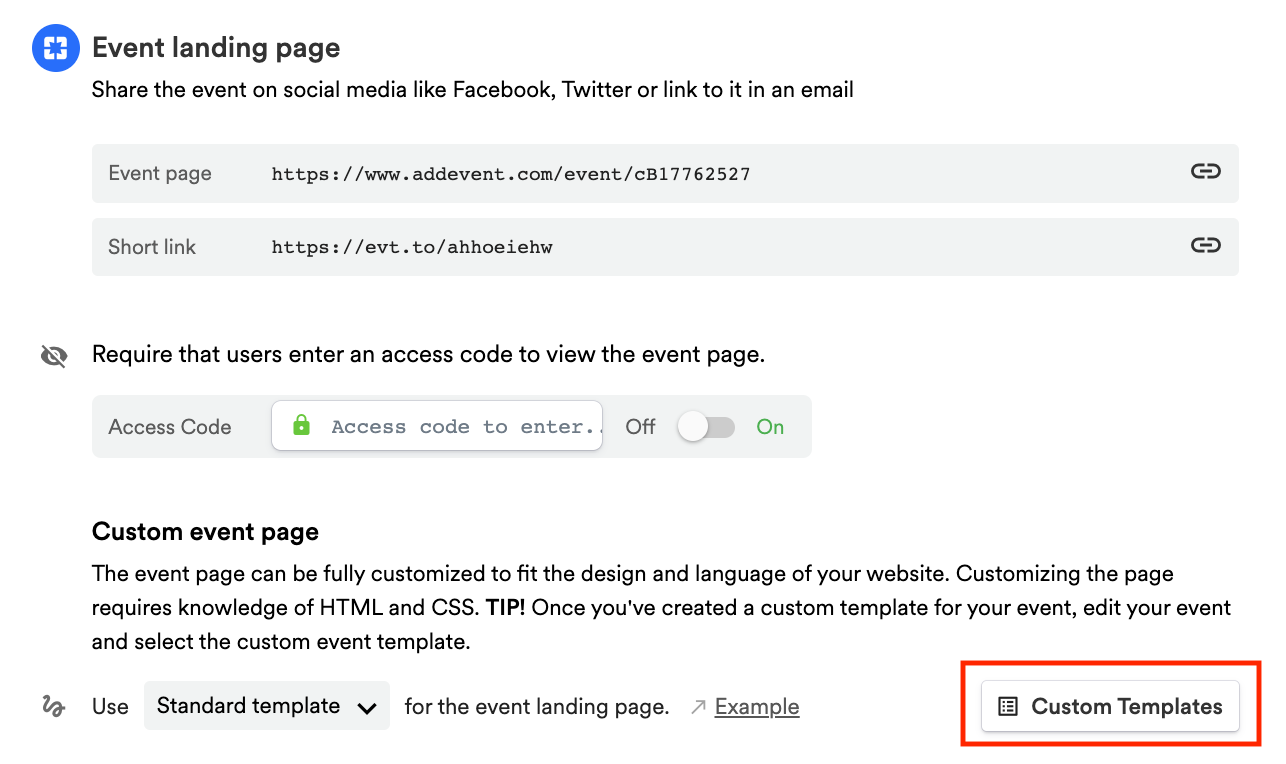
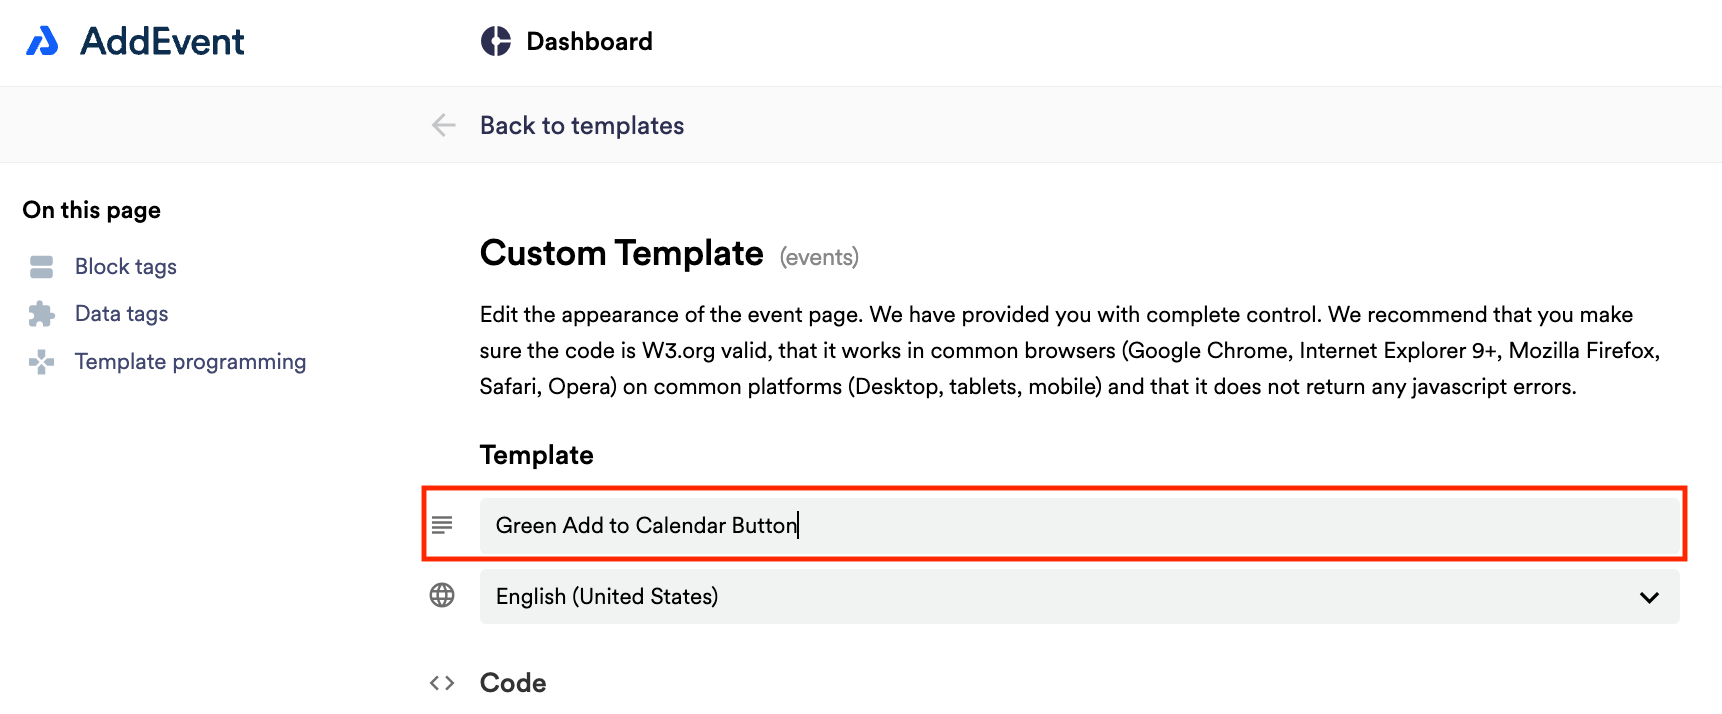
Scroll down to the first sharing method, Event landing page. Create a custom event landing page template by clicking Custom Templates in the app and clicking + New Template. Add a name for the template.
Adding Basic UTM Tracking
This guide uses Google Analytics 4 to show how tracking works, but other tools, such as Hotjar or Mixpanel would work as well. For those tools, make sure you read their documentation for what code needs to be added to your template.
-
Create a Google Analytics Account and create a new data stream
-
Copy this code block into your template and paste it just below the opening
<head>tag:<!-- Google tag (gtag.js) --> <script async src="https://www.googletagmanager.com/gtag/js?id=[YOUR GOOGLE MEASUREMENT ID NUMBER]"></script> <script> window.dataLayer = window.dataLayer || []; function gtag(){dataLayer.push(arguments);} gtag('js', new Date()); gtag('config', '[YOUR GOOGLE MEASUREMENT ID NUMBER]'); </script>- NOTE: The above code is the same code that Google Analytics provides you when you install Analytics on a webpage
-
Replace the two [YOUR GOOGLE MEASUREMENT ID NUMBER]s in the above code with your Google Analytics Measurement ID Number
-
UTM Data can take up to 48 hours to come through, so if the results do not appear immediately, that doesn't mean your setup is incorrect
Adding RSVP tracking with your UTMs
This code snippet checks if someone has RSVP'd to your event and sends that back to Google Analytics as well, along with your other UTMs, so you can see who has RSVP'd alongside how they got to your landing page
-
Copy this code block into your template and paste it above the
</body>tag at the bottom of the template:<!-- Include: Callback script --> <script async src="https://cdn.addevent.com/libs/evt/js/events.tracking.ga4.utms.rsvp.callback.v1.js"></script> -
Save the template
-
If you haven't done so already, return to the event page, select the template from the drop-down list, and click Set