

Customize Add to Calendar Buttons and Links in AddEvent
In AddEvent, you can customize Add to Calendar links and buttons from an event’s Event details page. Open the Add to Calendar links or Add to Calendar Button section, click Create style, choose the available design options, save the configuration, then copy the link, button, or HTML code.
Add to Calendar Links for Email
Add to Calendar links are perfect for adding to emails, newsletters, or your website. You can easily customize the look and feel of these links to match your brand by following the steps below.
-
From the Dashboard, click on the event's title. You will then be directed to the Event details page.
-
Scroll down to the Add to Calendar links section, and click the + sign to expand the section.
-
Click the Create style button to begin configuring your style.
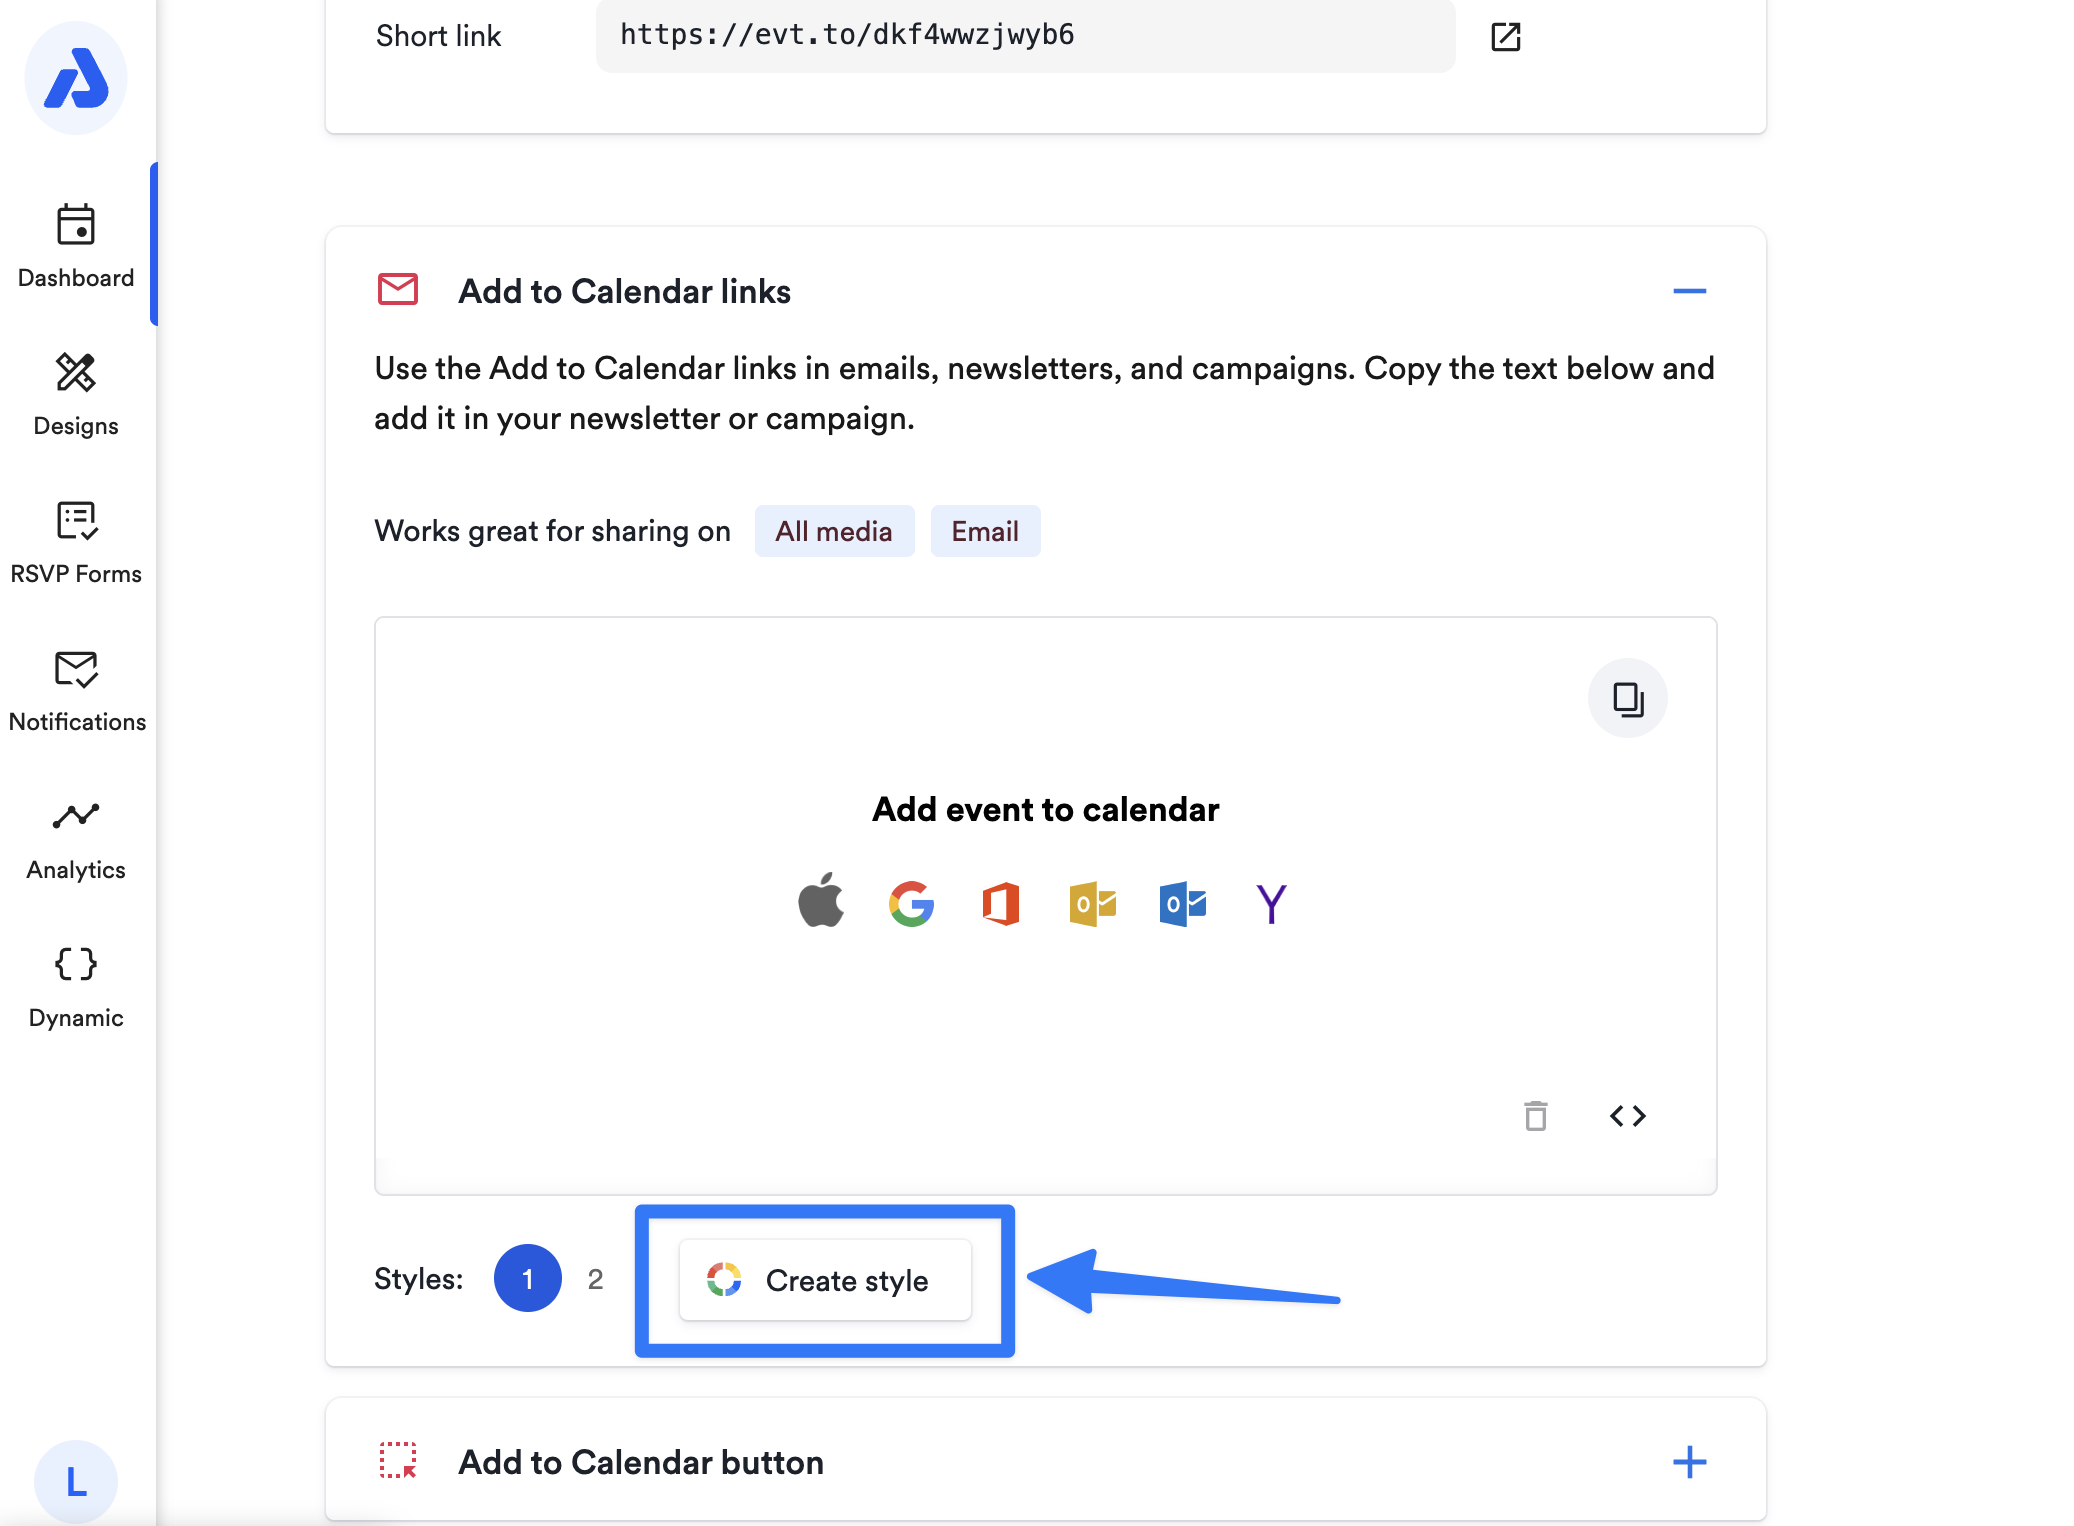
-
A pop-up window will appear where you can make the following changes to your Add to Calendar links:
- Color: Choose from predefined colors or use the color palette to select a custom color.
- Button Edge Style: Select your preferred corner style: straight, slightly rounded, or fully rounded.
- Text and Icon Options: Choose to display “Icons + Text”, “Text” only, or “Icons” only.
- Size: Choose from several predefined button sizes to fit your design.
-
Once you've customized the button to your preferences, click the Save configuration button.
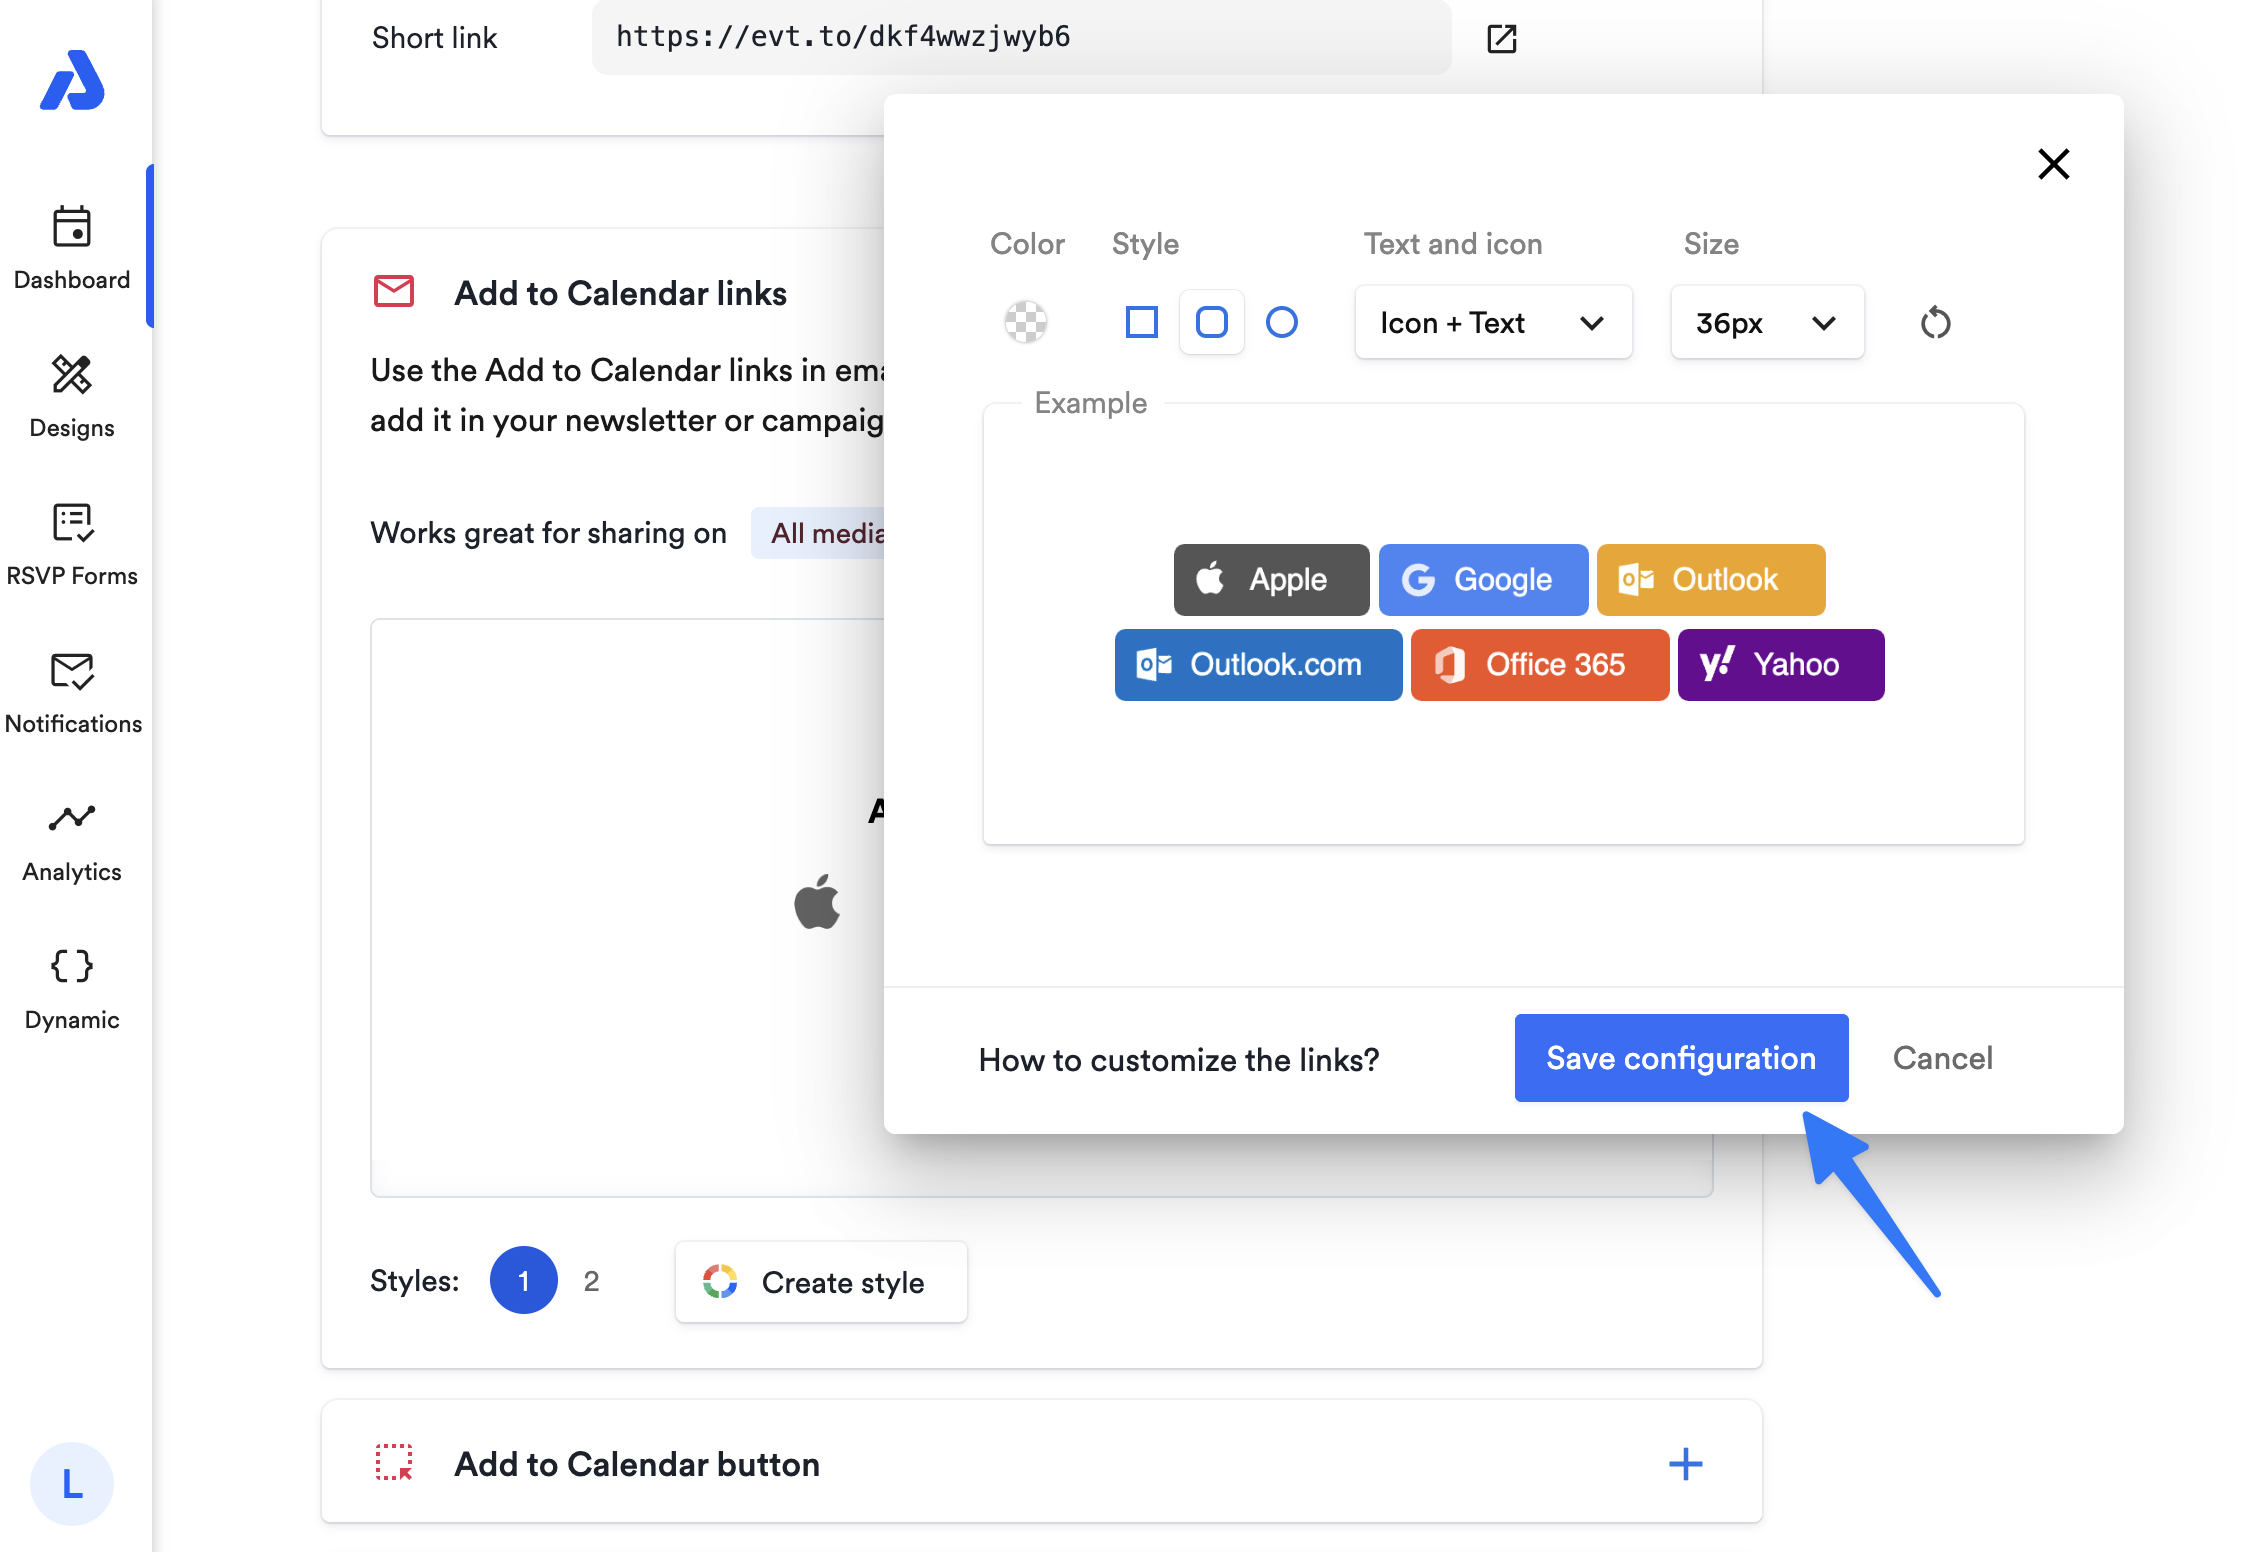
-
To add the link to your desired media, click the Copy button. If you need the raw HTML code, click the <> icon in the bottom right corner to copy the HTML from the pop-up.
- See our help doc here for more details on sharing the event.
Add to Calendar Button for Website or Landing Page
Add to Calendar buttons are best suited for websites or landing pages. You can create branded buttons with customizable color and design options. To customize the Add to Calendar button, follow the steps below.
-
Click on the event's title from the Dashboard. You will be directed to the Event details page.
-
Scroll to the Add to Calendar Button section, and click the + icon to expand the section.
-
Click the Create style button to begin configuring your style.
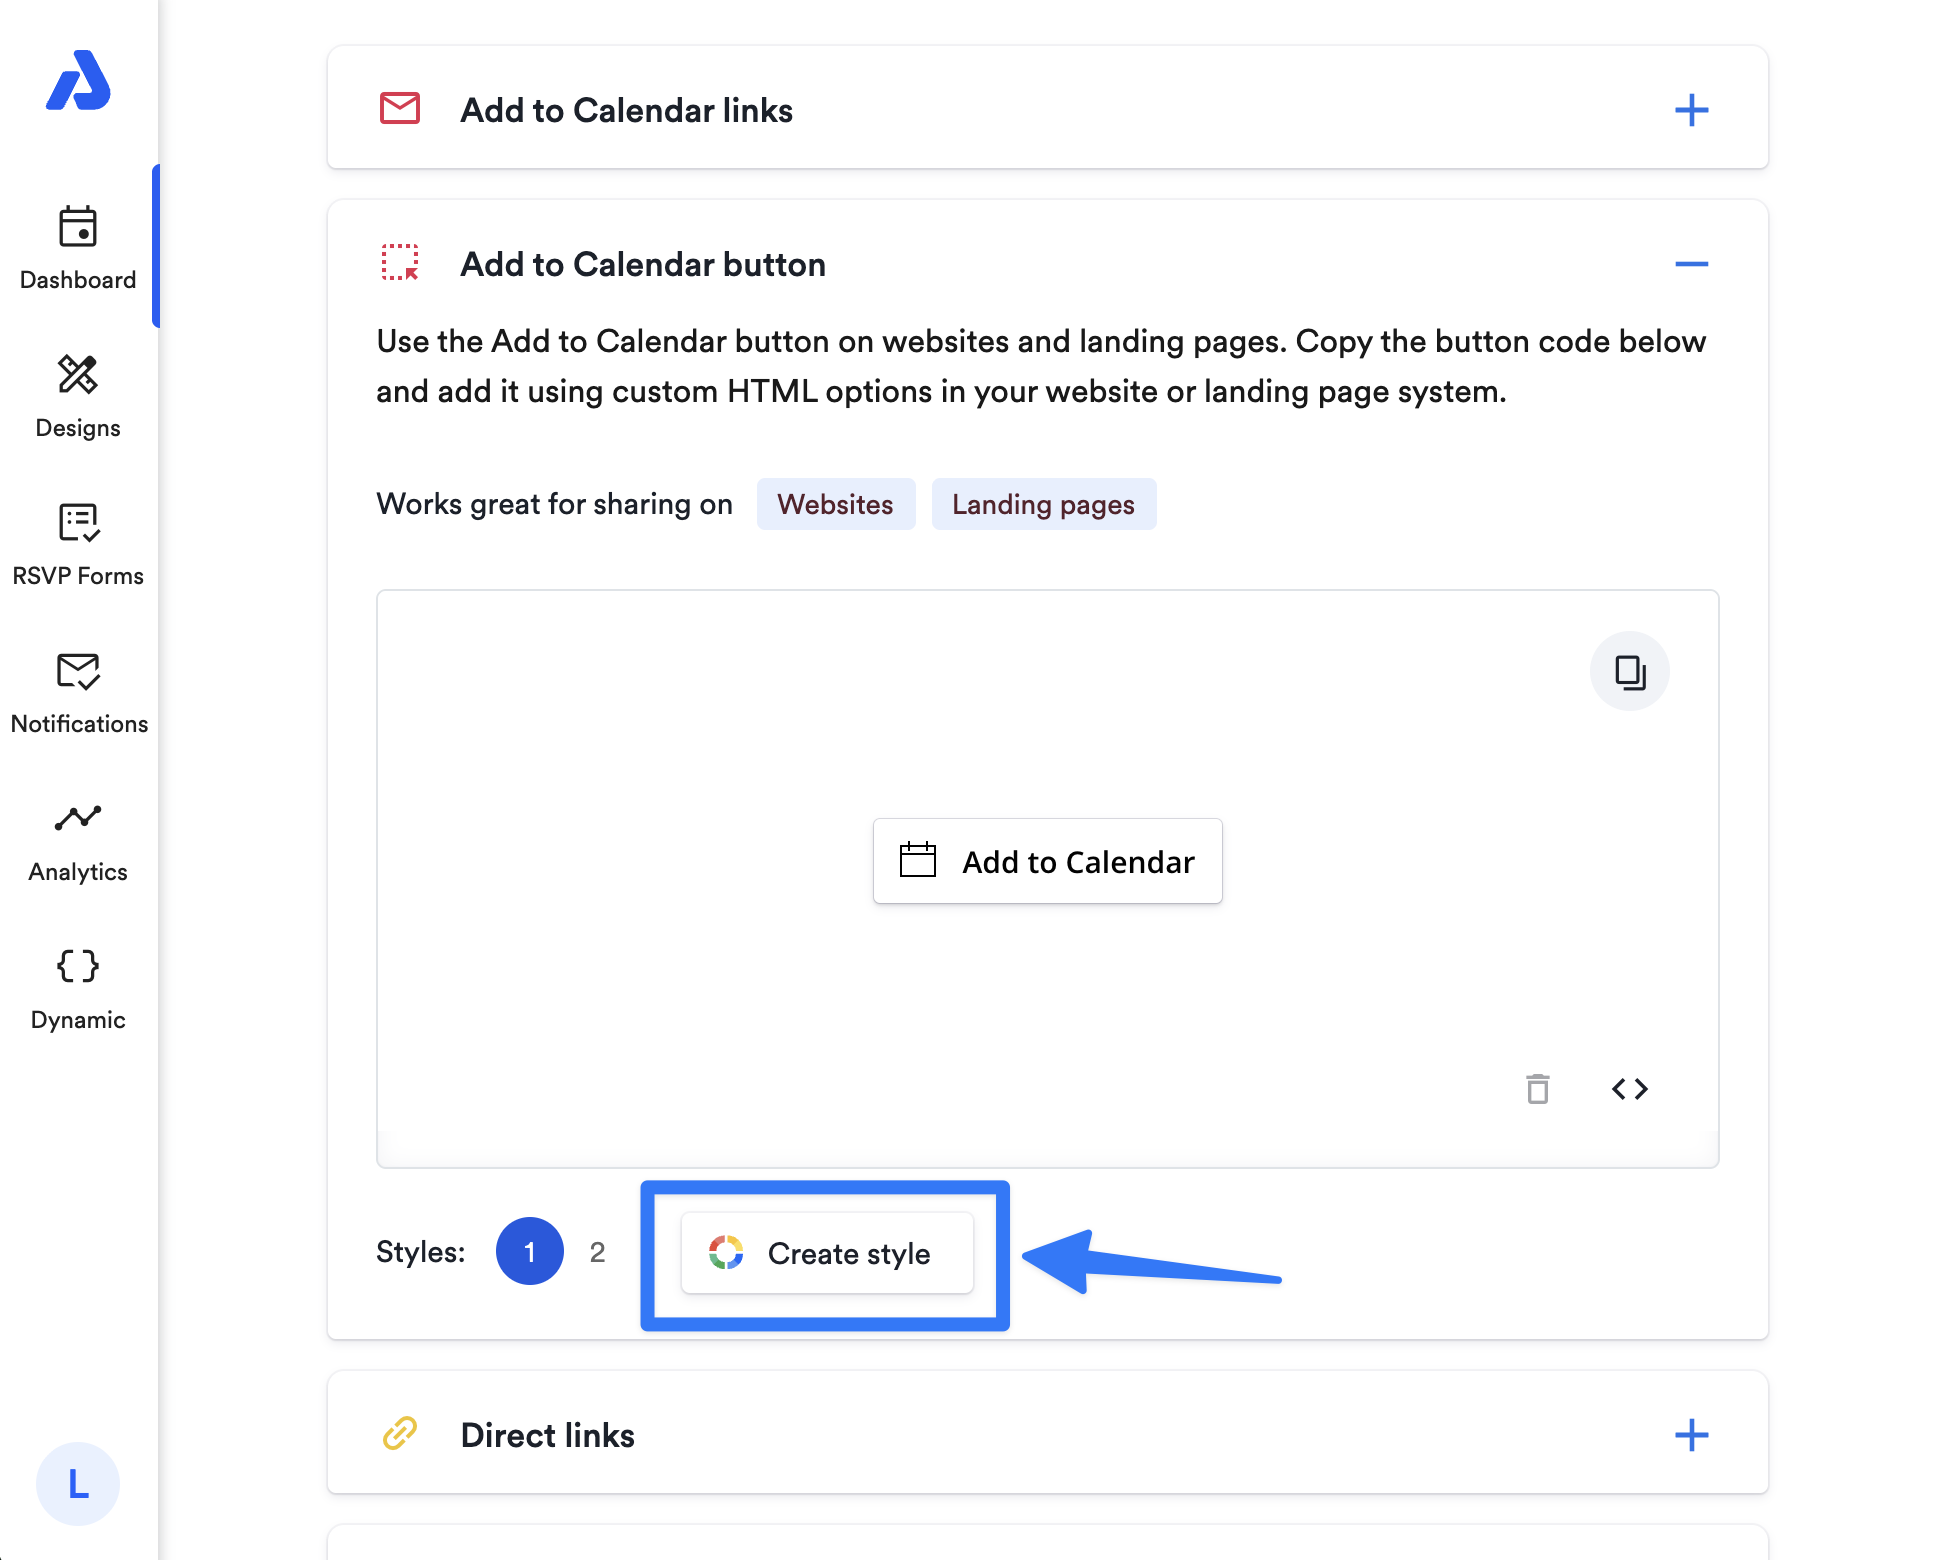
-
A pop-up window will appear where you can make the following changes to your Add to Calendar buttons:
- Color: Choose from a range of predefined colors or use the color palette for a custom choice.
- Button Design: Select from various button styles to find the design that best matches your branding.
-
When your button matches your desired look, click the Save configuration button.
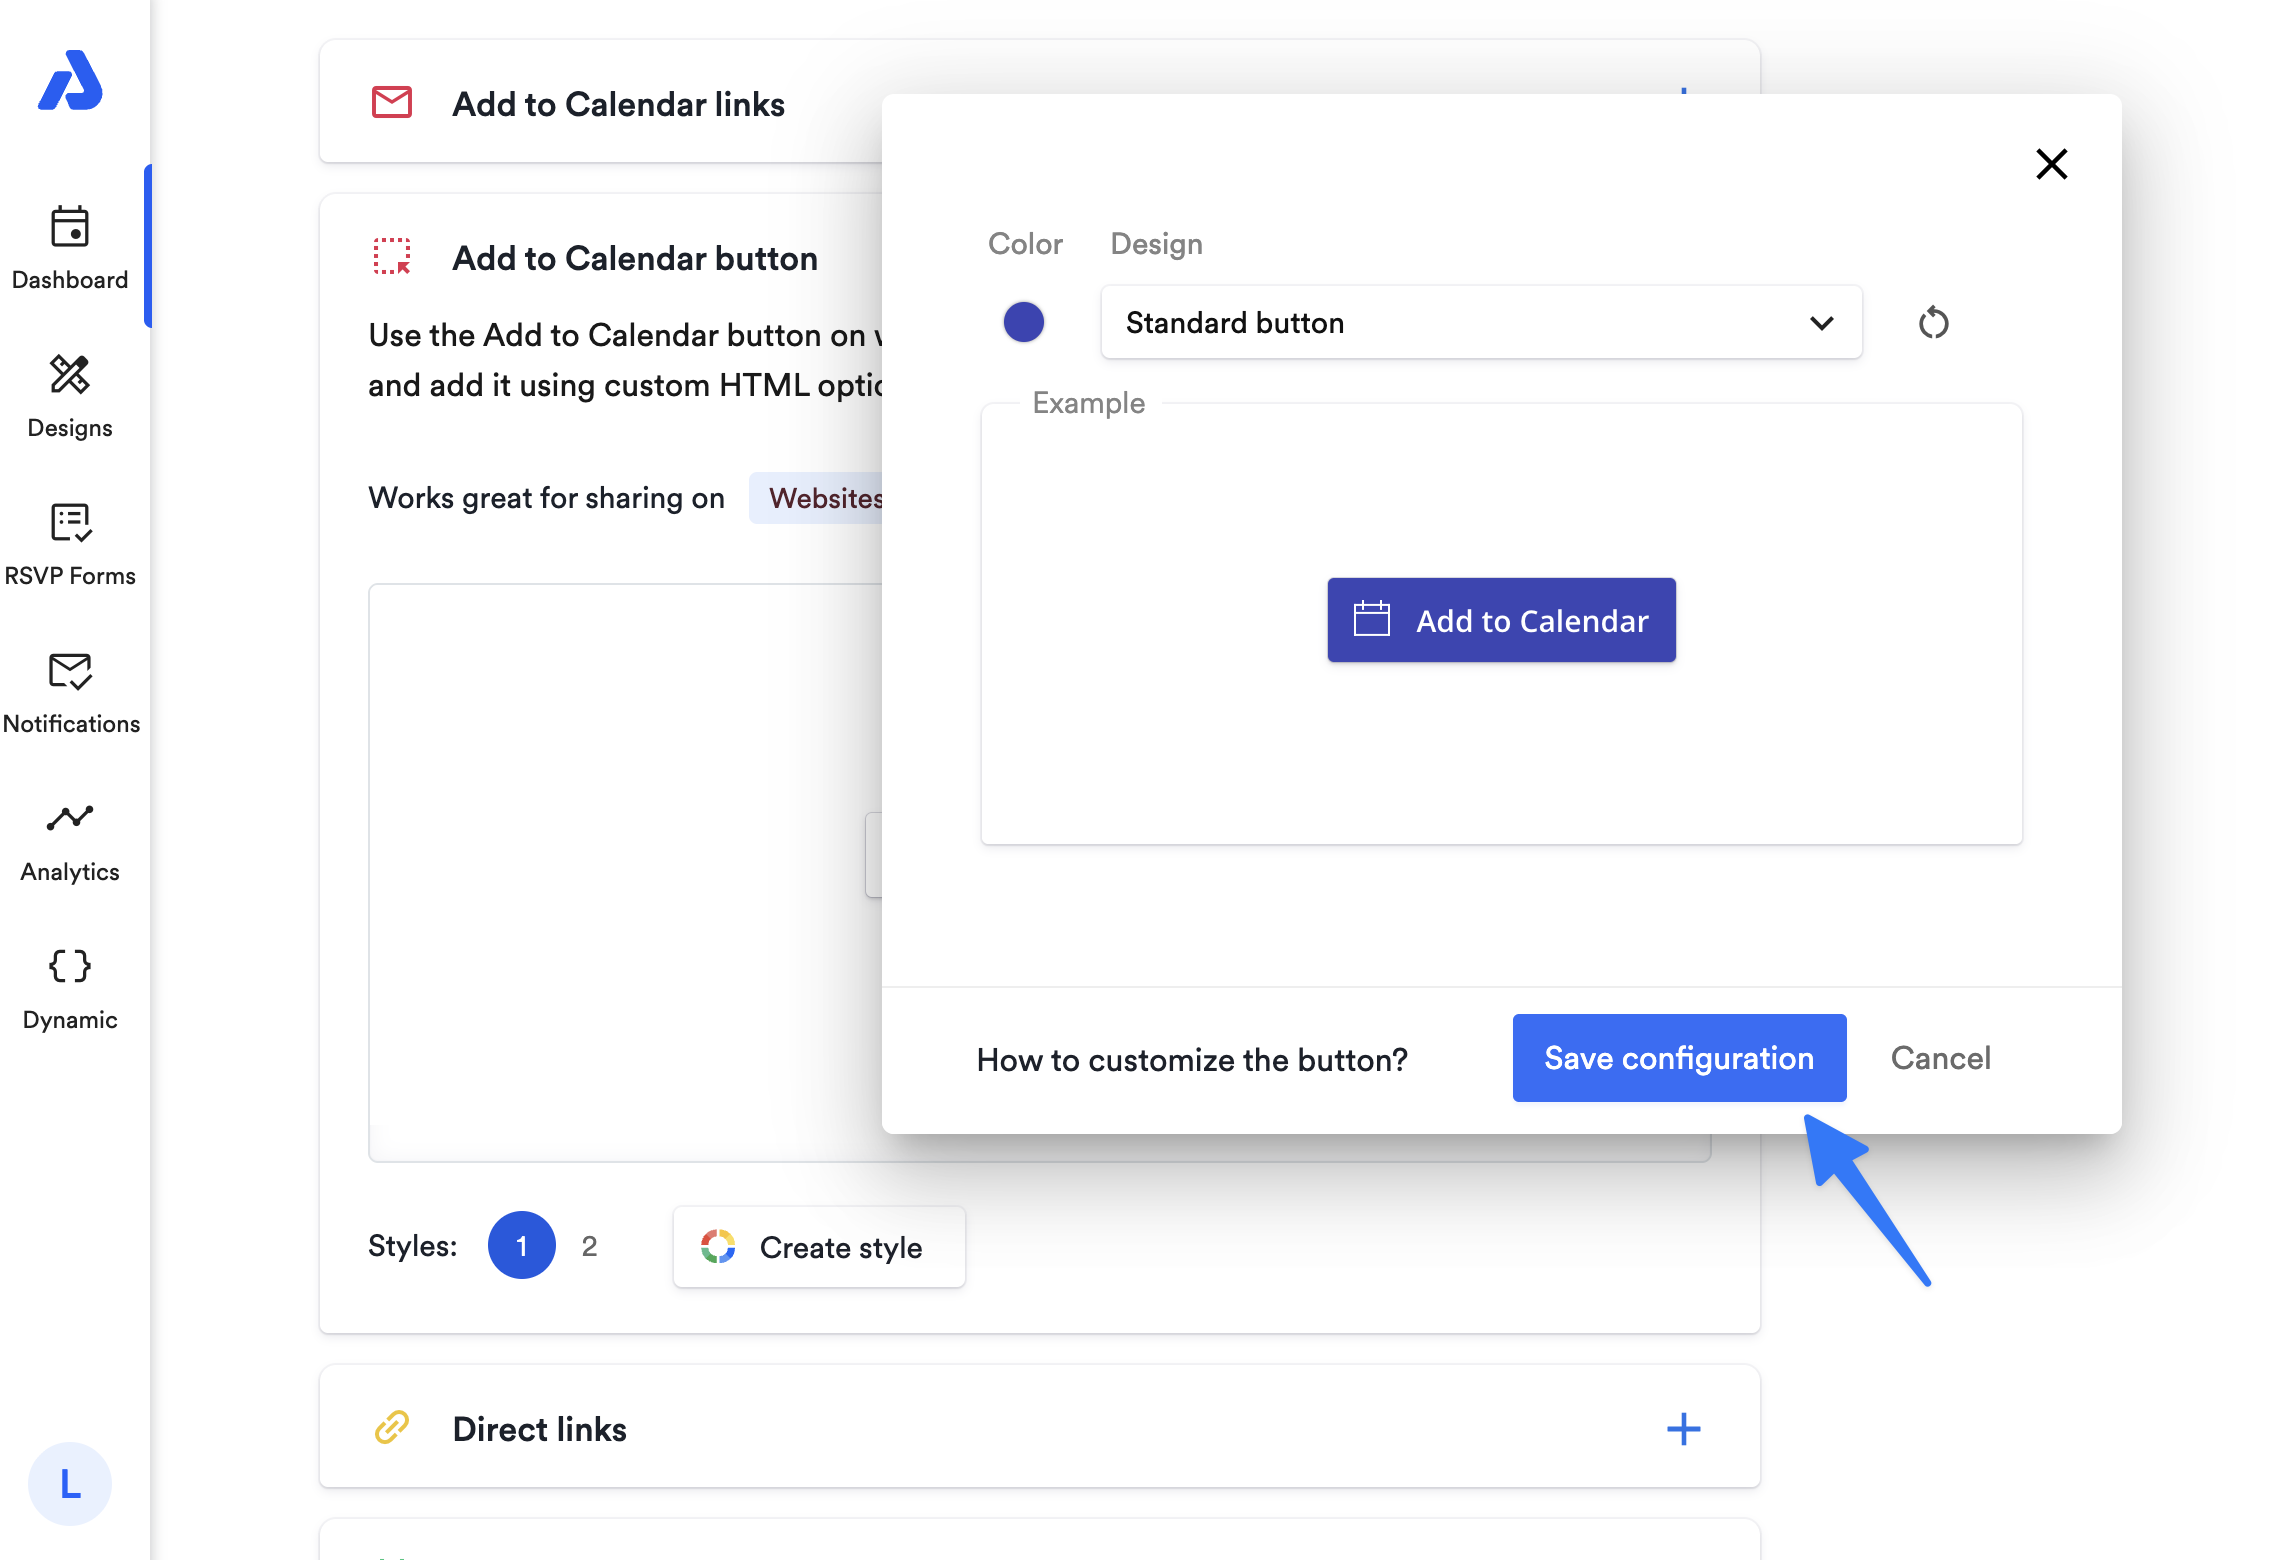
- To use the button on your website or page, click the Copy button. To view the HTML code snippet, click the <> icon in the bottom right, and copy the code in the pop-up window that appears.
- See our help doc here for more details on sharing the event.
Watch this Tutorial!
Updated 22 days ago