

Embeddable Calendar Designs
This help doc provides an overview of the no-code Embeddable Calendar Designs.
Accessing Your Designs
-
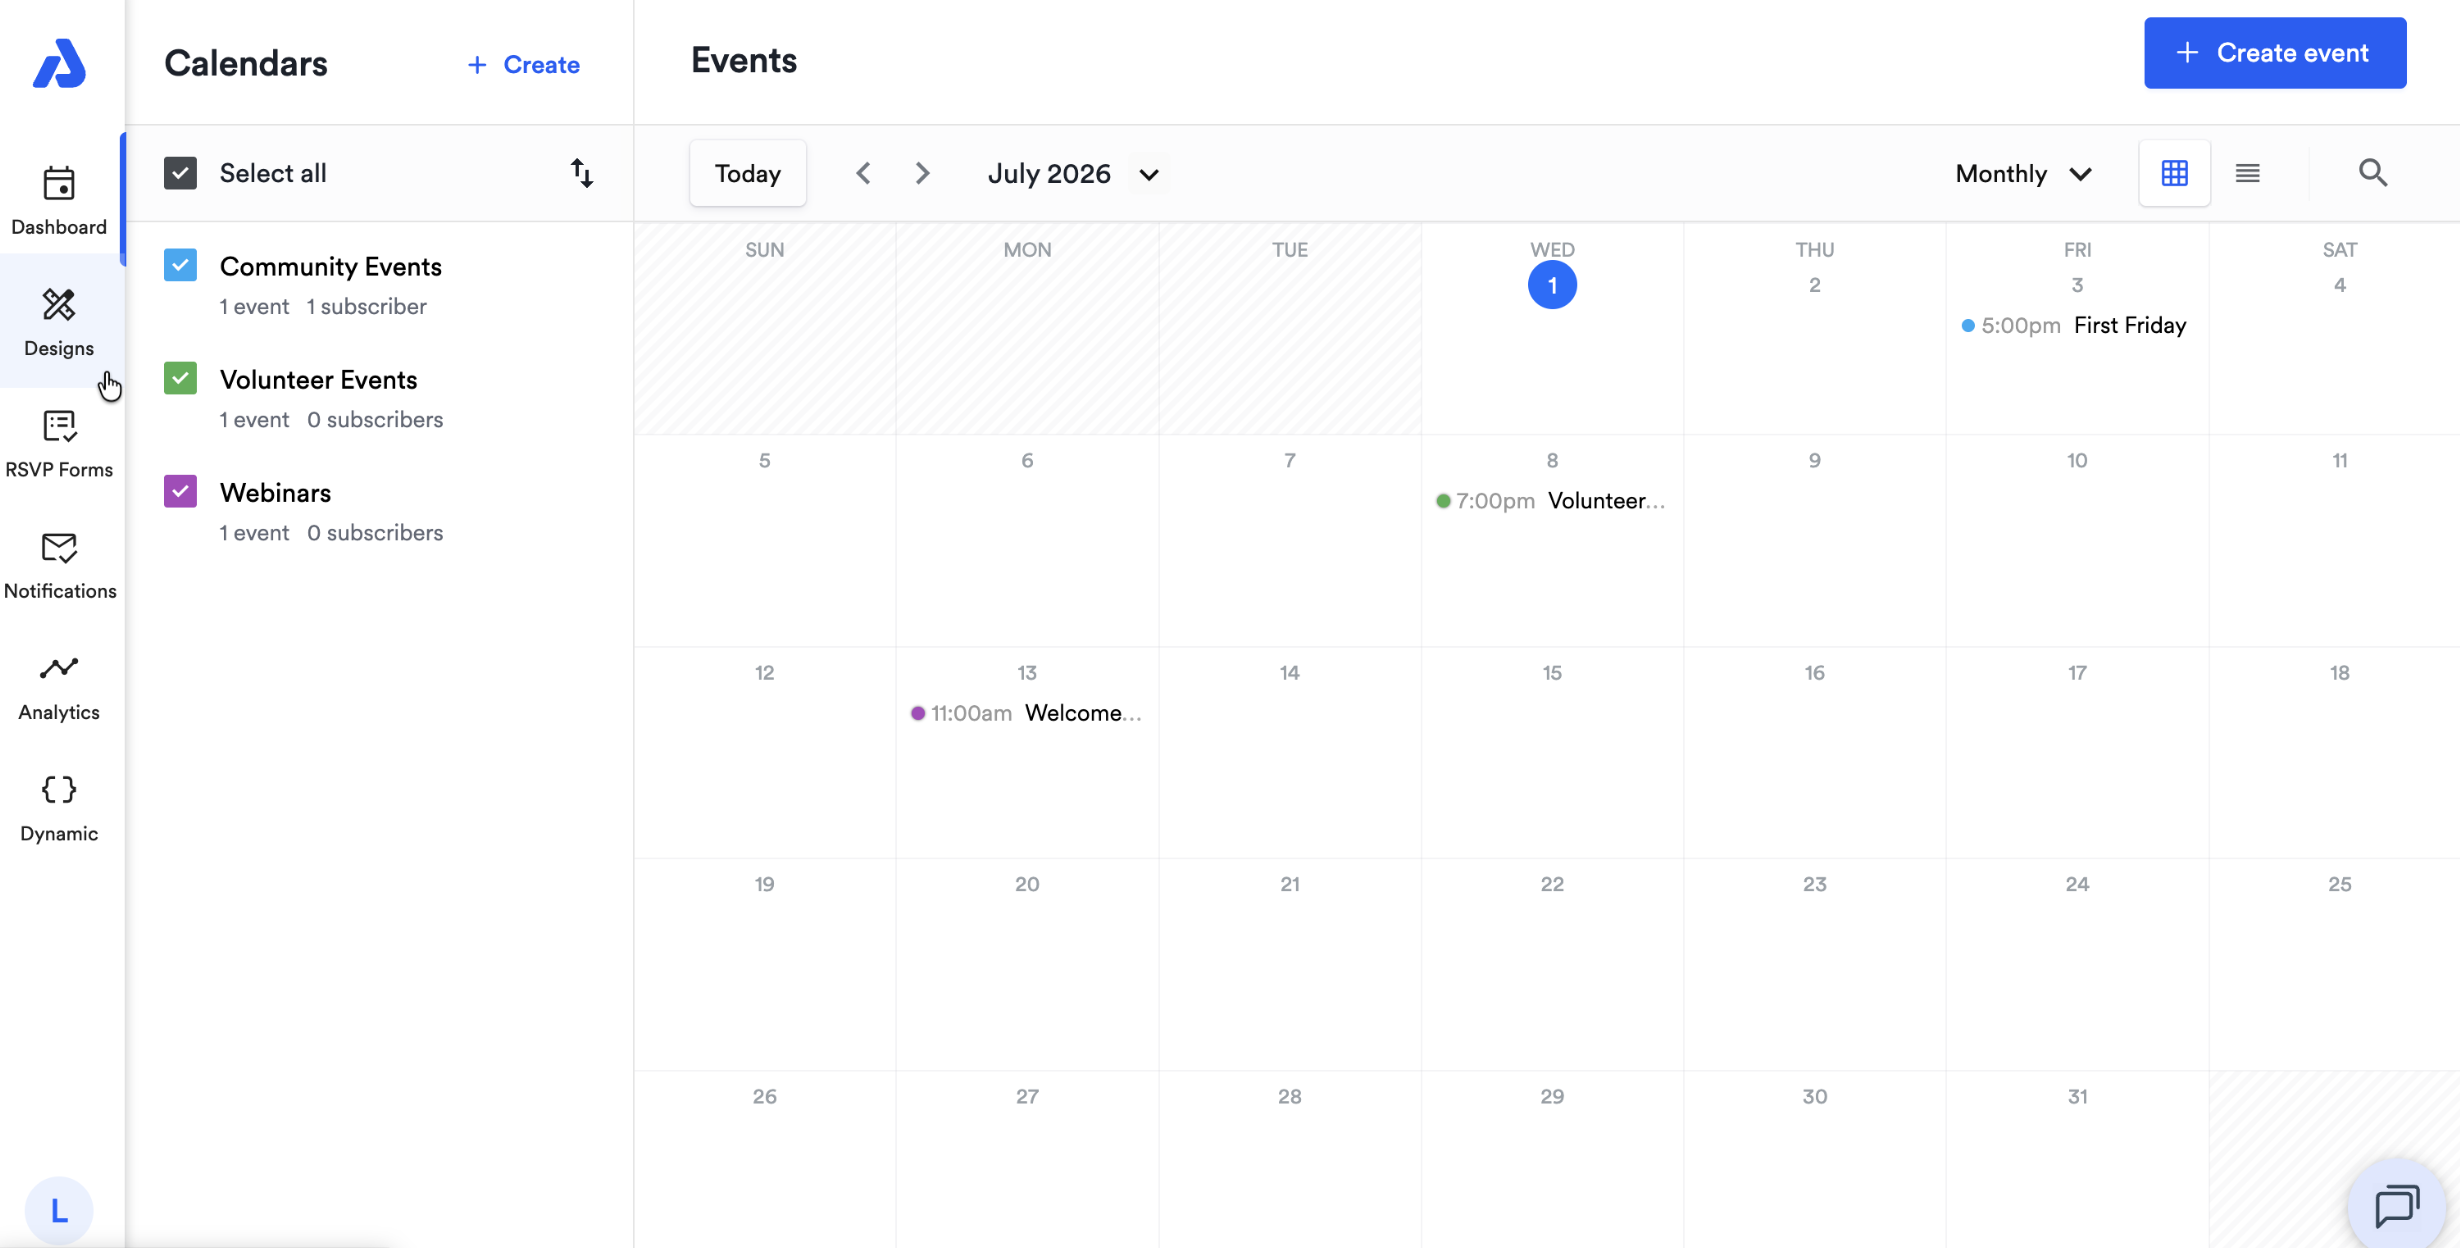
From the Dashboard, click the Designs tab on the left-hand side navigation menu.
-
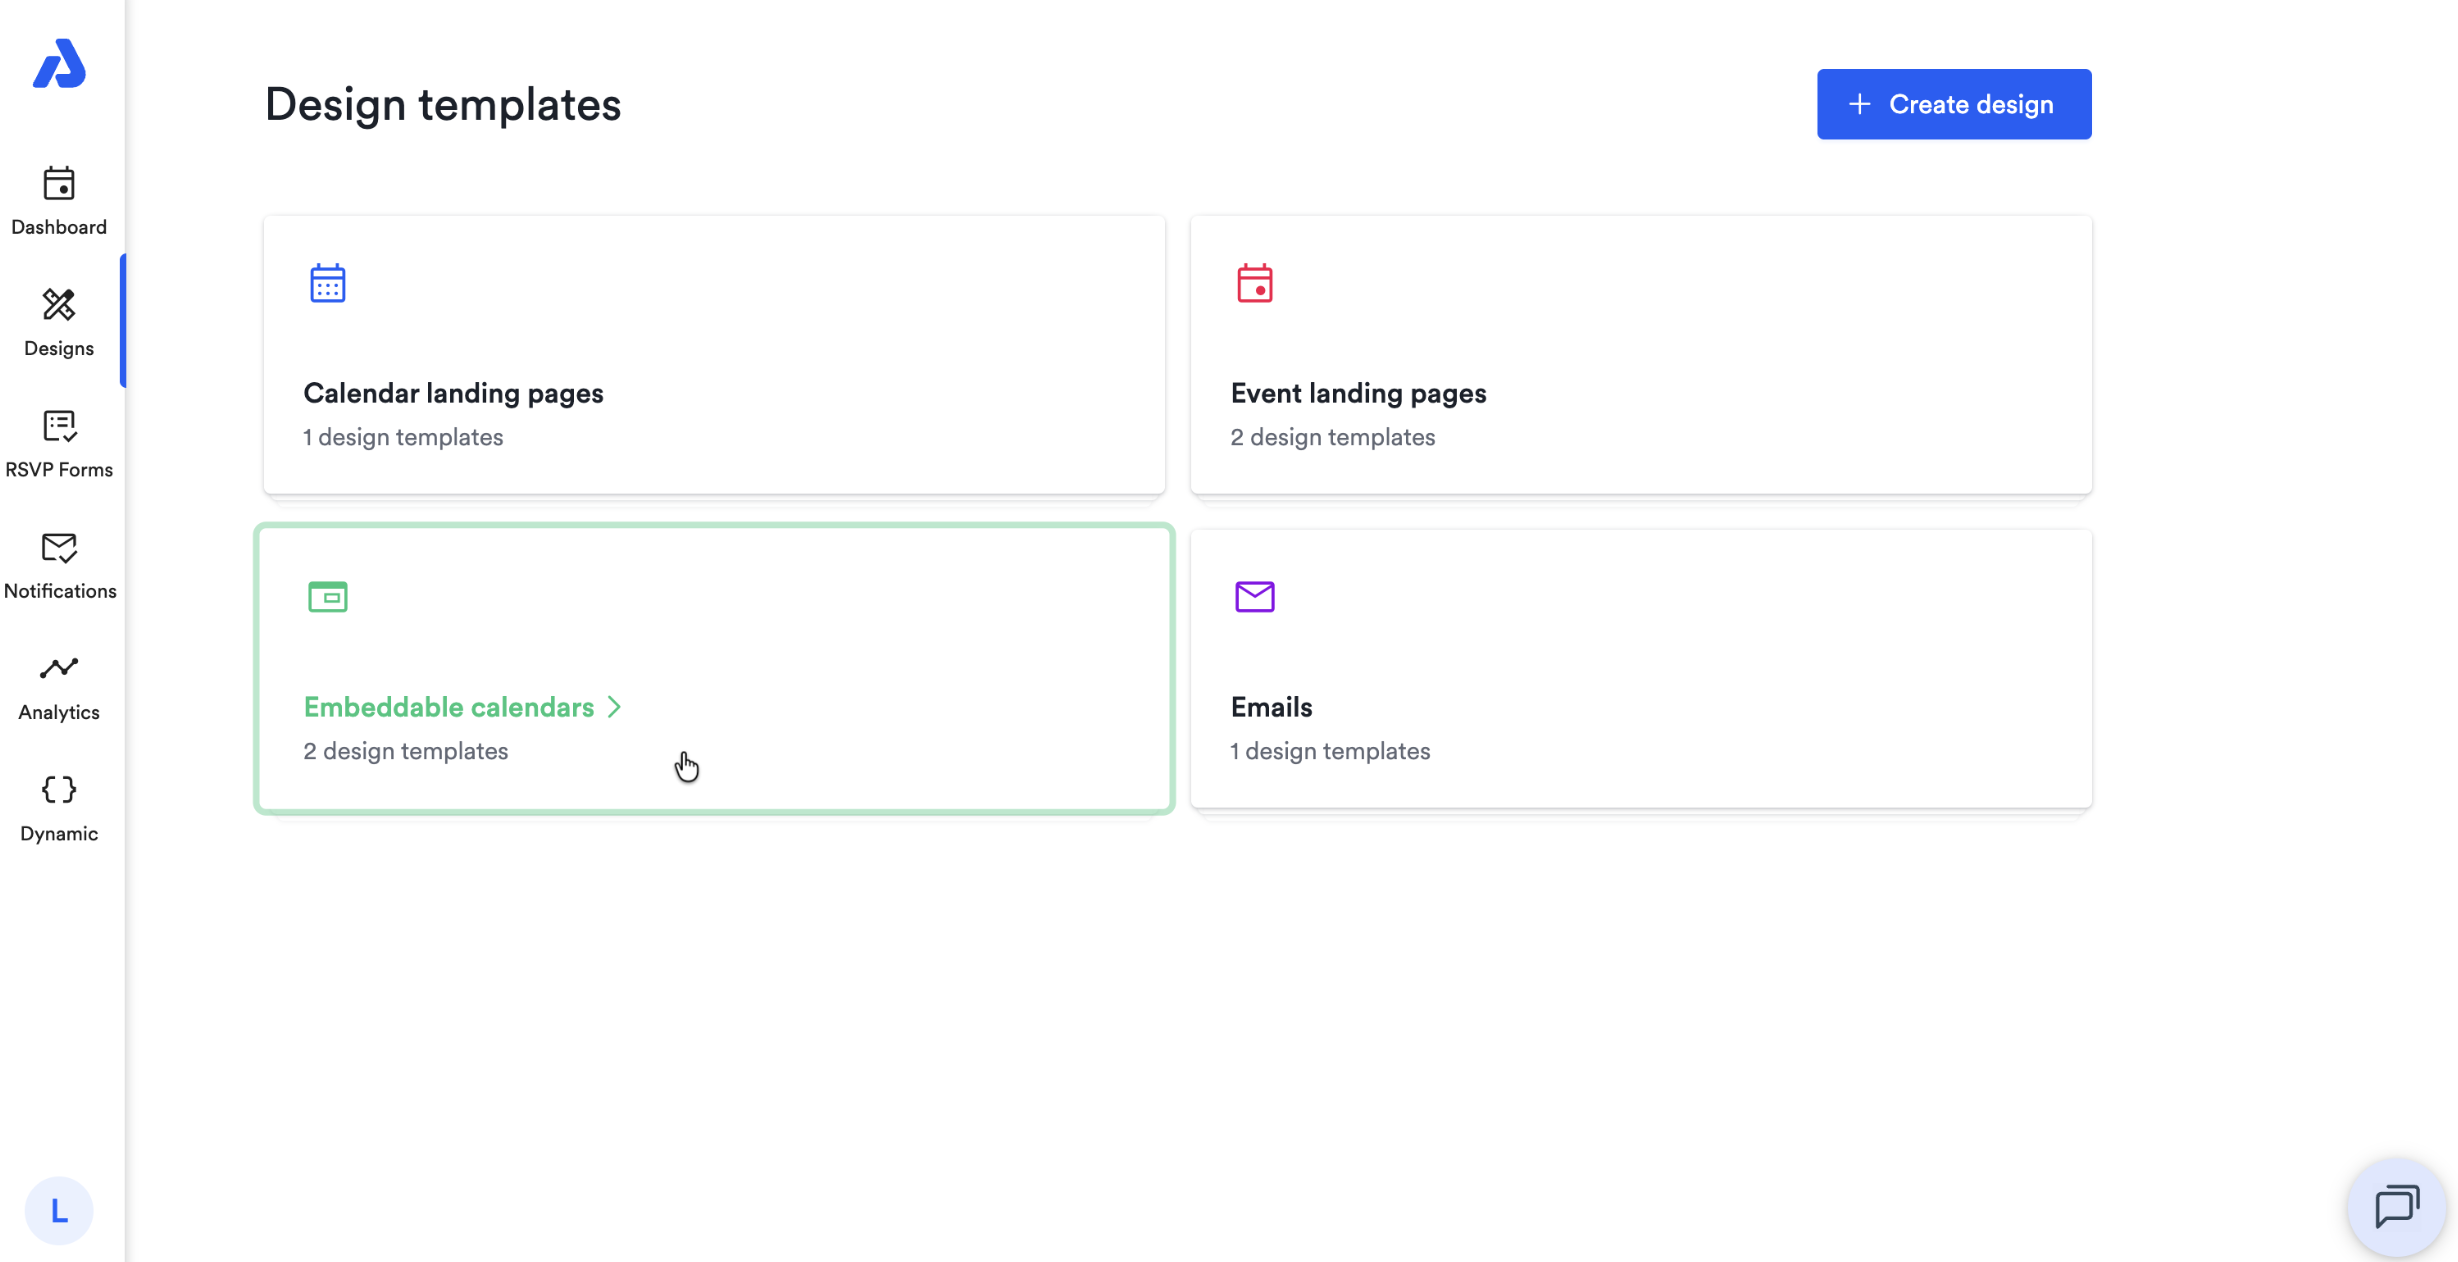
Click the Embeddable calendars option.
-
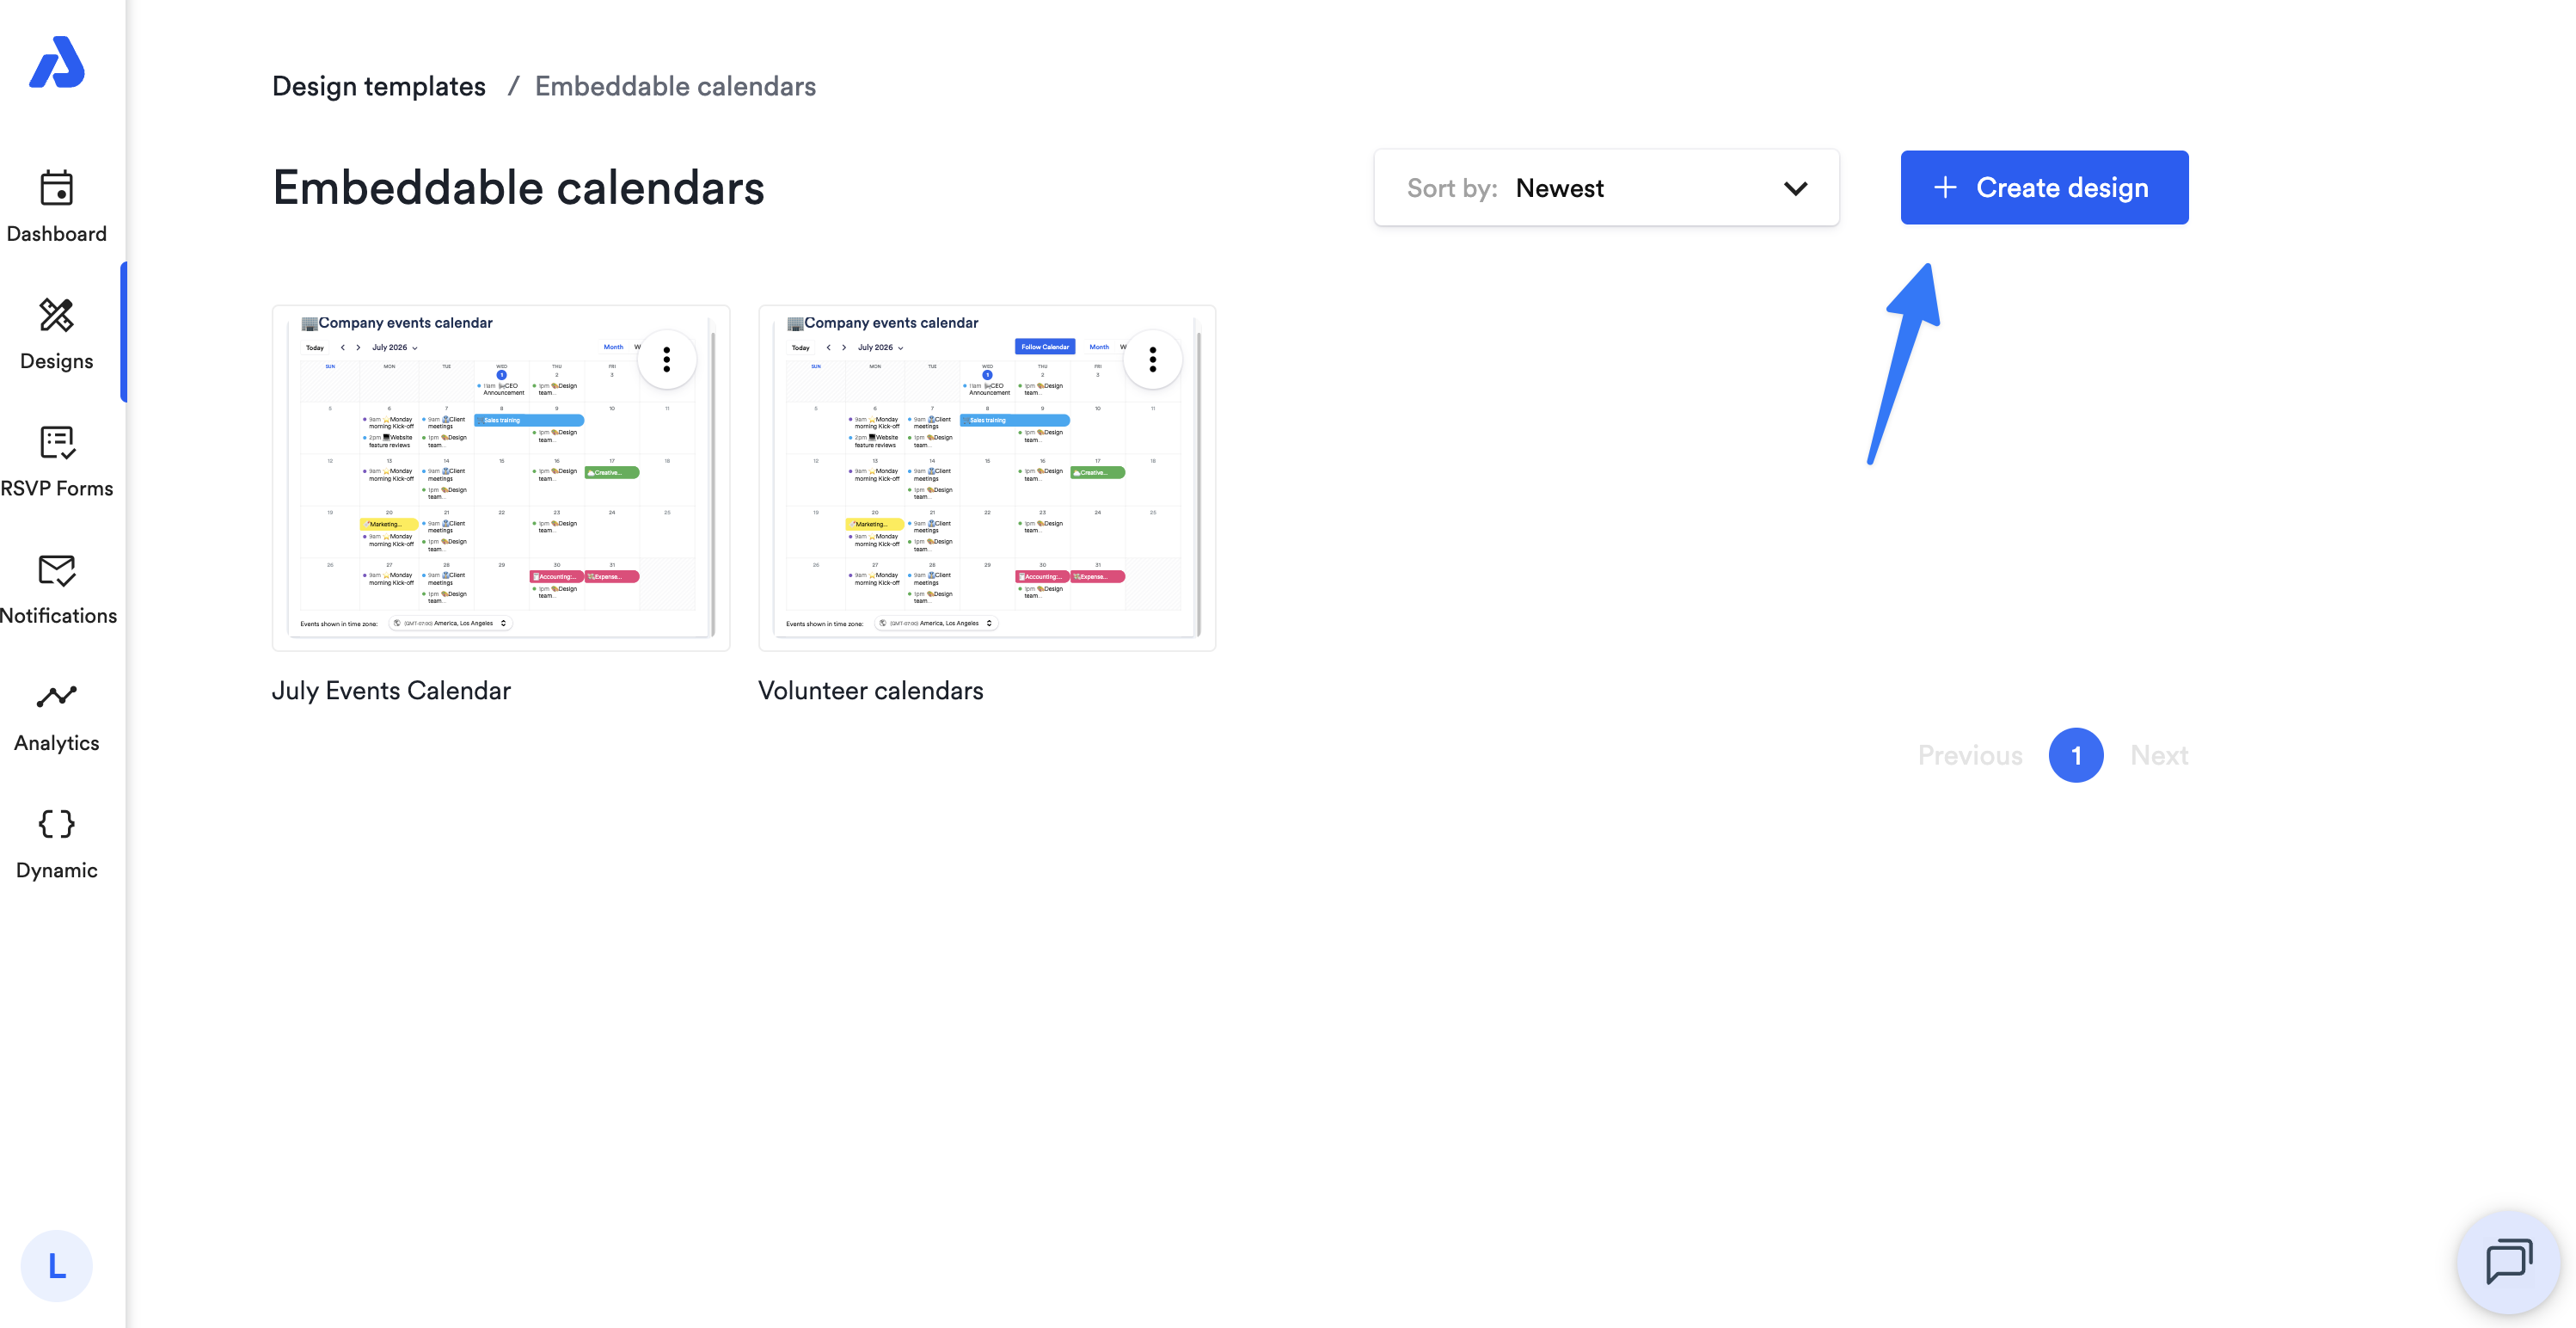
Select an existing design you wish to edit, or click the + Create design button to create a new Design from scratch.
Design Name
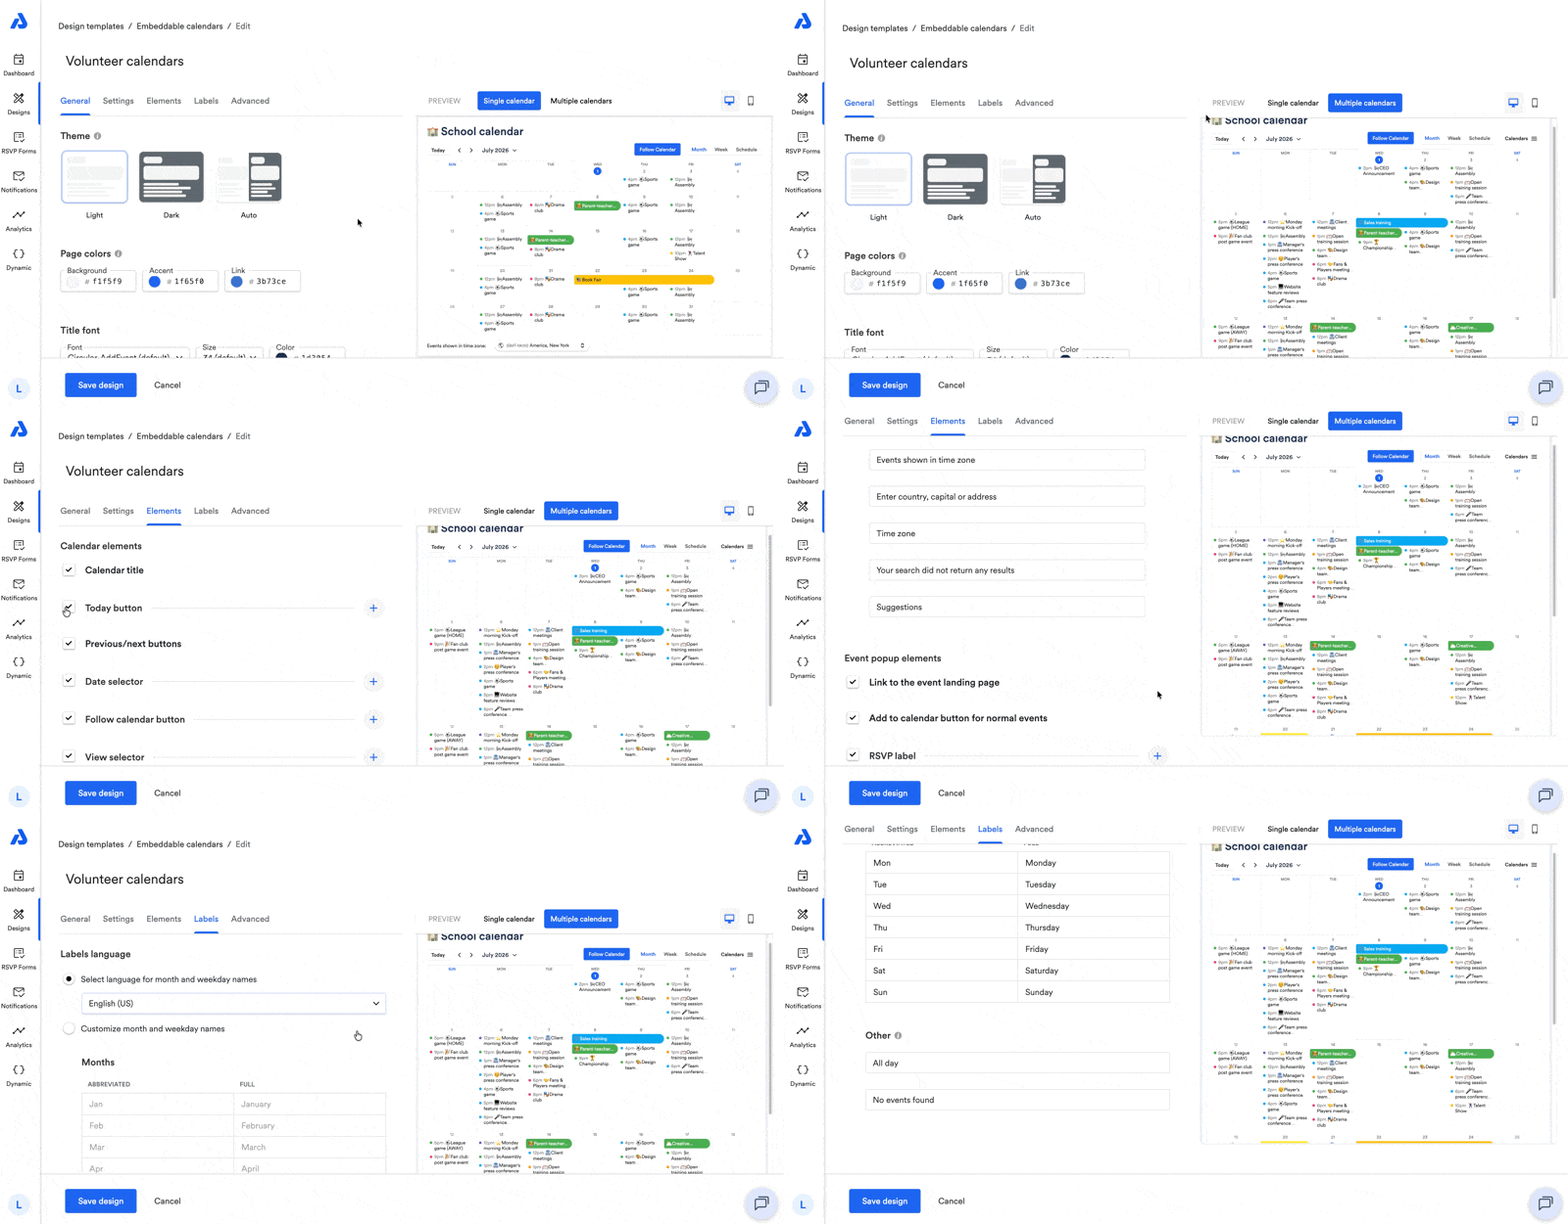
At the top of the Design page, you can give your Design a name:
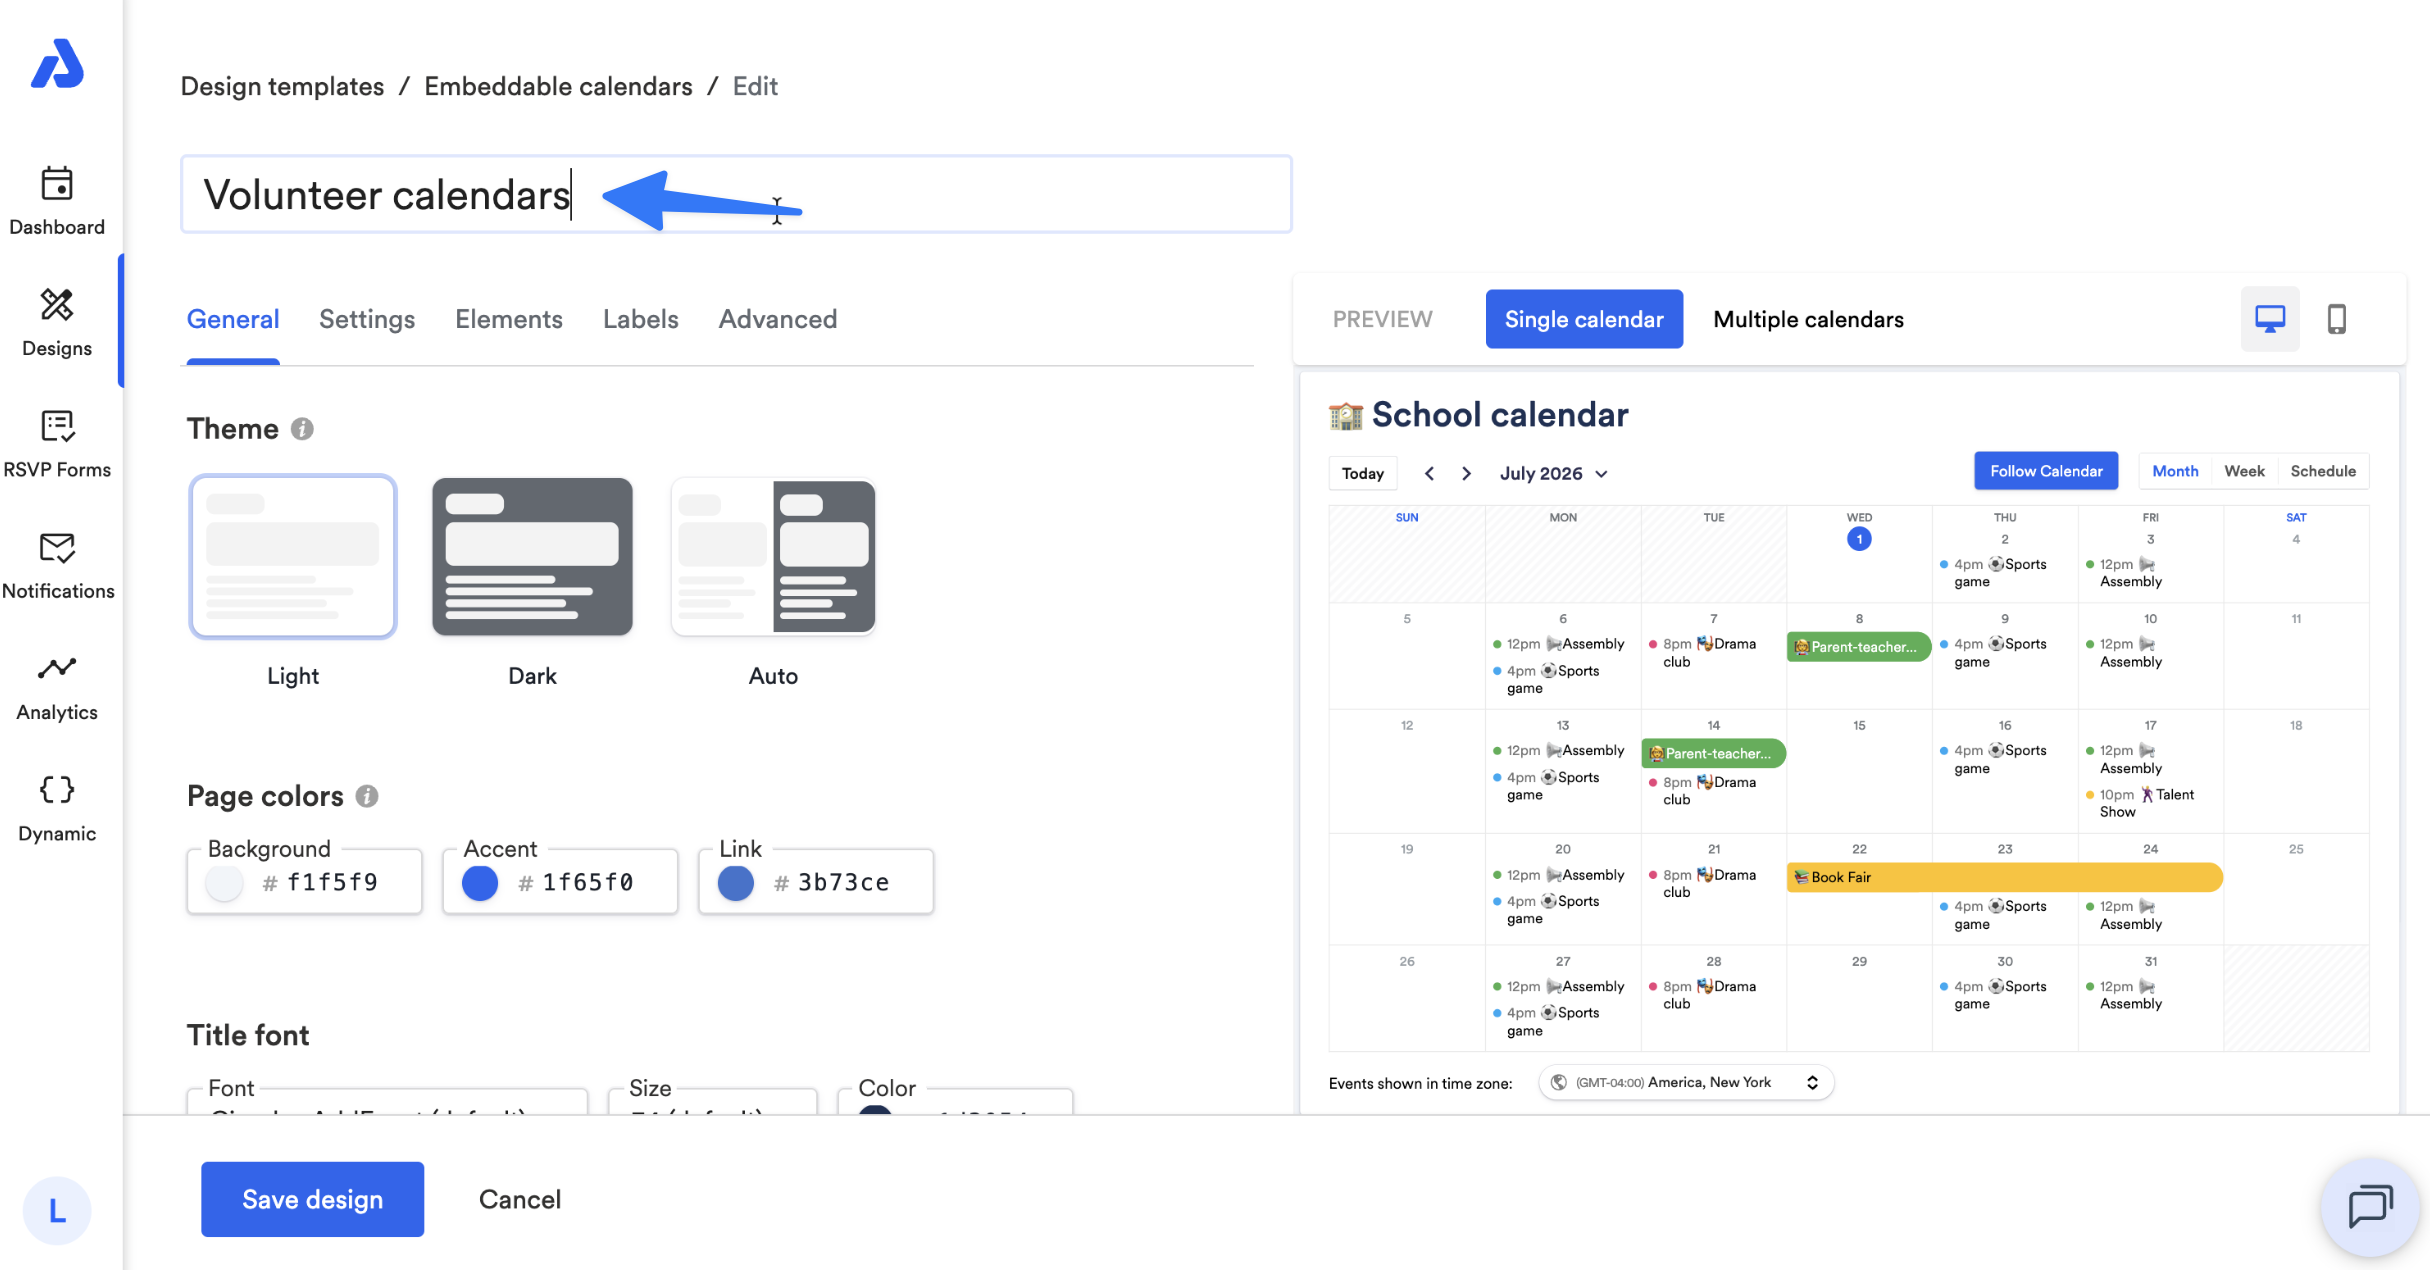
Tabs
Each tab underneath the Design's name contains different settings and elements of the embeddable calendar that you can customize. For more specifics on what each tab contains, check out the following help docs:
- General Tab: Embedded Calendar Design Template
- Settings Tab: Embedded Calendar Design Template
- Elements Tab: Embedded Calendar Design Template
- Labels Tab: Embedded Calendar Design Template
Preview Area
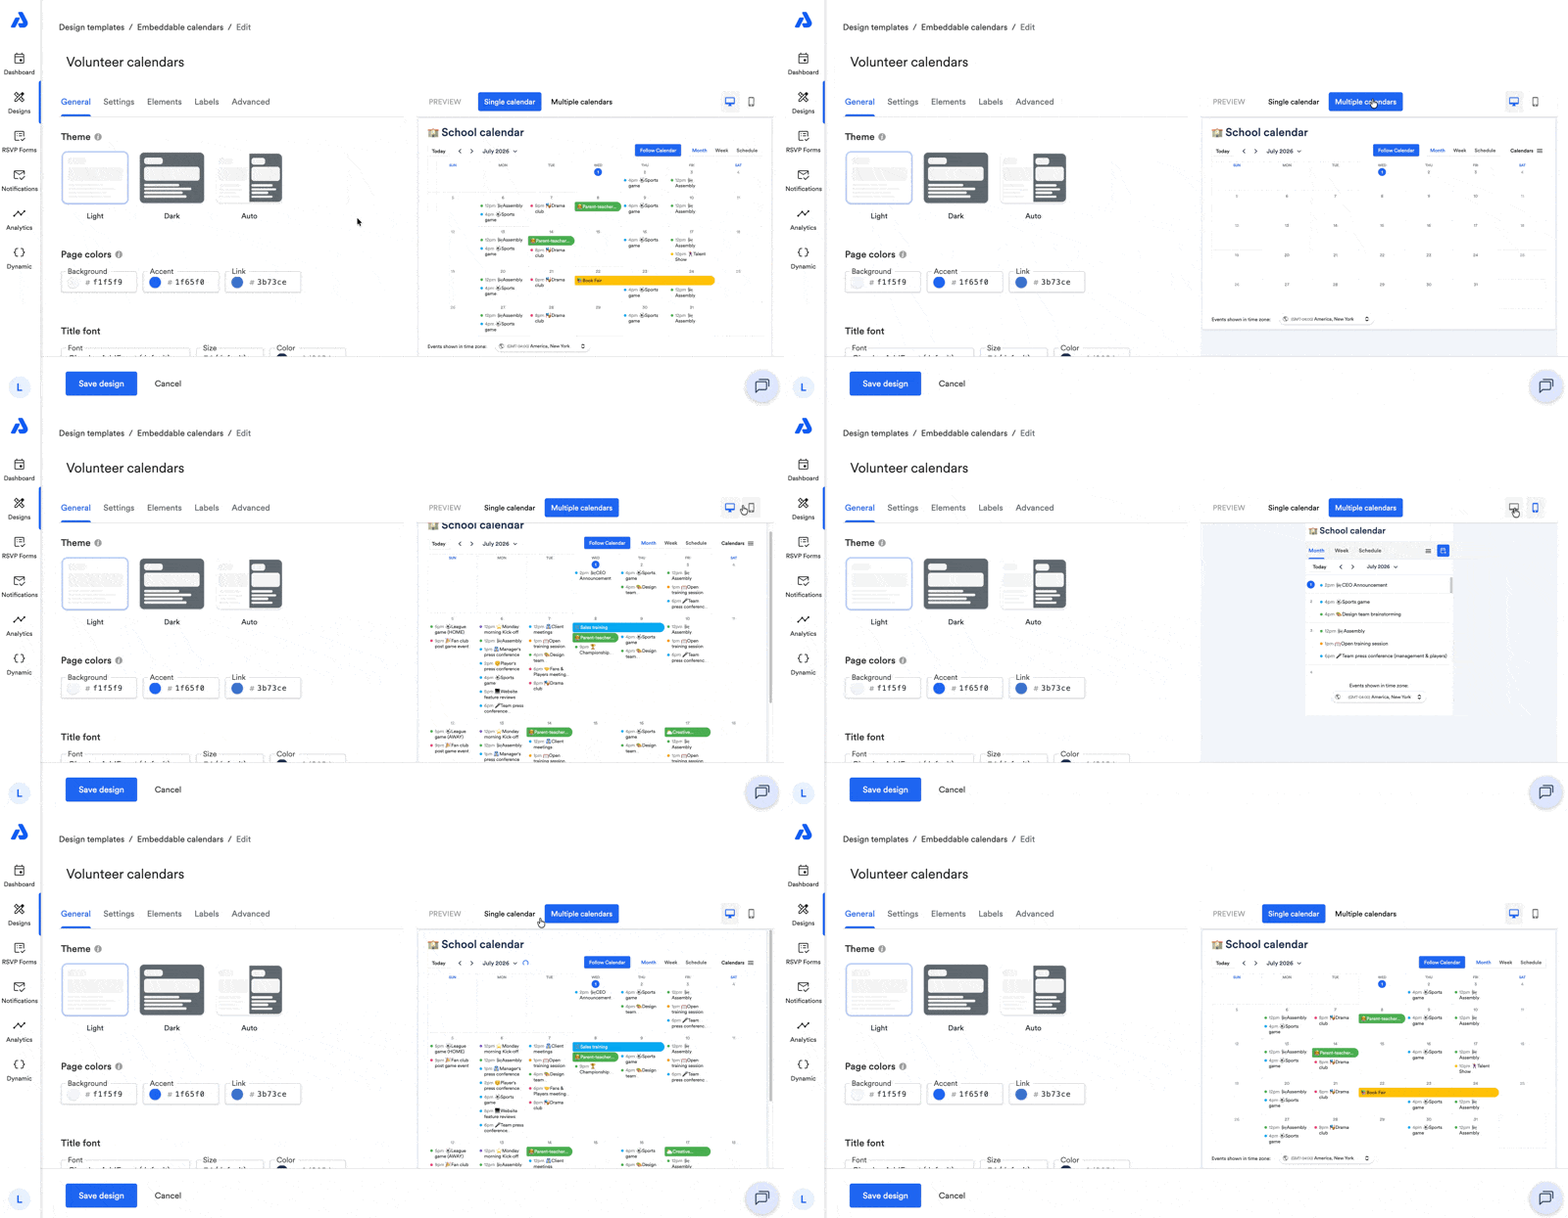
The preview area located to the right of the Design options allow you to see a live preview of what your embeddable calendar design will look like when applied.
- You can see the design for a single calendar embed, or a multiple calendar embed.
- You can see how the design looks on a desktop or on a mobile device
Create and Set Design
When you've finished creating your Design, click the Create Design button on the bottom of the page.
To apply the Design on your embeddable calendar, select the Design from the dropdown in the Embeddable Calendar menu on the Calendar details page.
For step-by-step instructions on how to apply a design to your embeddable calendar, check out our help doc here: Apply an Embeddable Calendar Design Template to an Embeddable Calendar
Updated 3 months ago